Search
Getting swarmed by online reviews across different platforms, it would be challenging to address each of them. To help keep your online reputation intact, set up workflows and automate actions for different events and conditions of your choice.
Let’s see how to configure workflows in reputation management.
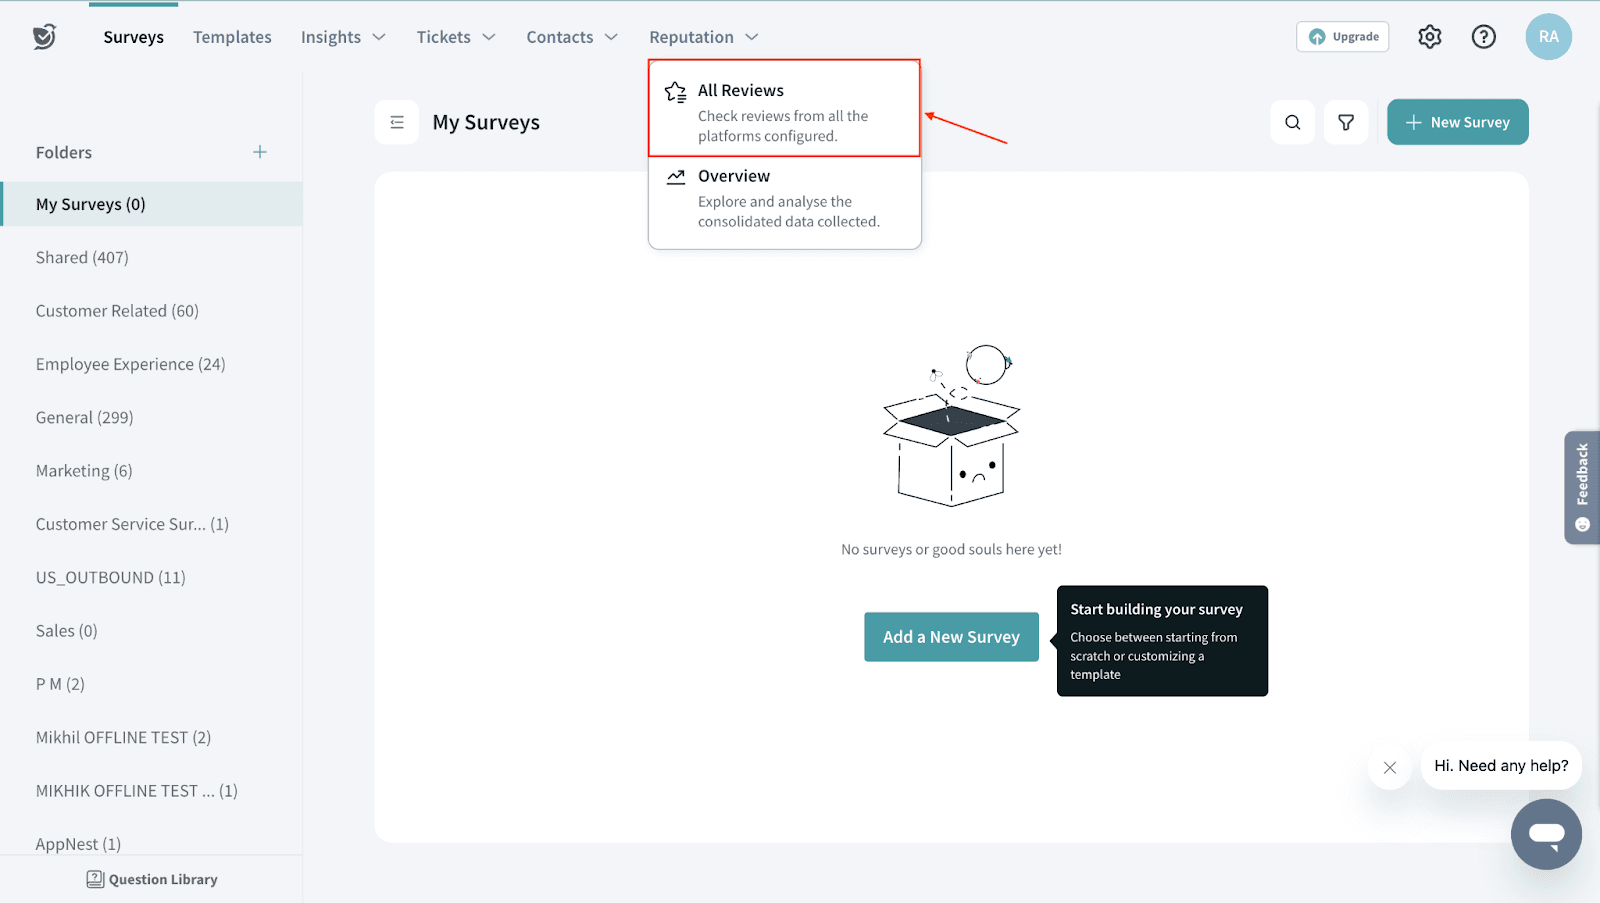
1. Log in to SurveySparrow and navigate to Reputation management.

2. Click on the more icon and select “Workflows”.
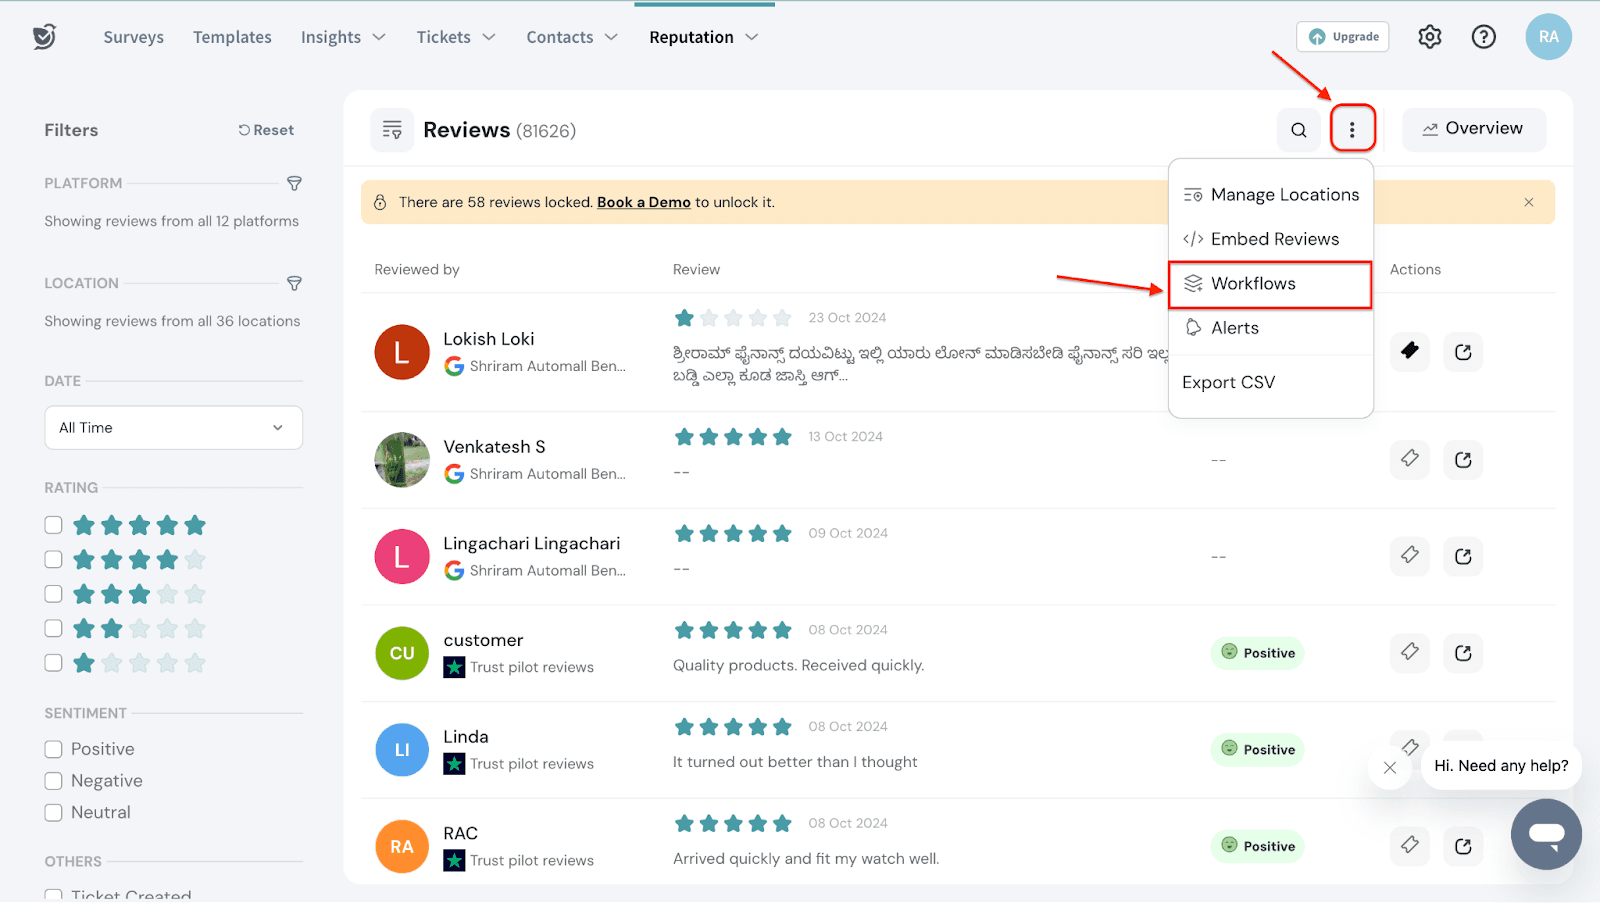
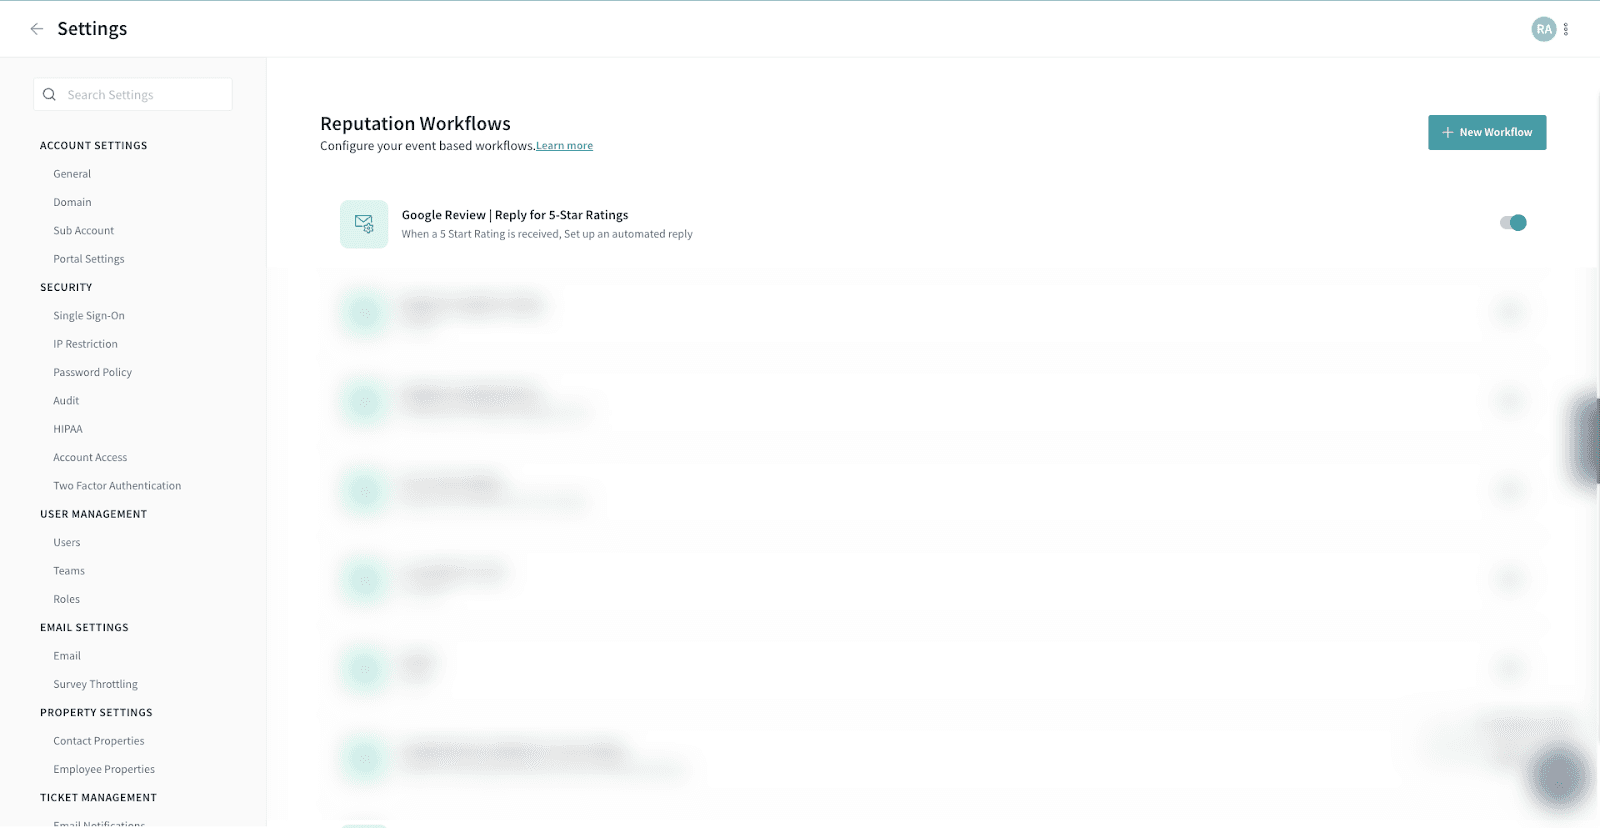
You will be taken to the “Reputation Workflows” in the “Settings” section.
3. Click on the “New Workflow” button.
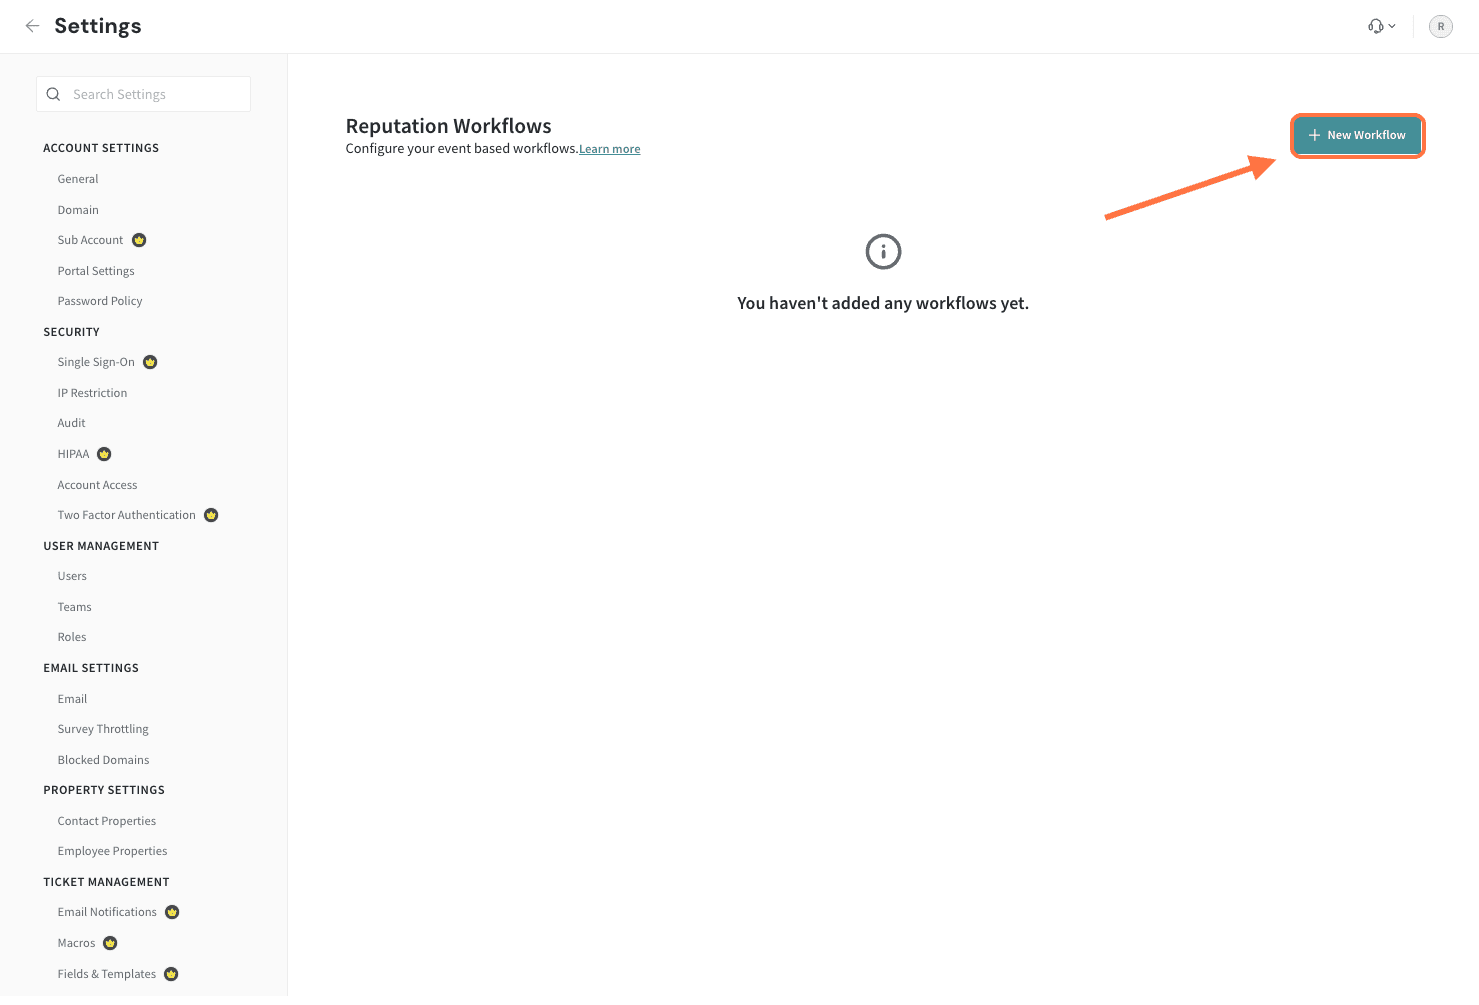
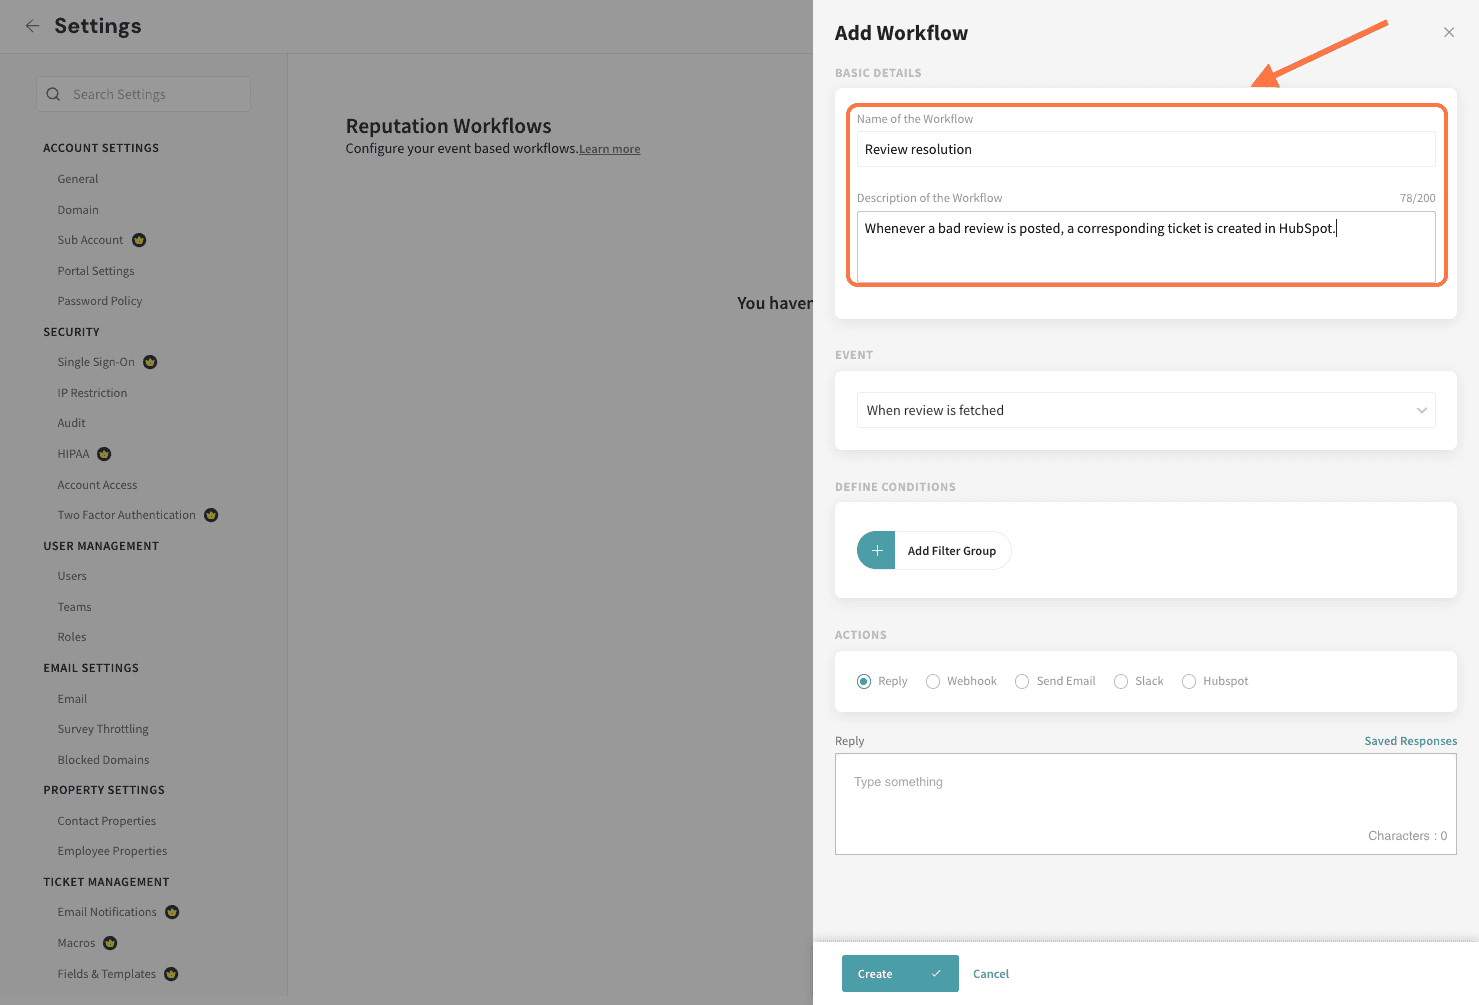
A slide-in panel will appear to create the workflow.
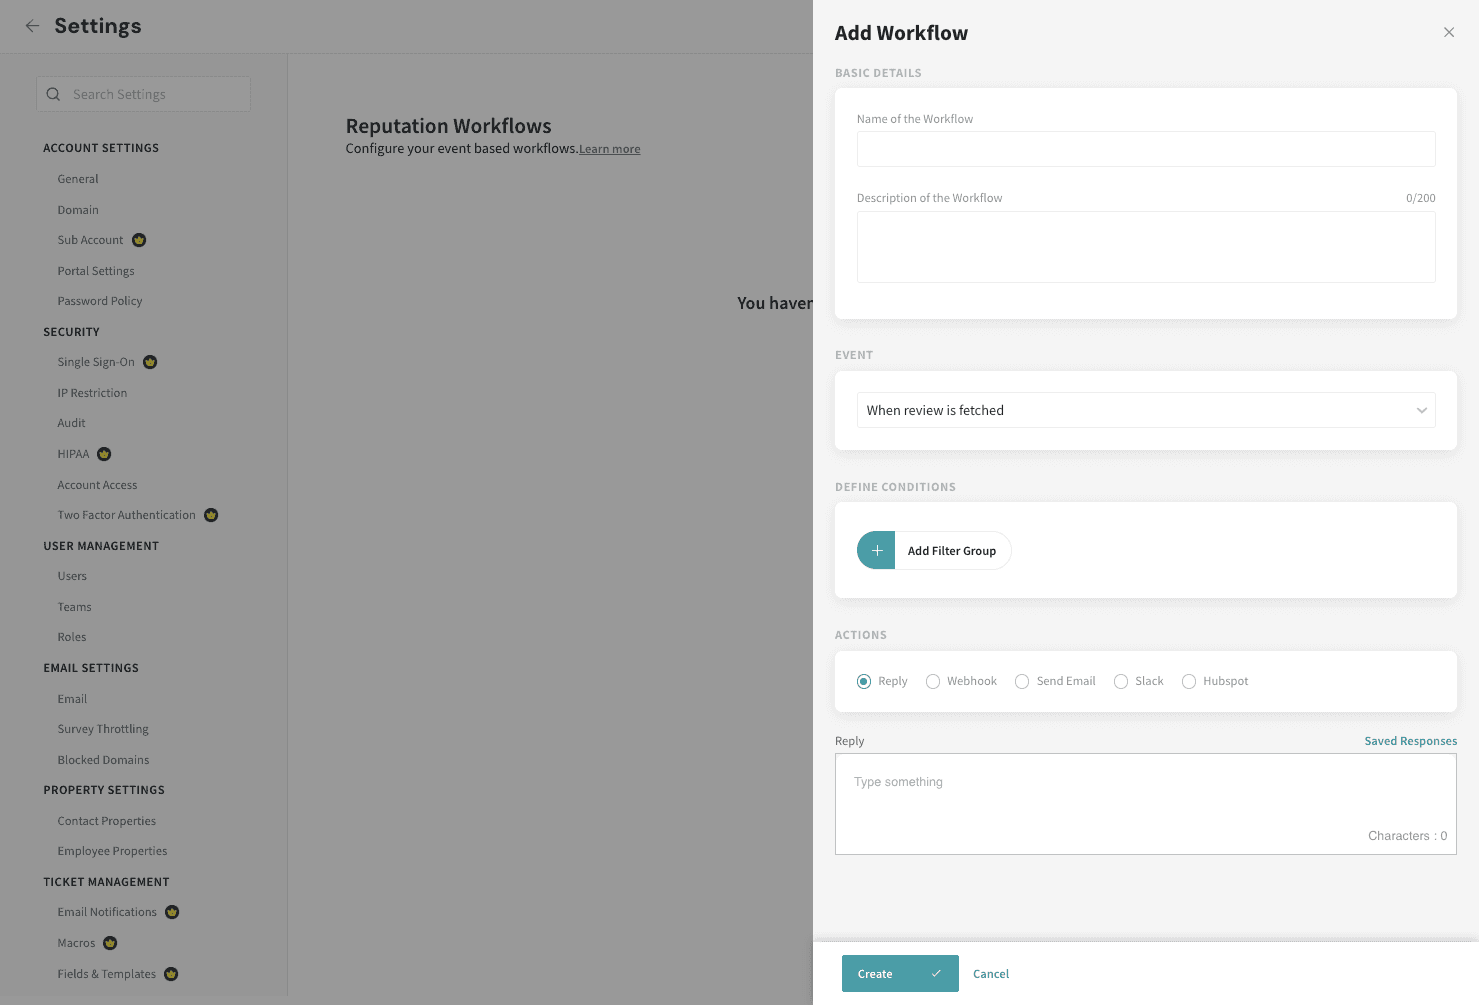
4. Enter a name and description for the workflow.
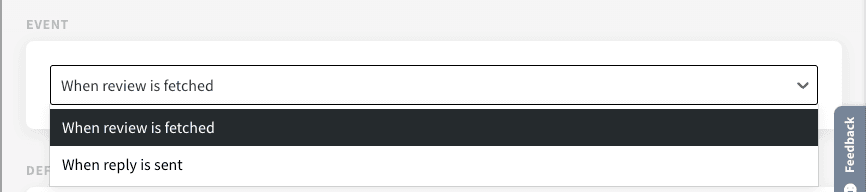
You can set the workflows based on events. Following are the events for which a workflow can be created.
When reviews are fetched from a platform, you can set conditions to trigger a workflow. It will help you reach out to customers accordingly and enhance internal communication.
When a reply is sent, set up a workflow to communicate with your internal team. Notify the right people to keep them informed about the online reviews and replies.
Let’s say we want to set up a workflow where you want to respond when the reviews are fetched from an online review platform to SurveySparrow.
5. Under Event, select the “When a review is fetched” option.
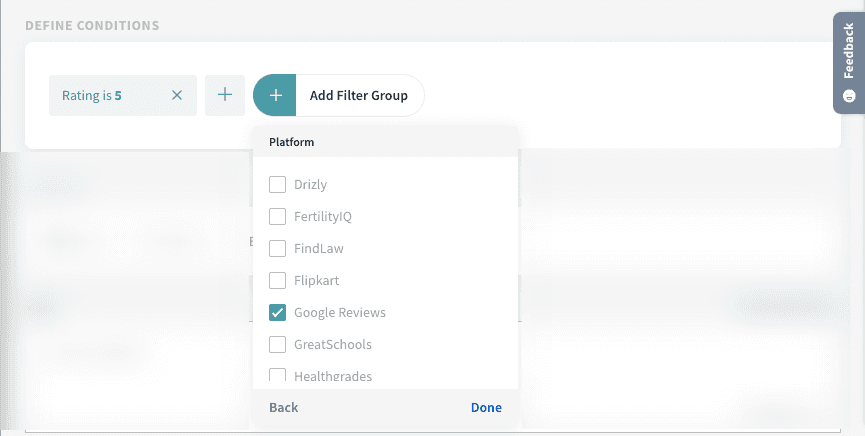
Now, let’s configure the conditions for which the workflow needs to be triggered.
6. Click on the “Add Filter Group” button. Choose “Review” and add different conditions. Let’s filter the Google reviews with 5-star ratings.
Based on set conditions you can trigger different actions from SurveySparrow.
The range of action includes,
In this article, we'll explore two actions: creating replies and HubSpot tickets.
In the case of replies, let’s say you want to acknowledge every delightful review with a standard reply.
7. Under Actions, select the “Reply” option.
8. Enter the reply you want to add when the workflow triggers. You can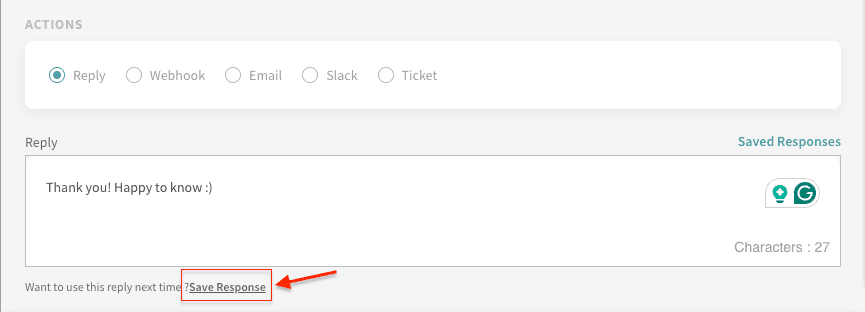
choose to save the reply by clicking Save Response.
9. Give a name to the response and save it by clicking on the “Tick” icon.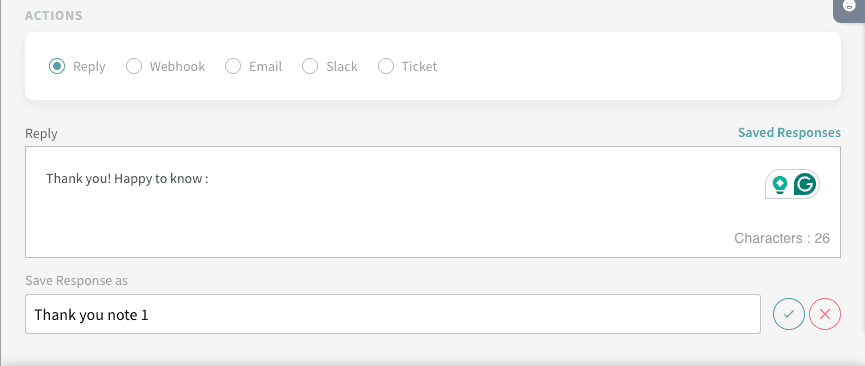
From now on, when you want to reply to a review, you can click on “Saved Responses” to choose from different standard replies.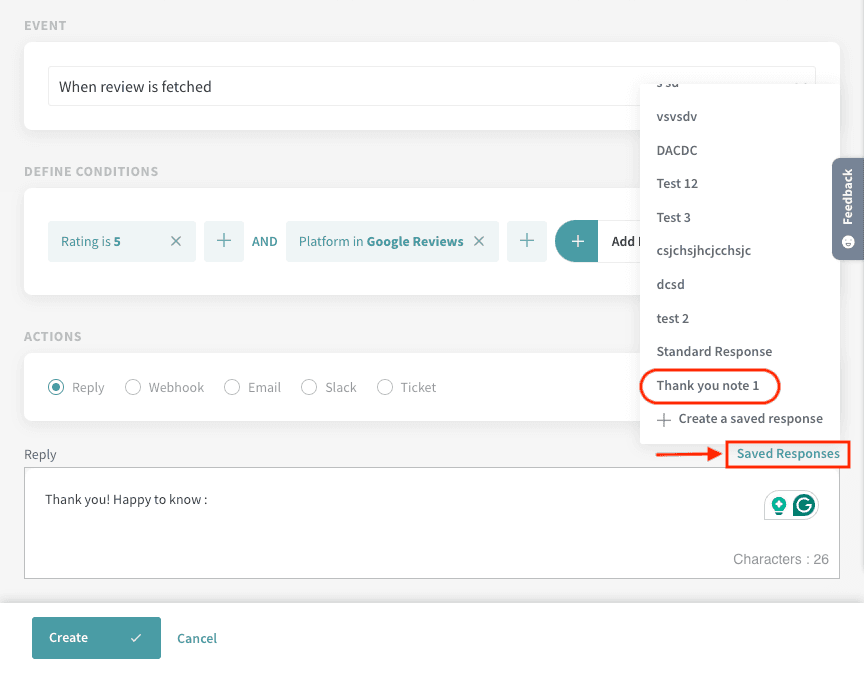
10. Click “Create” to complete setting up the workflow.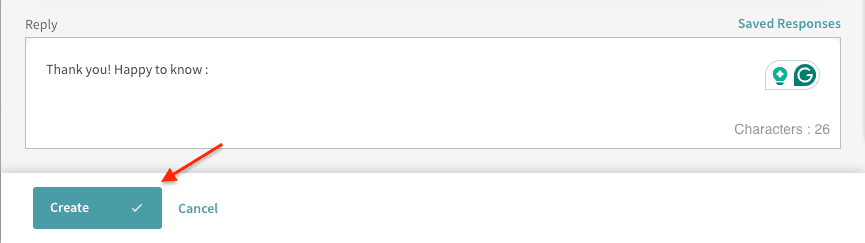
That’s it. The workflow is set up successfully!
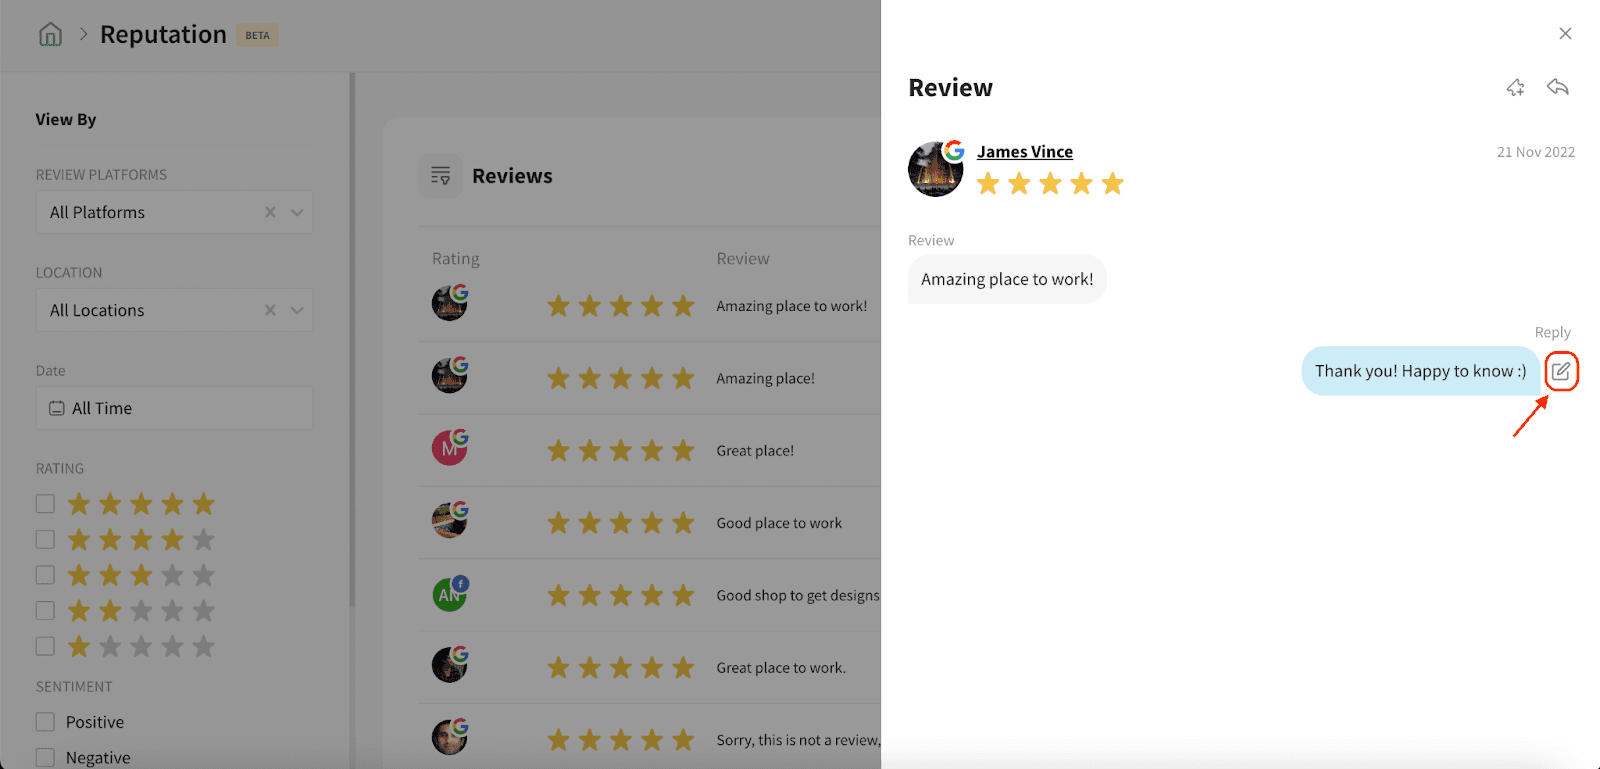
Now, when a user provides a Google review that matches the conditions set, the workflow will be triggered.

Under the Reviews section of Reputations management, you can view the review and the corresponding reply. If in case you feel like editing the reply, you may click on the edit icon to update.
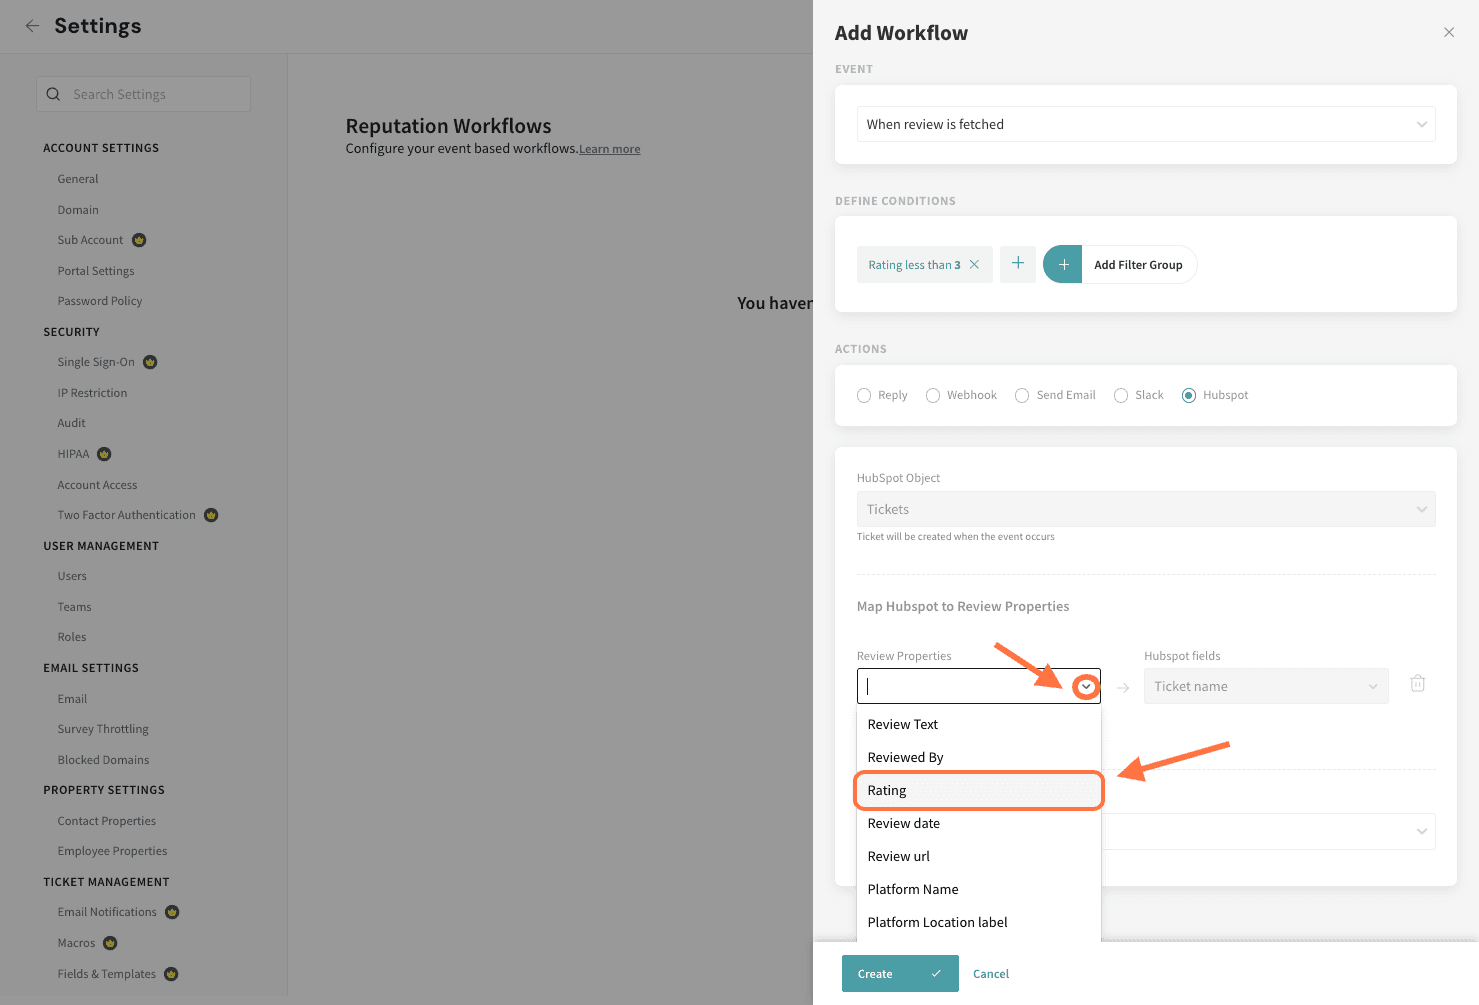
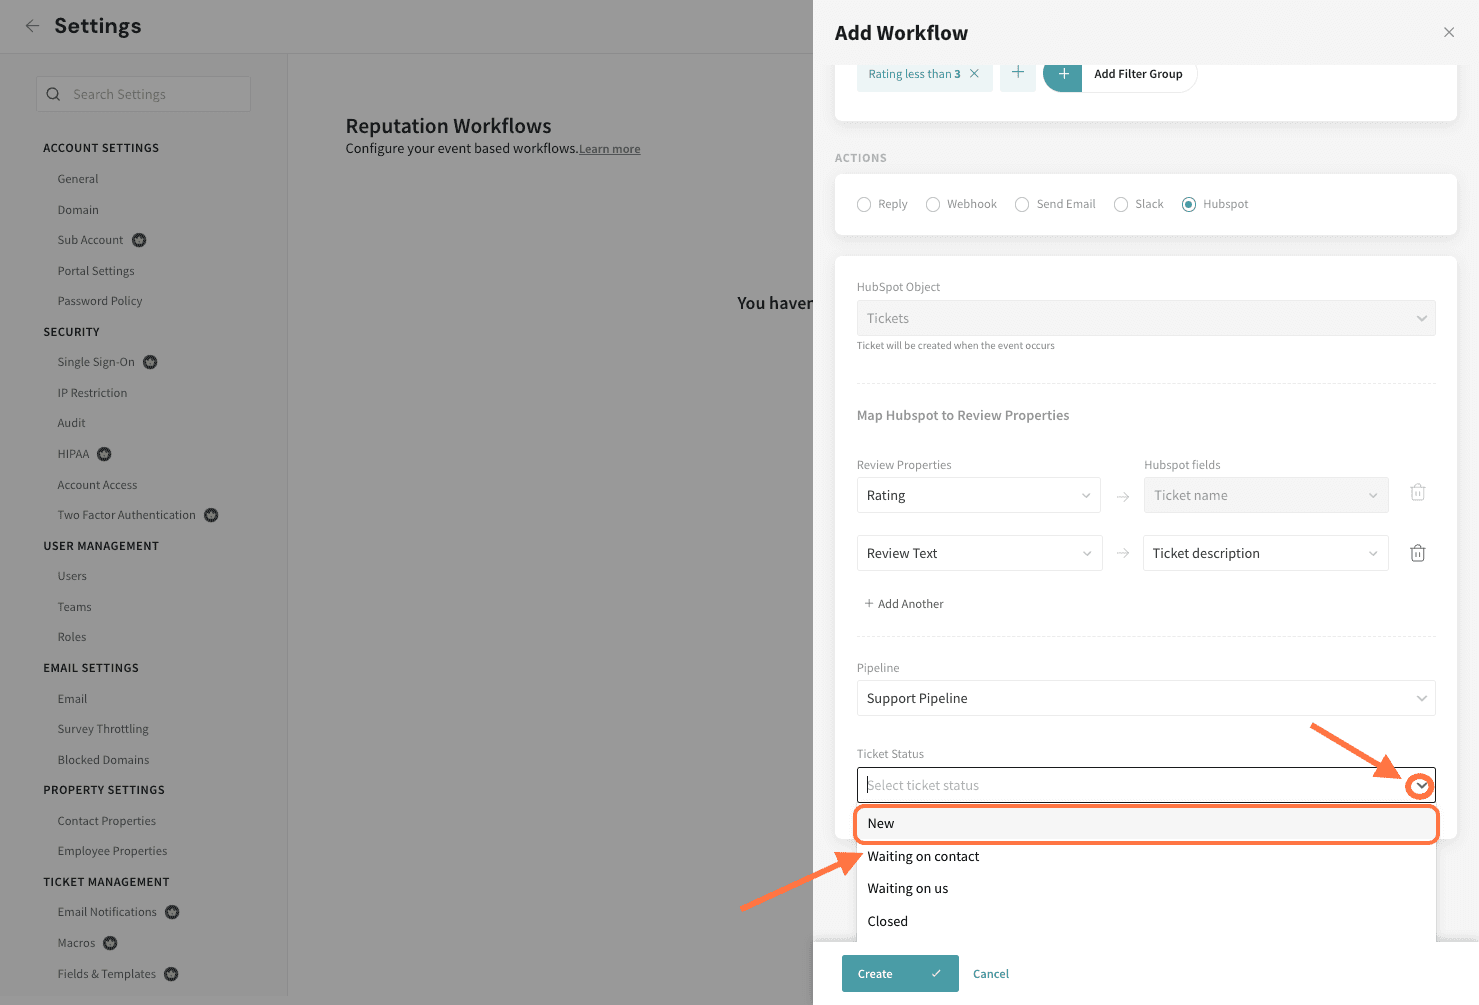
11. Next, let's look at HubSpot. Here, a ticket is created when a review meeting the event criteria is posted. You can choose which of the review data is mapped to which HubSpot fields. However the first mapping is to the Ticket name field in HubSpot by default. Click on the drop-down menu under Review Properties to choose a parameter.
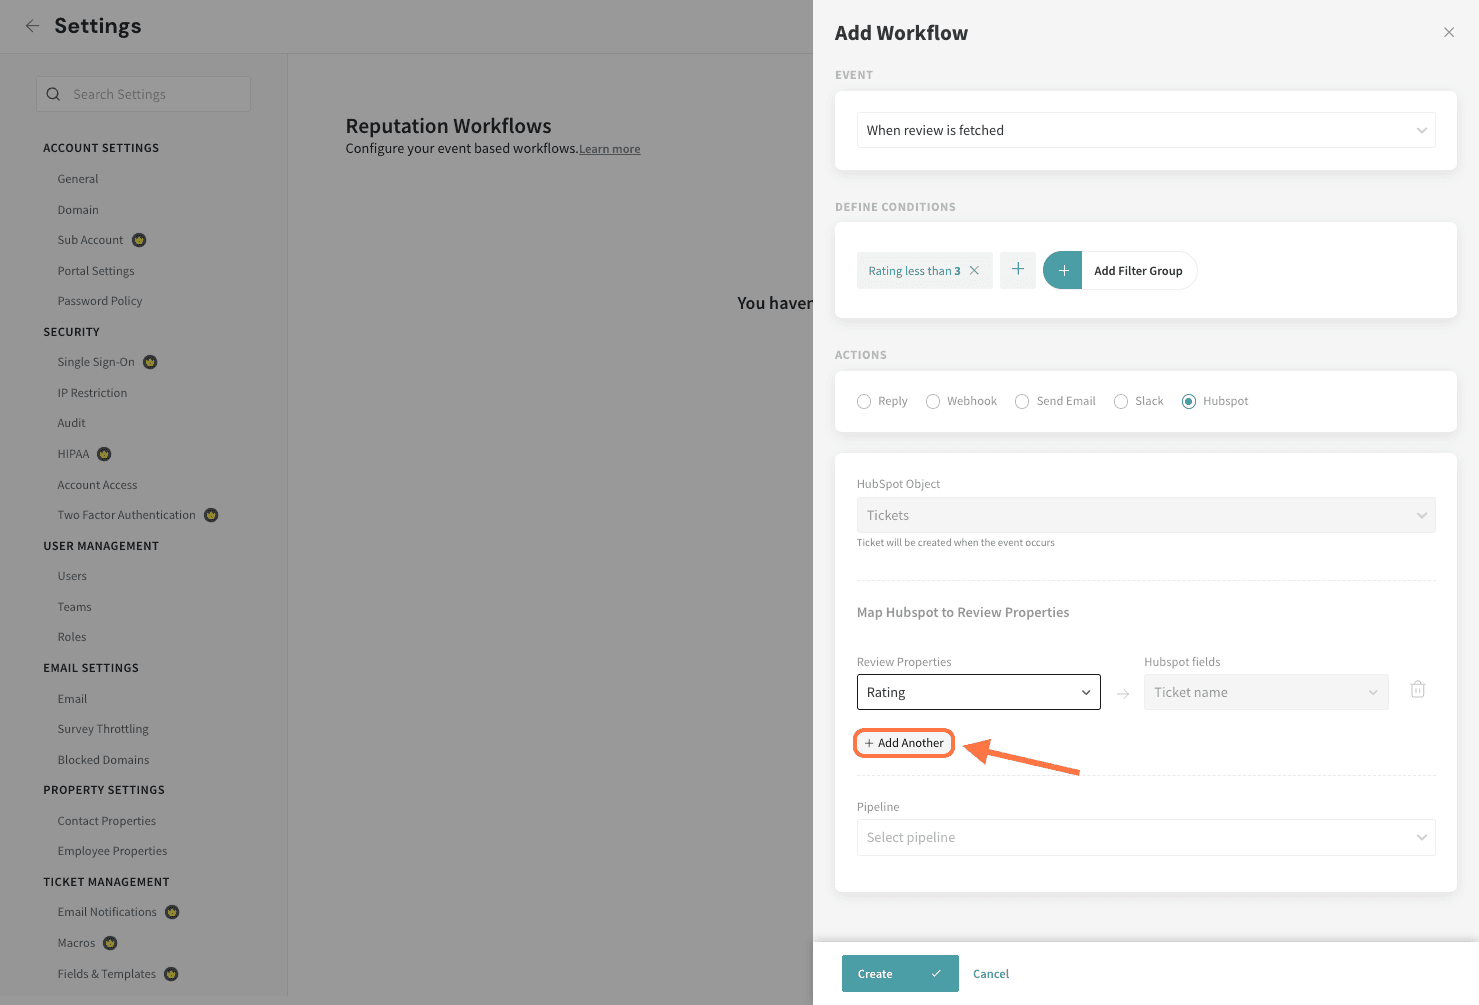
12. To create additional mappings, click on Add Another.
13. If you have multiple ticket pipelines, you can also assign a specific pipeline and ticket status, by clicking on the respective drop-downs for each (first Pipeline, followed by Ticket Status).
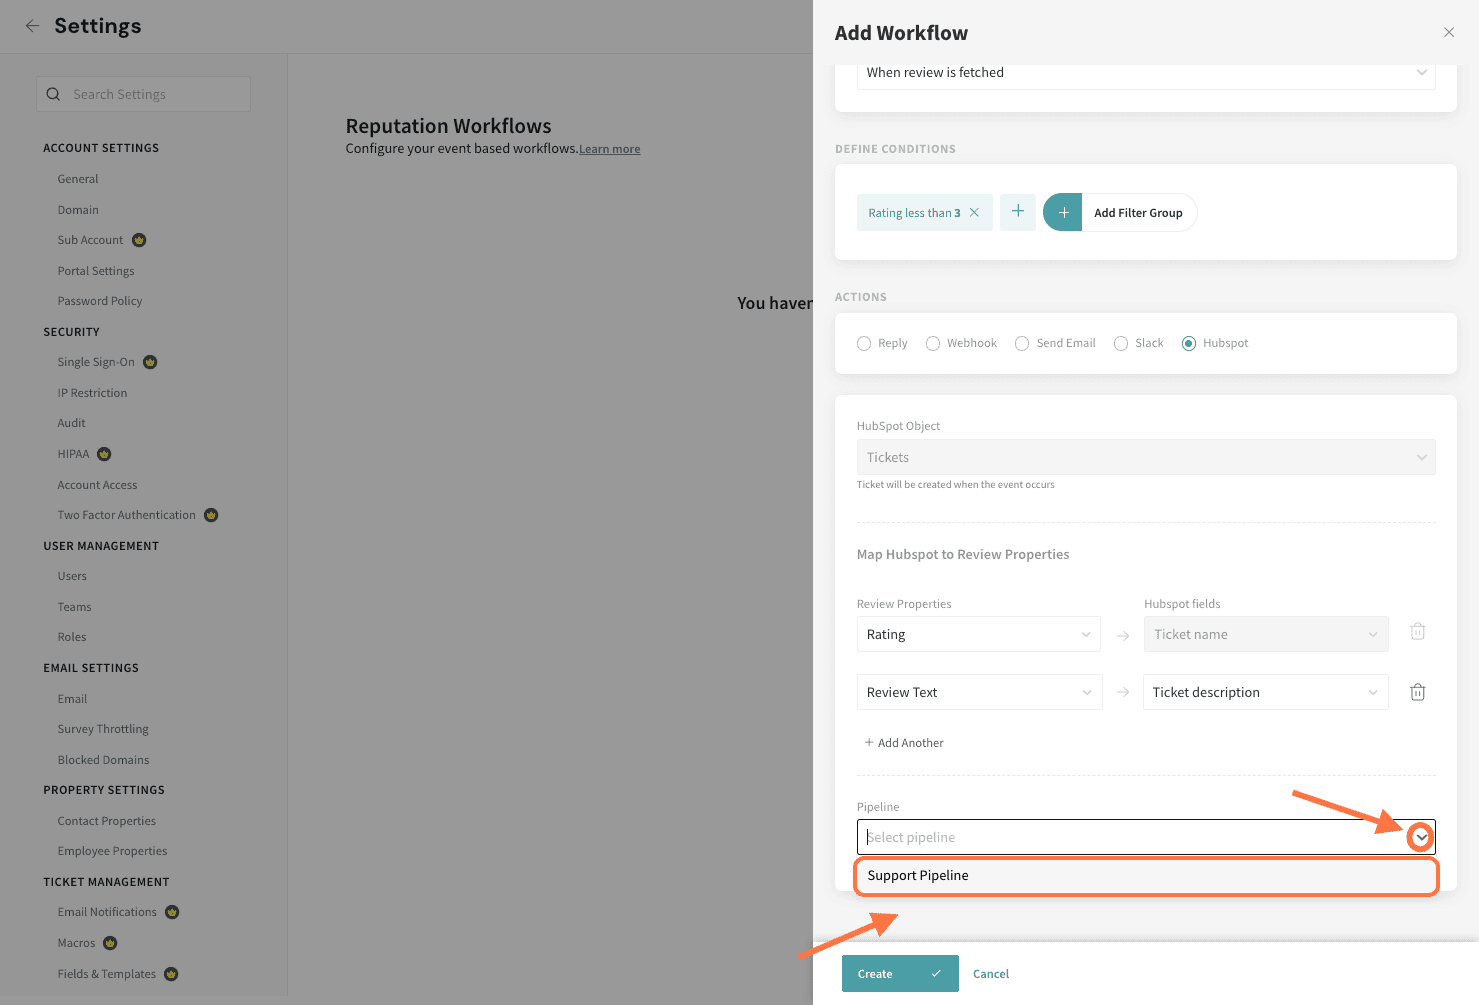
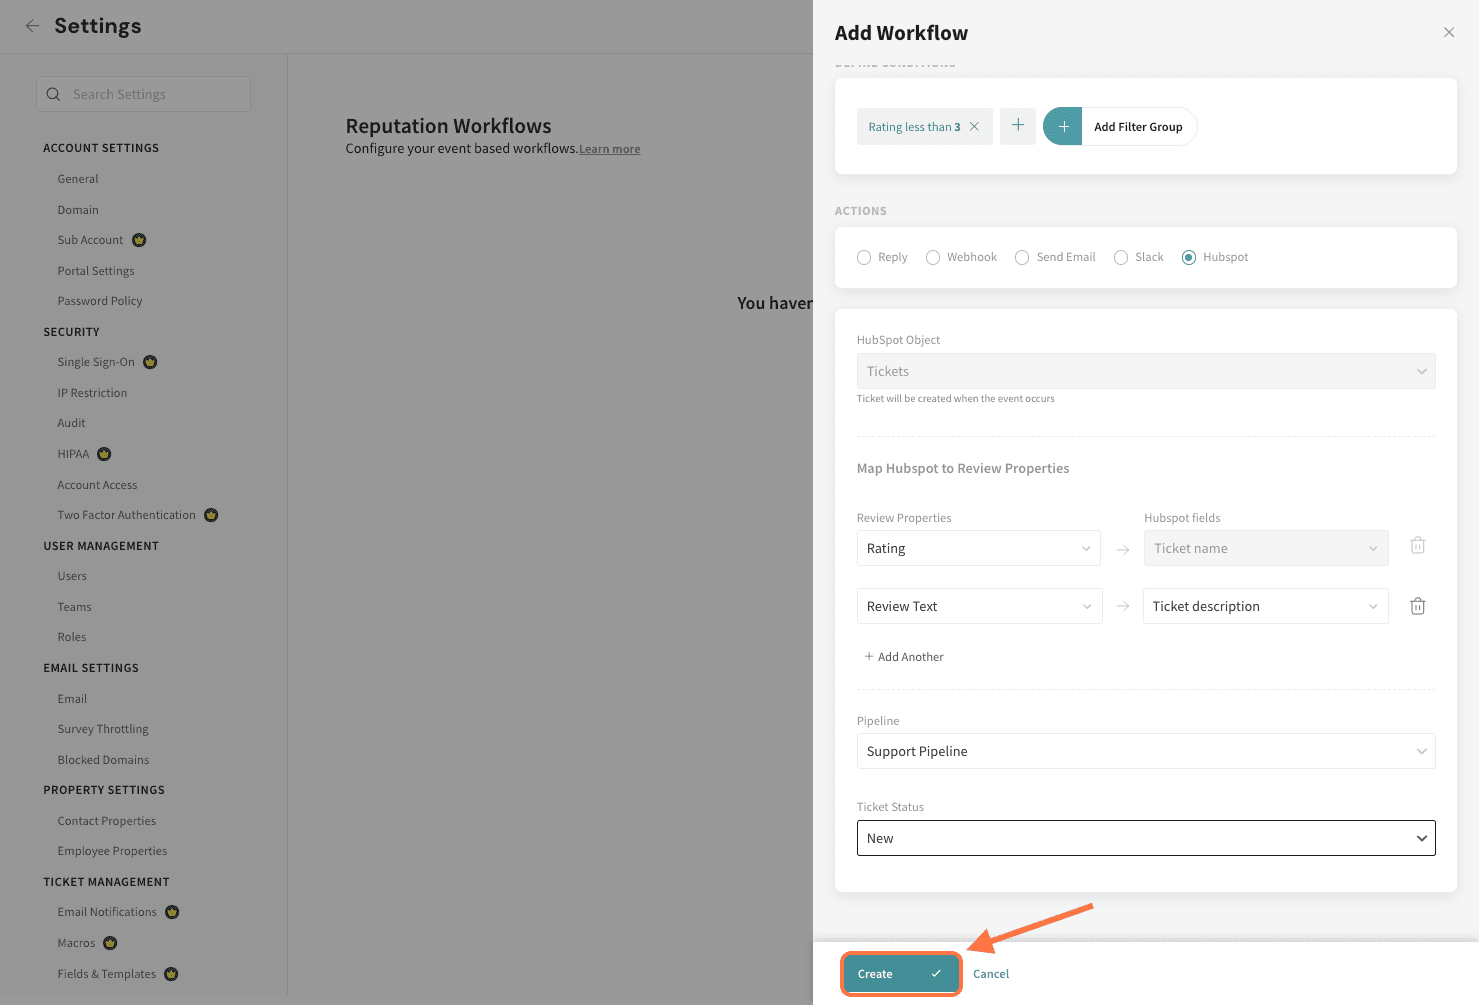
14. Finally, click on Create to save the workflow.
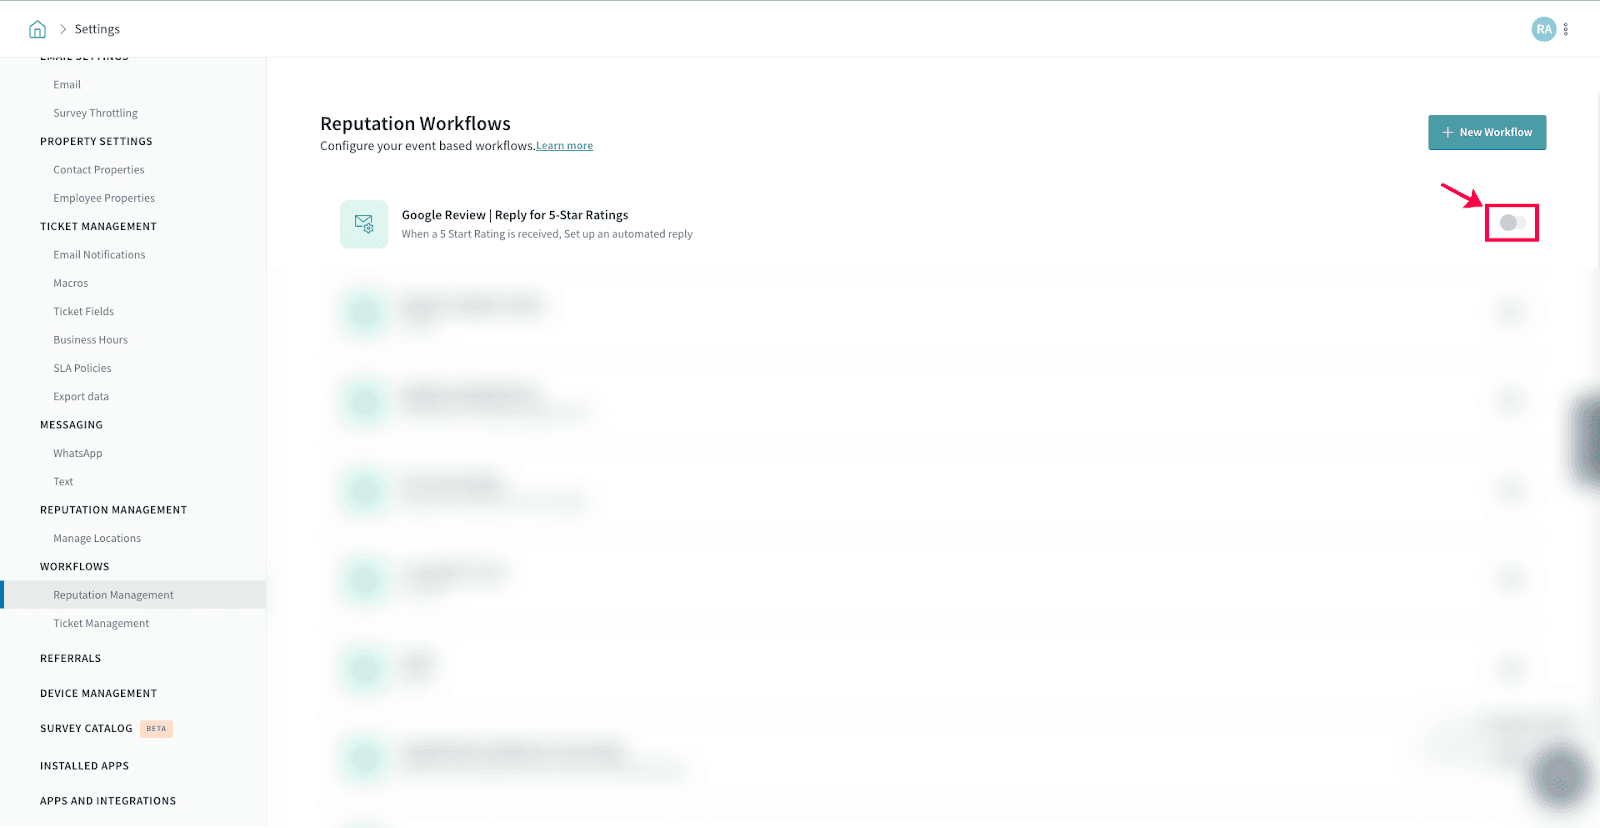
1. Click on the “Settings” icon on the home page.

2. Under “Workflows”, select “Reputation”.

3. Disable the toggle of the corresponding workflow.
Well, that’s about it! You can now easily set up workflows and use them to manage online reviews with ease.
Please reach out to us if you have any questions. We are just a chat away!
Powered By SparrowDesk