Search
Quota Management lets you restrict survey responses for every survey question based on criteria and the filter group you set. You can further redirect users to your preferred landing page if the quota is breached.
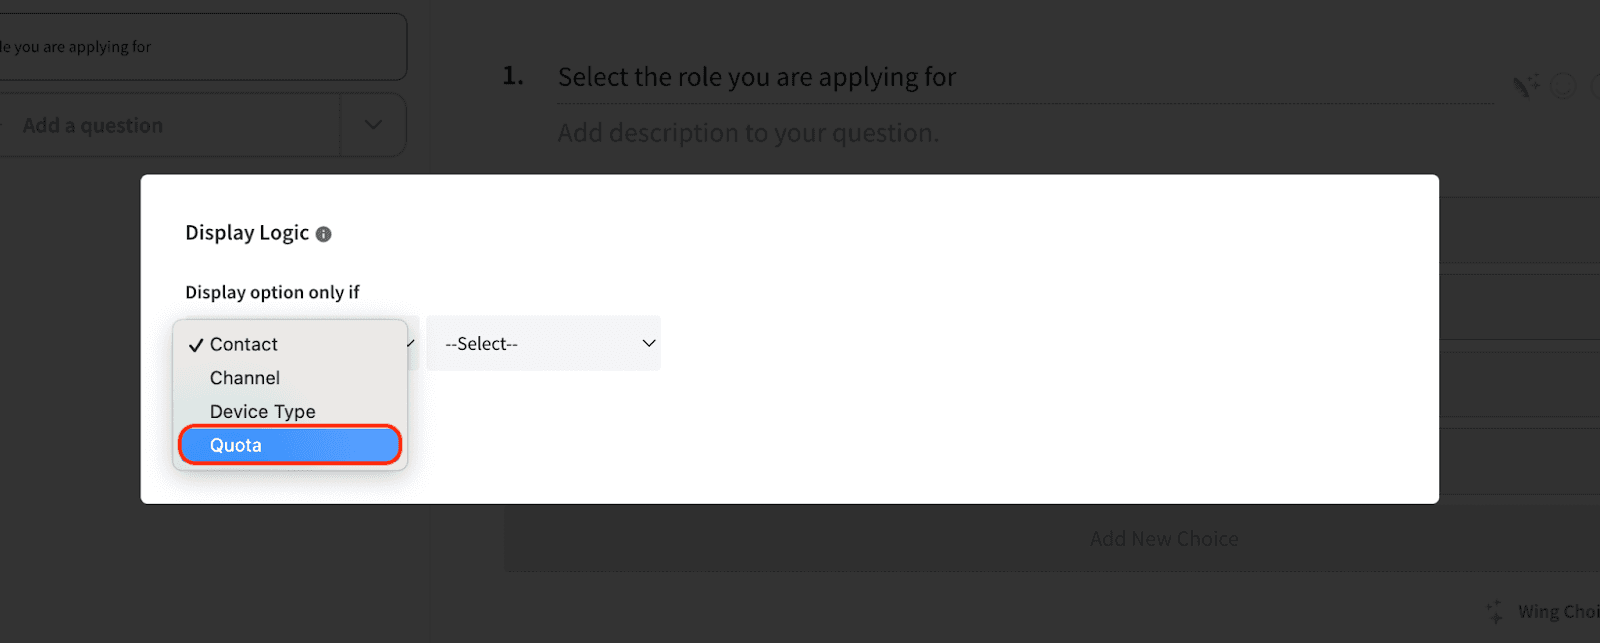
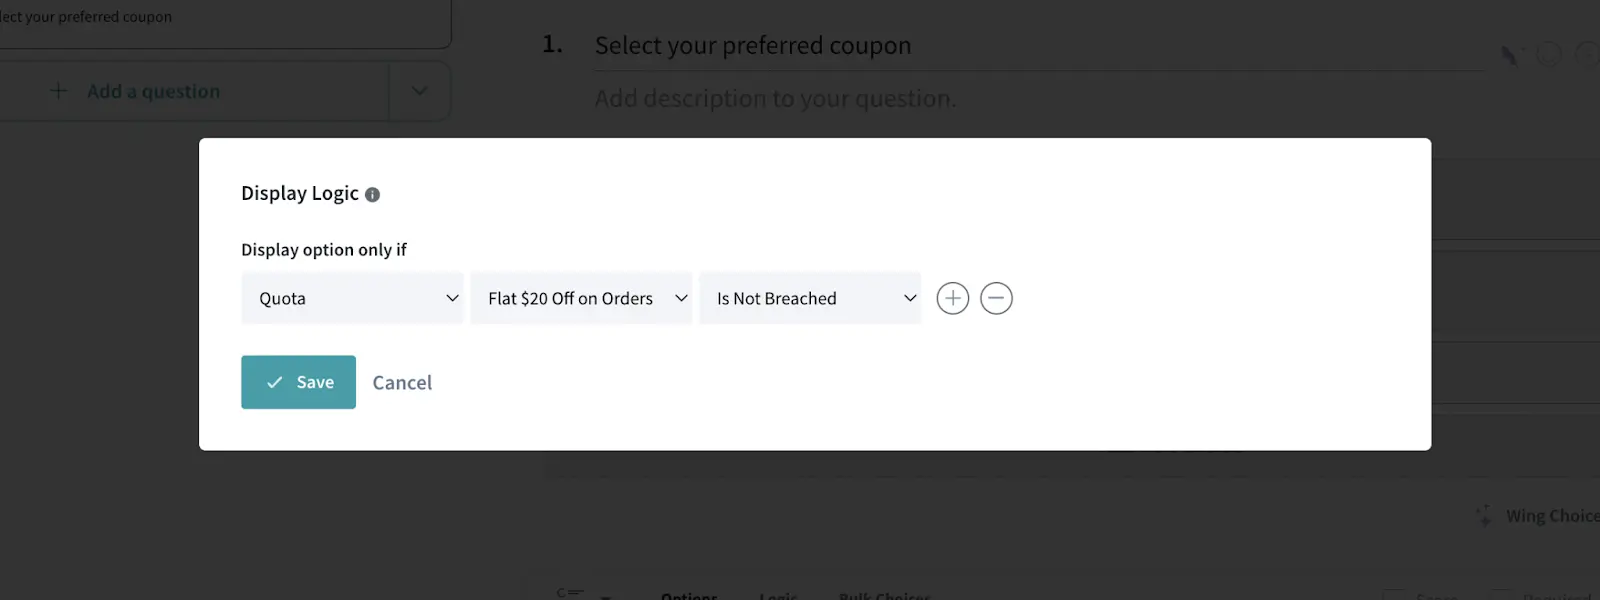
Choice Display Logic allows you to control which response options appear in a survey based on set conditions. If a specific response reaches its quota, that option will no longer be visible to participants. This ensures that respondents only see available choices
Let’s see how you go about setting Quota Management.
1. After creating your survey, navigate to the Configure settings on your survey builder.
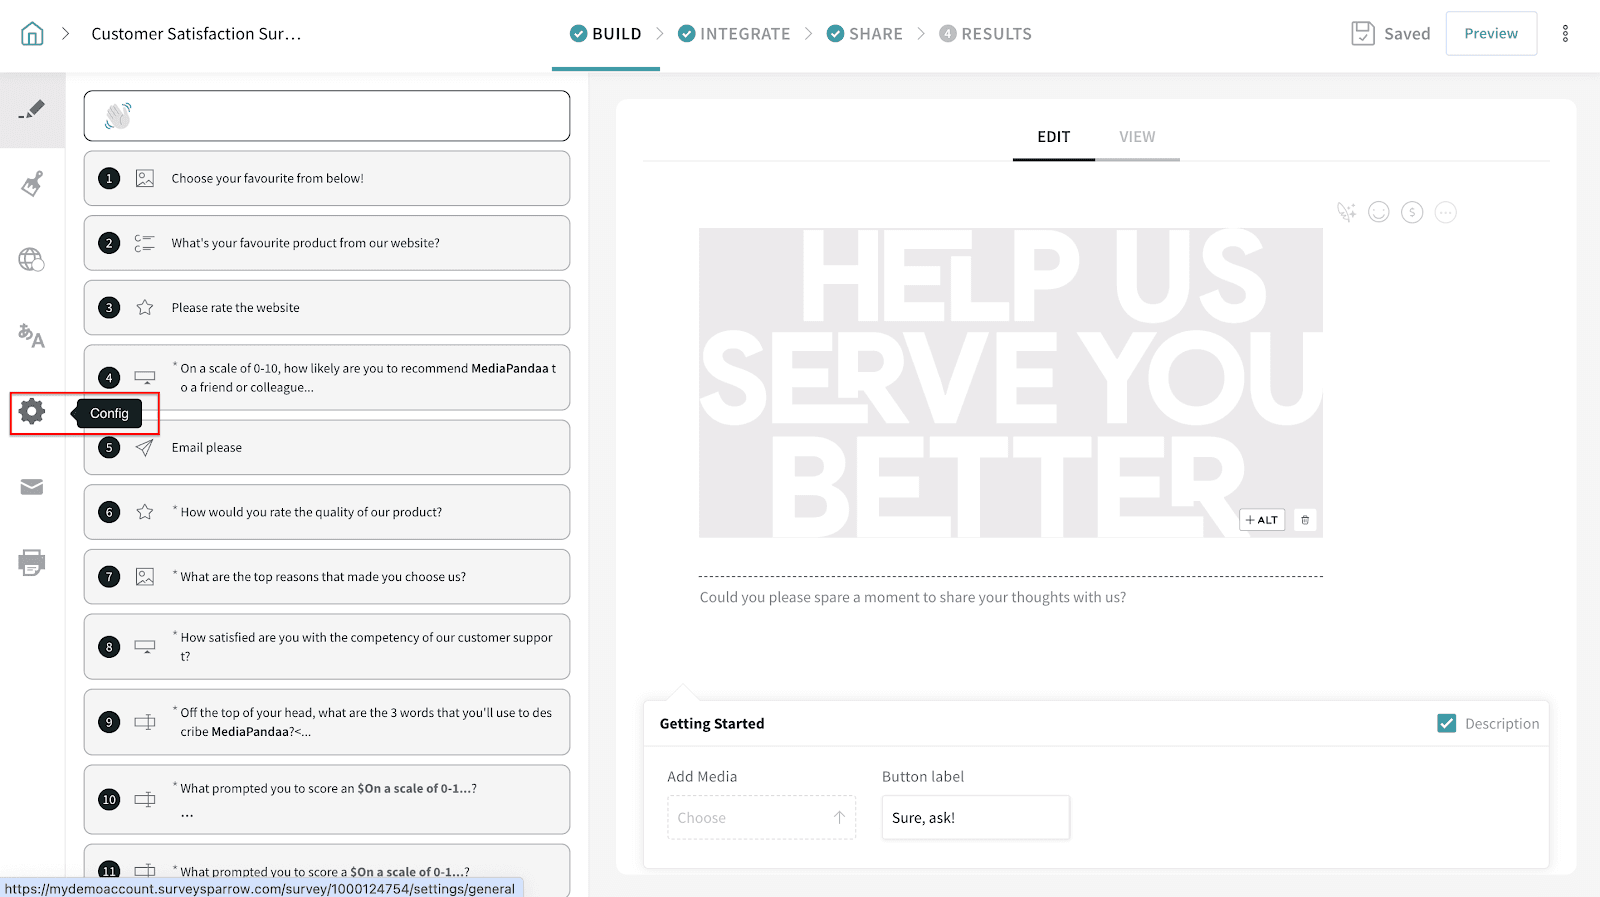
2. Scroll down to enable quotas under Set Quotas.

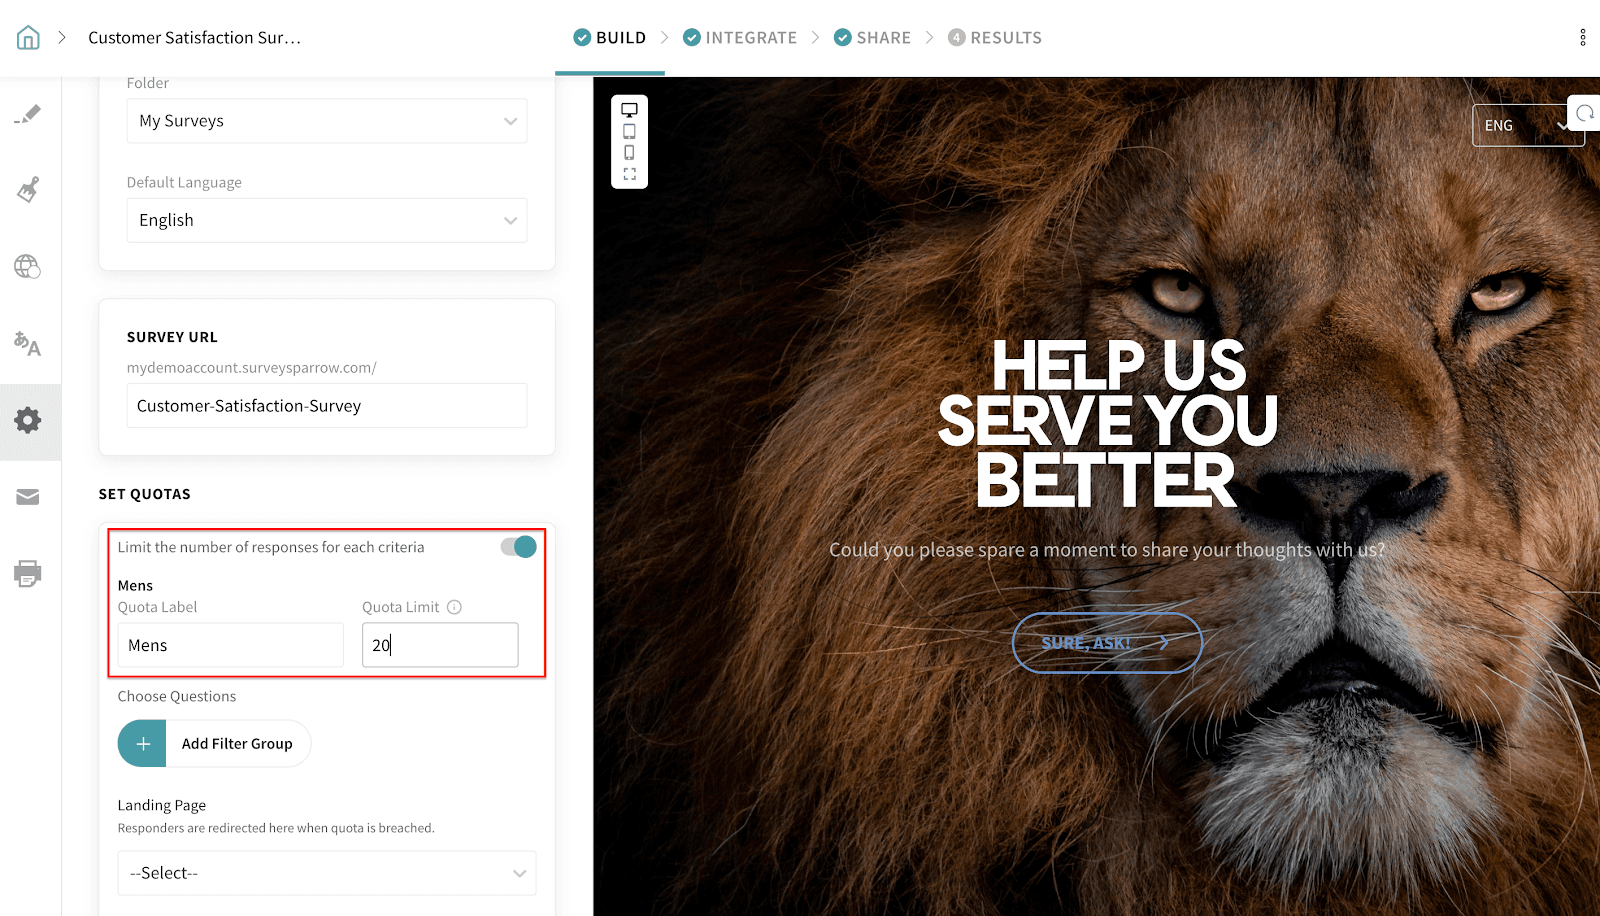
3. Click on "Add Quota" to create a new quota.
4. Name the Quota and set the Quota Limit.
5. Create a new filter group by clicking on Add Filter Group. The available filter groups are:
a) Question & Answer
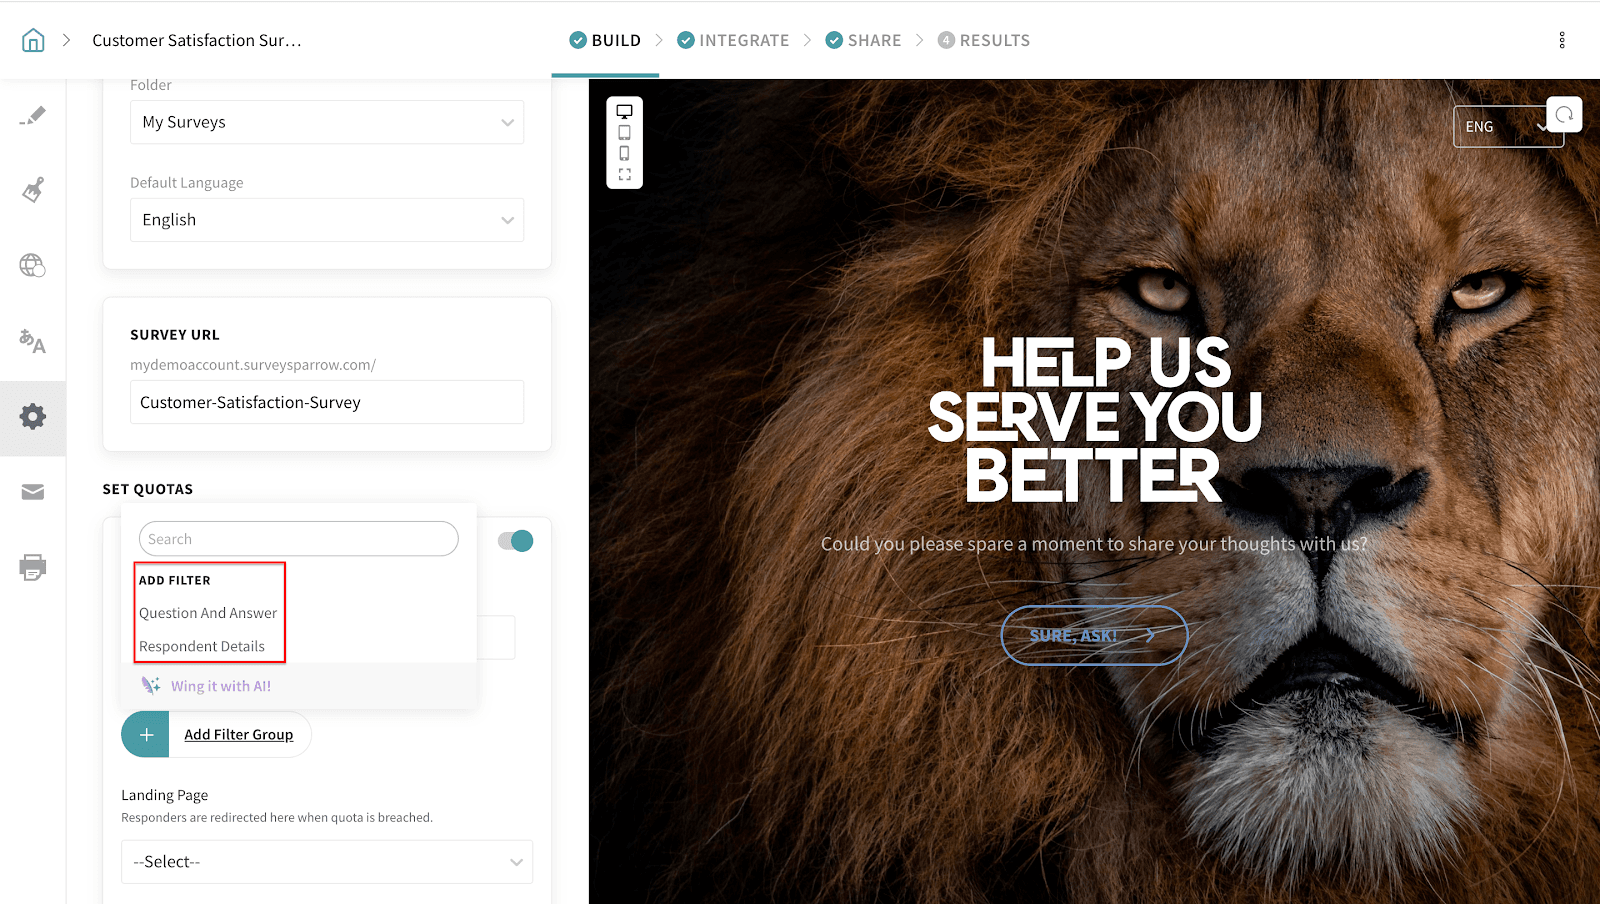
b) Respondent details which include Name, Email, Phone, Mobile, Job title, Language & Created date
c) Custom variable
d) Expressions
Select the required filter group and set conditions as to when you want the survey to limit the submissions.
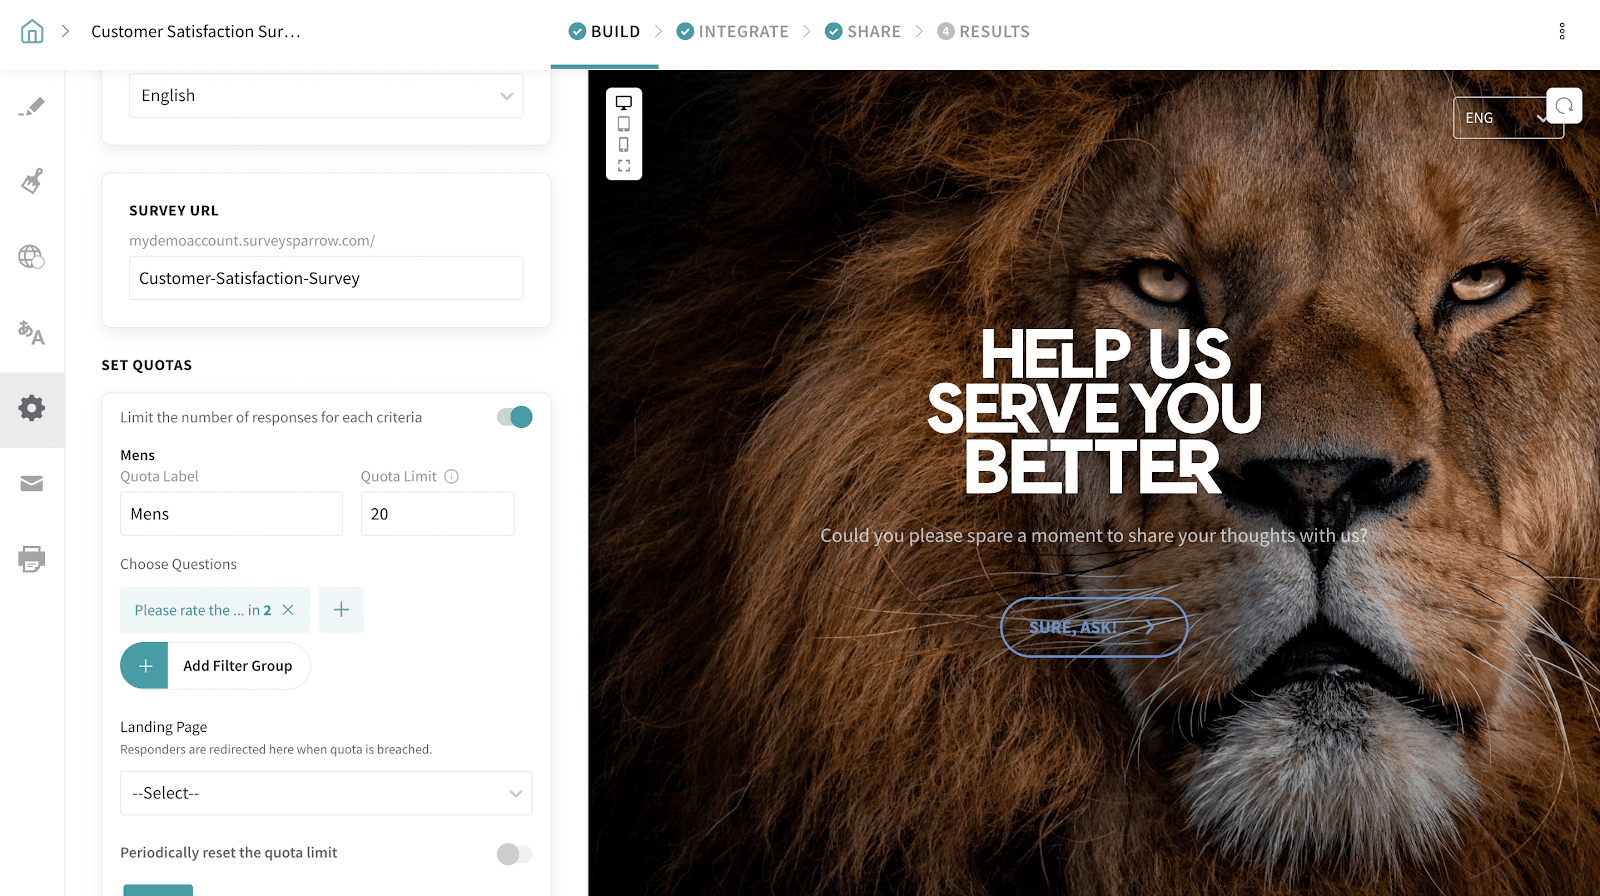
6. Select the landing page and redirect the respondents to that page when the quota is breached.

7. Once everything is done, click Save to save all the details.

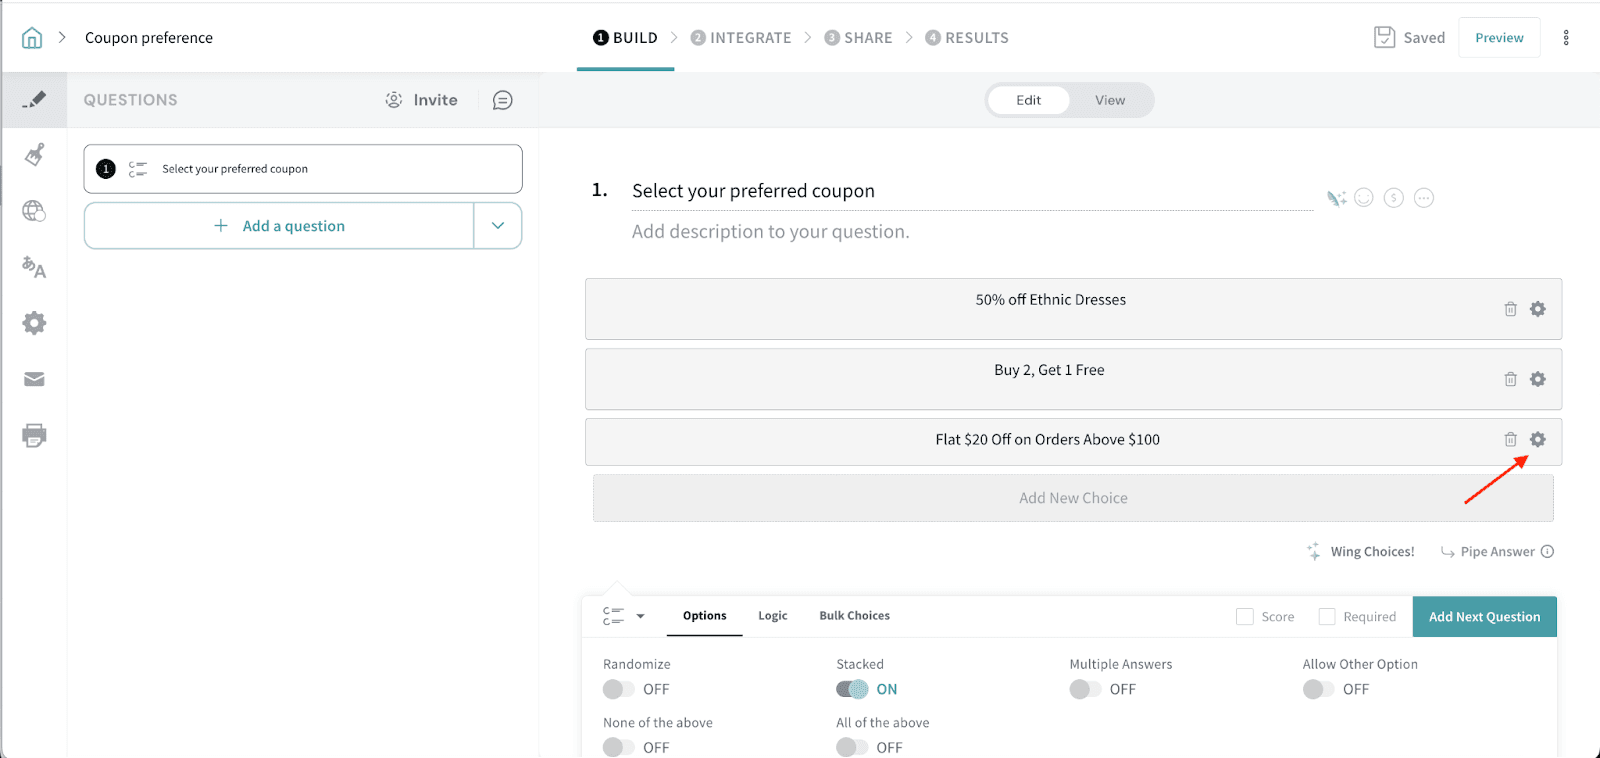
Now lets look at Choice Display Logic
Let's take an example to understand better.
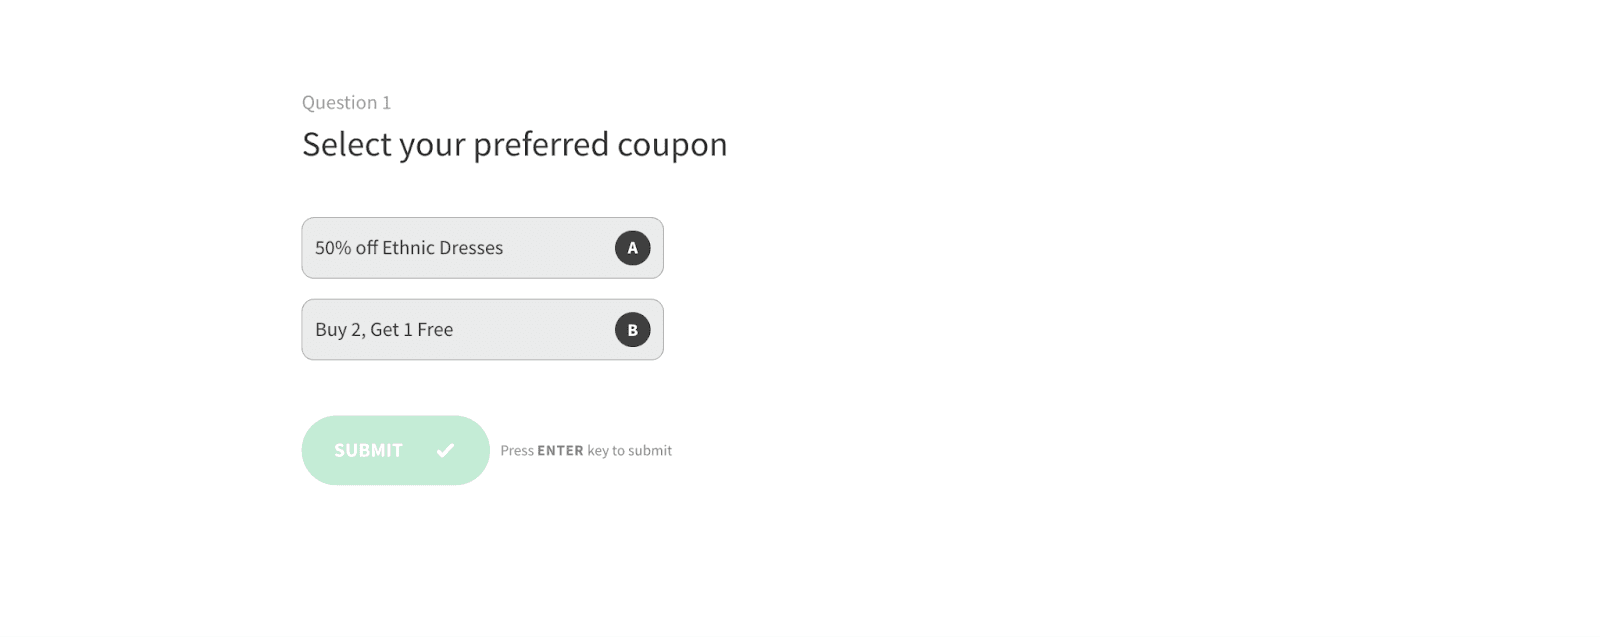
A fashion brand is running a limited-time sale and offering three exclusive coupons- 50% off Ethnic Dresses, Buy 2;Get 1 Free and Flat $20 Off on Orders Above $100.
Each coupon is available to the first 50 customers on a first-come, first-served basis. To claim a coupon, customers must sign up quickly and select their preferred offer. Once a coupon reaches its limit, that option will no longer be displayed, ensuring only the remaining available offers can be chosen
Powered By SparrowDesk