Sandbox is a safe, isolated testing environment linked to your main SurveySparrow account. It lets you clone surveys, experiment with questions, logic, workflows, and channels, and then push only the changes you want back to your live account, without any risk to your production data or live responses.
Some common use cases include:
Testing new question logic or branching without disrupting active surveys
Testing new features in a safe environment before activating them in your live account
Trying out workflows and automations before enabling them in production
Training team members in a safe environment
Reviewing surveys internally before publishing
How Sandbox works
Before you get started, here's what's important to know:
Your live account data will not be affected while using Sandbox.
Any changes made in Sandbox stay only in Sandbox until you choose to sync or deploy them.
Surveys, responses, and workflows created in Sandbox will not appear in your live account.
This means you can build, test, and explore freely. Nothing goes live until you decide it does.
Enable Sandbox via SparrowLabs
Sandbox is currently available as an early access feature through SparrowLabs. To enable it, follow these steps:
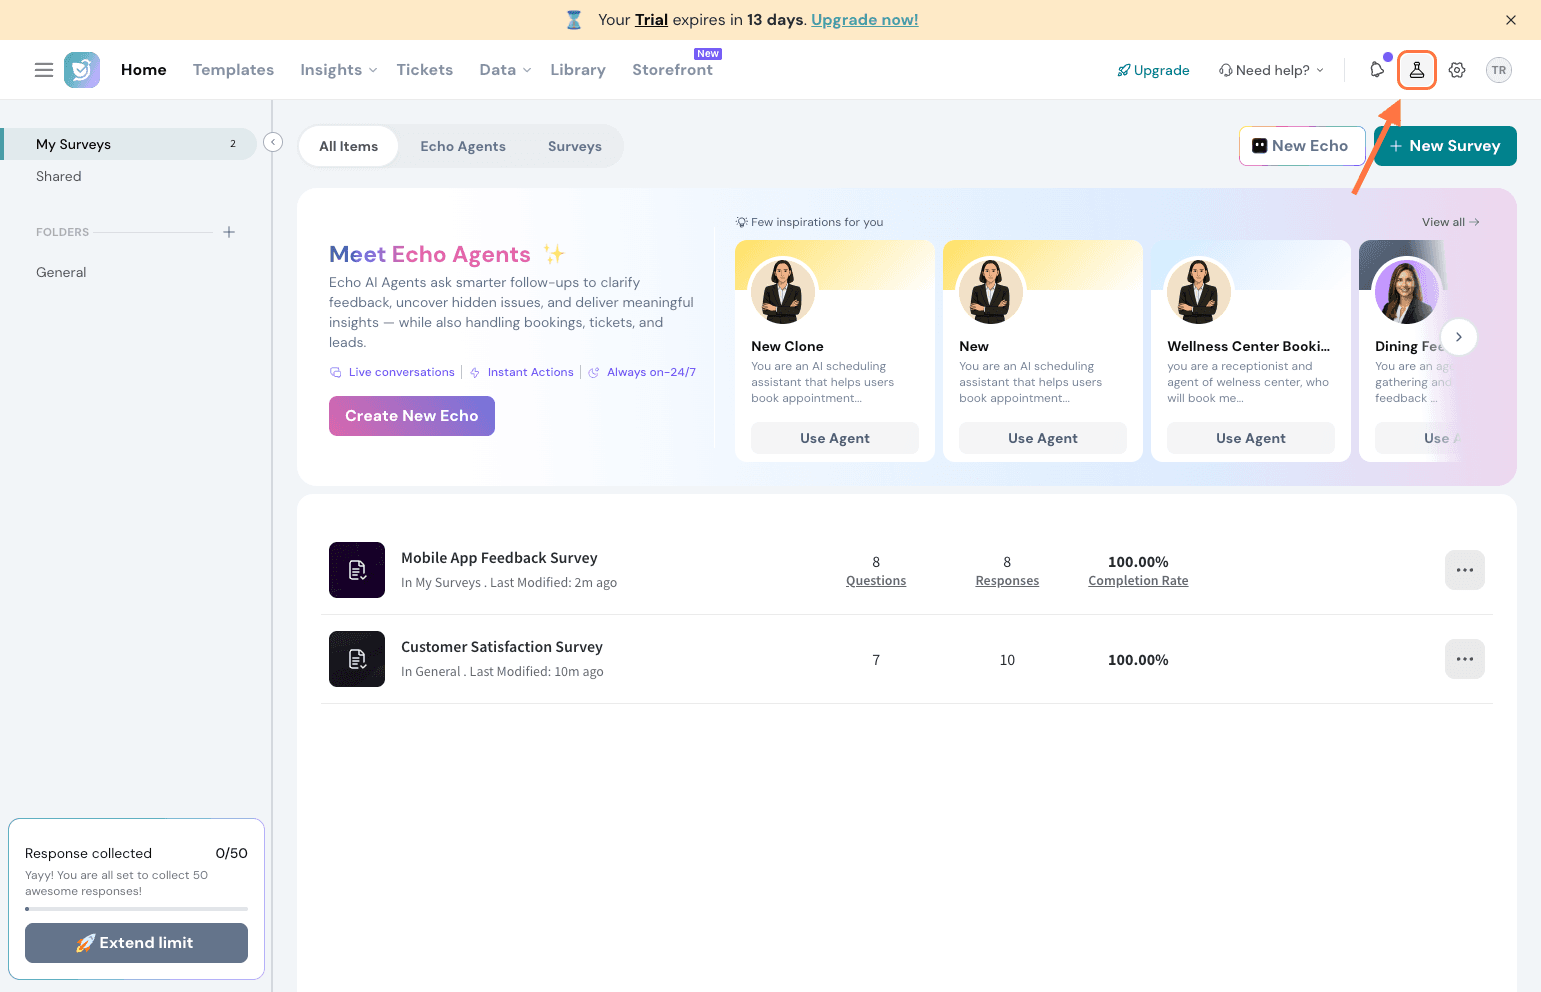
Log in to your SurveySparrow account and click on the SparrowLabs icon in the top right corner.
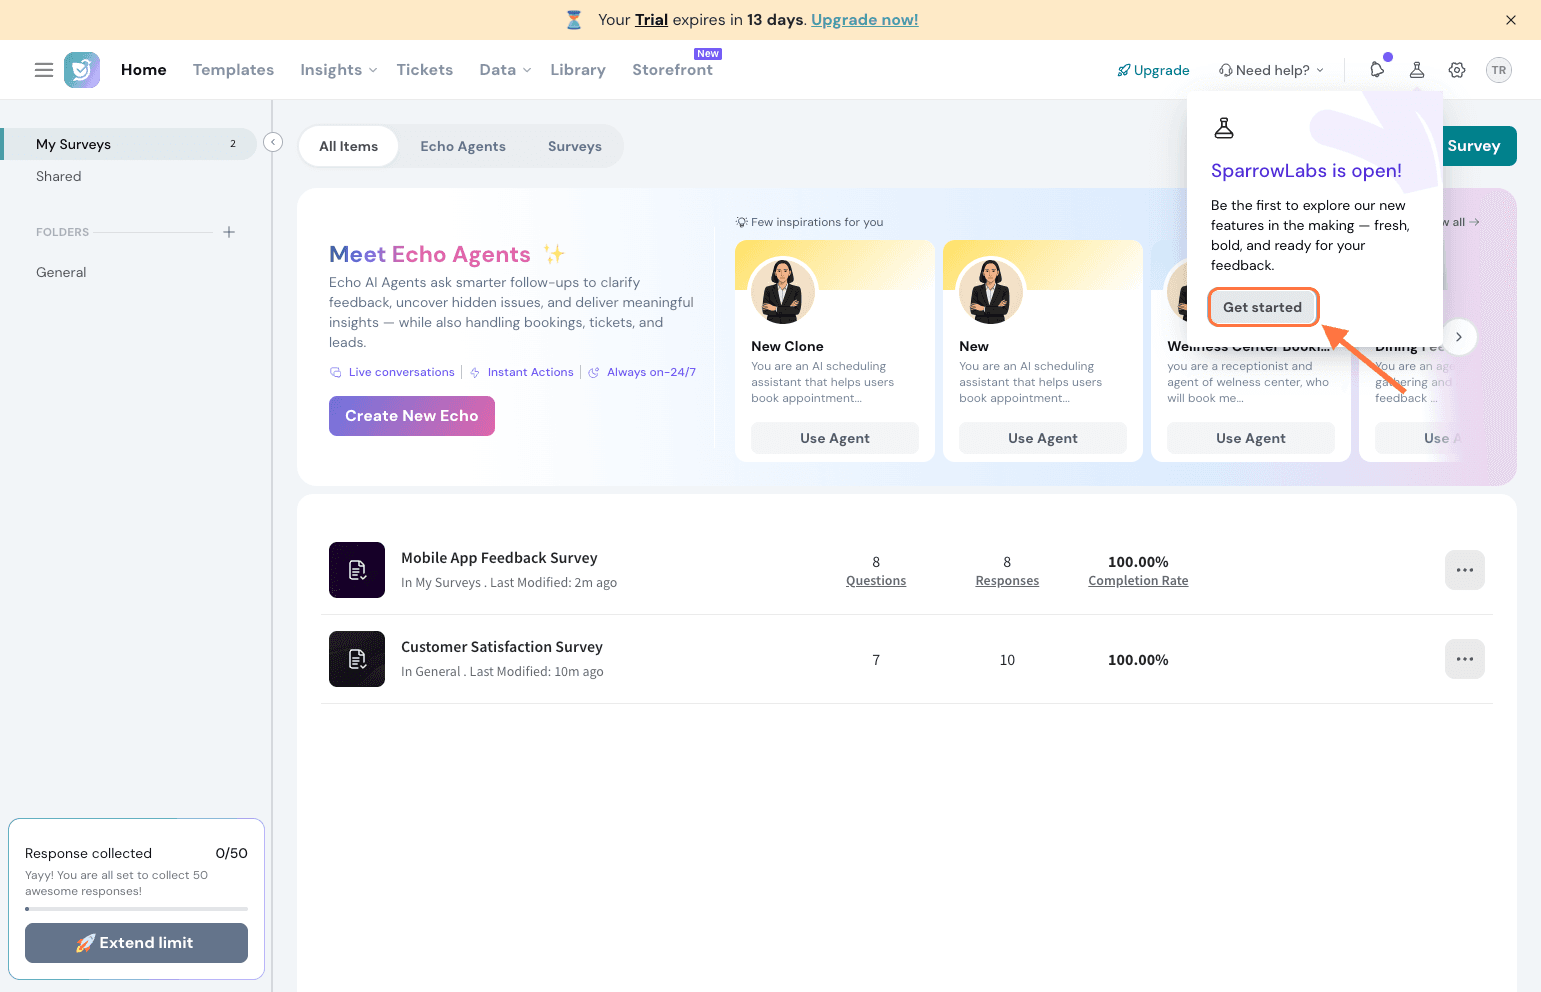
Click Get Started.
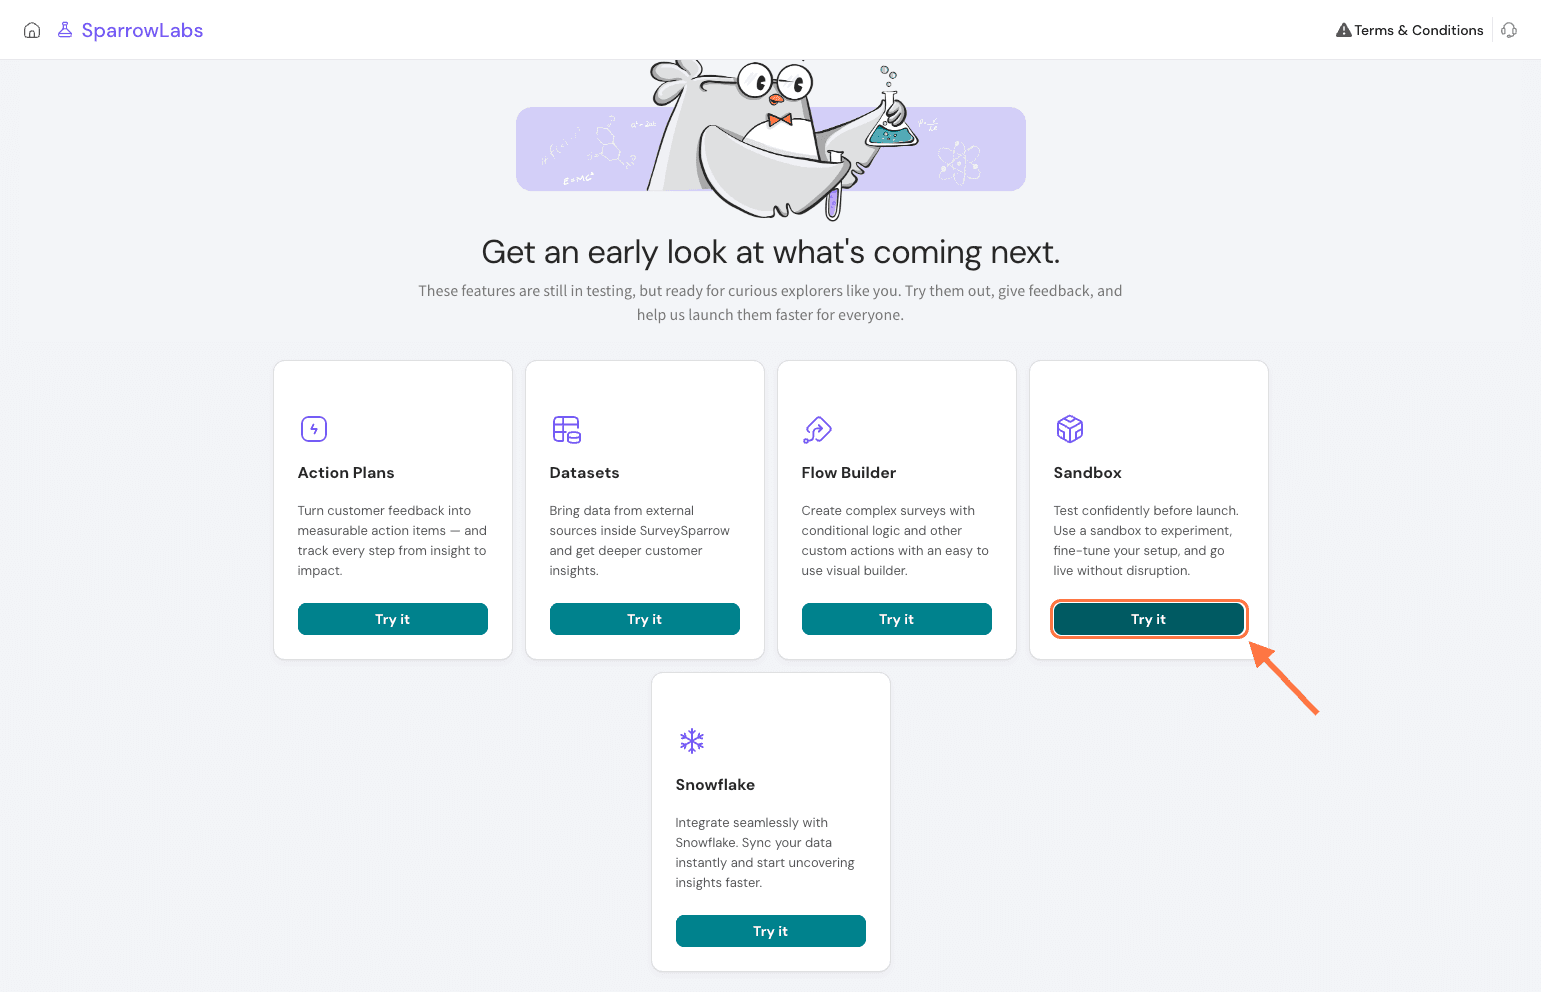
You'll find the Sandbox card in the list. Click Try it.
A pop-up will appear. Select the checkbox to accept the terms and conditions and click Request Access.Our support team will review your request and enable Sandbox for your account.
Access your Sandbox account
Once Sandbox has been enabled for your account, here's how to access it:
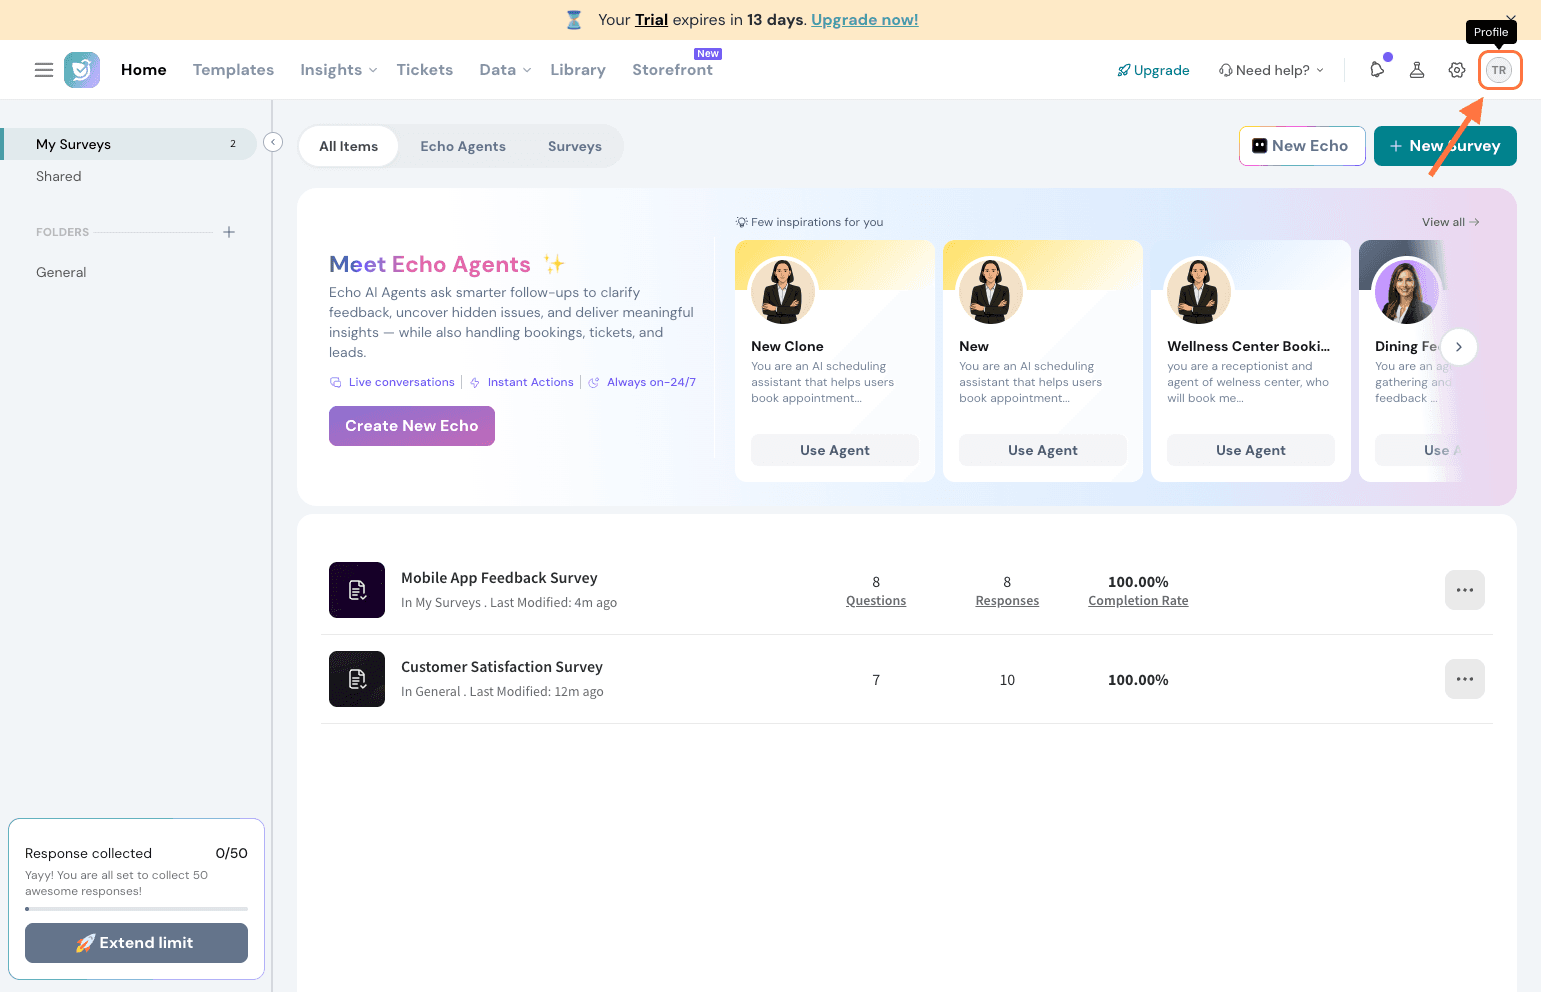
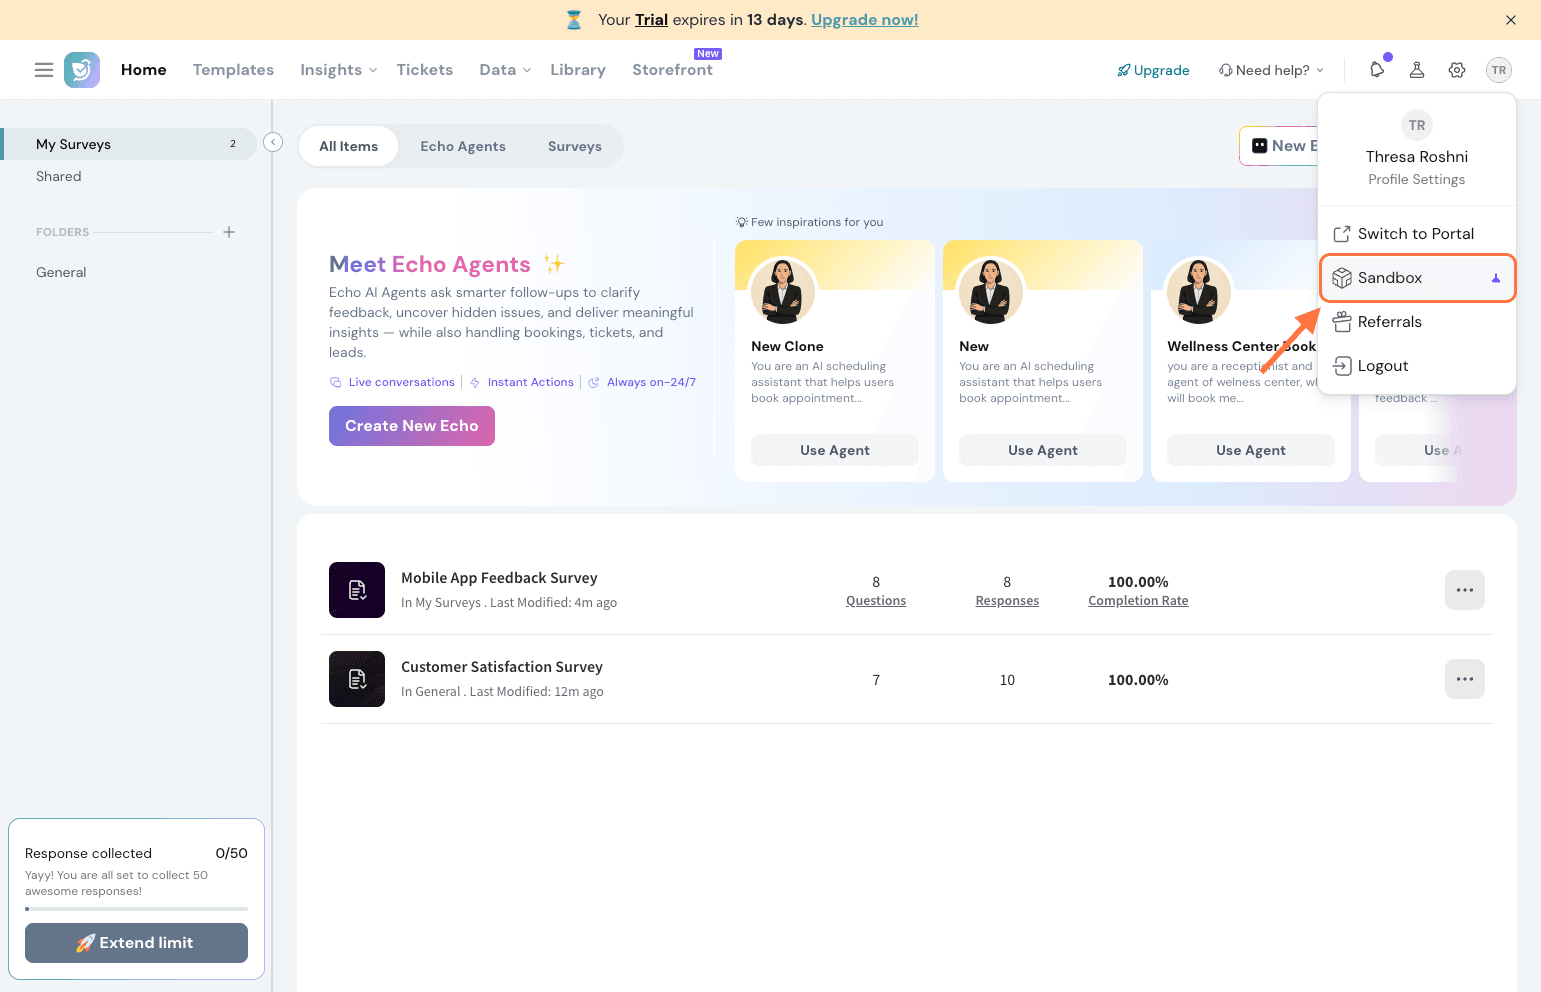
Click on your profile icon in the top right corner.
Select Sandbox from the options.
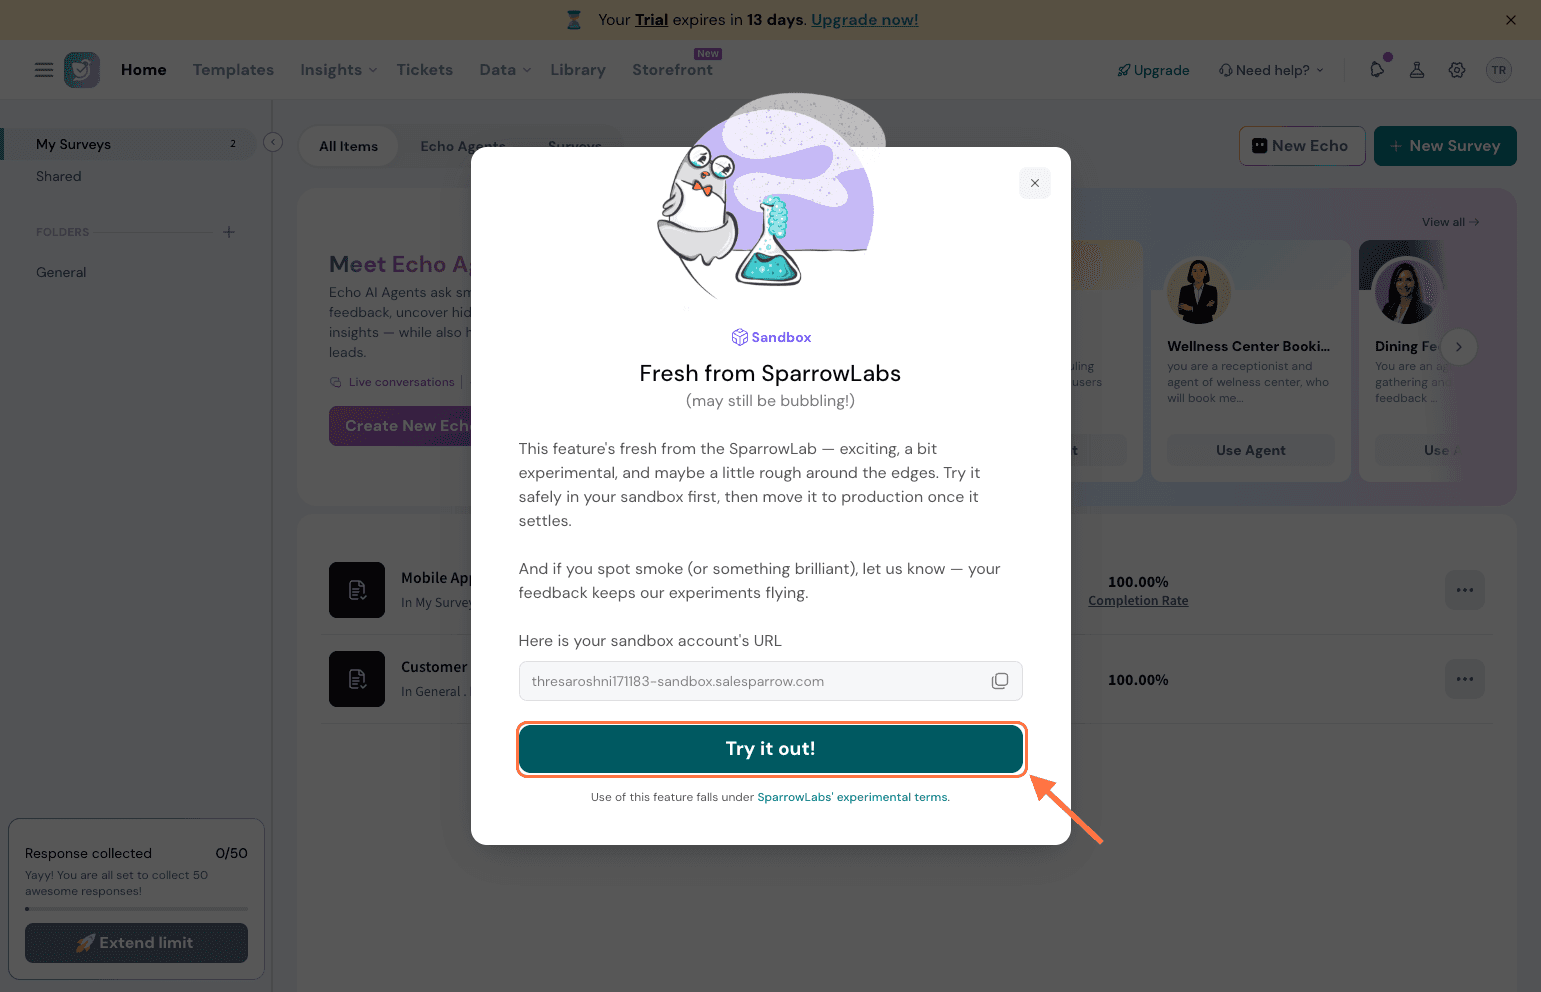
Your Sandbox account will be activated, and a unique Sandbox URL will be generated automatically.Note: You can use this Sandbox URL to access your Sandbox account directly in the future.
Click Try it out! to enter your Sandbox environment.
Clone a survey to Sandbox
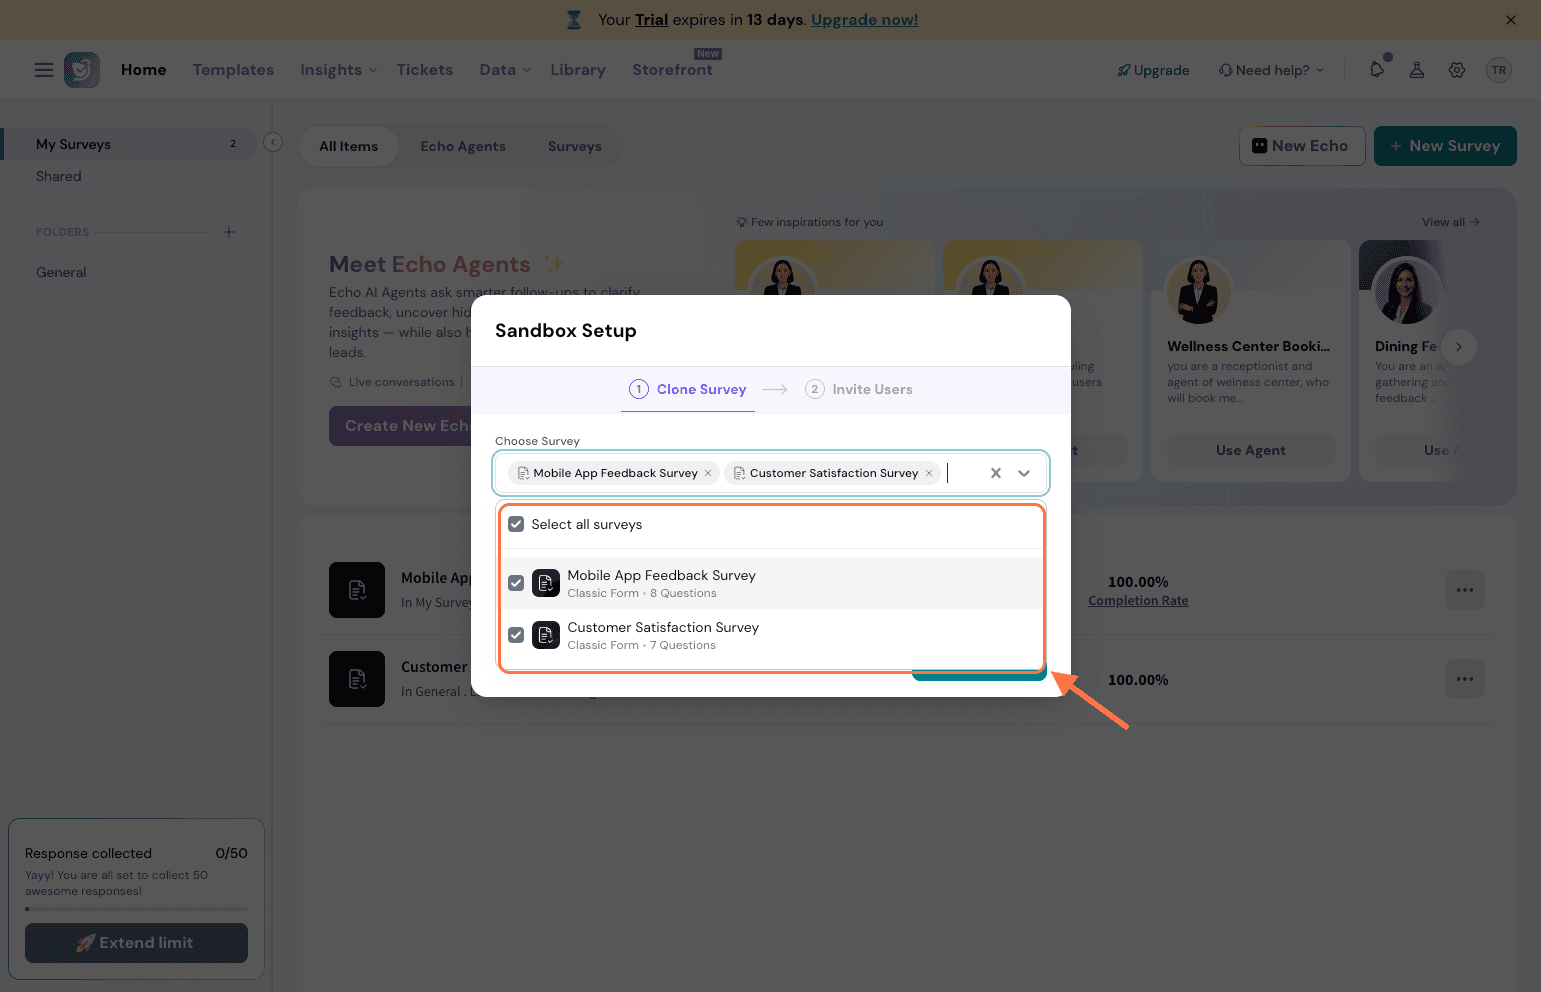
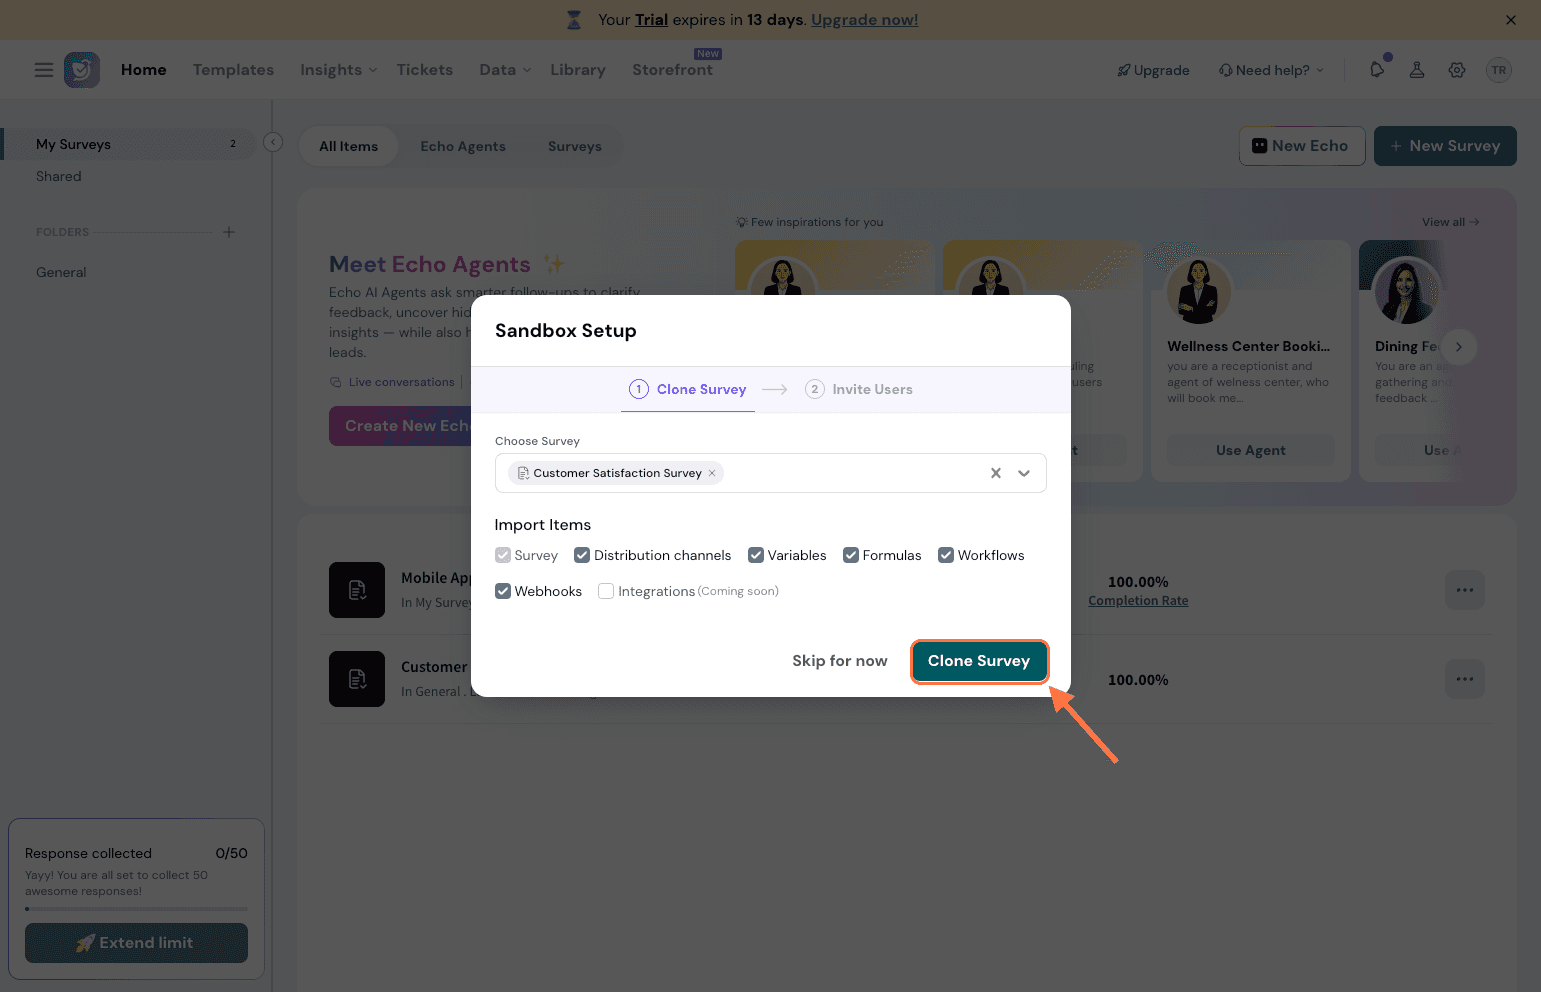
When you first enter your Sandbox environment, a setup screen will appear that walks you through two steps: cloning a survey and inviting users.
Cloning copies a survey from your live account into your Sandbox environment, so you can make changes safely. Note: Responses and contact lists are never cloned — this is by design, to protect your respondent data.
Under Choose Survey, click the dropdown and select the survey you want to clone into Sandbox.
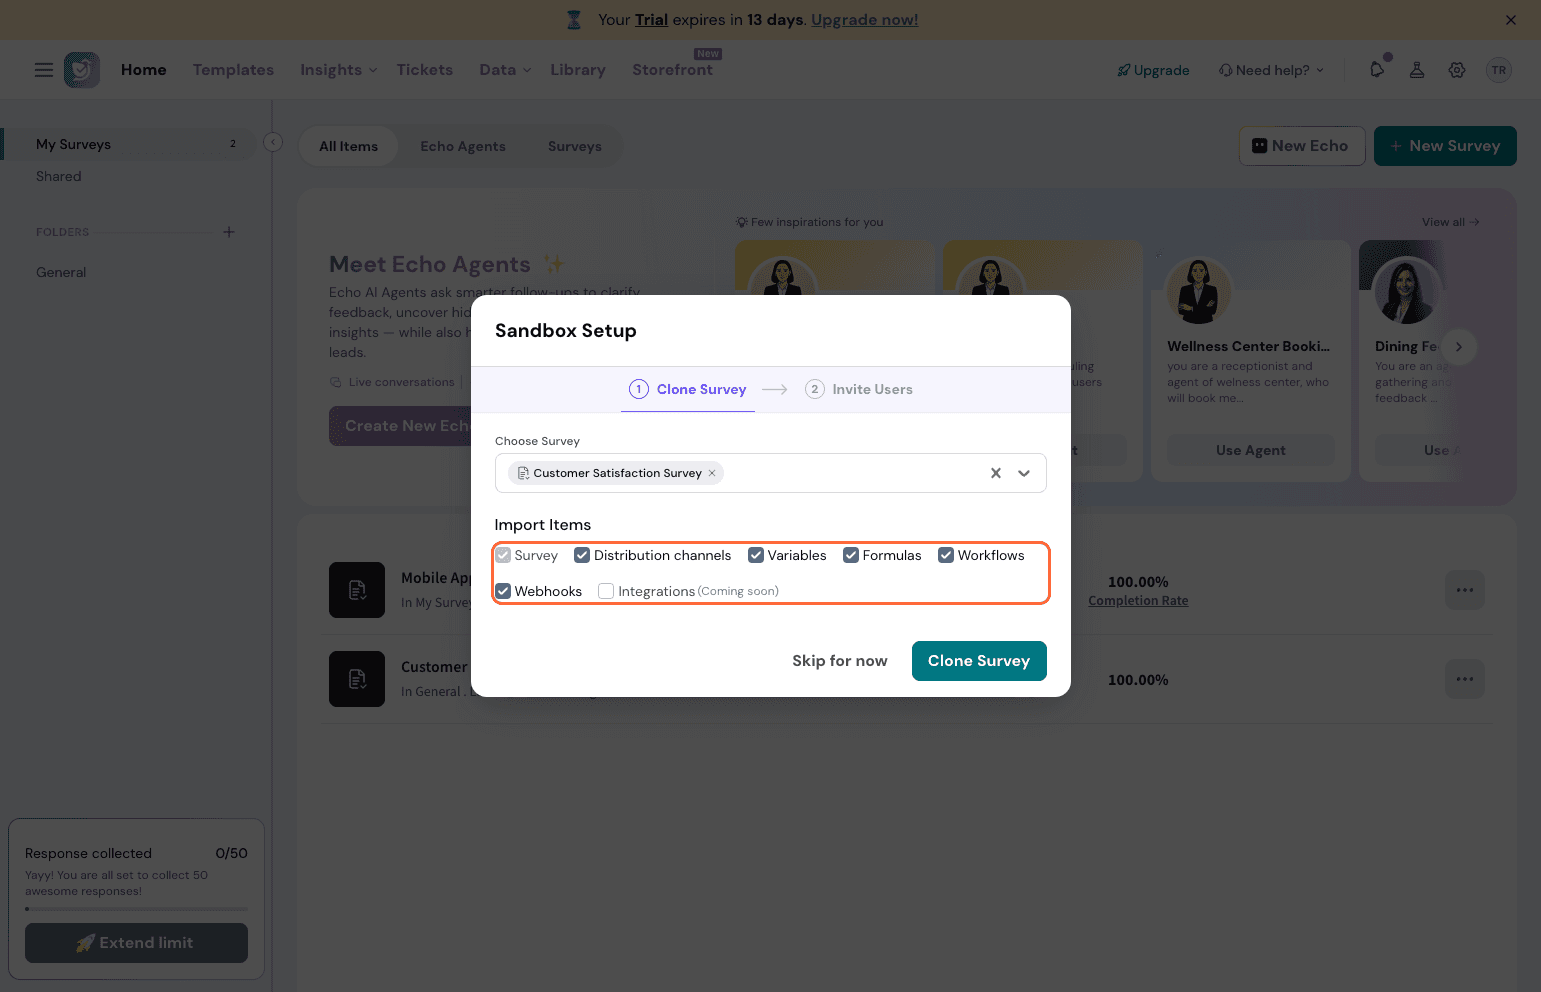
Under Import Items, select the components you want to bring along — Distribution Channels, Variables, Expressions, Workflows, and Webhooks.
Now, click Clone Survey.
Note: Not all distribution channel types are supported for cloning.
The following distribution channels are supported:
Email
Email Embed
Link
QR Code
Embed
Mobile SDK
Offline
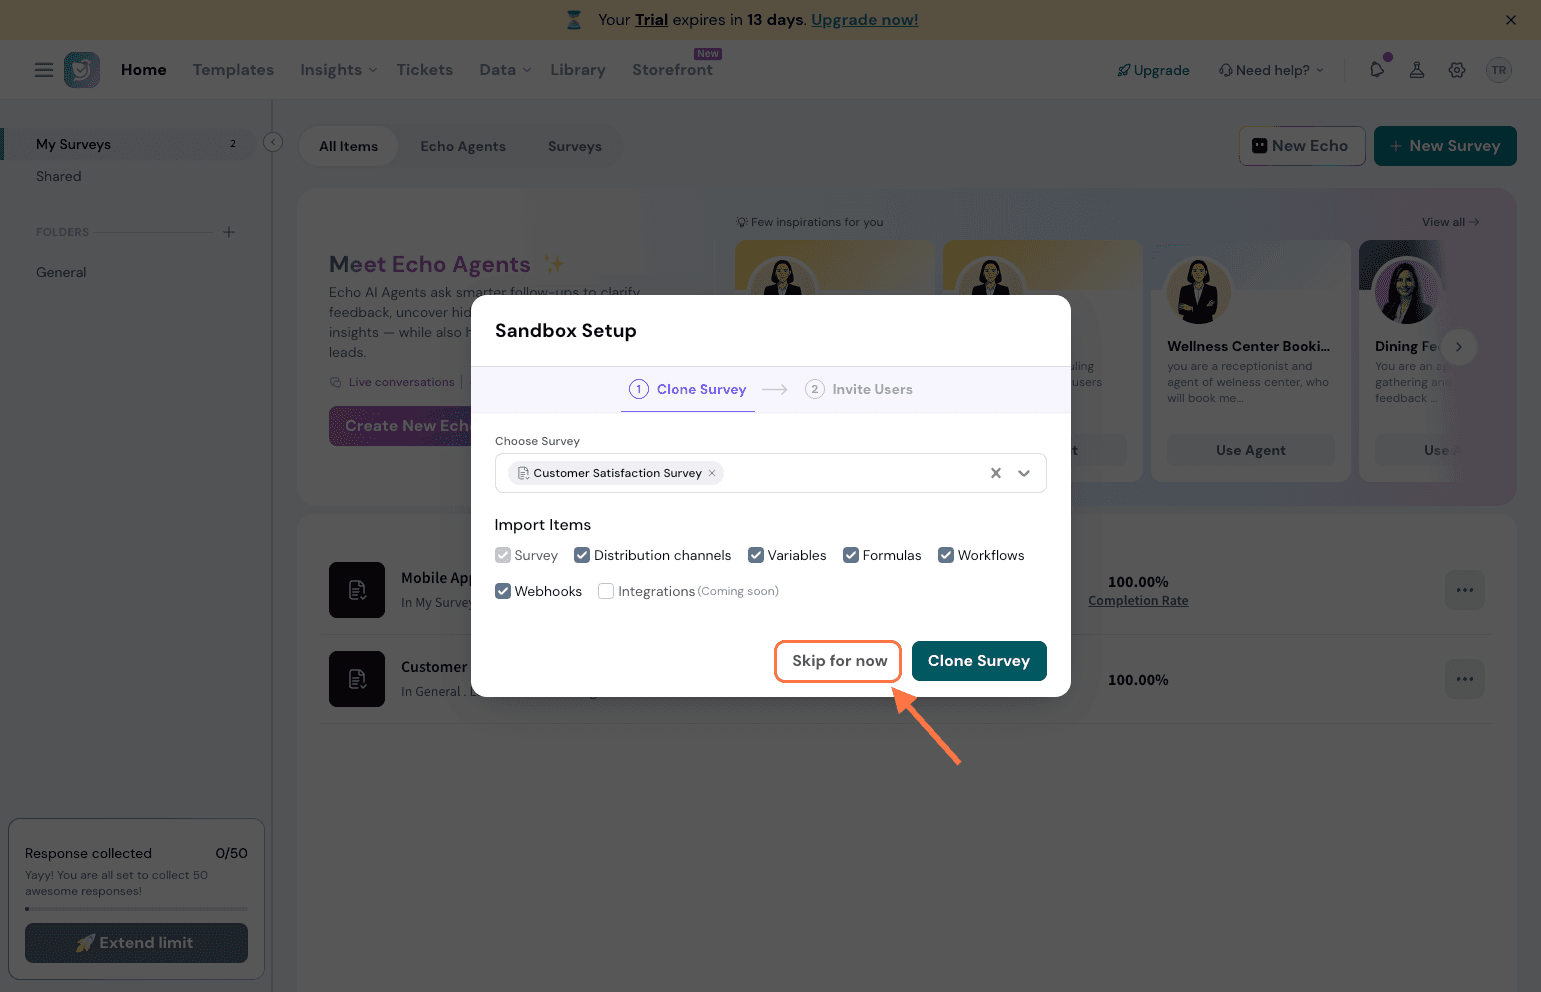
Note: If you'd like to start fresh without cloning an existing survey, click Skip for now. You can always import a survey later from your live account into Sandbox.
Invite team members to the Sandbox
You can add team members to your Sandbox account so they can test and review surveys alongside you.
Under the Invite Users section, select the team members you want to invite.
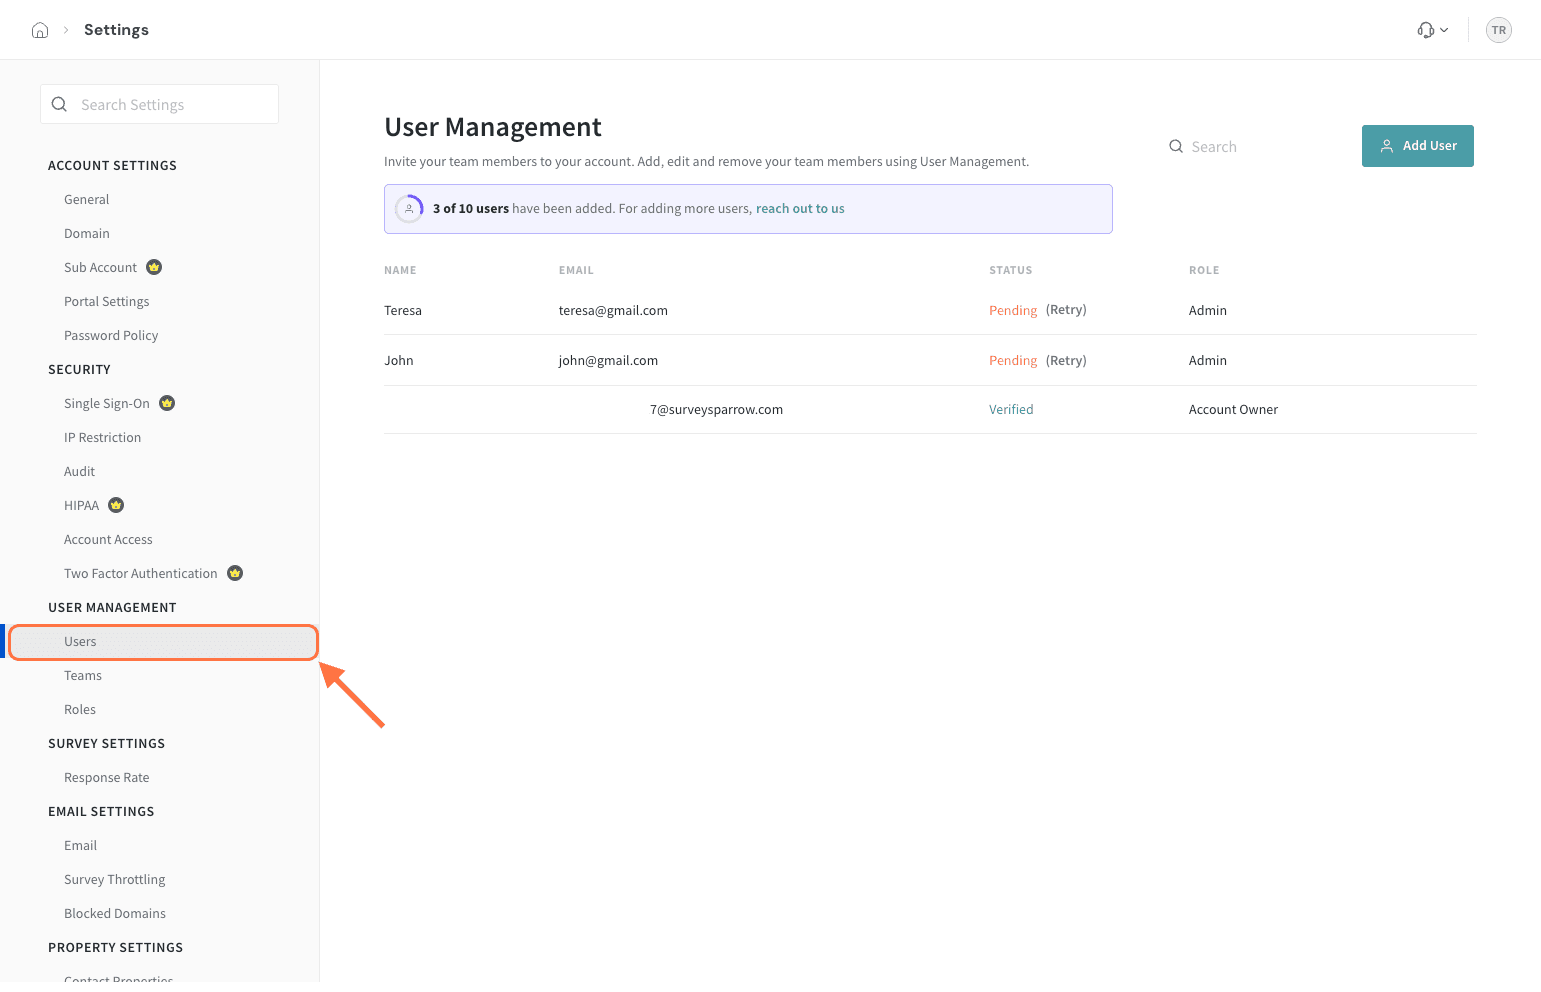
Click Invite Users. Note: During the initial setup, you can add a maximum of 5 users to your Sandbox account. Team members must already exist in your live account before they can be added here. Once the setup is complete, you can invite additional users directly from the Users page in Settings within your Sandbox account.
Make and test changes in Sandbox
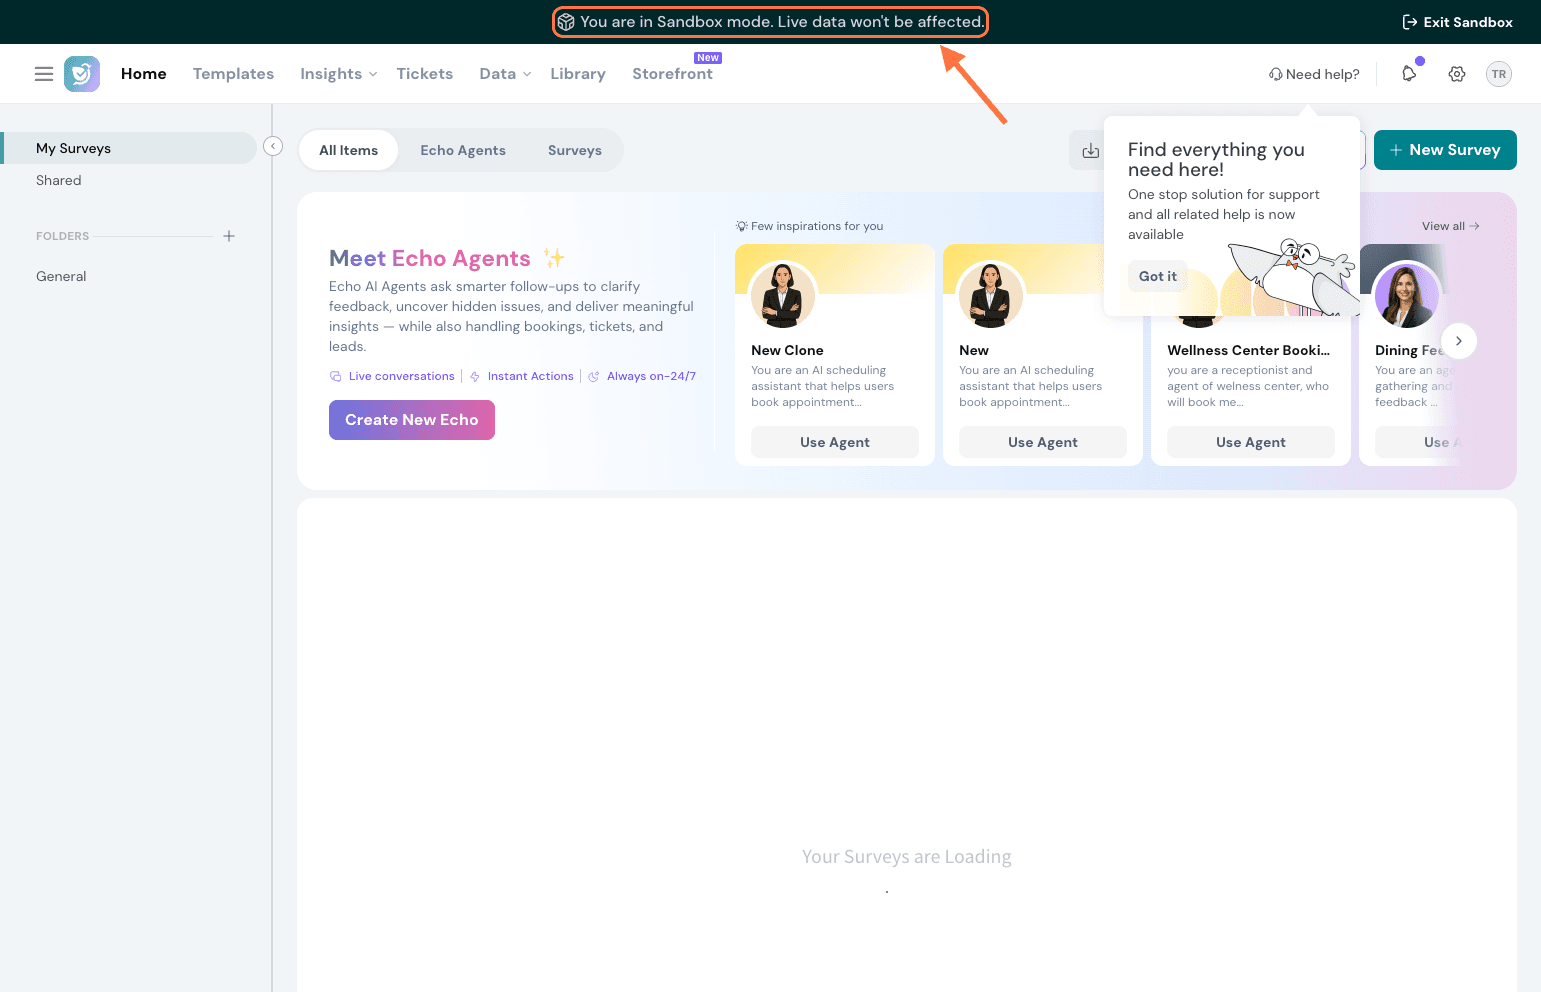
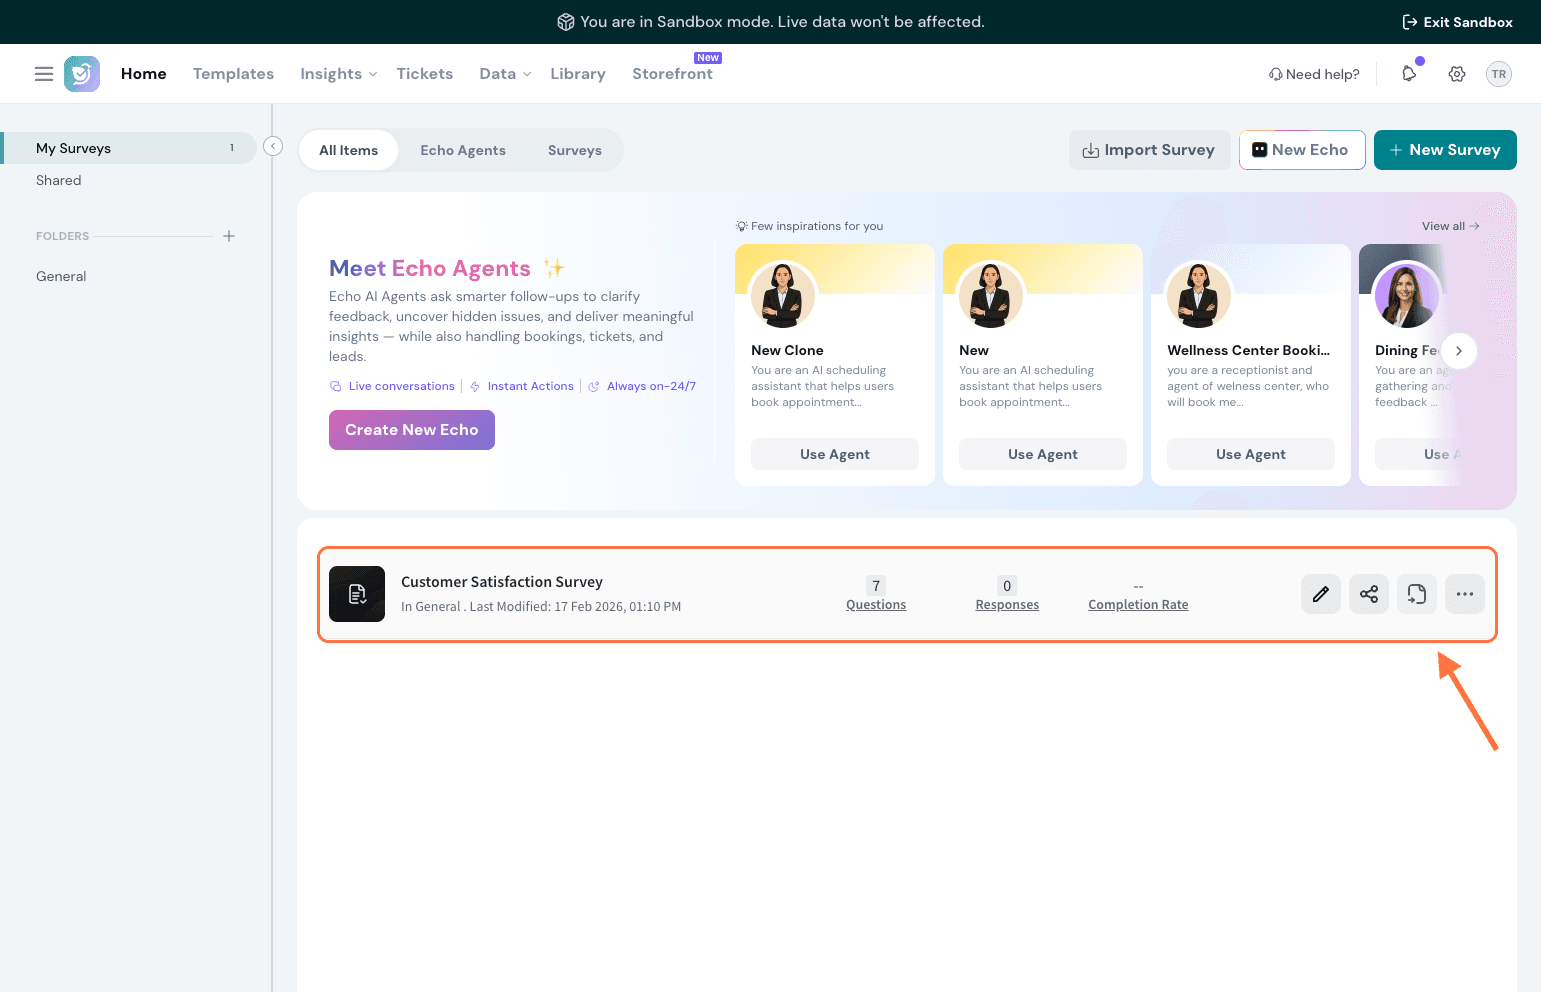
You're now inside your Sandbox environment.
Any surveys you cloned will appear here, and you're free to make changes — questions, logic, branching, workflows, channels, and more.
Nothing you do here will affect your live survey until you choose to deploy.
Deploy your survey to your live account
Once you've built and tested your survey in Sandbox, you can push it to your live account any time. Here's how:
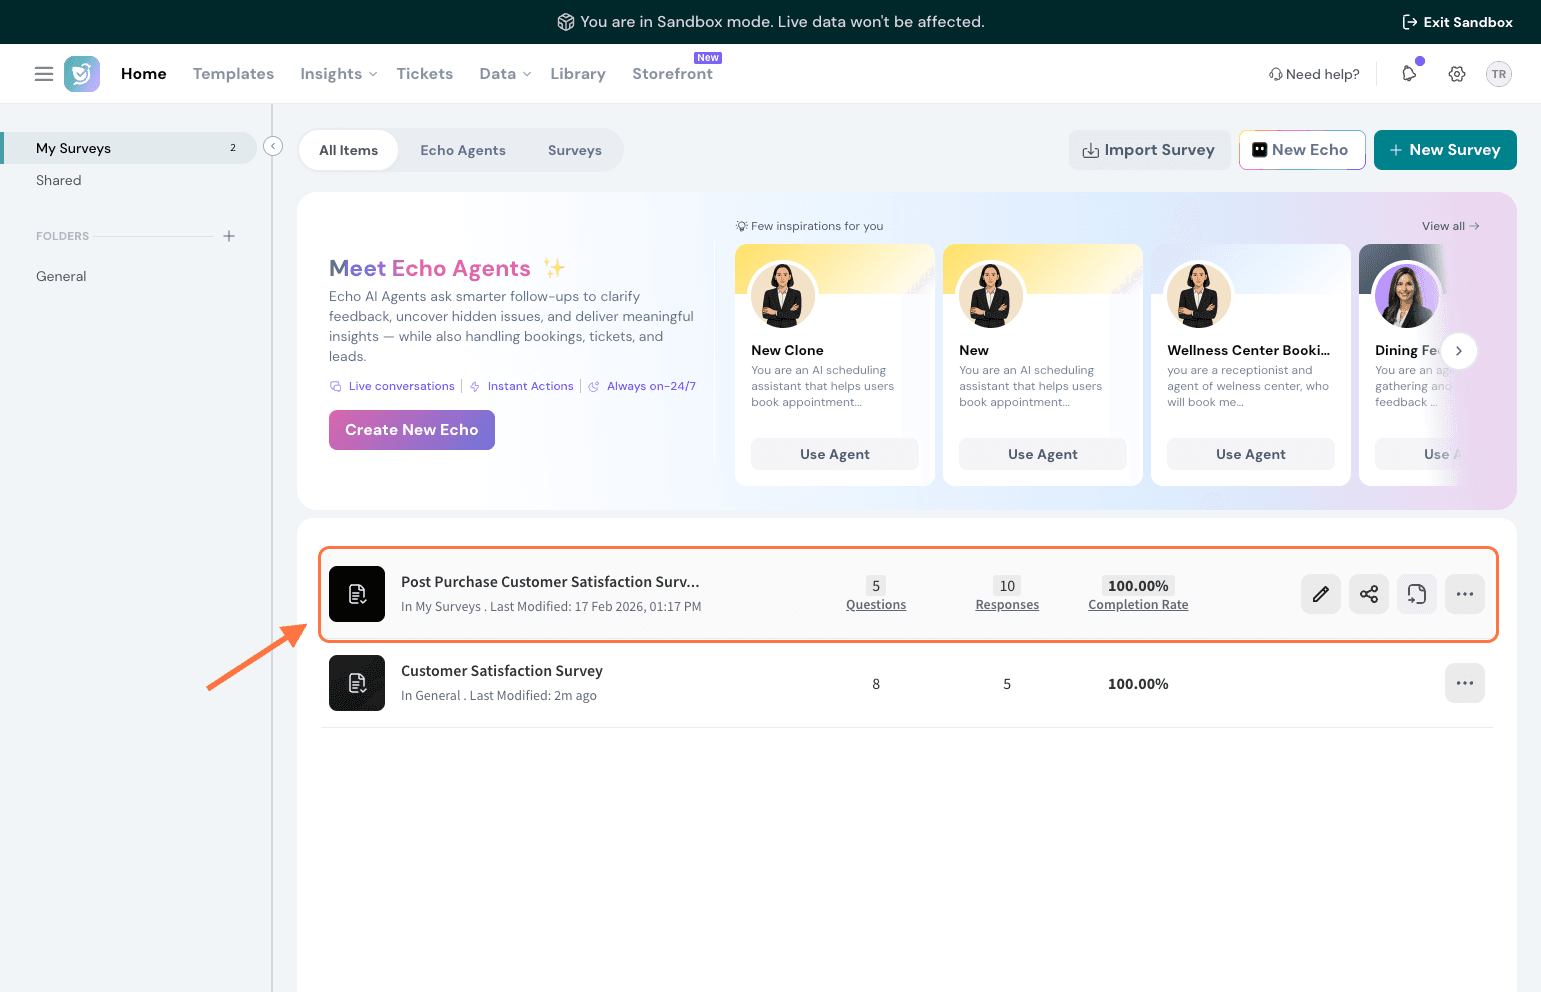
Inside your Sandbox account, find the survey you want to deploy
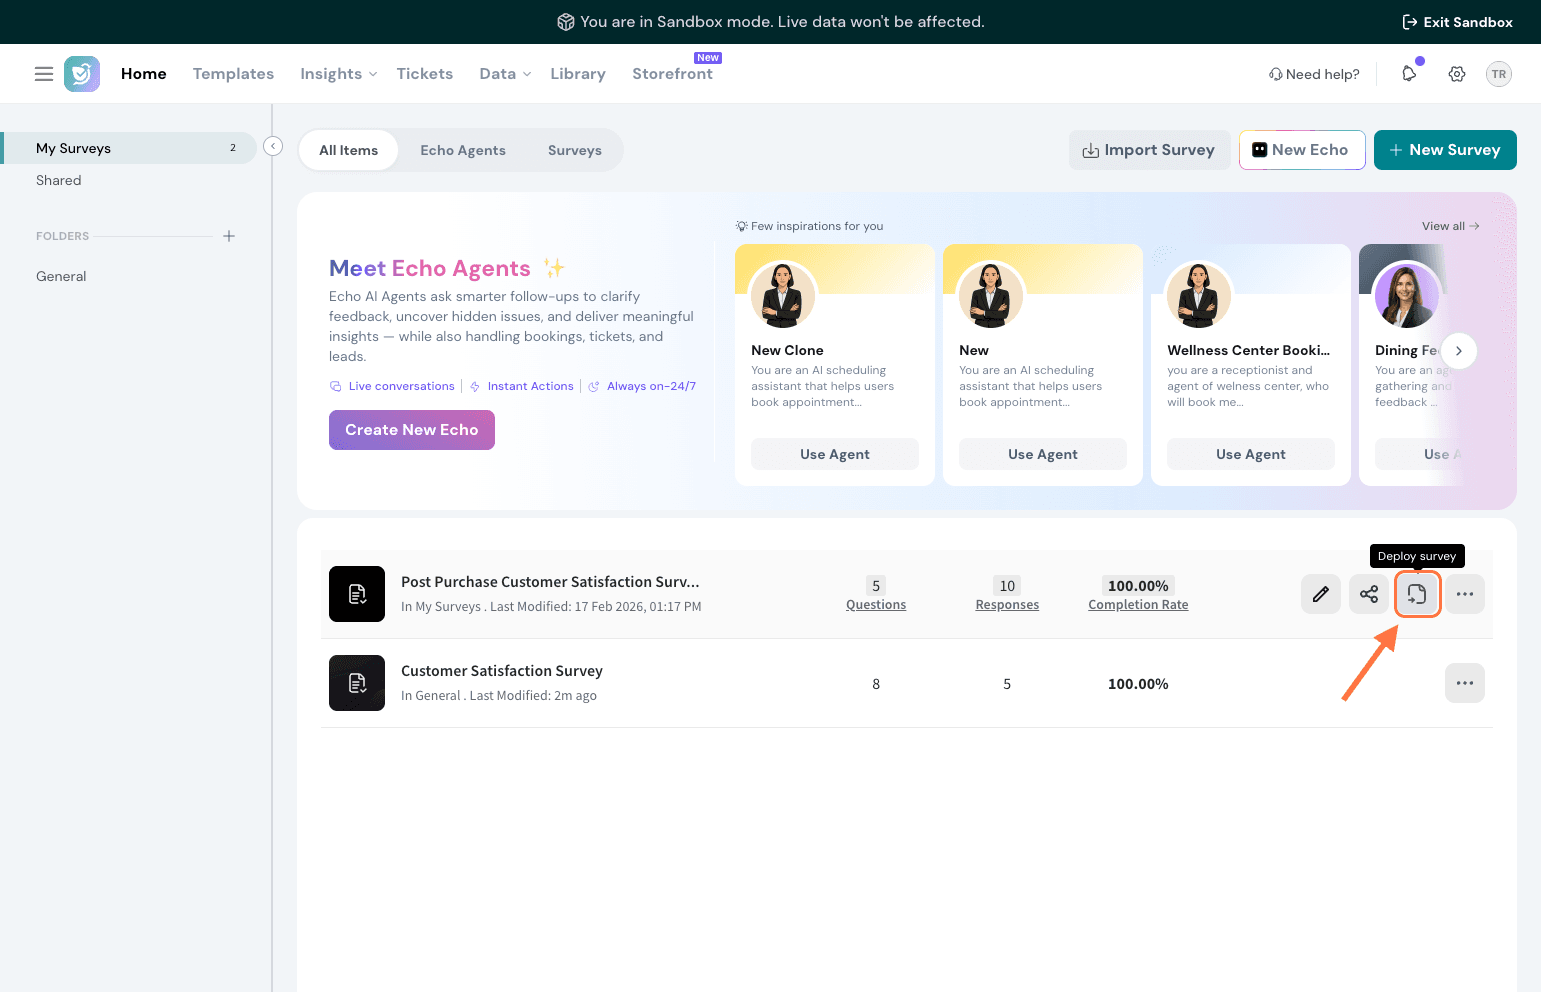
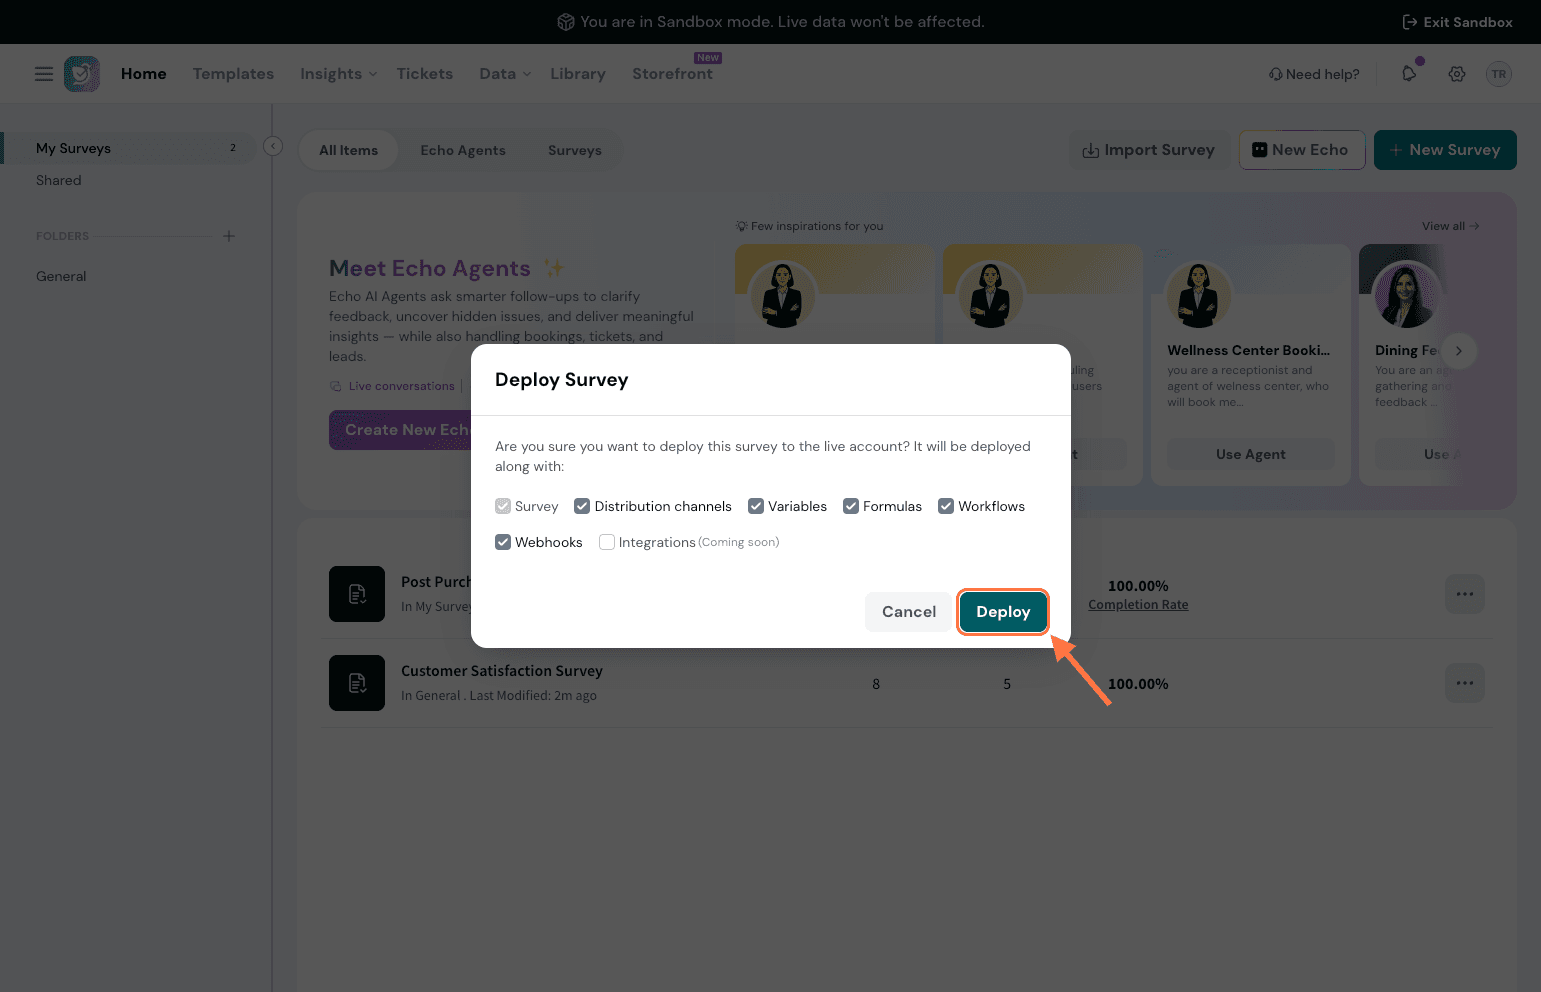
Click the Deploy survey icon.
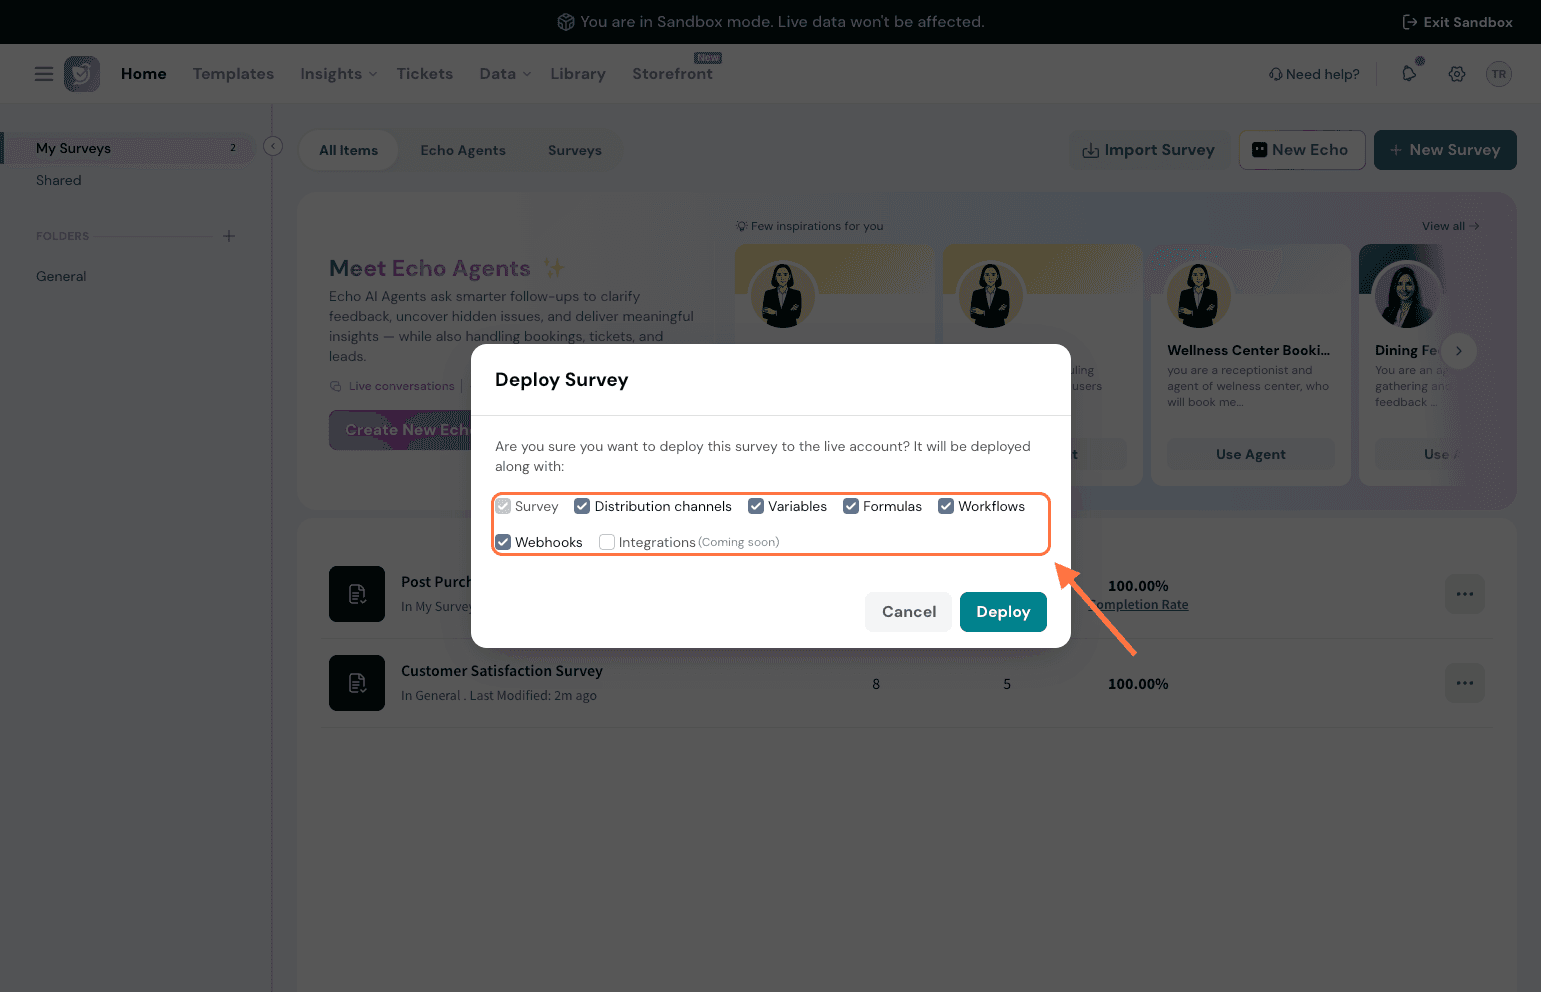
A screen will appear showing what will be deployed. Review the checked items and uncheck anything you don't want to include.
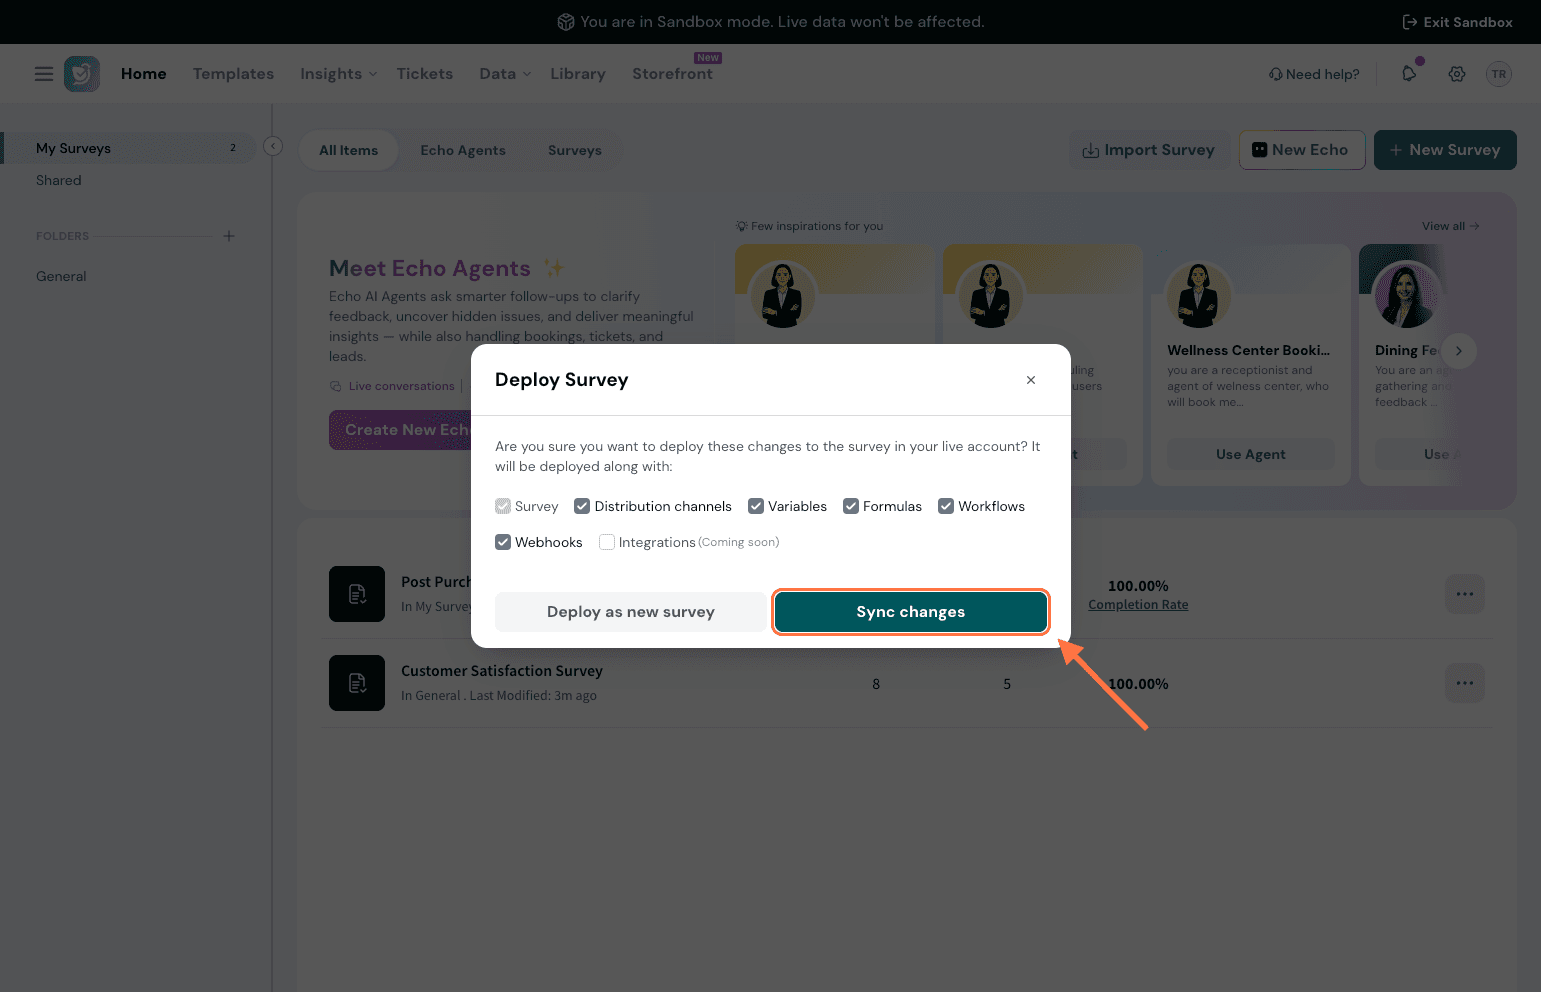
Depending on the survey, you'll see one or both of the following options:
Deploy as new survey — This option is available for all surveys in Sandbox, including new ones you've created directly within Sandbox. It creates a completely new, independent survey in your live account. None of the responses collected in Sandbox will be carried over.
Sync changes — This option only appears if you've imported a survey from your live account and made modifications to it in Sandbox. It updates the original live survey with only the changes you've made.
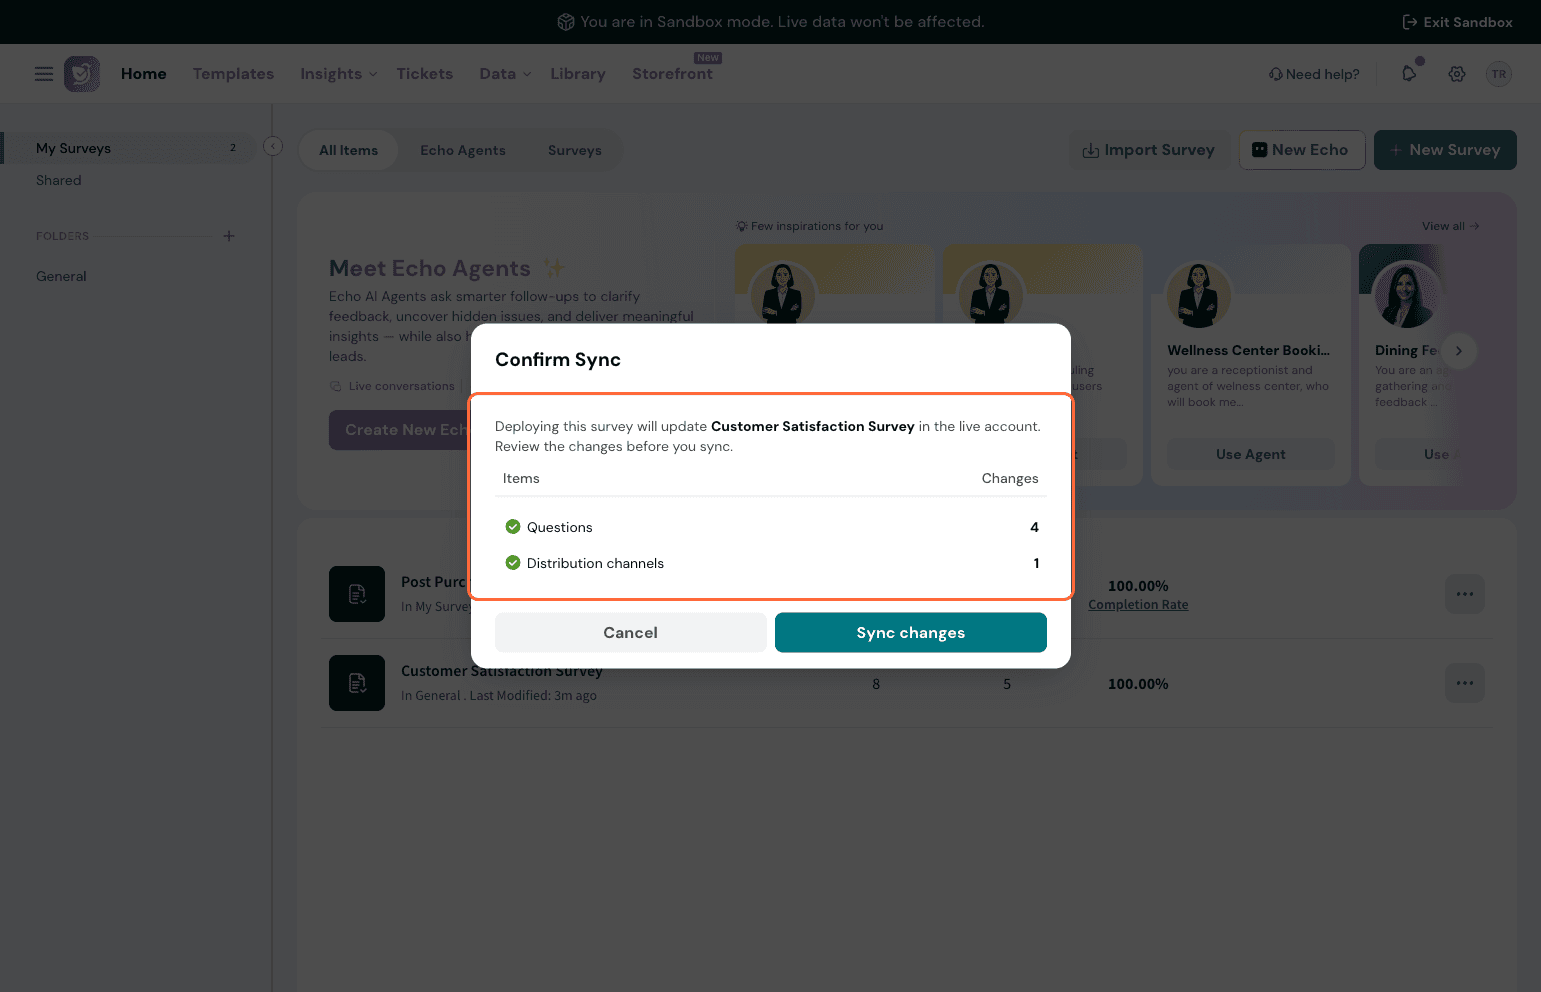
A confirmation screen will appear showing the exact items that will be updated and the number of changes in each. Review this, then click Sync changes to confirm.
Once complete, you'll see a confirmation that the deployment was successful.
Import a survey from your live account at any time
You can also clone a survey directly from your live account into your Sandbox environment.
Here’s how you can do it.
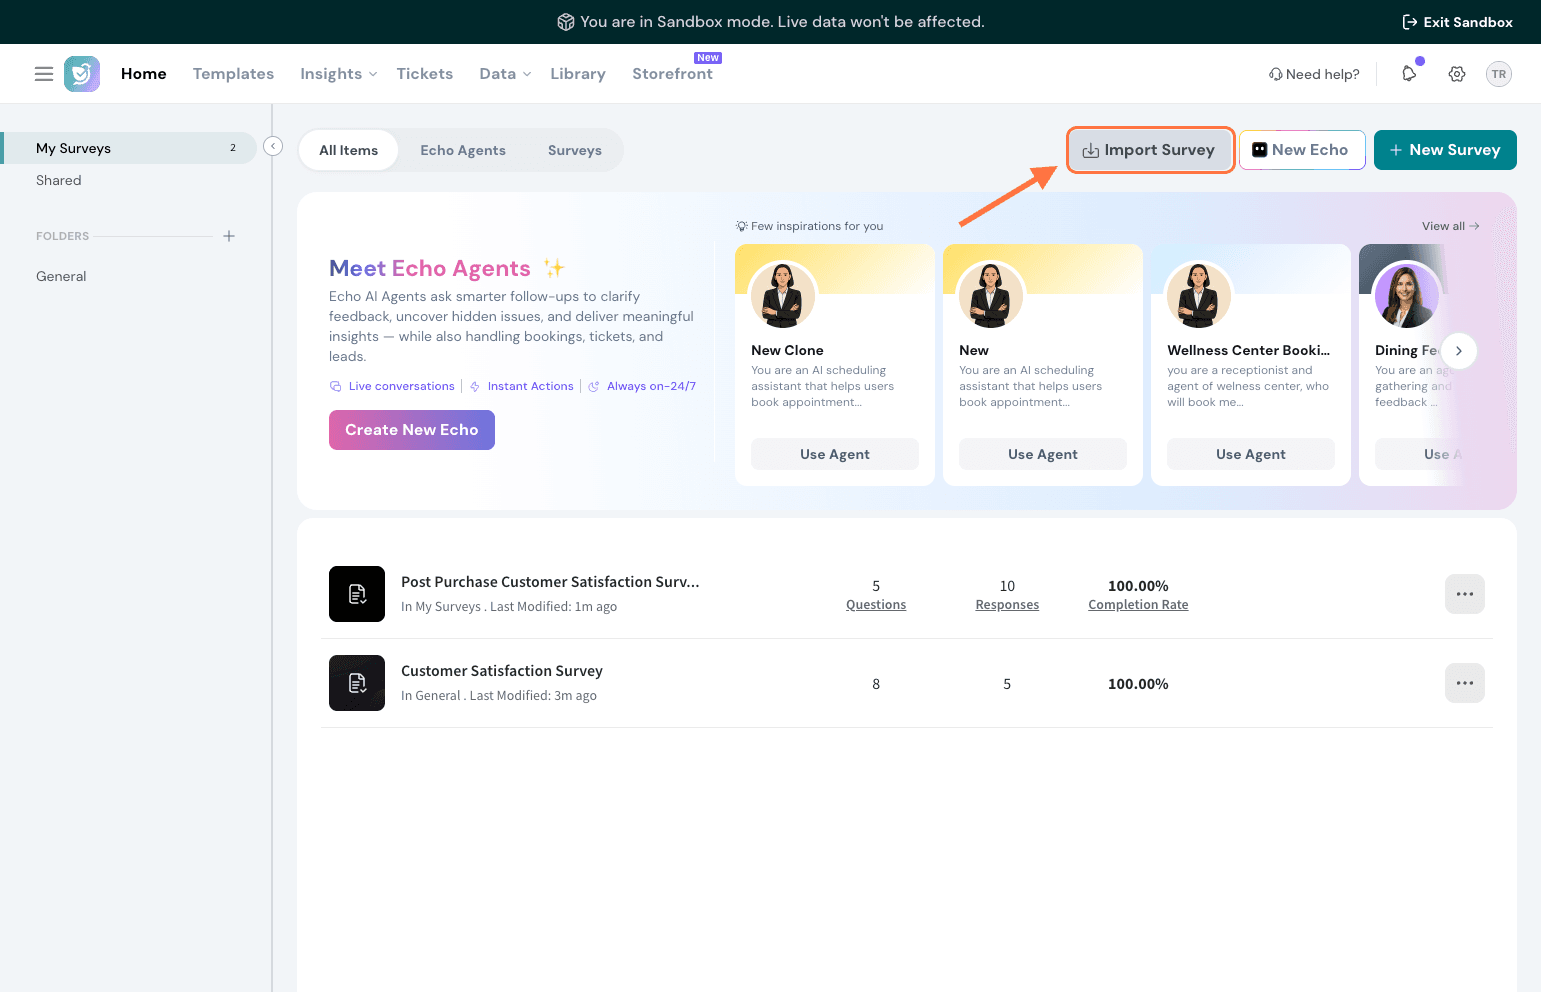
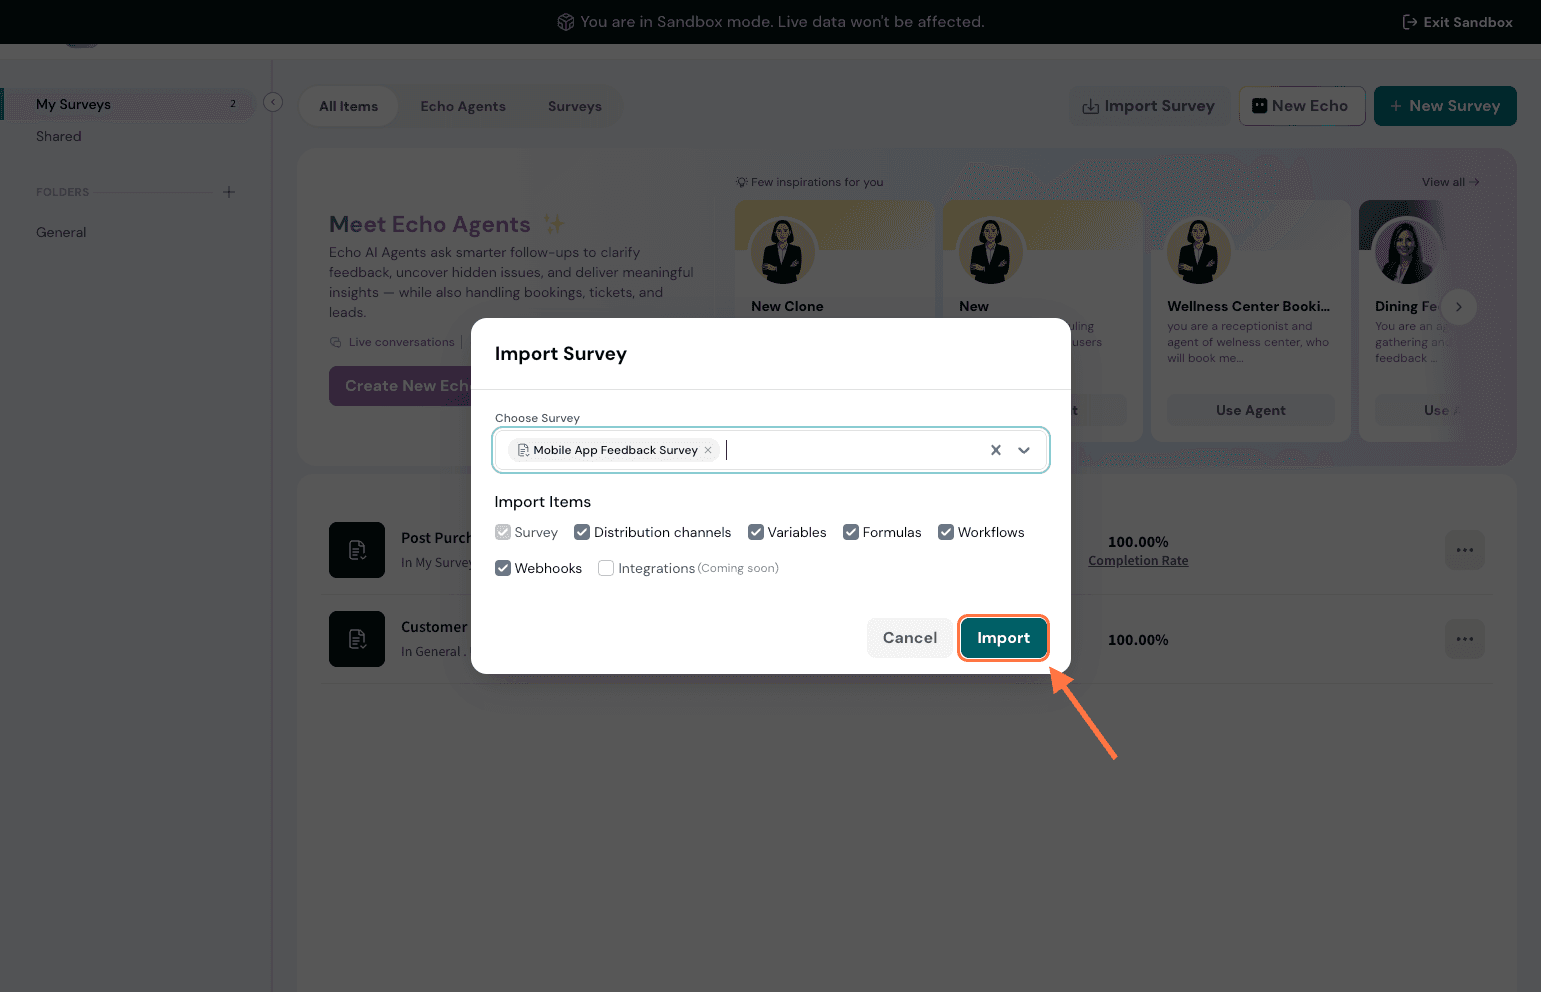
Click the Import survey button at the top.
Choose the survey you want to import into your Sandbox account.
Click Import.
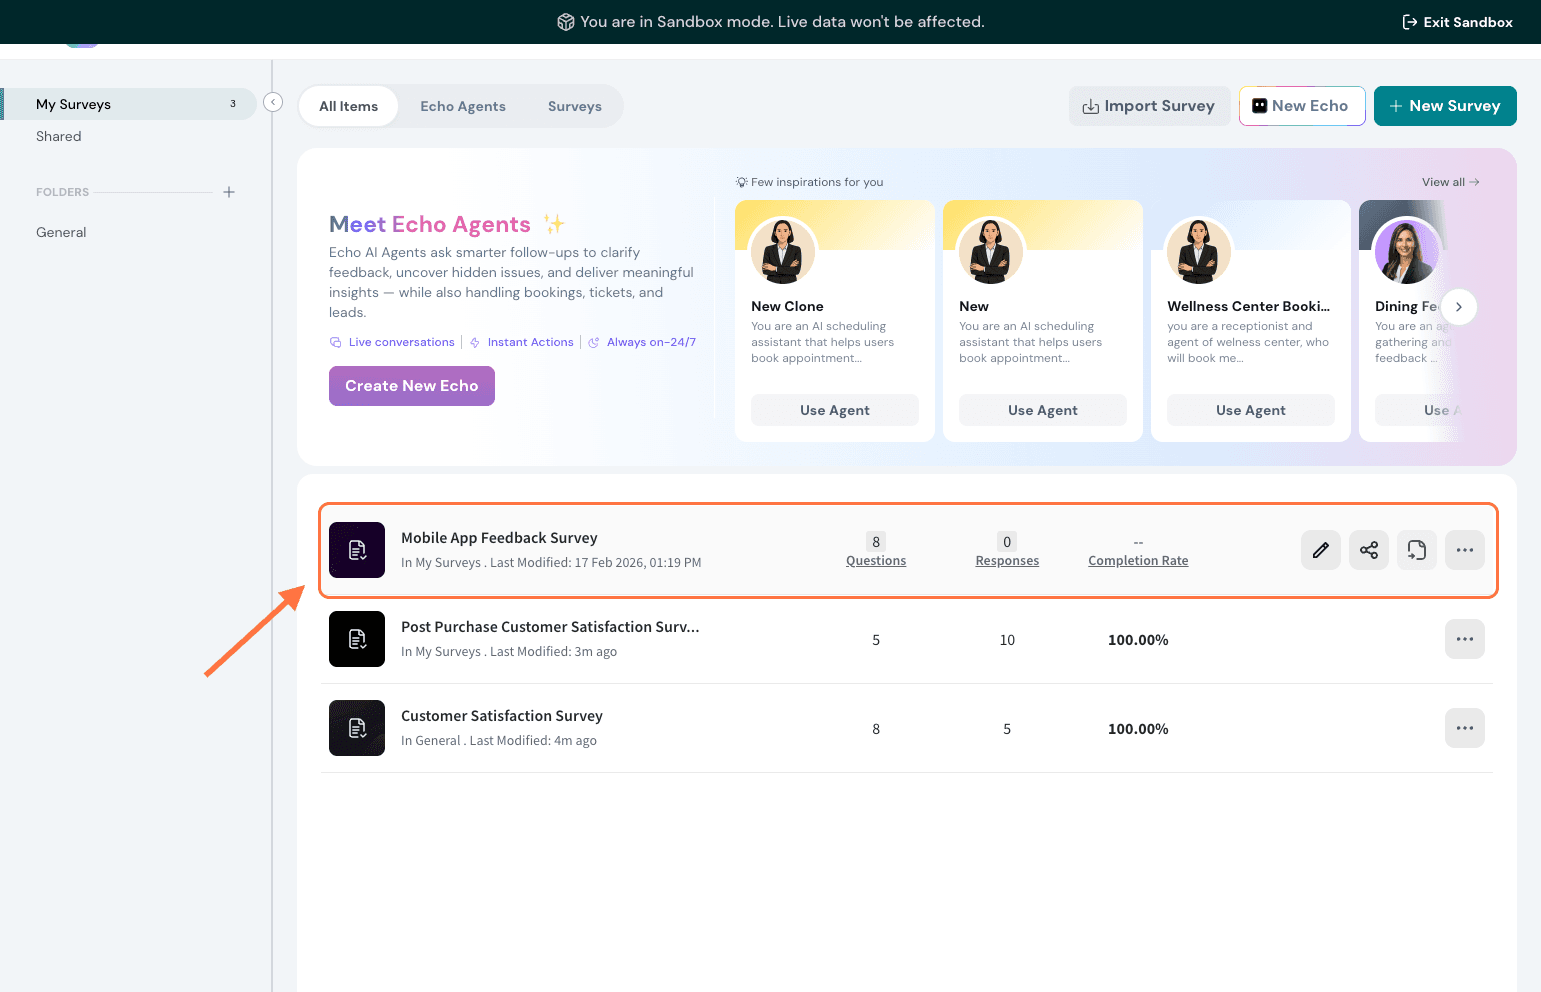
Your survey would be imported.
Note: You must have access to both your live account and your Sandbox account to import surveys.
Exit Sandbox
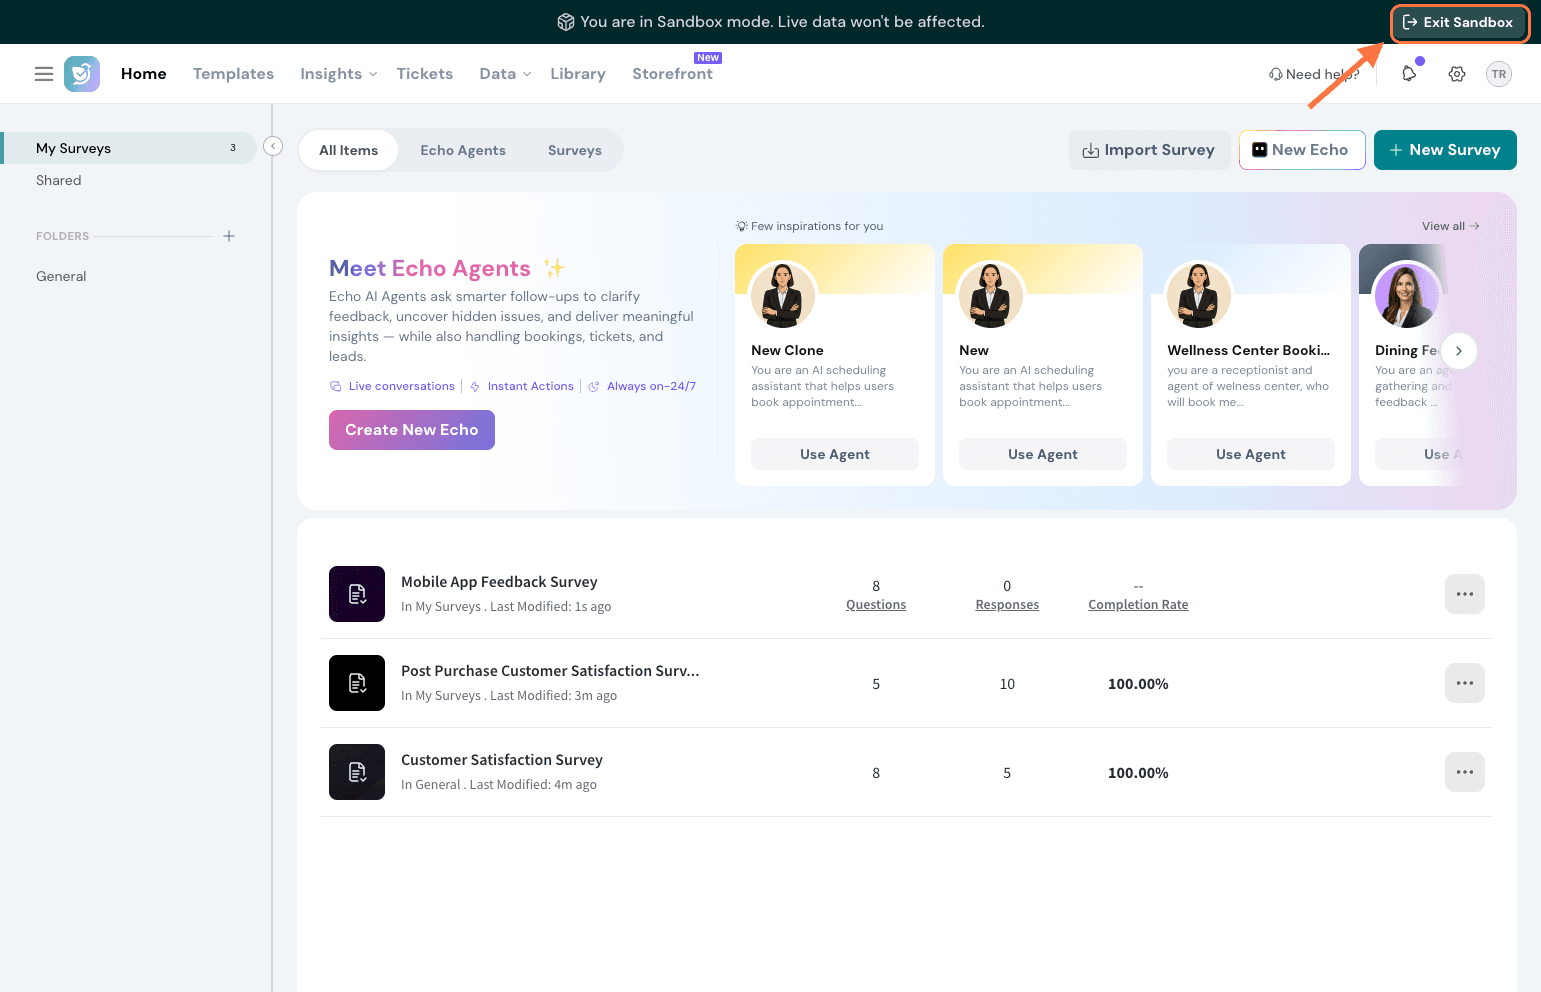
To switch back to your live account at any time:
Click the Exit Sandbox button in the top right corner of your Sandbox environment.
You will be redirected back to your live account automatically.
Sandbox account quotas
Your Sandbox account has its own separate usage quotas, including responses, emails, and other limits, independent from your live account. This ensures your testing activity doesn't consume your production resources.
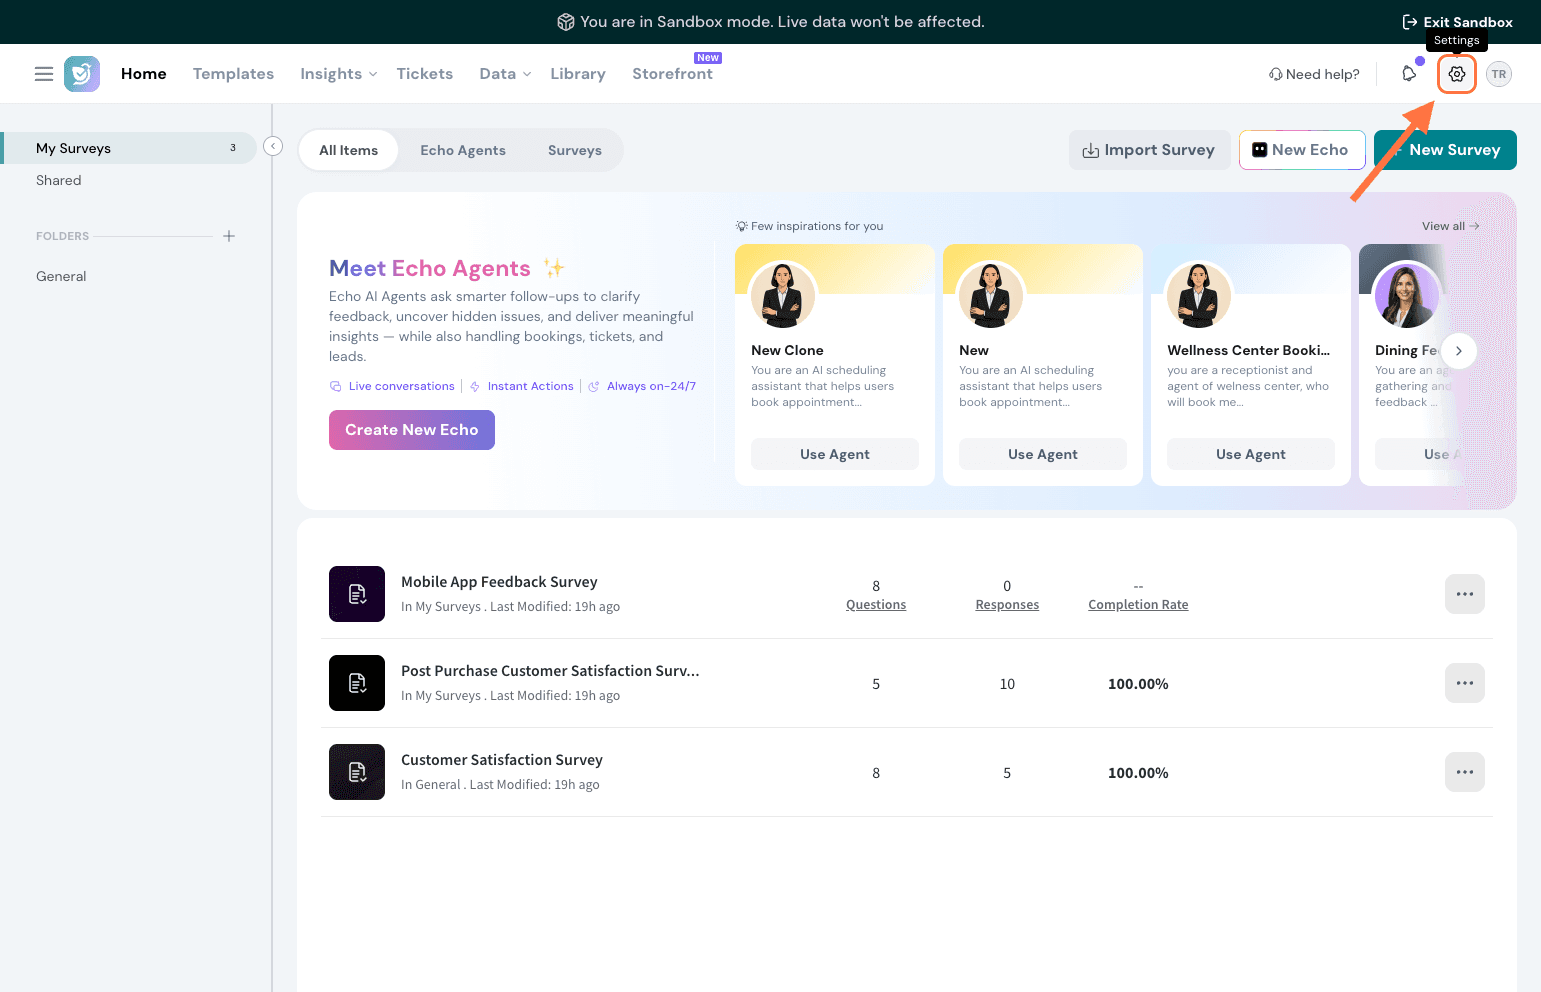
To view your current usage and available quotas:
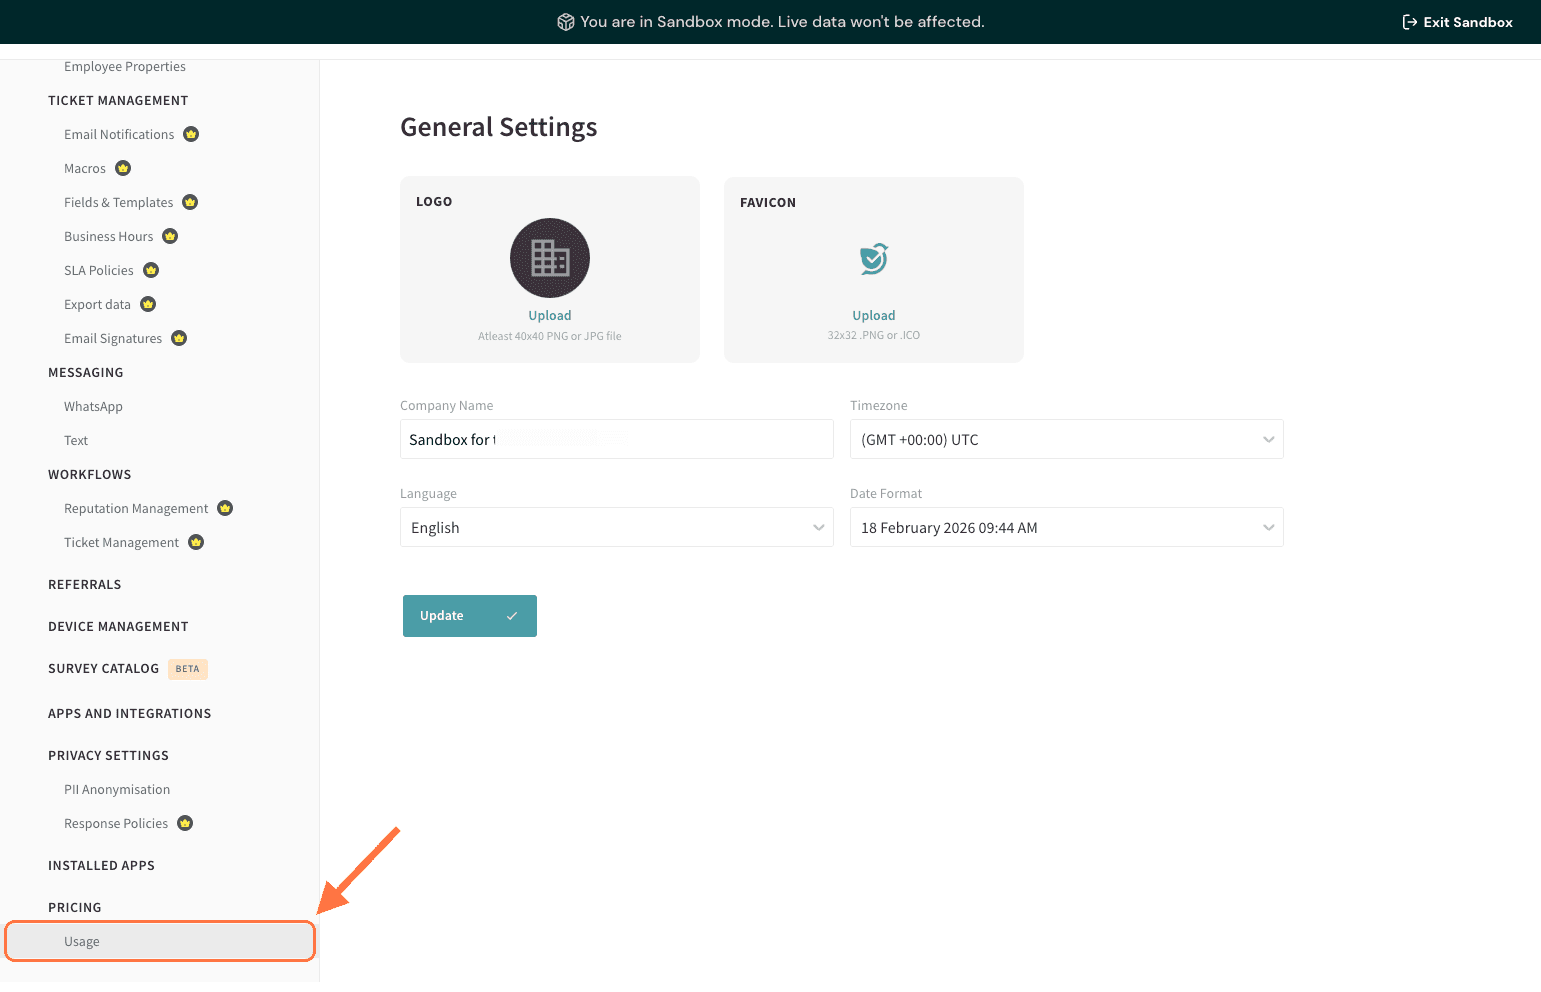
Inside your Sandbox account, click on the Settings icon.
Navigate to the Usage section.
You'll see a breakdown of your quotas across responses, emails, and other resources.Note: If you need additional quota for your Sandbox account, please reach out to our support team.
Summary
Sandbox gives you a safe space to build, test, and iterate on surveys without any risk to your live data. Clone surveys from your live account, make changes freely, preview what will change before you commit, and push only what you want back to production, either as an update to an existing survey or as a brand new one.