Service Level Agreements (SLAs) define the timeframes for responding to and resolving customer tickets, ensuring a structured and efficient ticket management process. Customers expect timely resolutions to their problems, and SLA policies help set clear expectations for both customers and support agents.
By defining response and resolution SLAs, businesses can track, prioritize, and ensure that issues are handled within the promised time frame. This visibility helps agents stay on top of their cases, improving overall service quality and customer satisfaction.
Lets see how it works
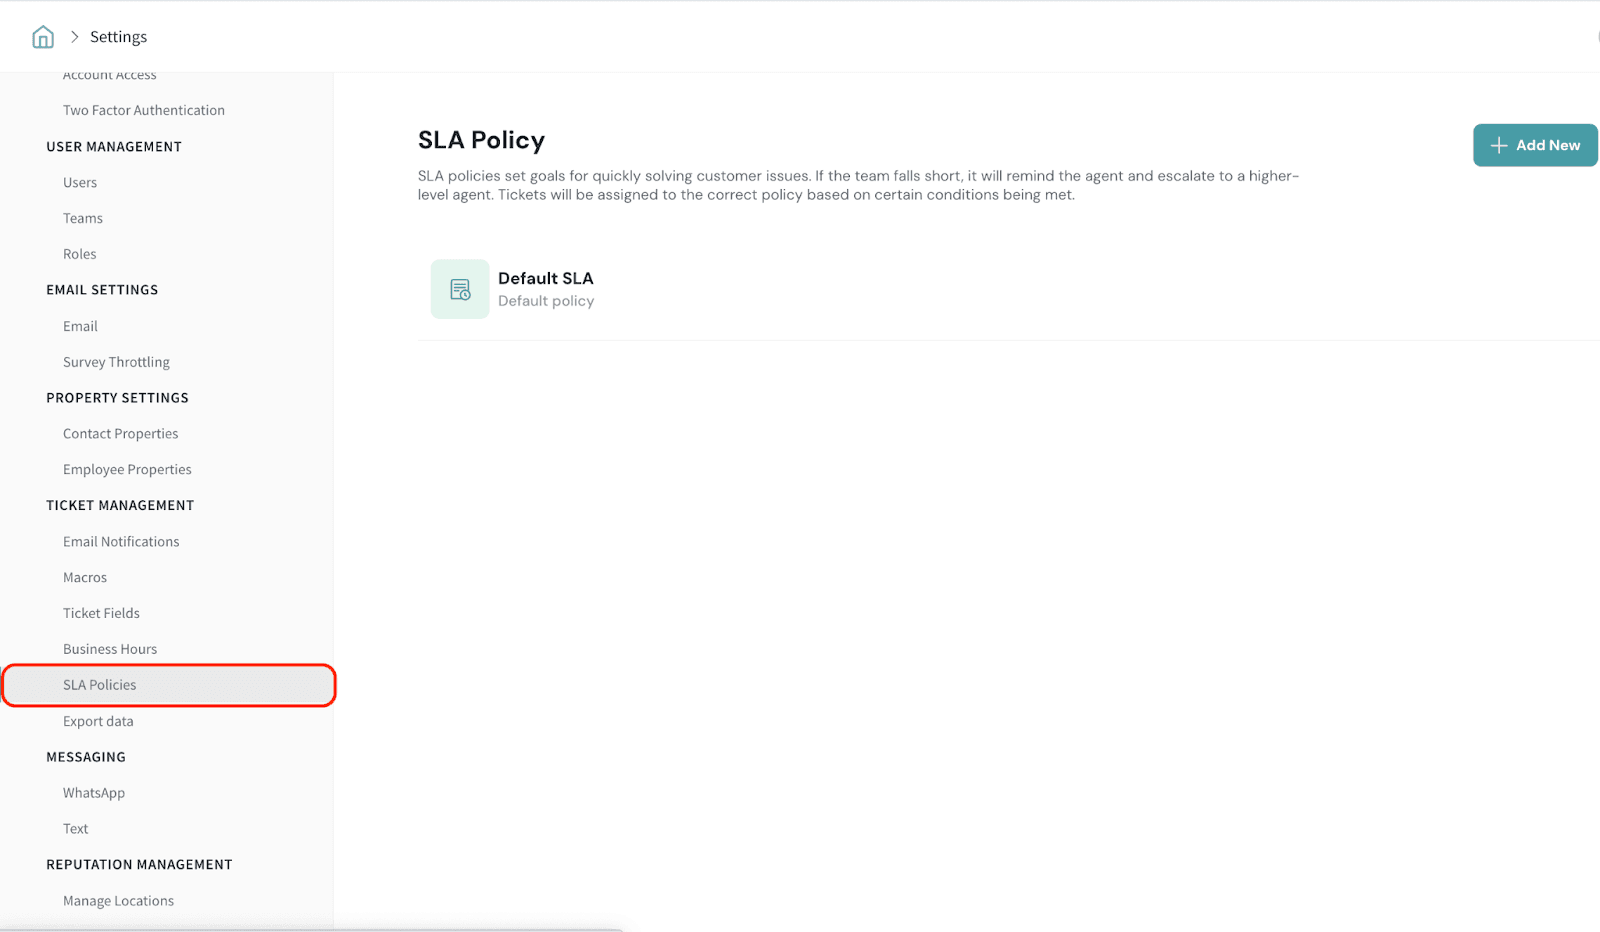
Navigate to Settings and go to SLA Policies under Ticket Management. The default SLA policy will be available, and you can edit it, including the name.
NOTE:
In the default SLA you will not be able to add conditions.
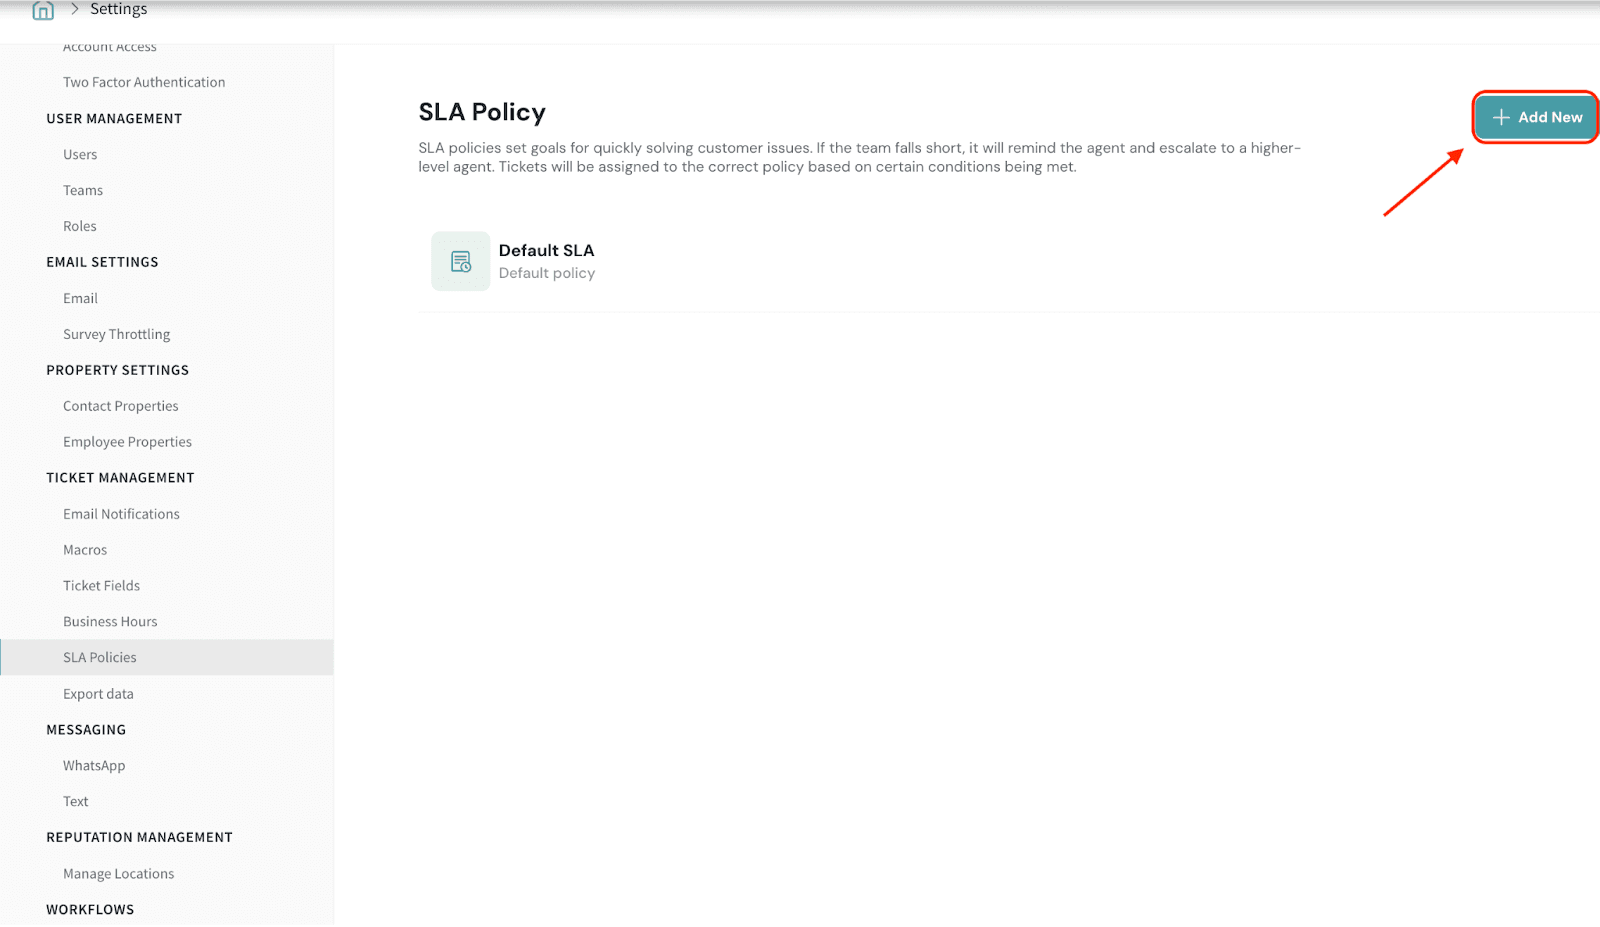
You will not be able to delete the default SLA policy.To define a new SLA policy, click on Add New.
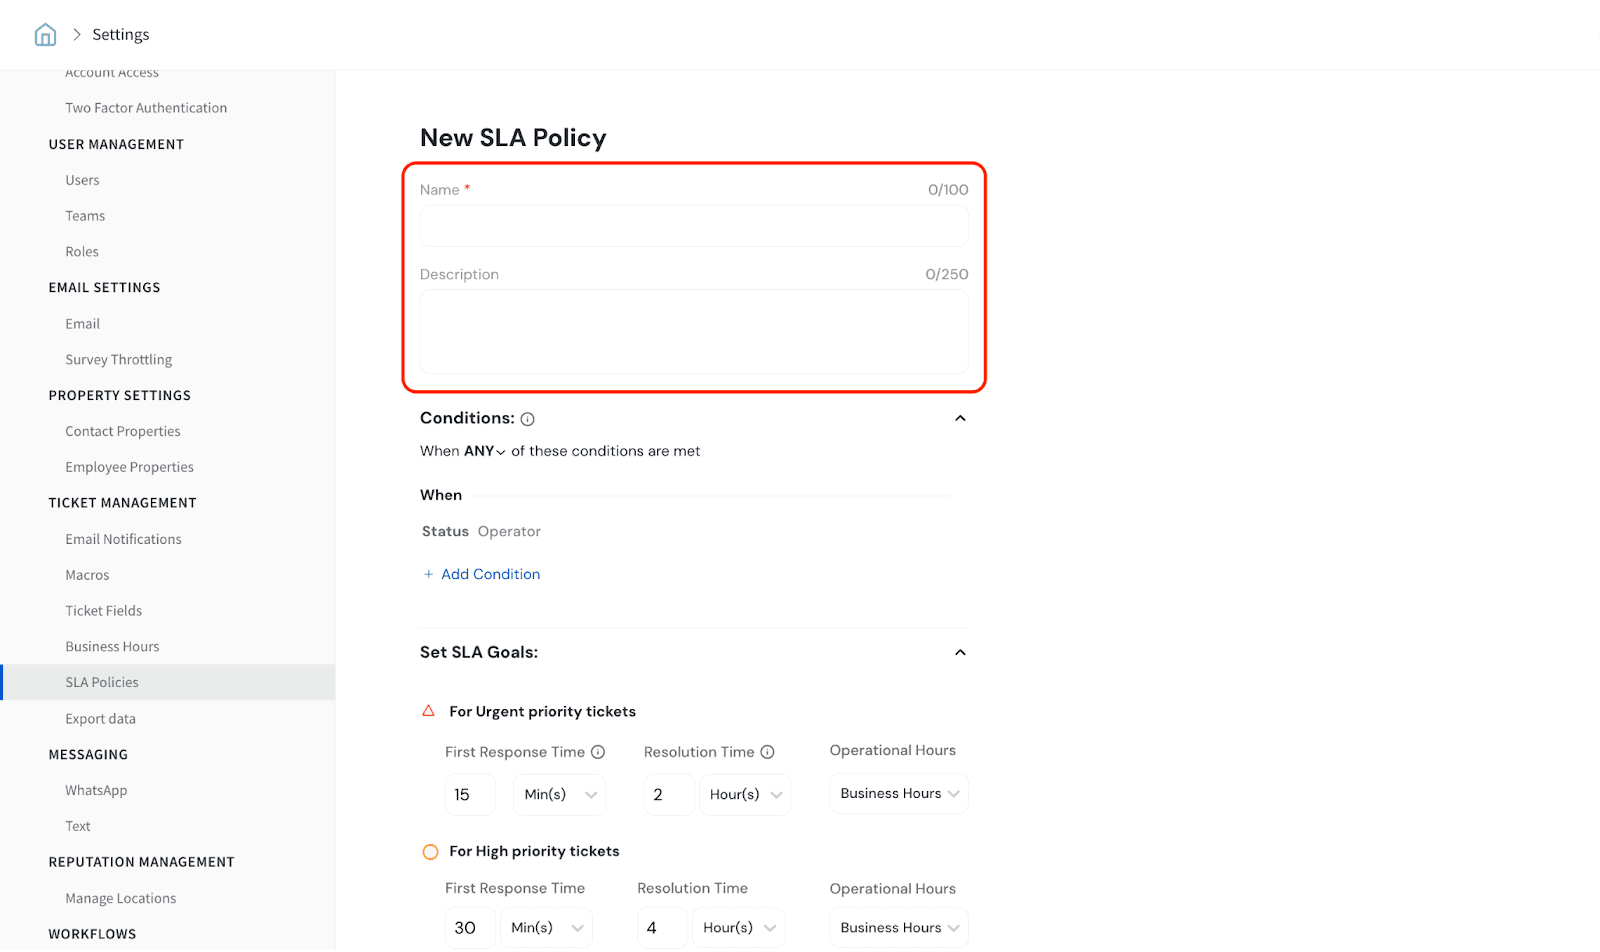
Enter the name and description for the new SLA policy. The name is a mandatory field, while the description is optional.
Setting Conditions
You can add conditions based on:
Ticket Fields – All custom and default fields created under Ticket Fields
Business Hours – Teams with defined business hours
Source – Survey, Reputation, Call, Email
NOTE:
No upper limit on the number of conditions you can add.
Conditions can be set to apply when ALL conditions or ANY condition is met.
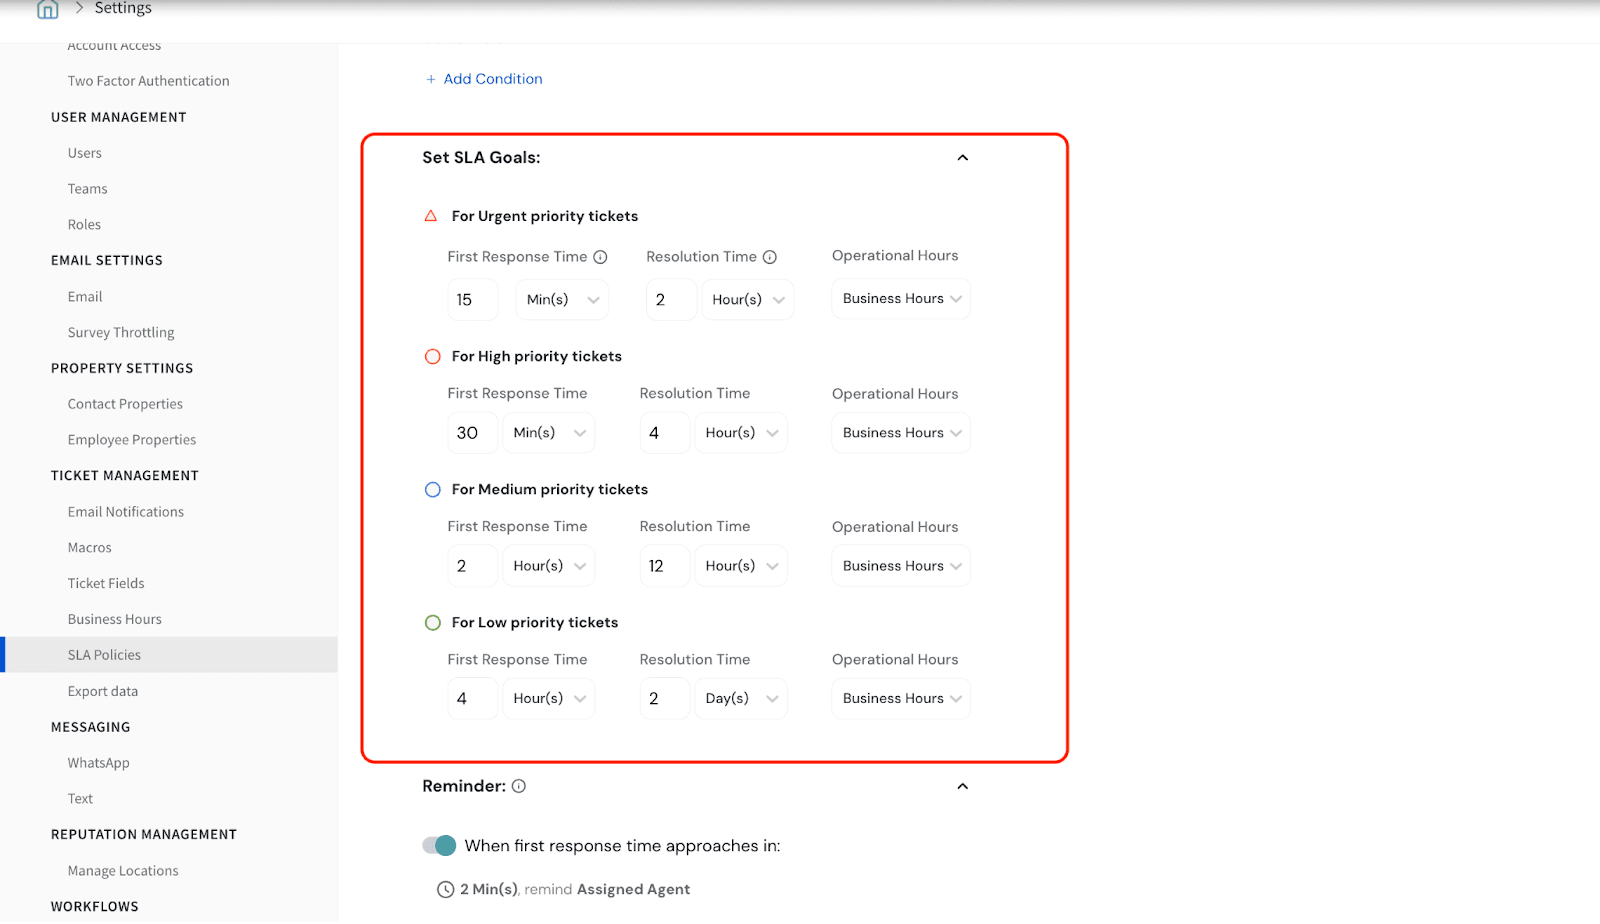
Setting SLA Goals
4.1. Setting First Response Time
First Response Time sets the maximum time within which an agent must respond to a ticket based on its priority. This ensures that customers receive timely acknowledgments and support.
You will have the flexibility to define the response time. These values can be customized to fit your business needs.
4.2. Setting Resolution Time
Resolution time defines the maximum time allowed to resolve a ticket based on priority. By setting clear resolution targets, teams can ensure timely issue handling.
You will have the flexibility to define the resolution time. These values can be customized to fit your business needs.
4.3. Setting Operational Hours
You can choose to have either Business hours or Operational hours.
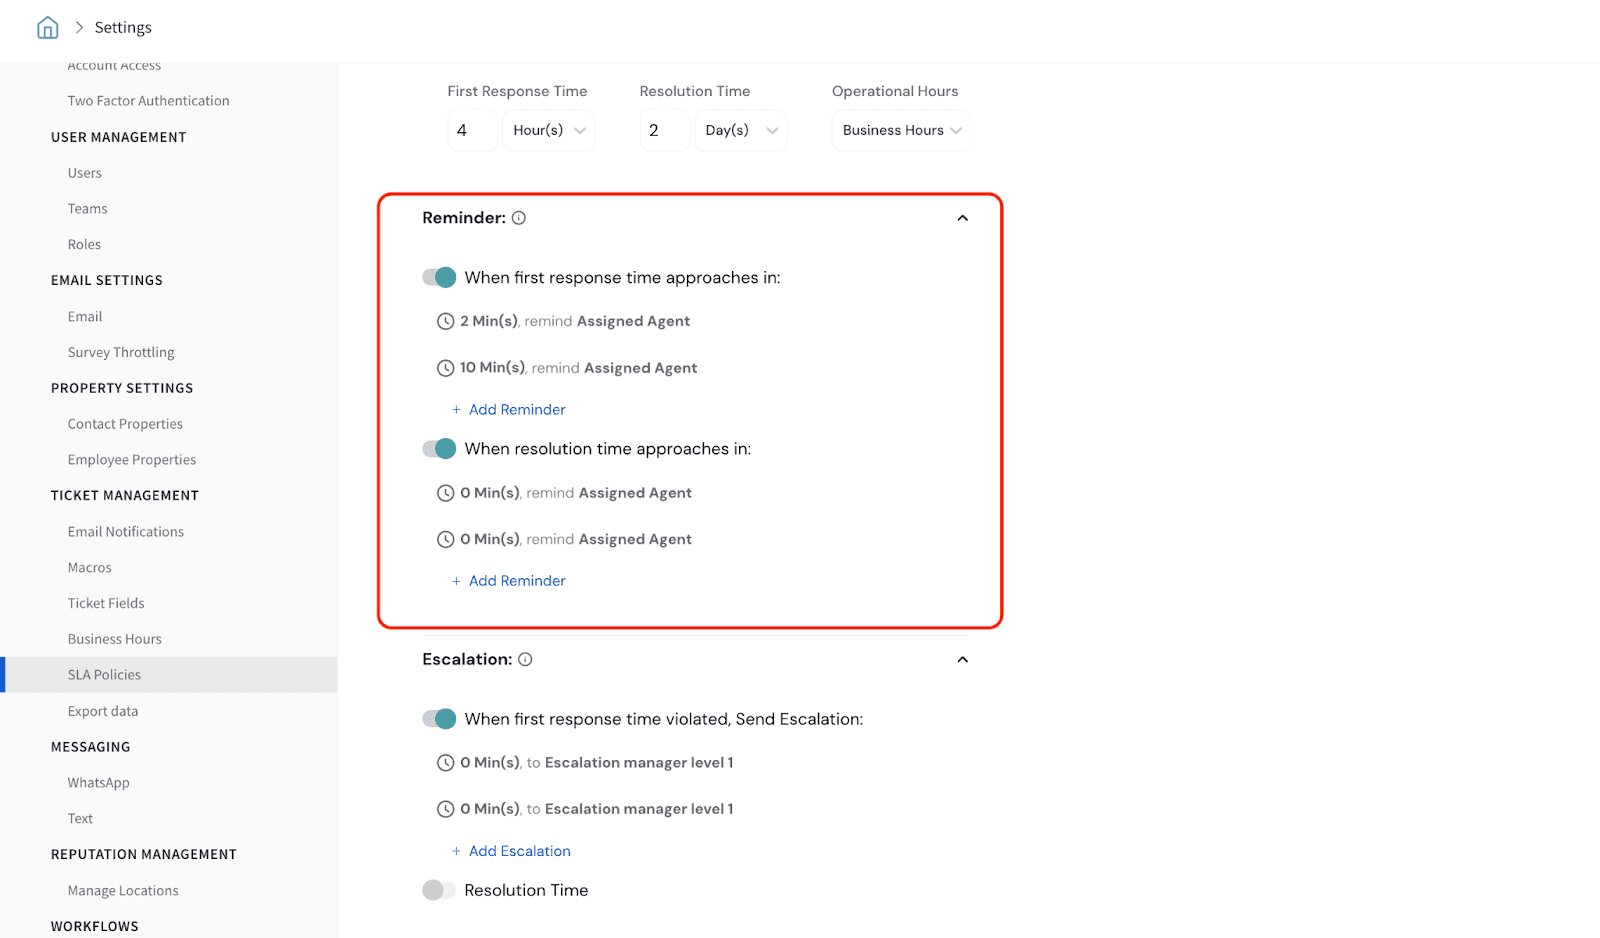
5.Setting Reminders You can add, edit, and delete reminders for both First Response and Resolution times. You can select time intervals from a drop-down.
Ensure Reminder times are lesser than the First Response or Resolution Time. For example, if the First Response Time is 10 minutes, a reminder beyond 10 mins cannot be set.
Note:
No reminders are added by default, and they can only be sent to Assigned Agents.
A maximum of 5 reminders can be added.
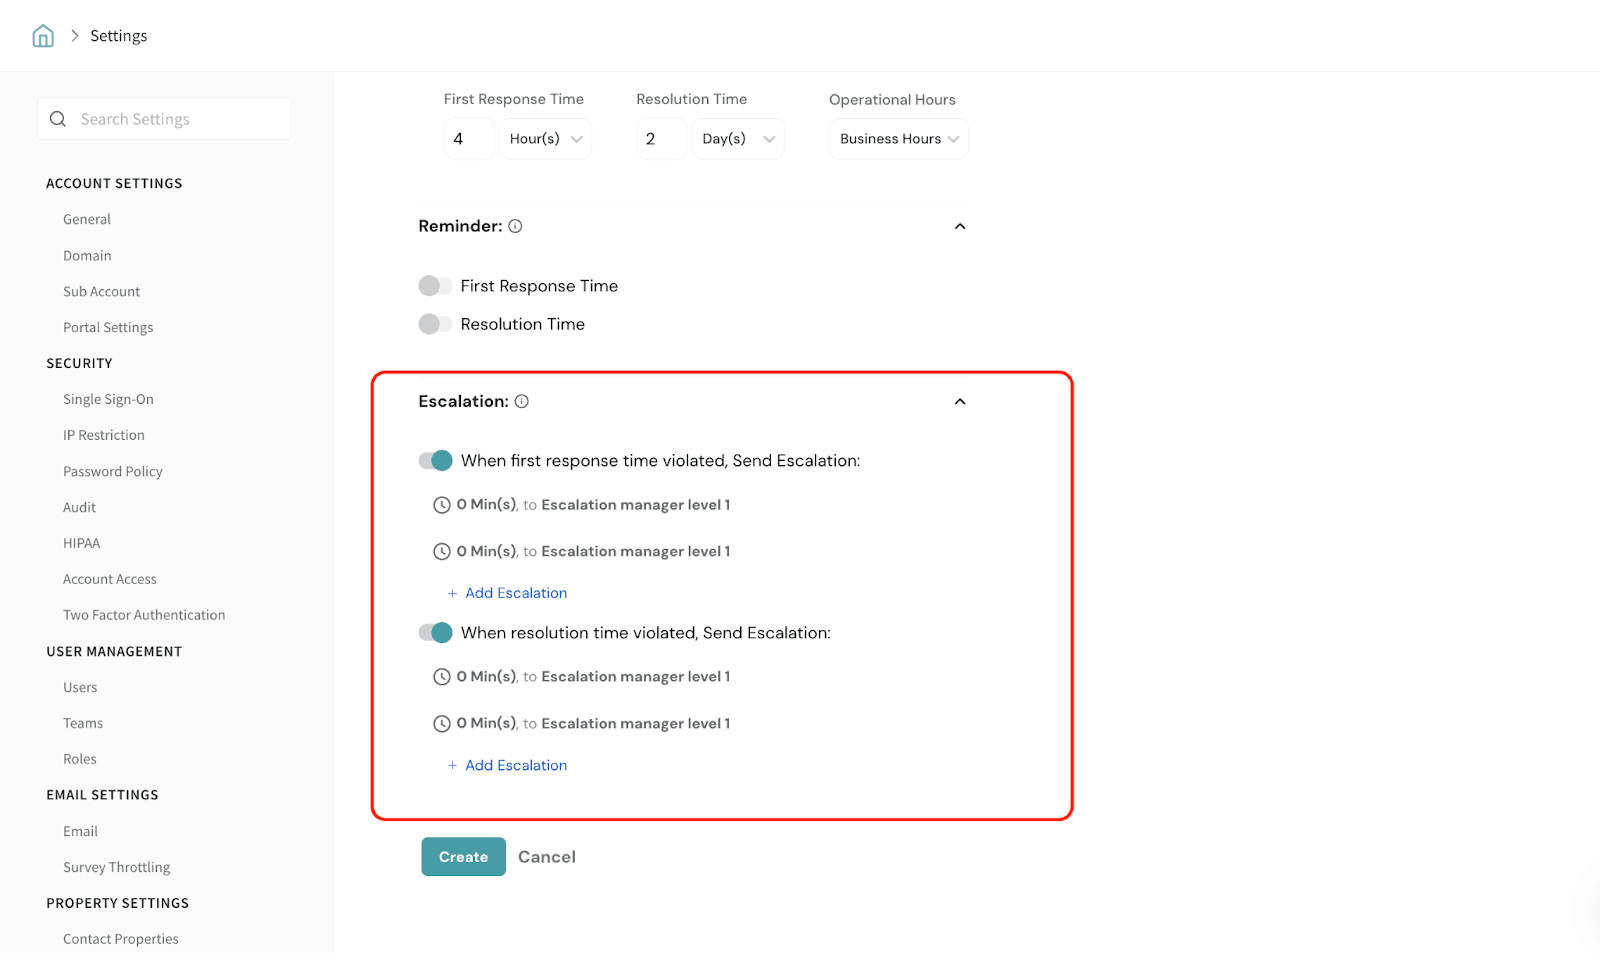
6.Setting Escalations
When the First Response or Resolution Time is violated, escalations can be triggered to ensure timely action. You can add, edit, and delete escalations for both First Response and Resolution.
Note:
Escalations can only be sent to the Supervisor.
There will be no escalation added by default
7. Click on Create after updating all details.
That’s all about creating SLA.
Feel free to reach out to our community if you have questions.