
Distributing surveys via QR code

When you want to collect feedback in real world interactions (eg: events, conventions, cash counters, restaurants, product packaging), a QR code lets respondents access surveys with zero friction. Instead of asking customers or participants to manually type out long URLs or open email invitations, a simple smartphone scan routes them straight to the survey form in seconds.
SurveySparrow lets you create QR codes to distribute your surveys. You can use these QR codes in digital content like slides and posters, or printed materials like ID cards, banners, warranty cards and more. In this article, you’ll learn how to create a QR code for your survey and export it.
Note: You can create QR codes for the following survey categories:
- Classic surveys
- Conversational surveys
- NPS surveys
- CSAT surveys
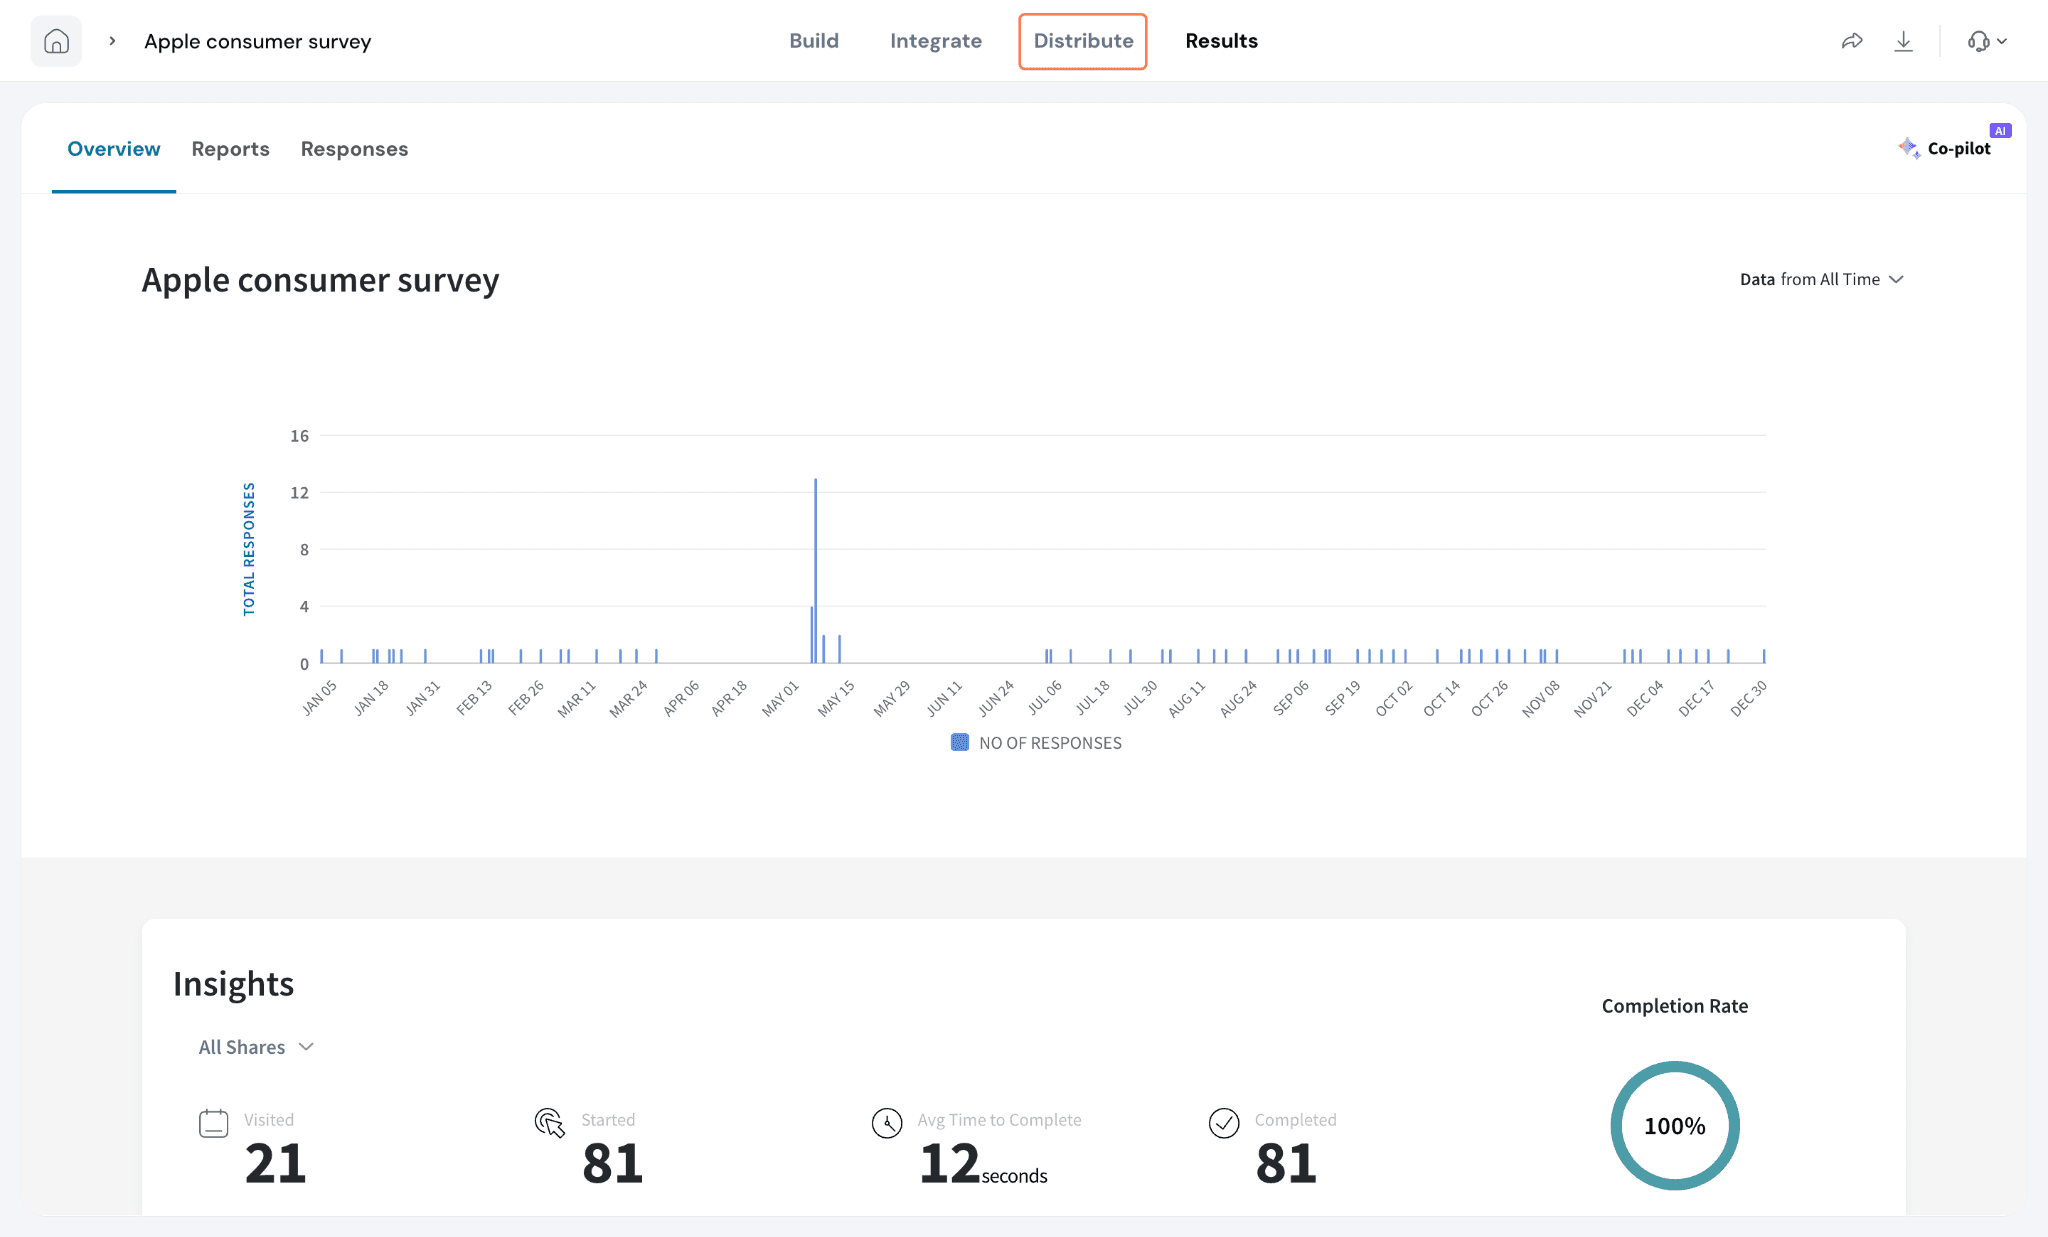
- Open your survey and head to the Distribute section.
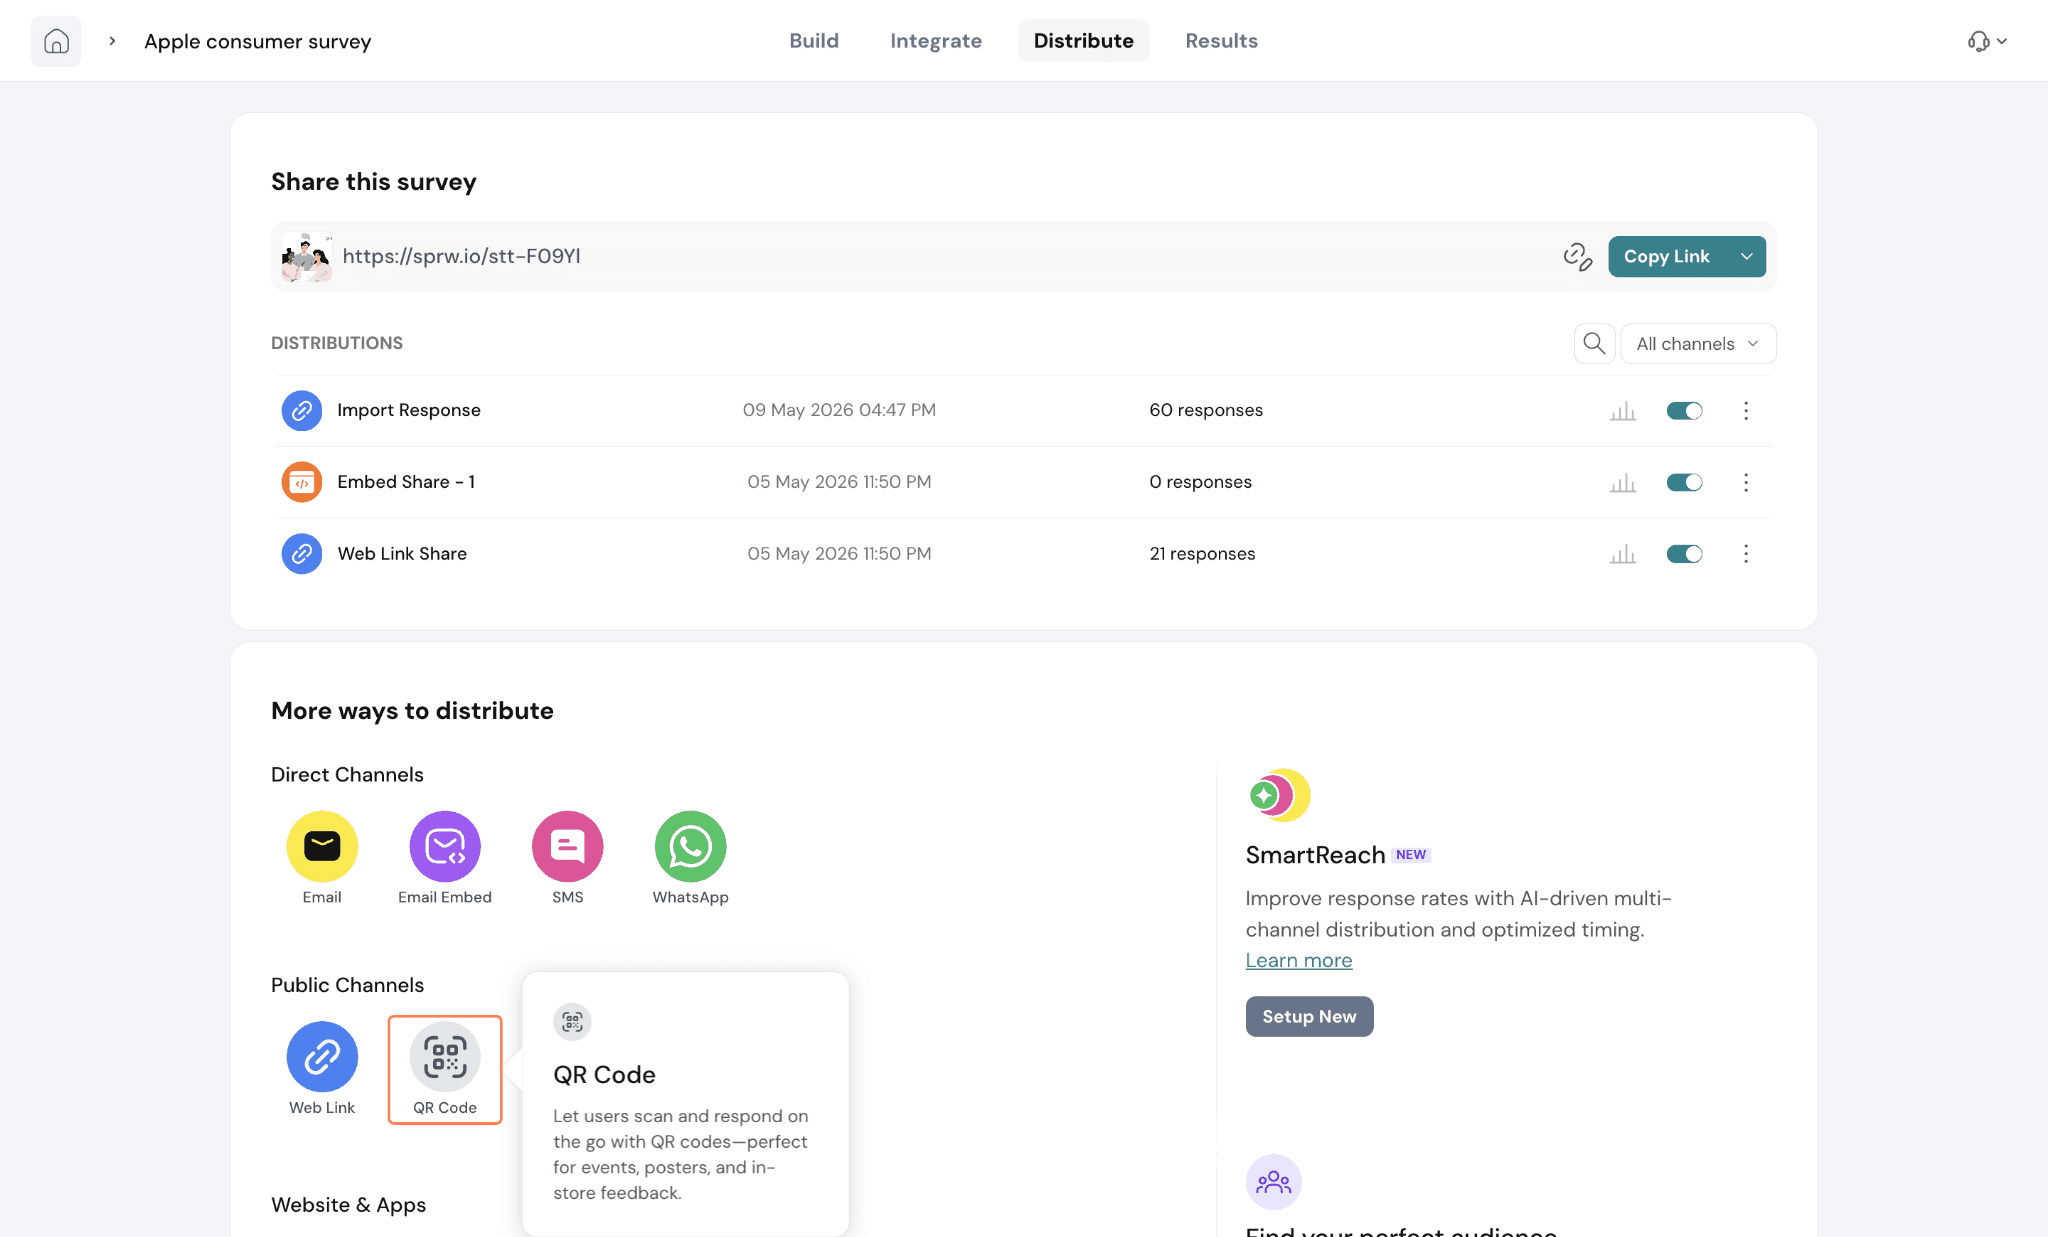
- In the Distribute section, you’ll see all the existing share channels (and their stats), as well as the options to create new share channels. Scroll down till you see Public Channels, then click on QR Code.
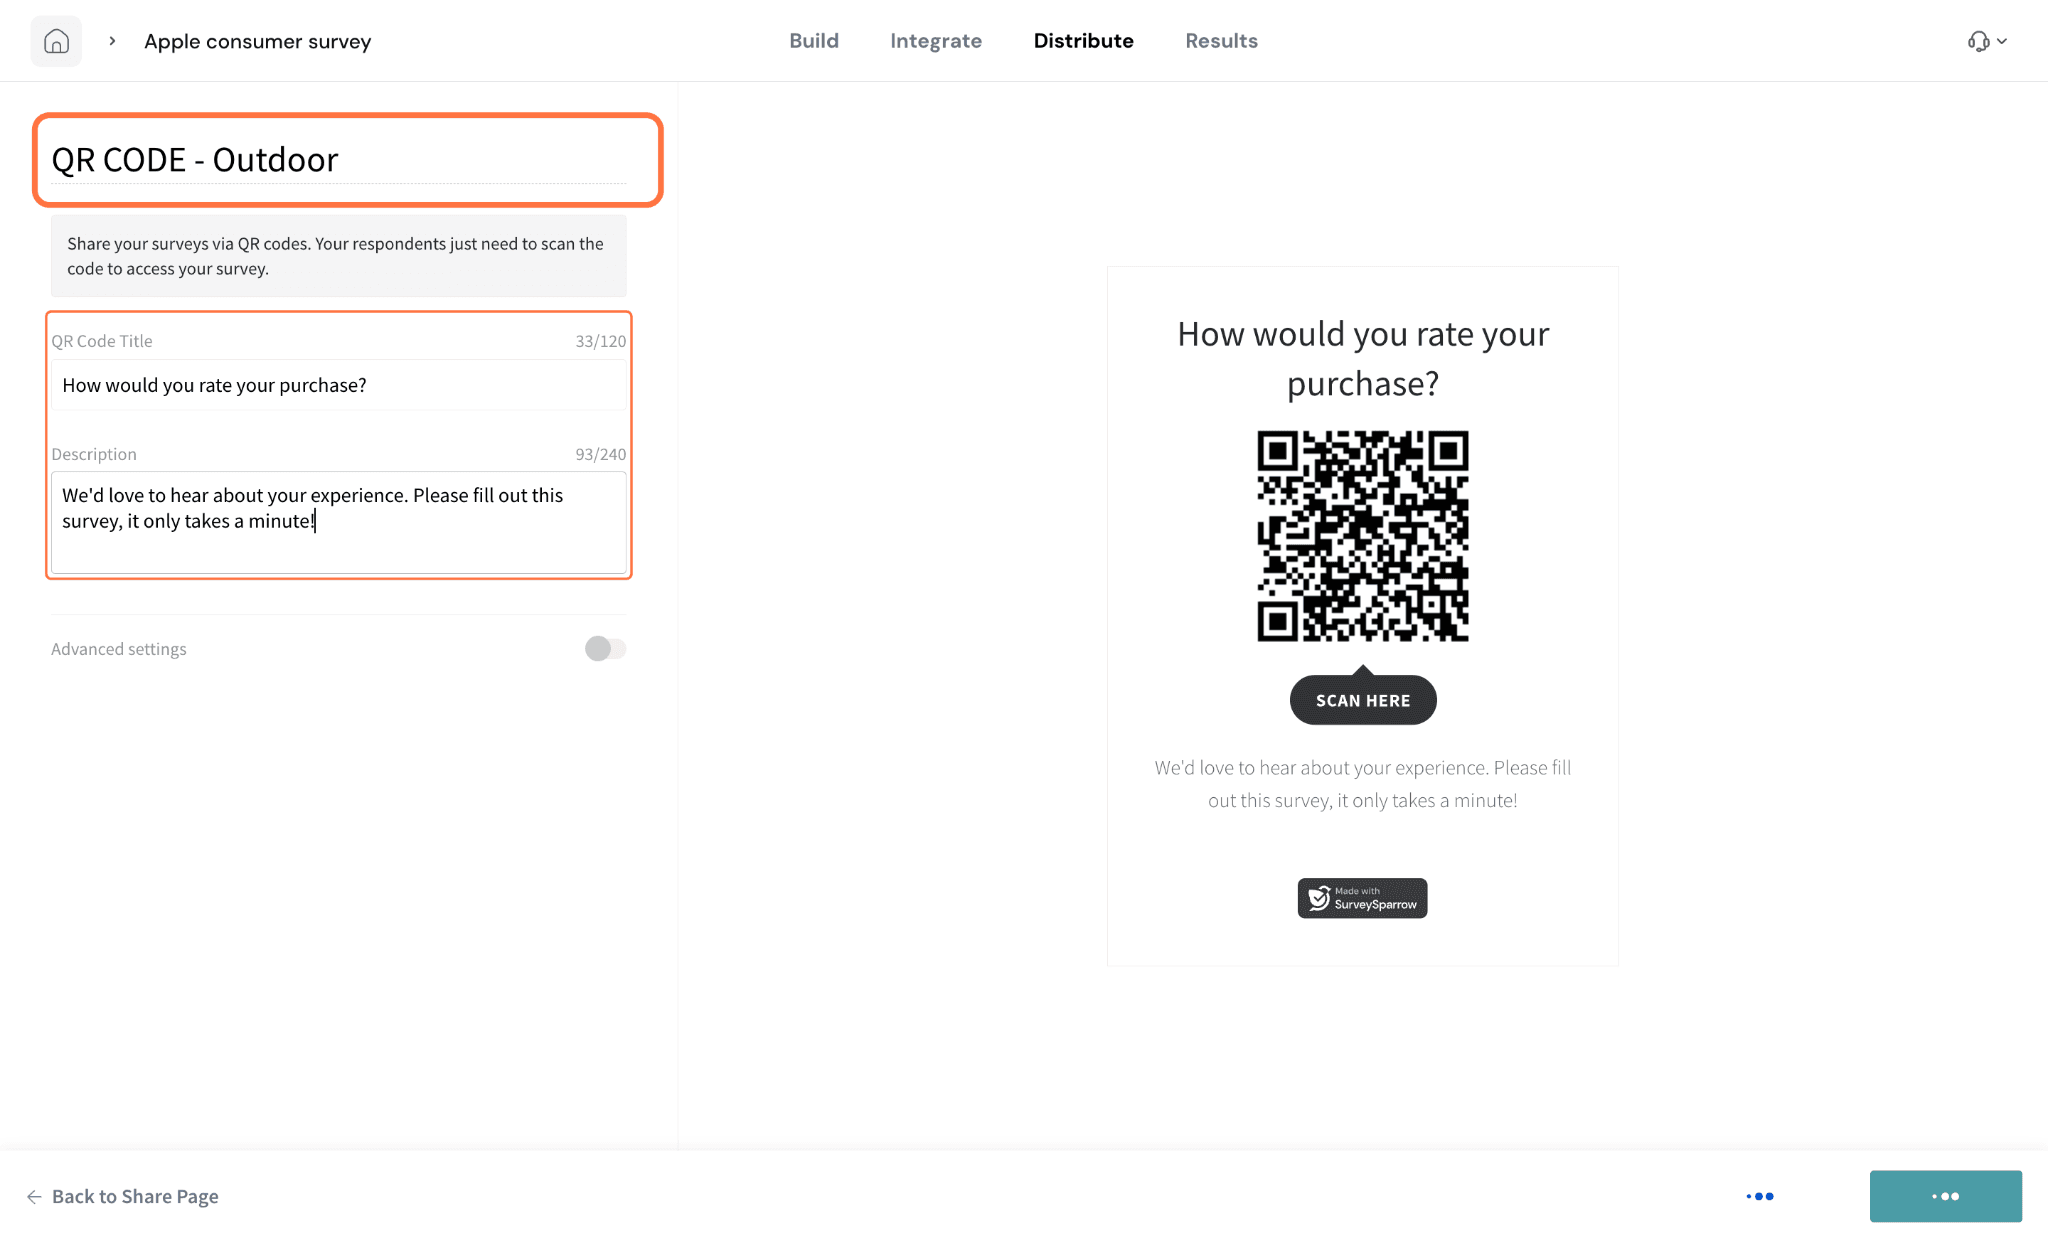
- Inside the QR code configuration screen, you’ll see a preview of the QR code on the right, with the controls on the left. If you want a designed file that you’d like to print and display, and not just a QR code, SurveySparrow lets you add a title and description (with placeholder text). Start by naming the share (optional), as well as the QR Code Title and Description.
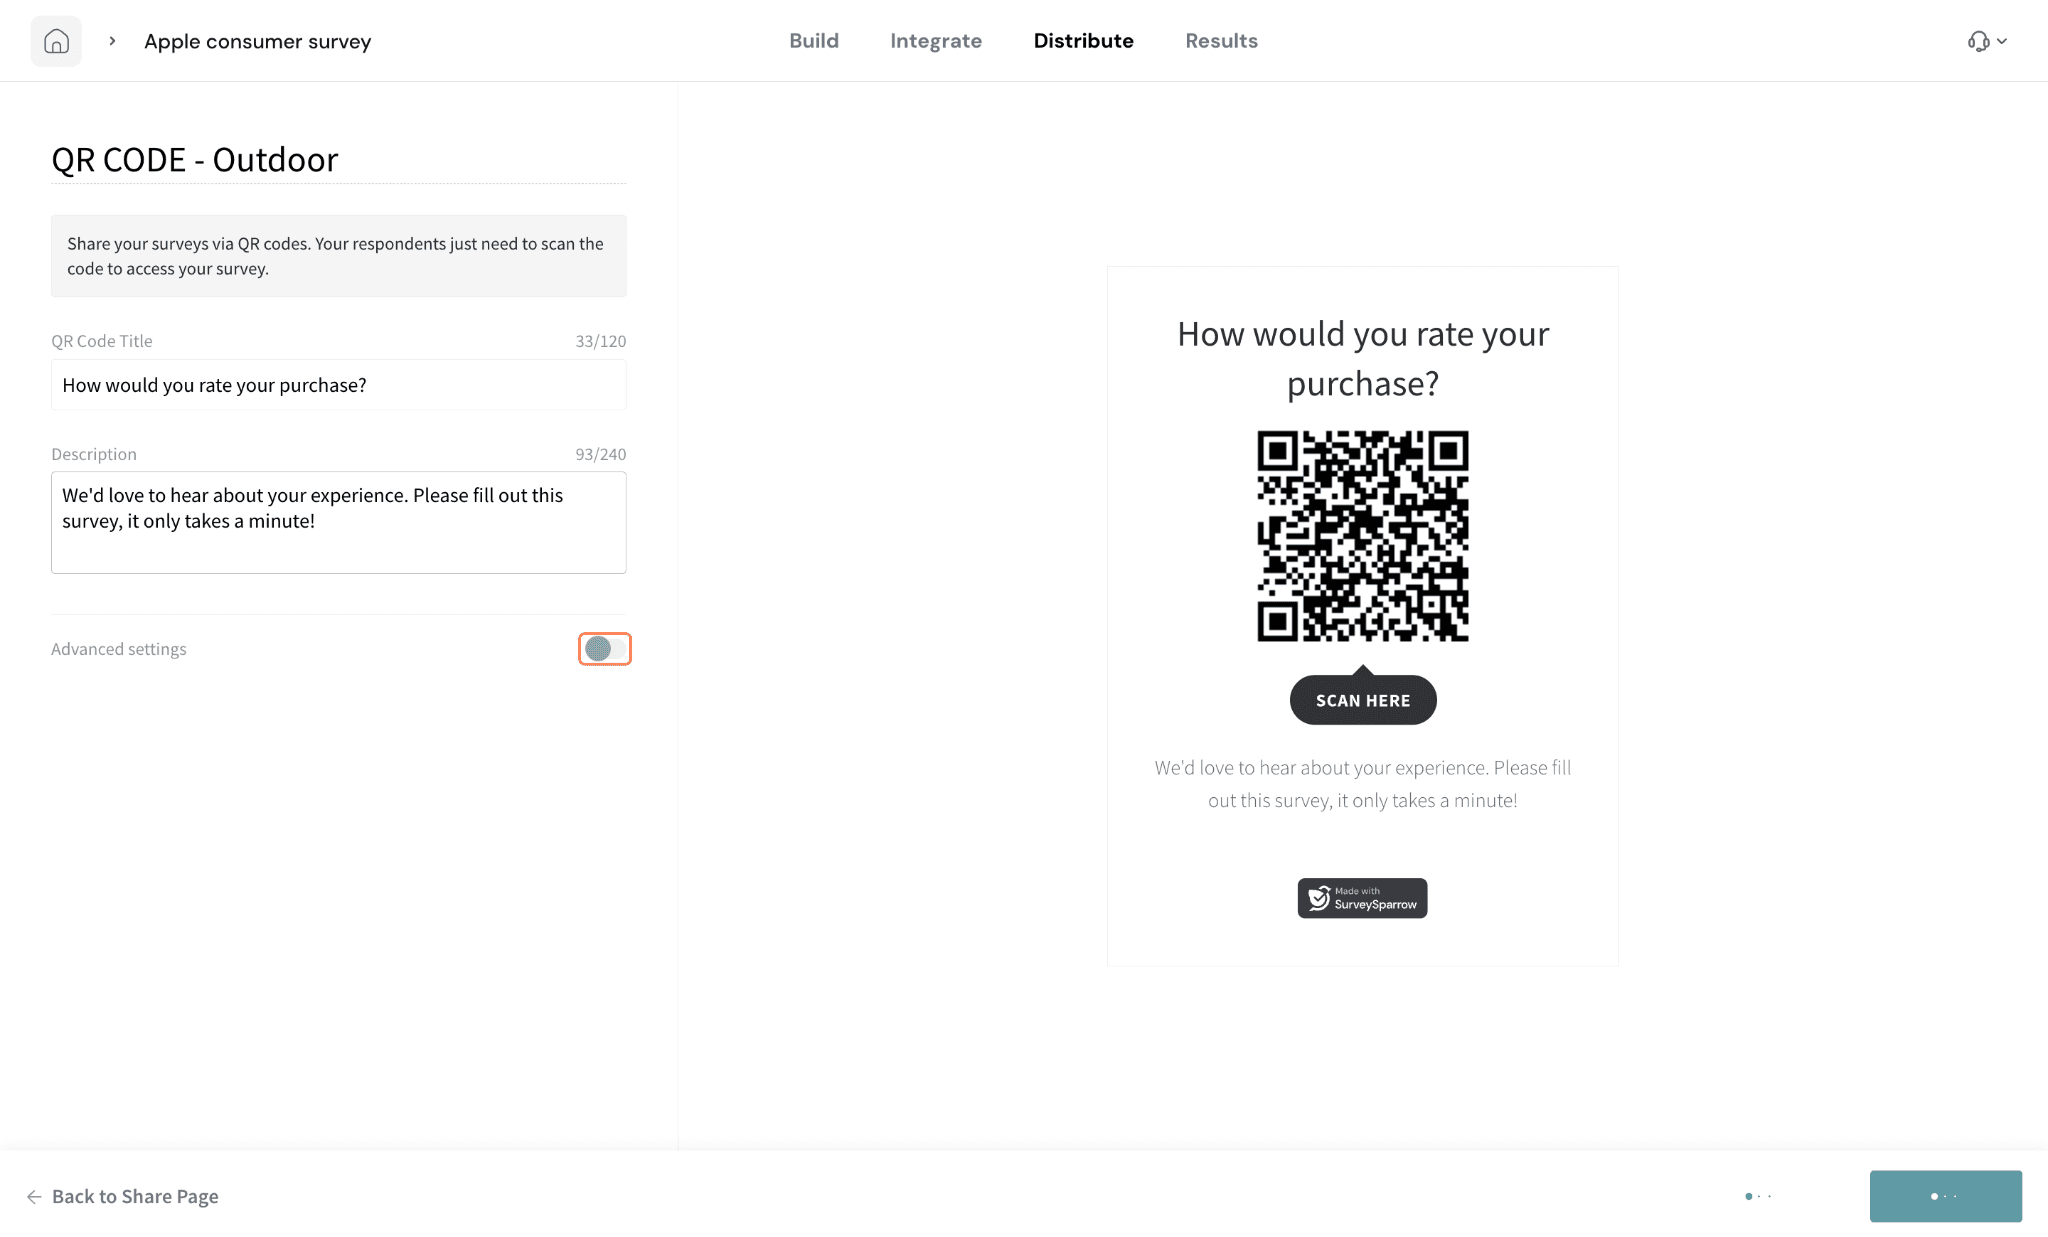
- If you’d like to go beyond cosmetic changes, click on the Advanced settings toggle.
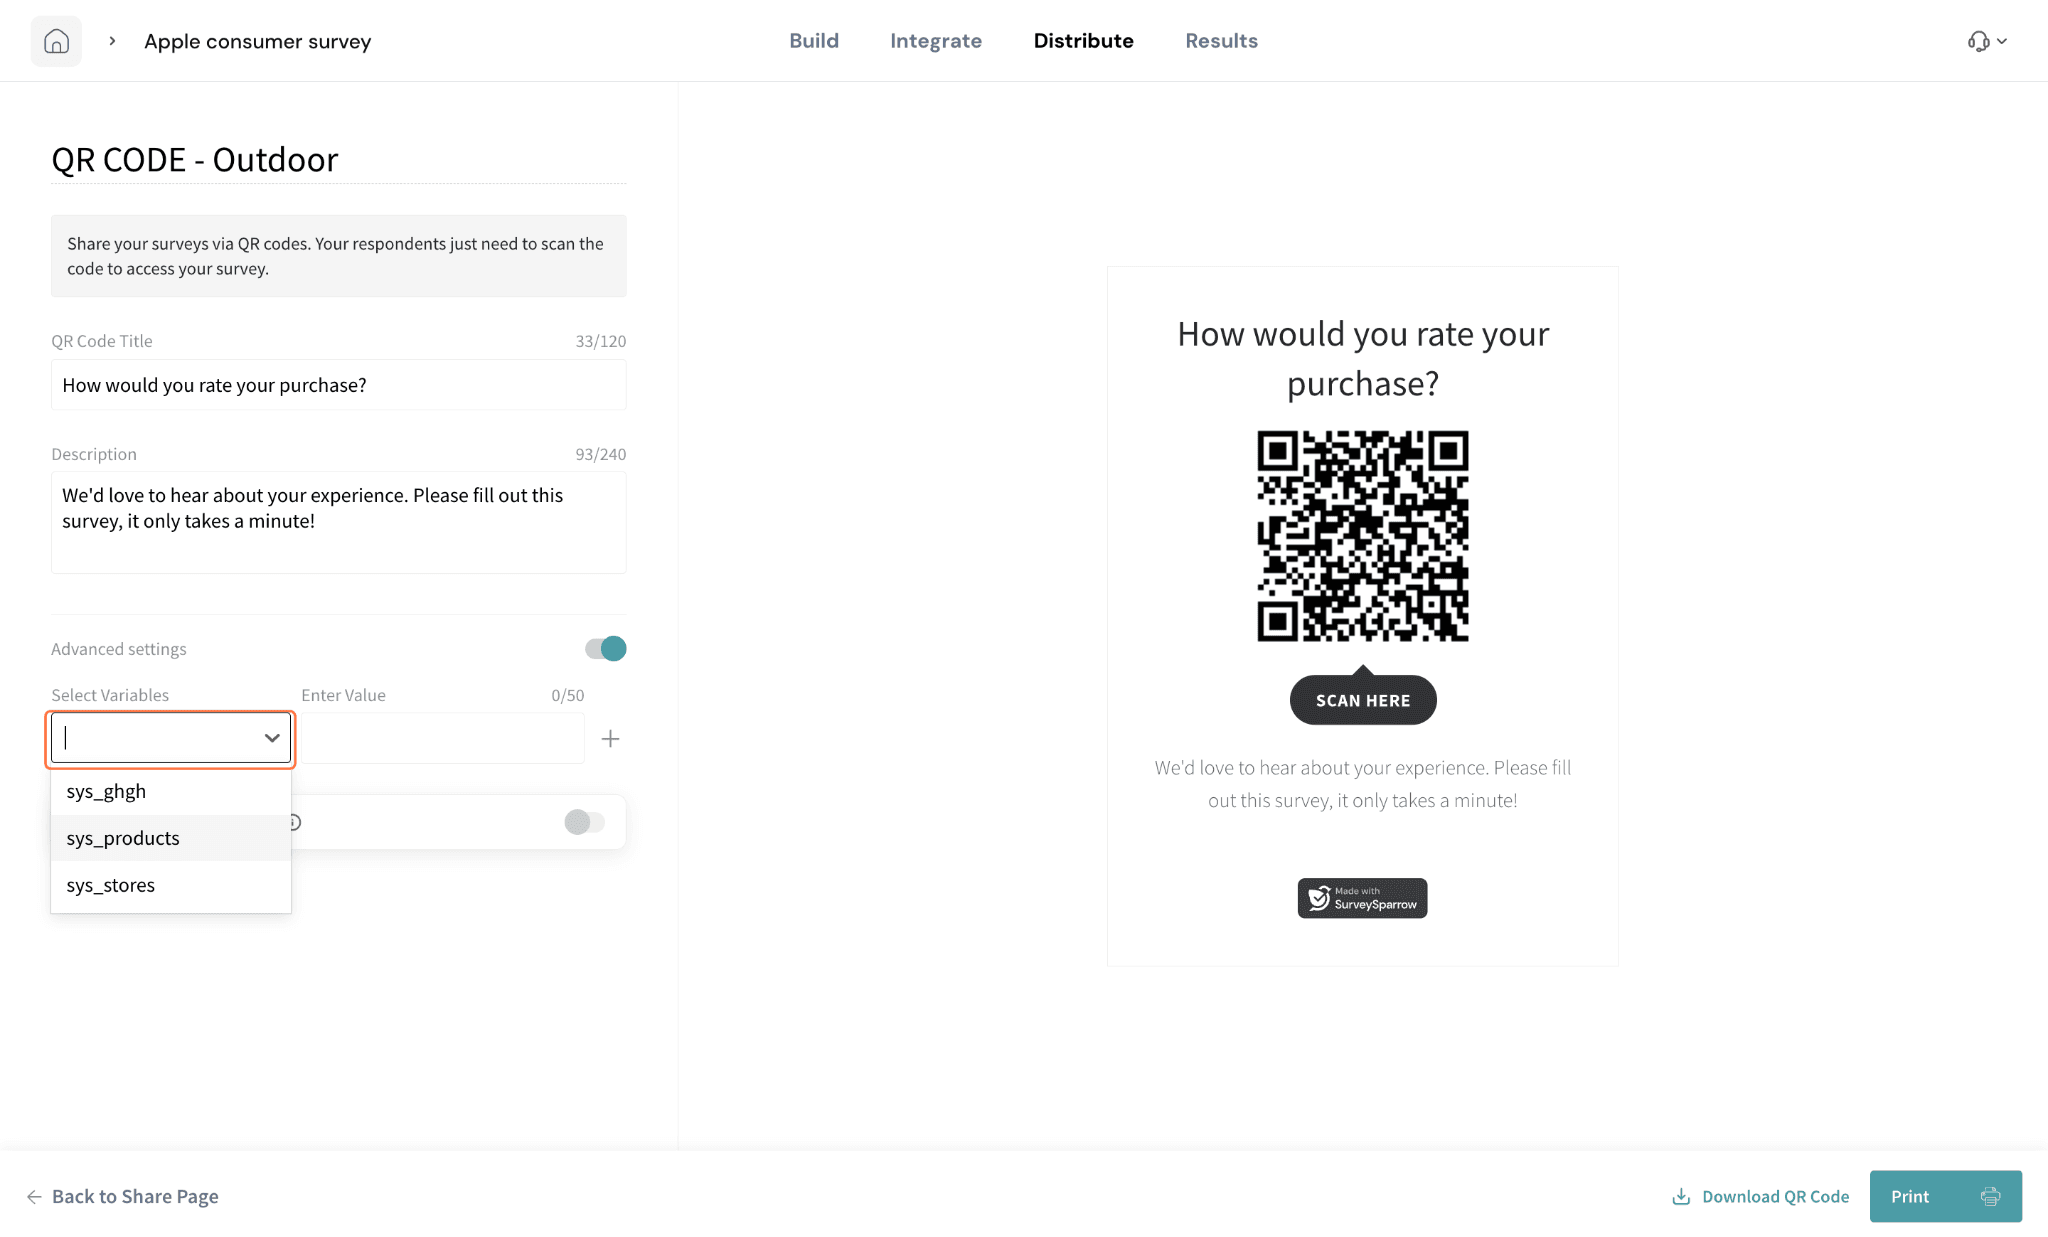
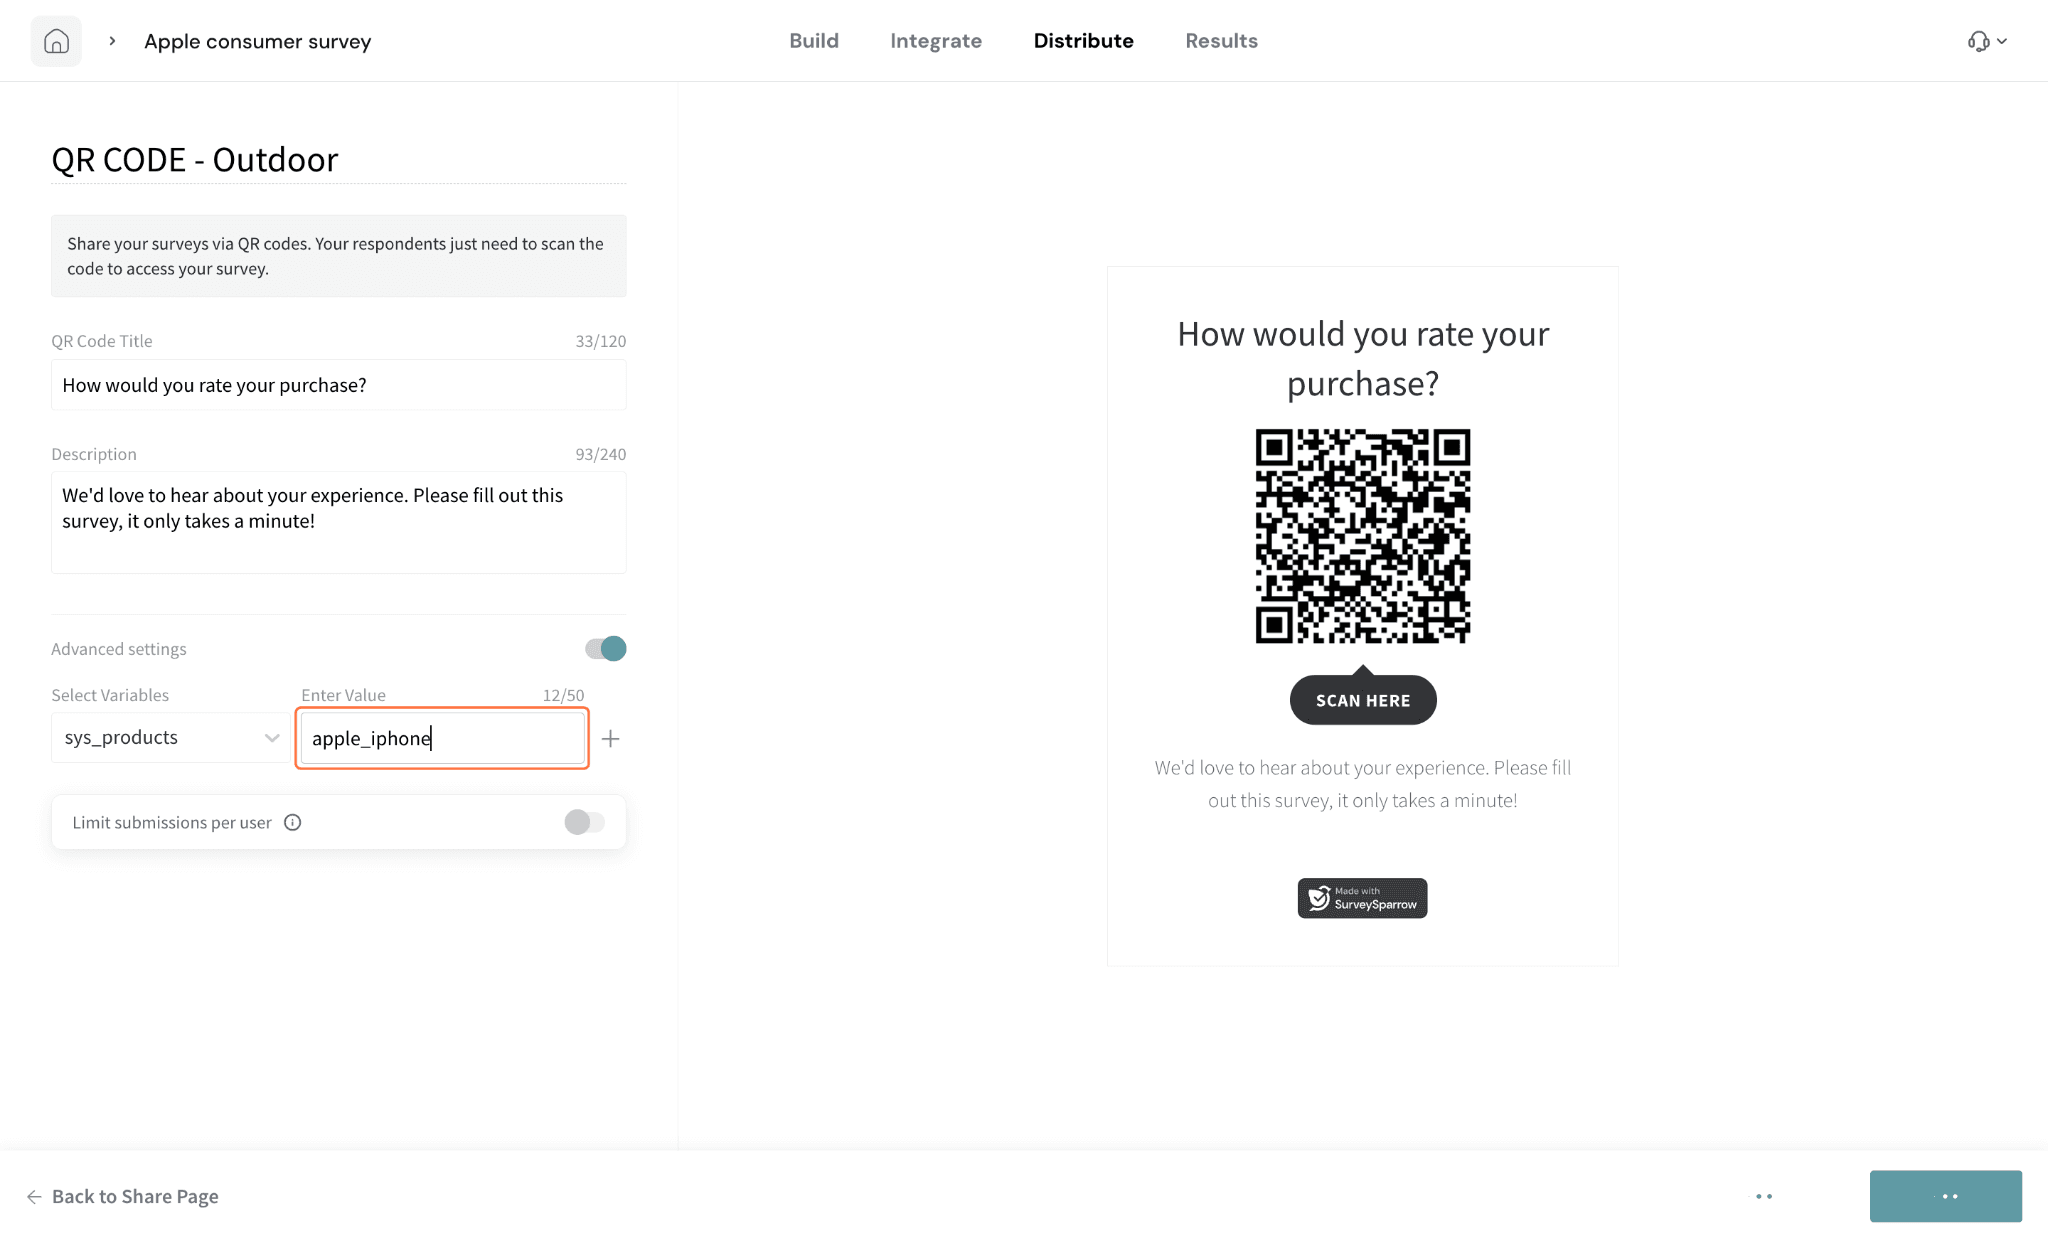
- The first thing you can configure here is adding variables to the URL of your QR code share (see How to use Global Variables). Click on the drop-down and choose a variable, then place in a value for that variable. You can add multiple variables.
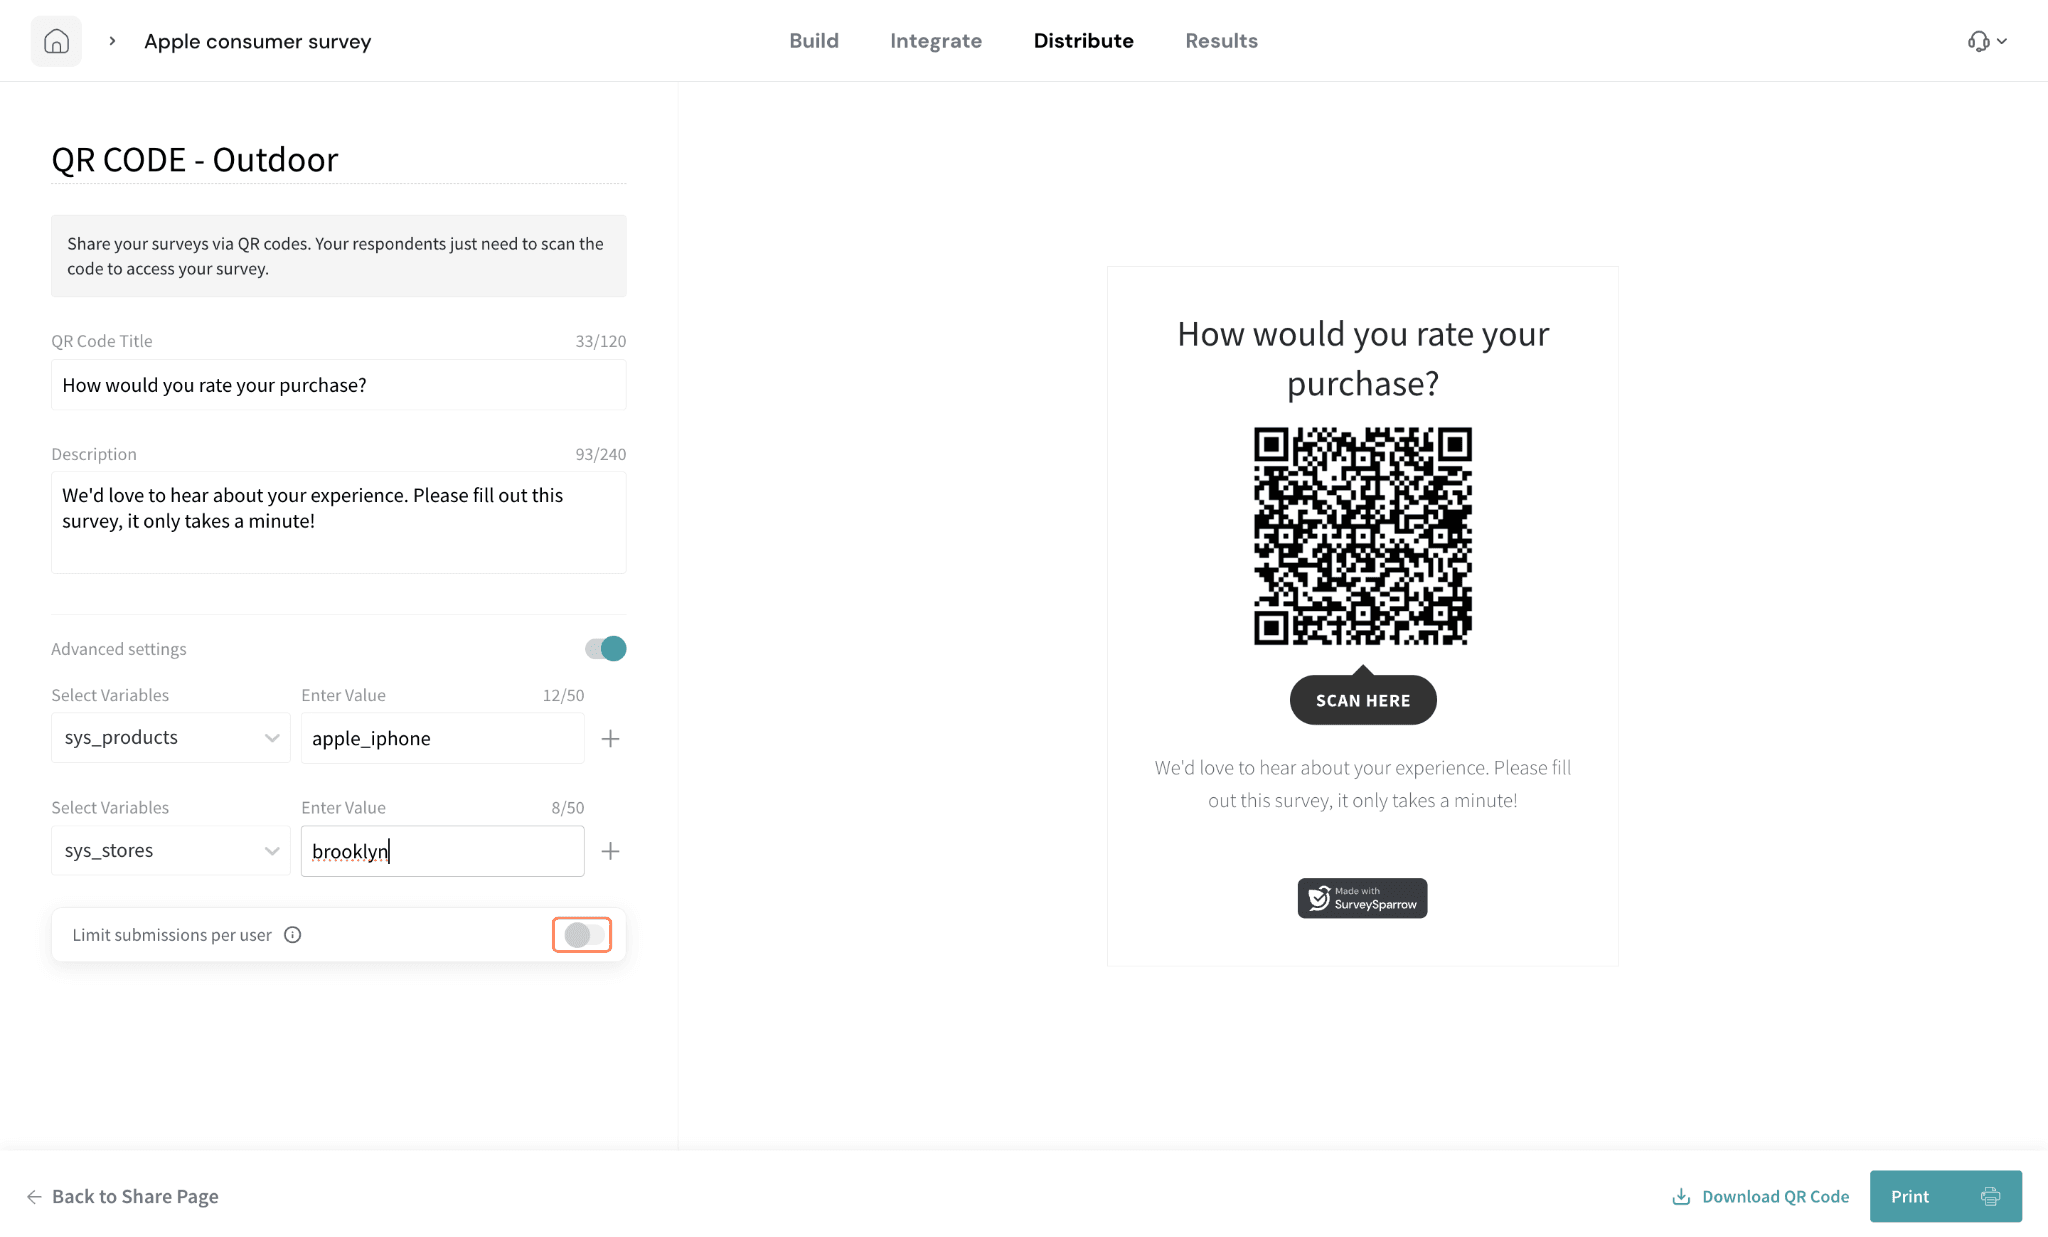
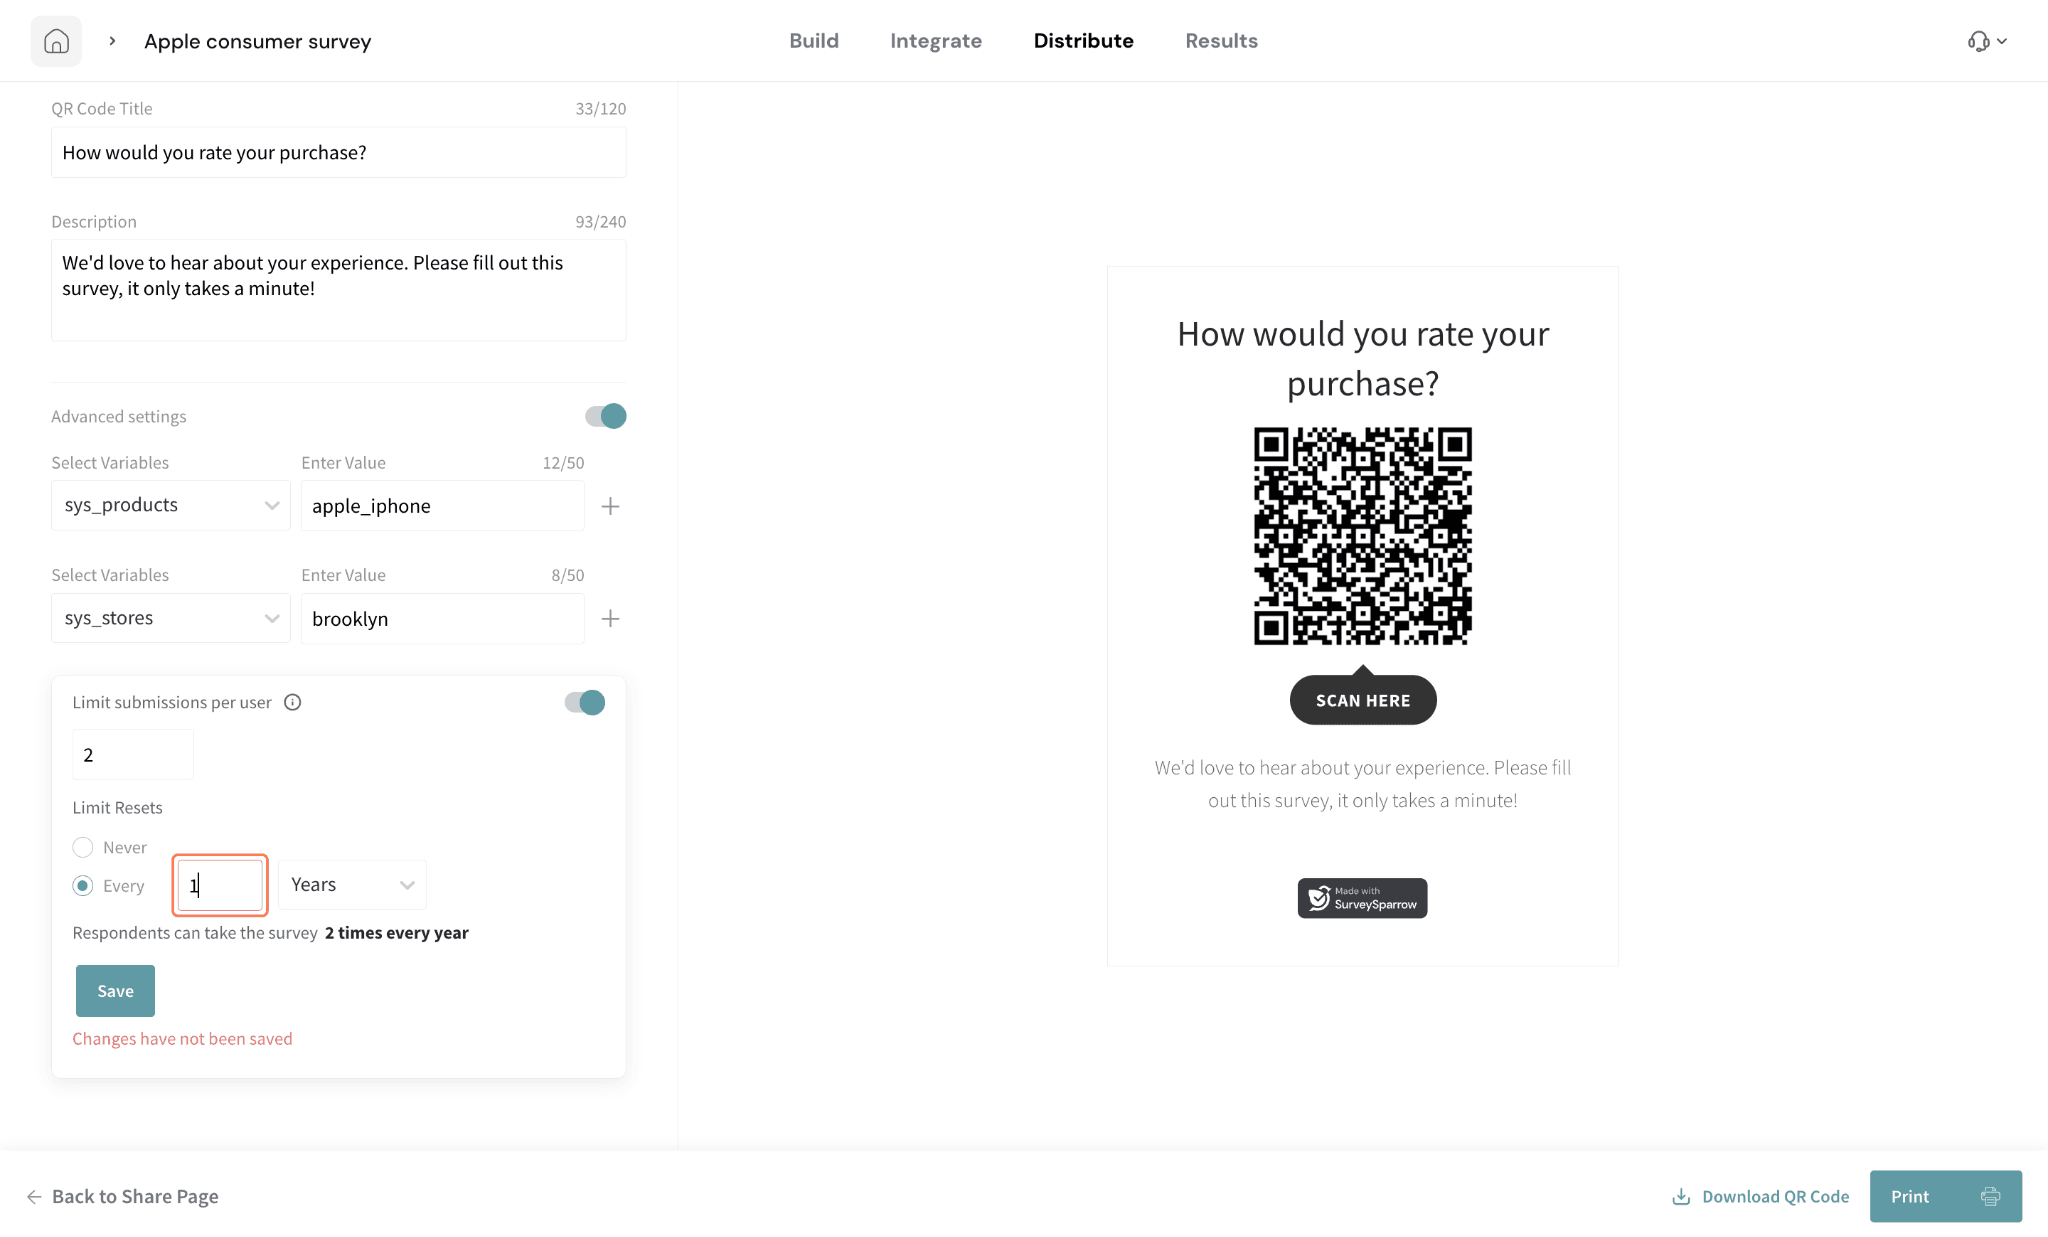
- Next, if you want each respondent to only submit a specific number of responses, click on the toggle next to Limit submissions per user.
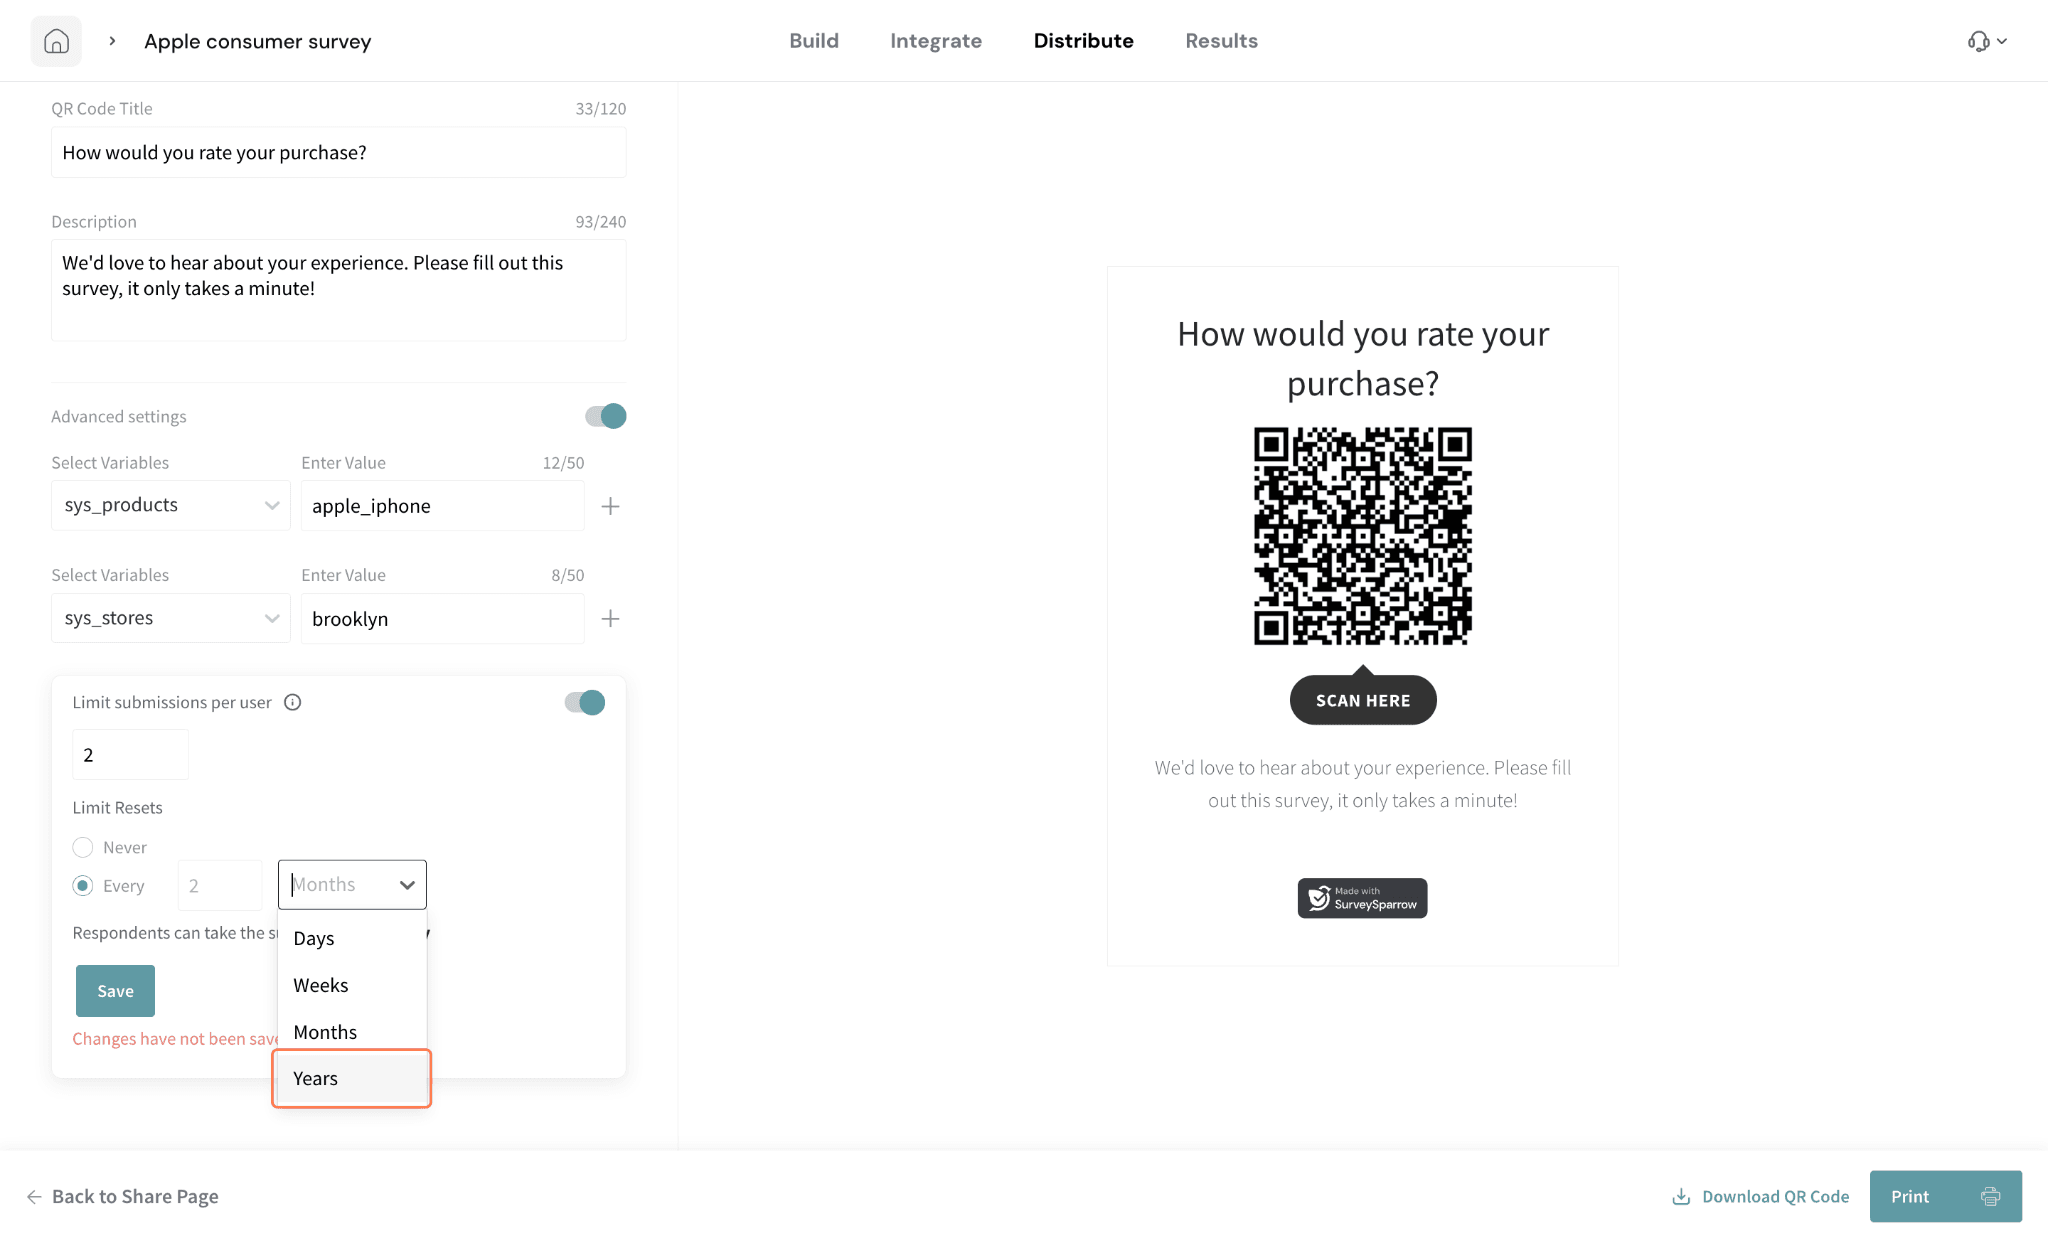
- You can set the following:
- the number of responses that a respondent can submit
- if the limit resetsif the limit rests, how often (days/weeks/months/years)
Once done, click on Save.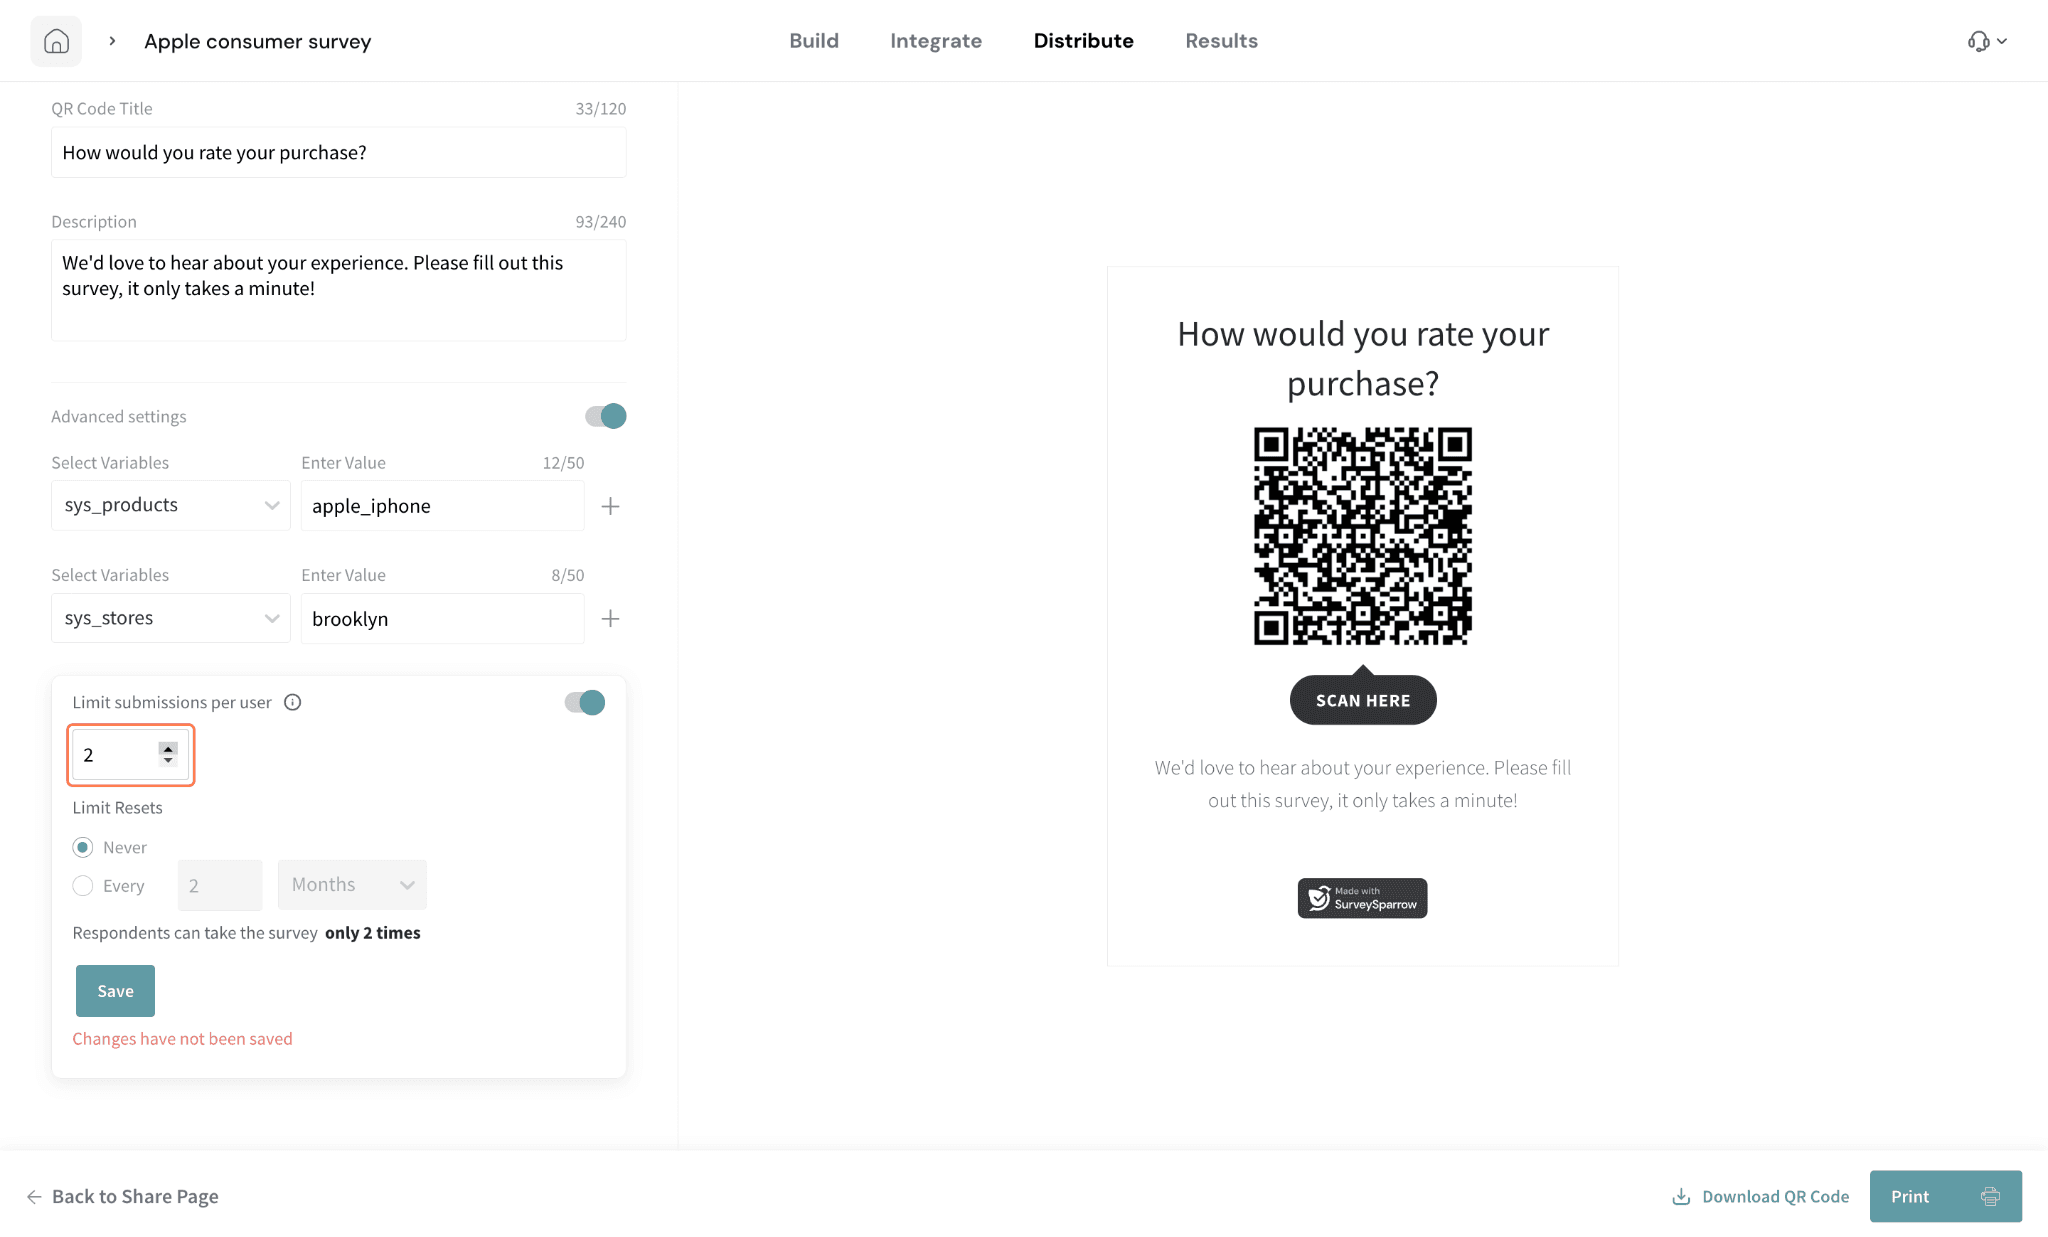
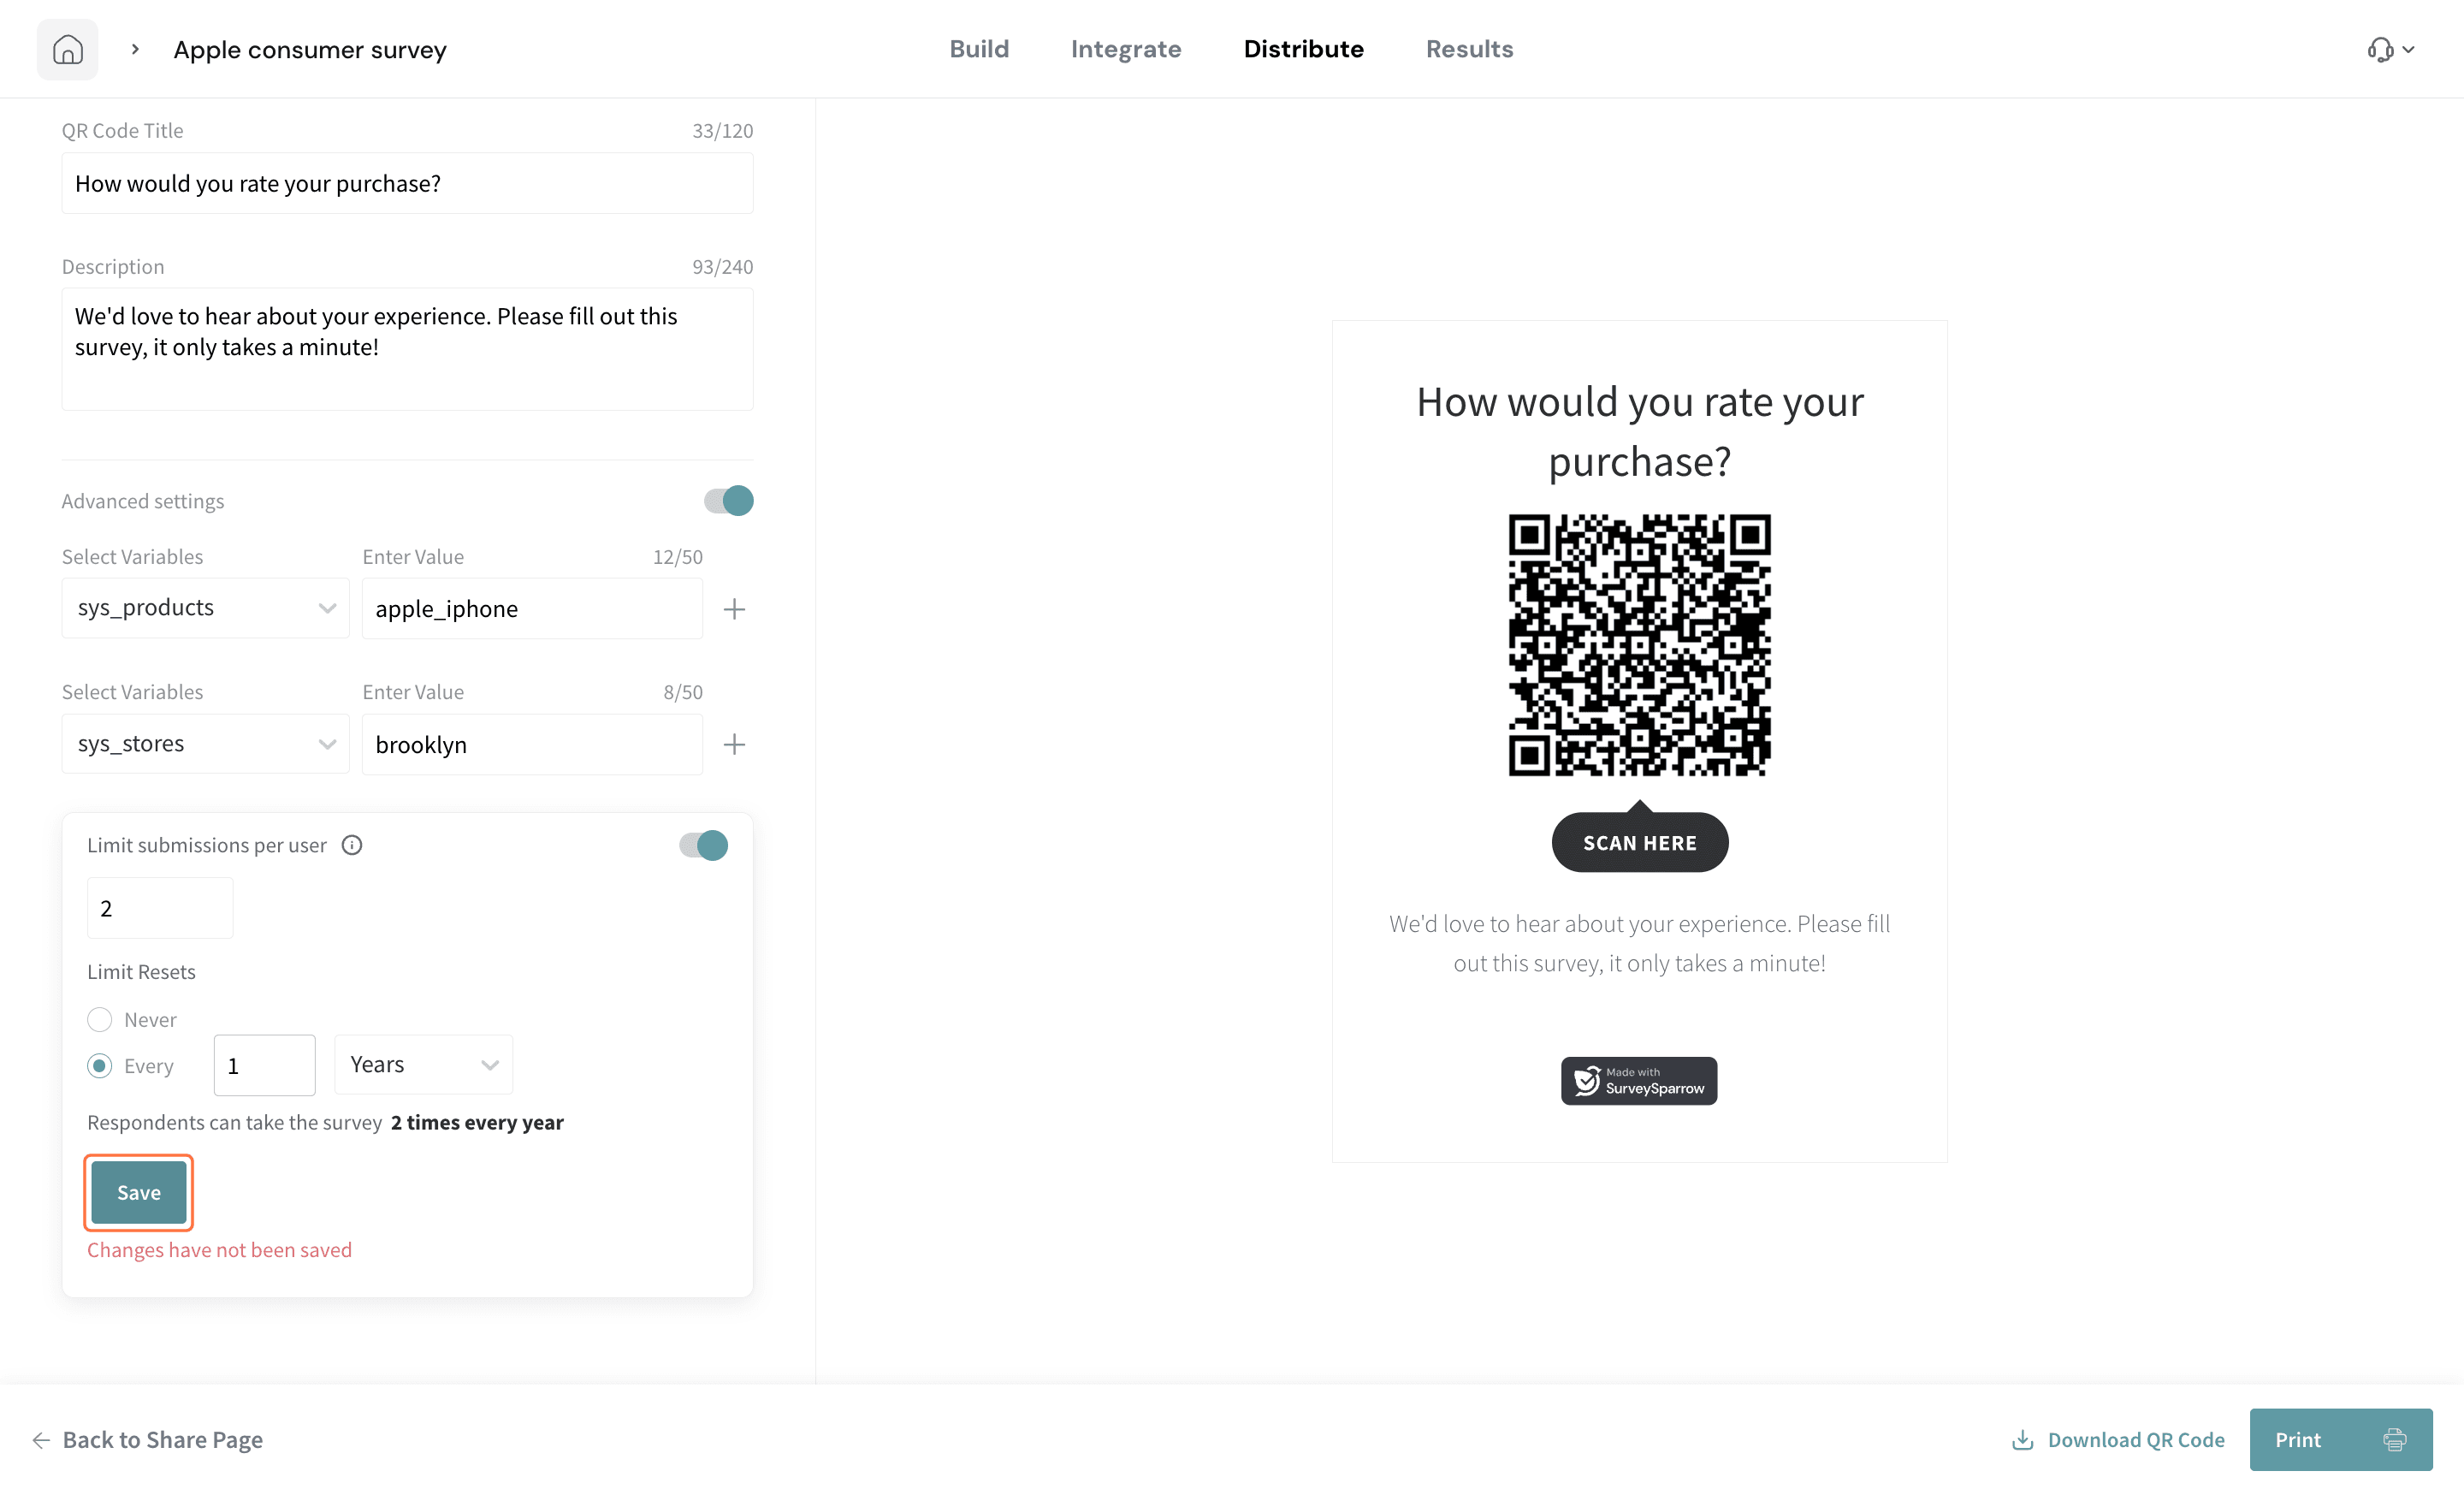
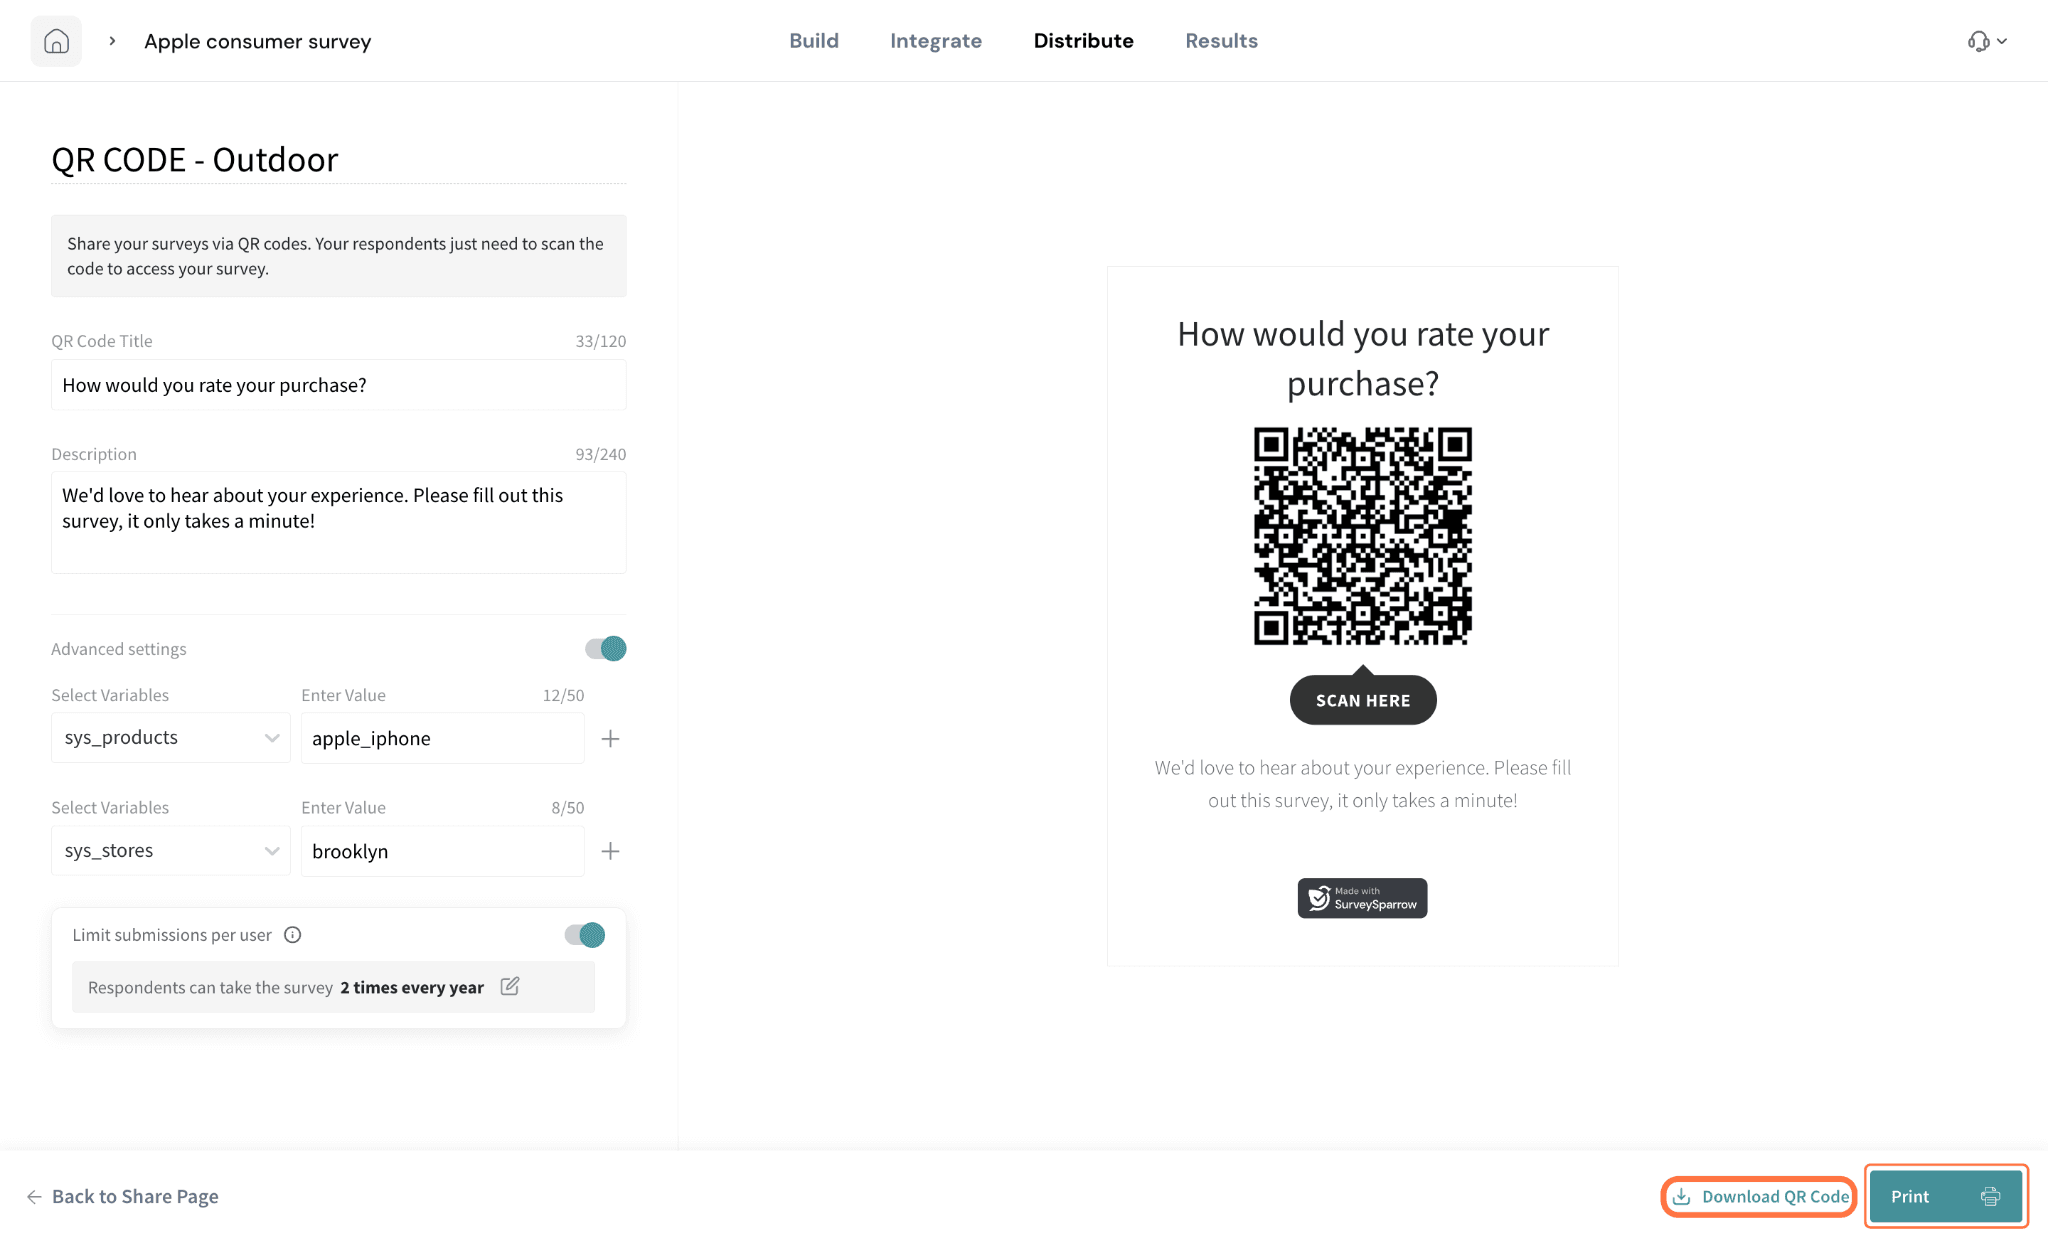
- Now the QR code is ready to use. If you only want the QR code and not the entire design file, click on Download QR Code, and you’ll get a PNG. If you want the entire design, click on Print, and you’ll get a PDF.
- Back in the Distribute section, you can see the number of responses that your survey has received via QR code.
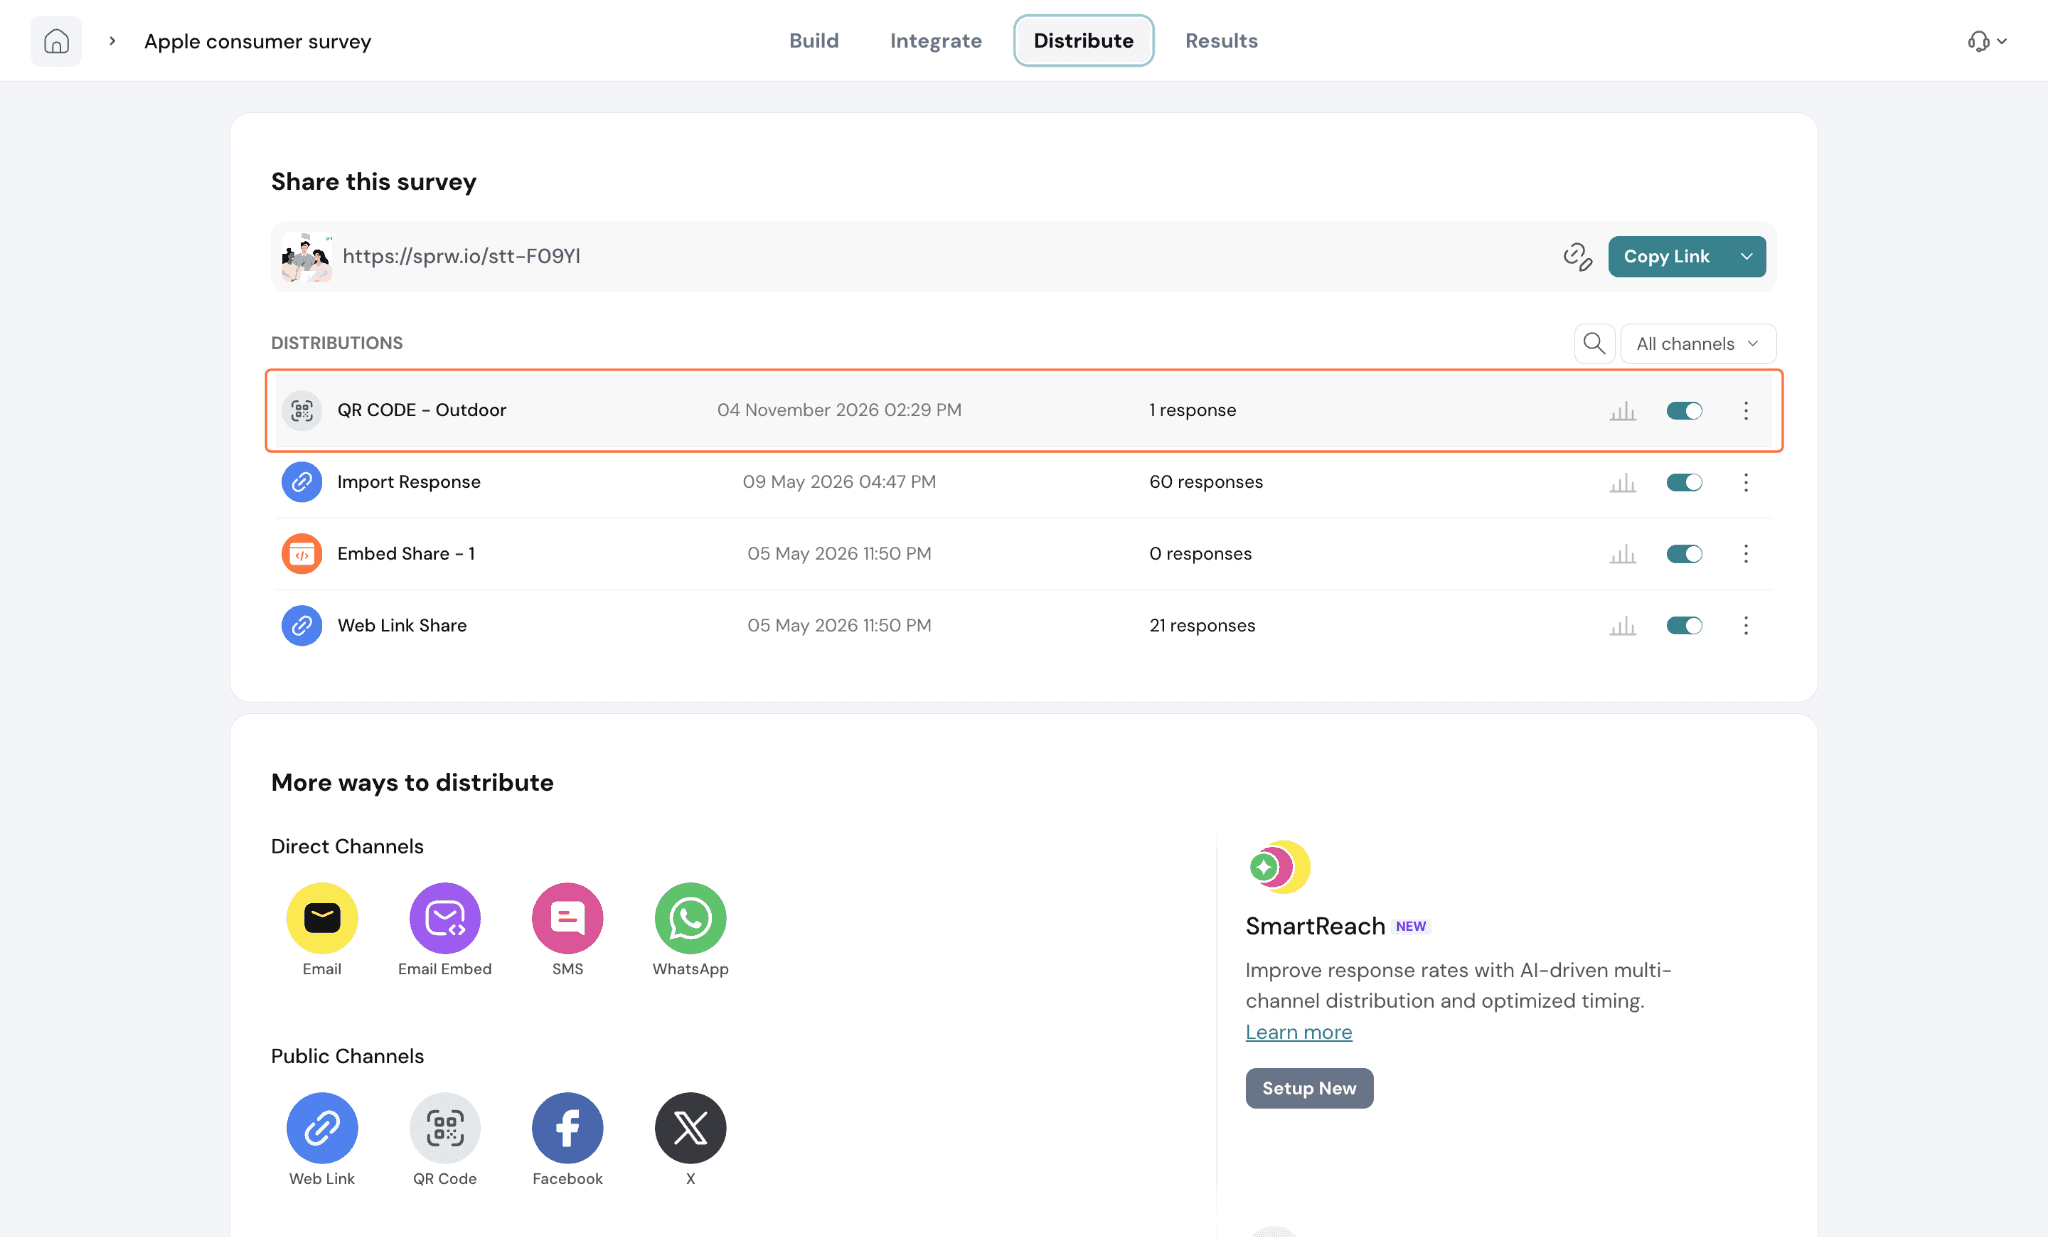
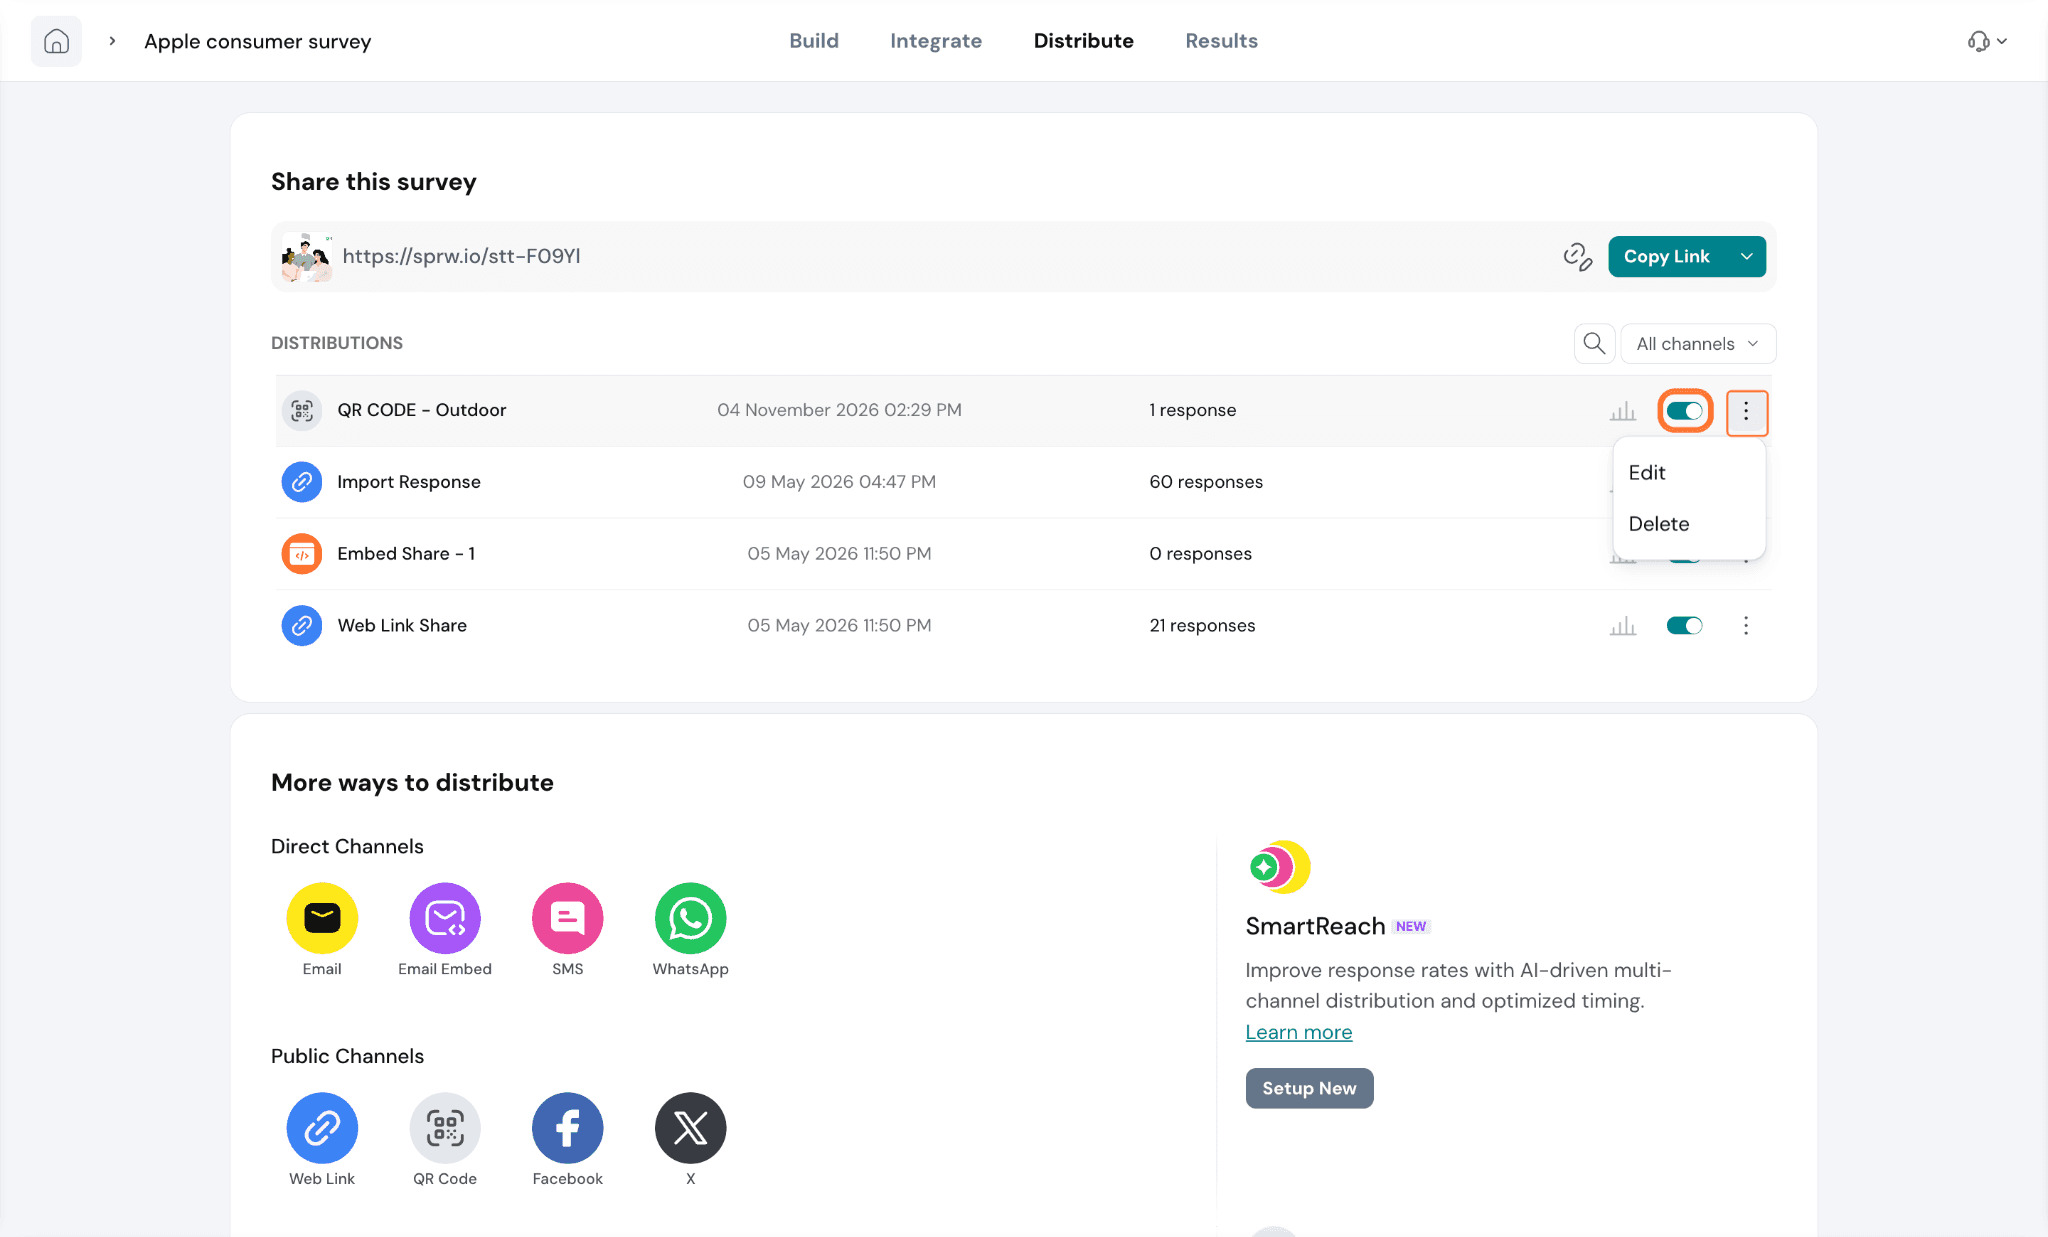
- To temporarily deactivate the QR code, click on the green toggle. To edit it or permanently delete it, click on the kebab menu icon next to it, and choose from the options.
Troubleshooting
1. Account access: If selecting QR Code shows an upgrade message, your account does not currently have access to that sharing option. Contact your account administrator or SurveySparrow Support to confirm availability.
2. Test before printing: Scan the downloaded QR code with a phone and confirm it opens the correct survey. Complete a test response and check that it appears in your survey results. Print one sample at the intended size and scan it again before printing multiple copies. If the code scans but the survey cannot be completed, open the survey link directly to check whether the problem is with survey access rather than the printed code.
Feel free to reach out to our support team in case of any questions!
Was this helpful?