How to set actions in Echo

Train Echo on how you want it to act and close the loop automatically.
Choose what happens when feedback needs attention, from creating support tickets to notifying the right team. Echo takes action with the full conversation context, so nothing gets lost.
Navigate to the Actions tab to give your agent the ability to take action during conversations. Actions are organised into four categories: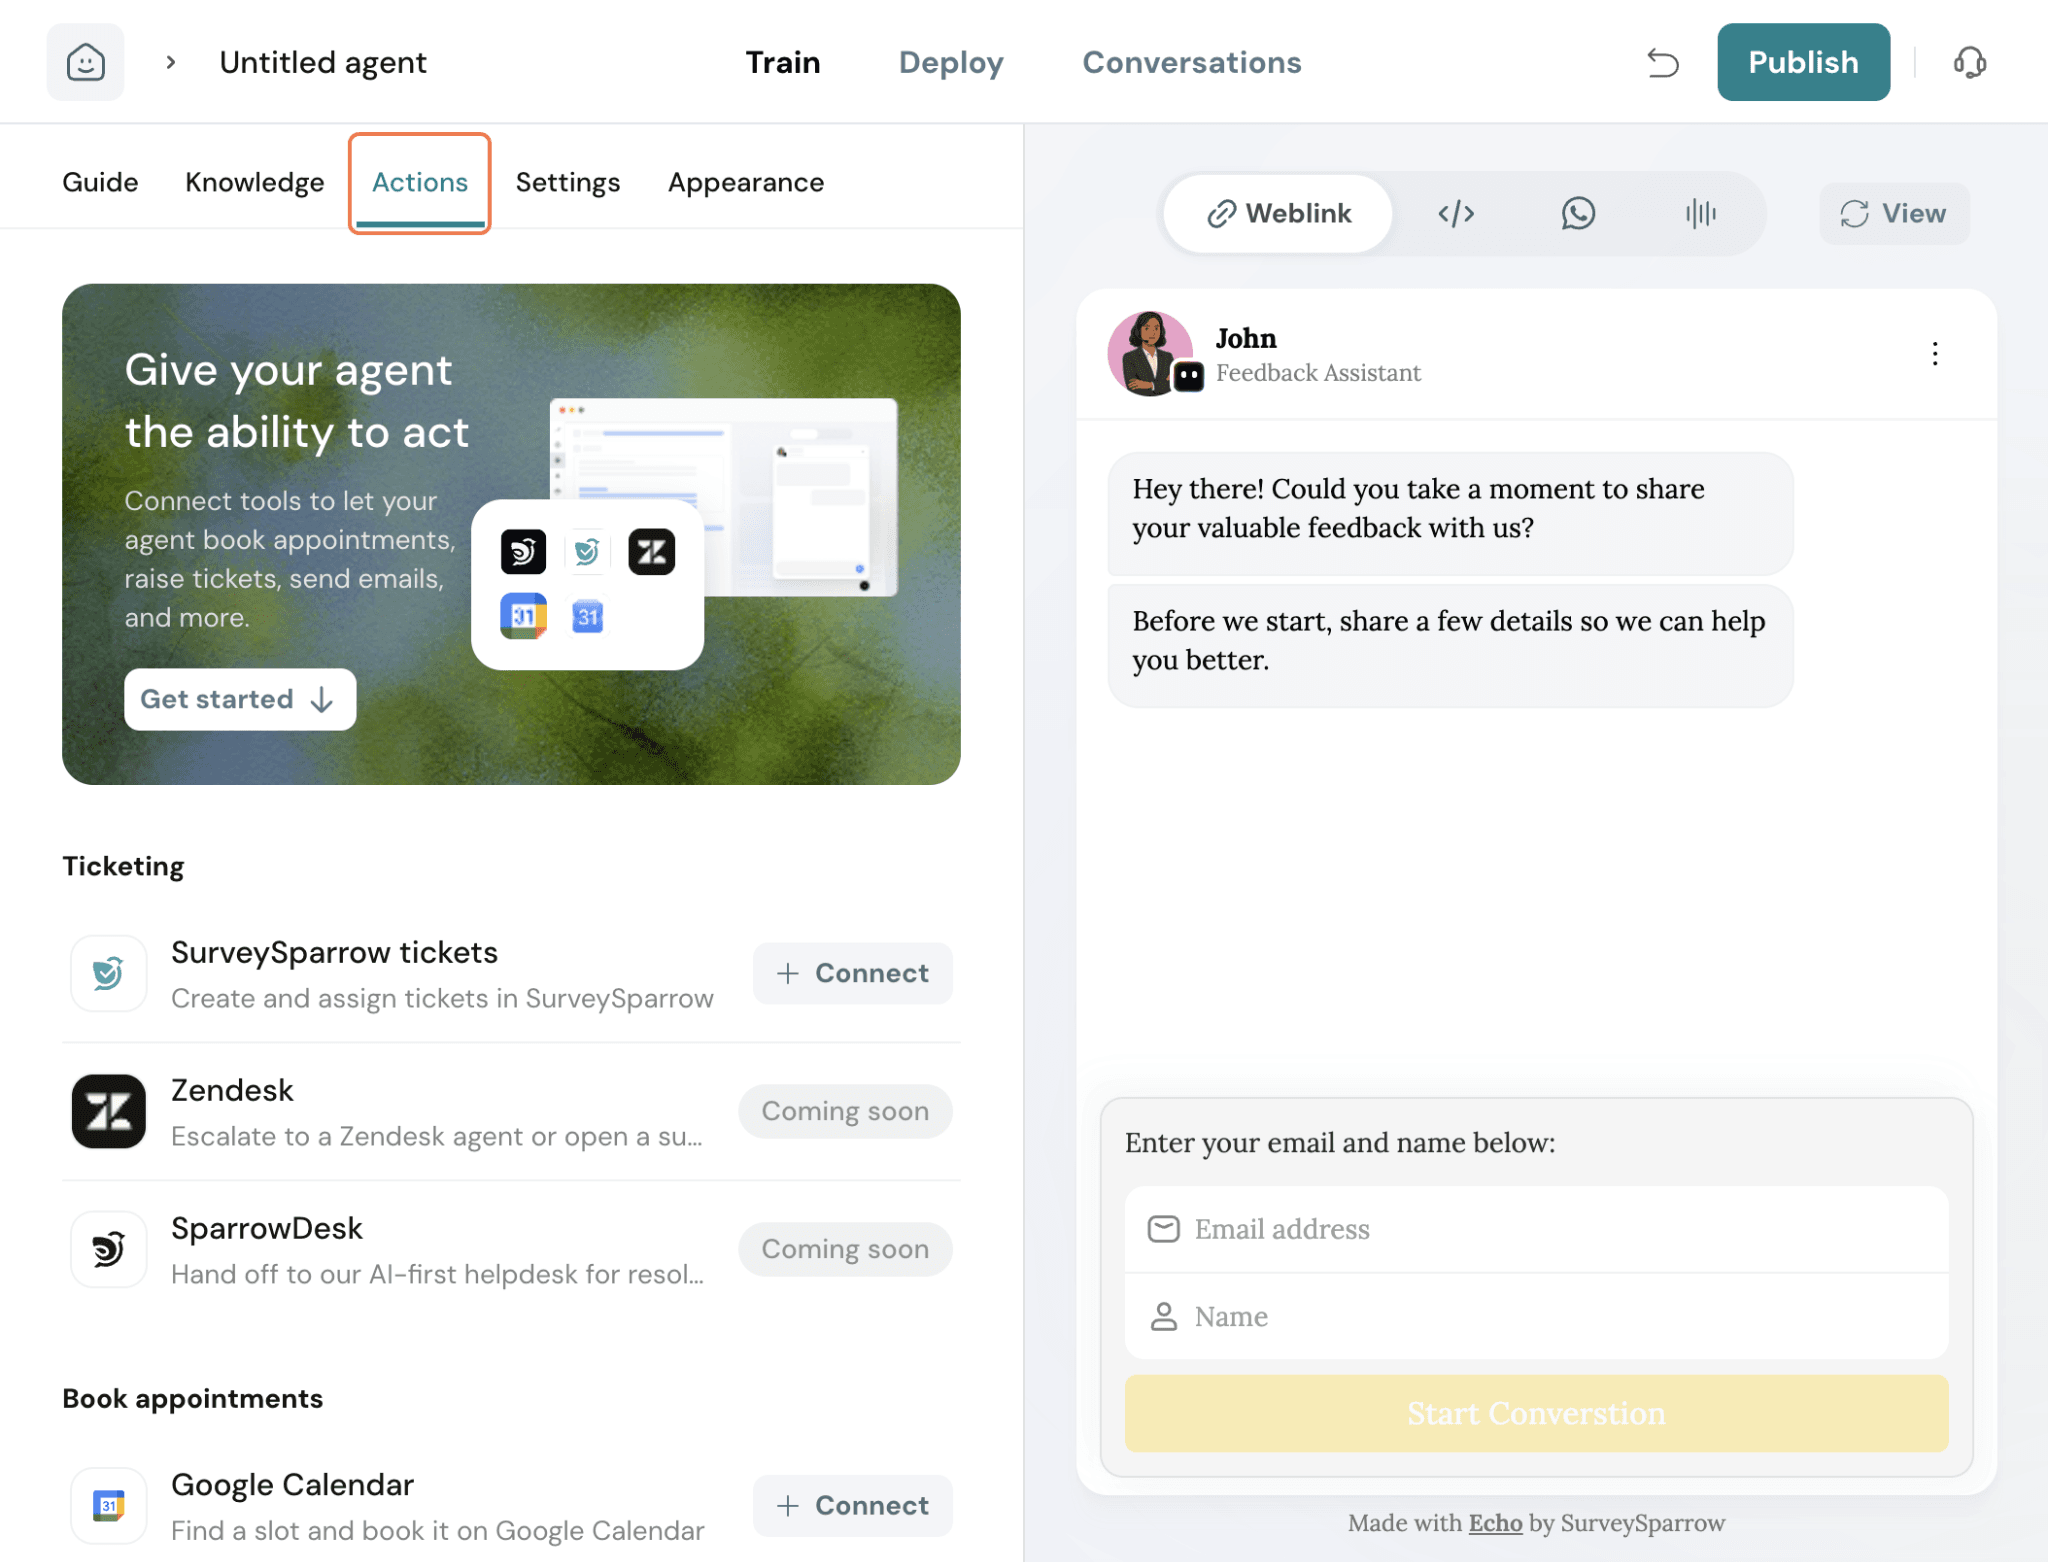
Under ticketing you will have
SurveySparrow tickets- With this you can create and assign support tickets directly within the SurveySparrow platform.
Click Connect to configure the action.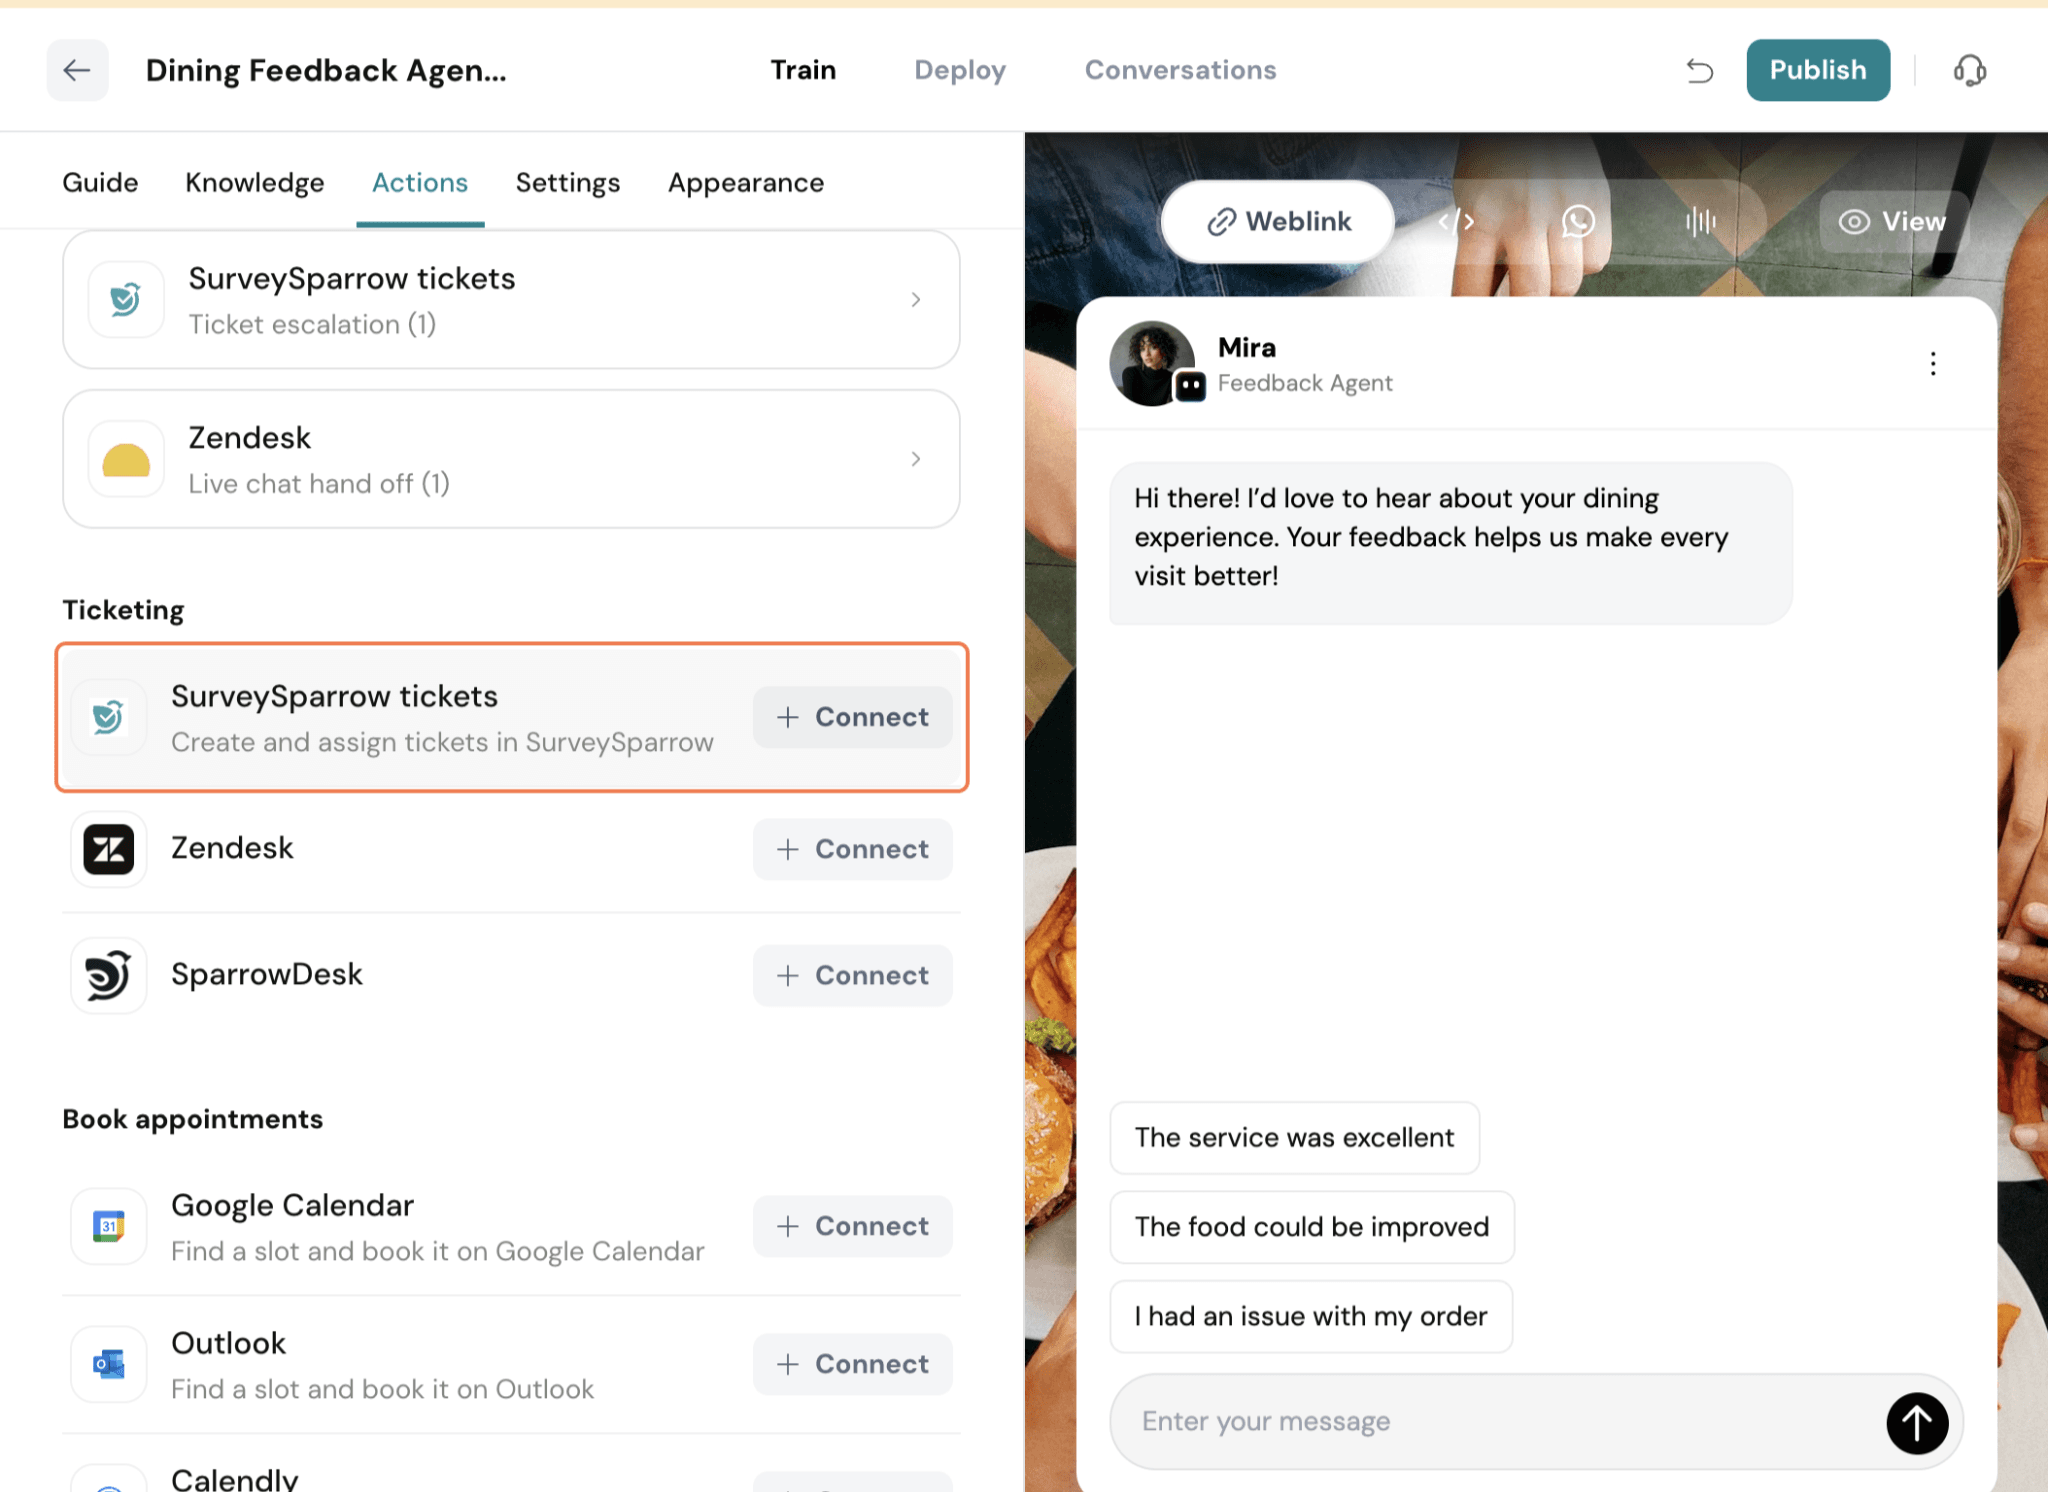
Give your action a name for this action.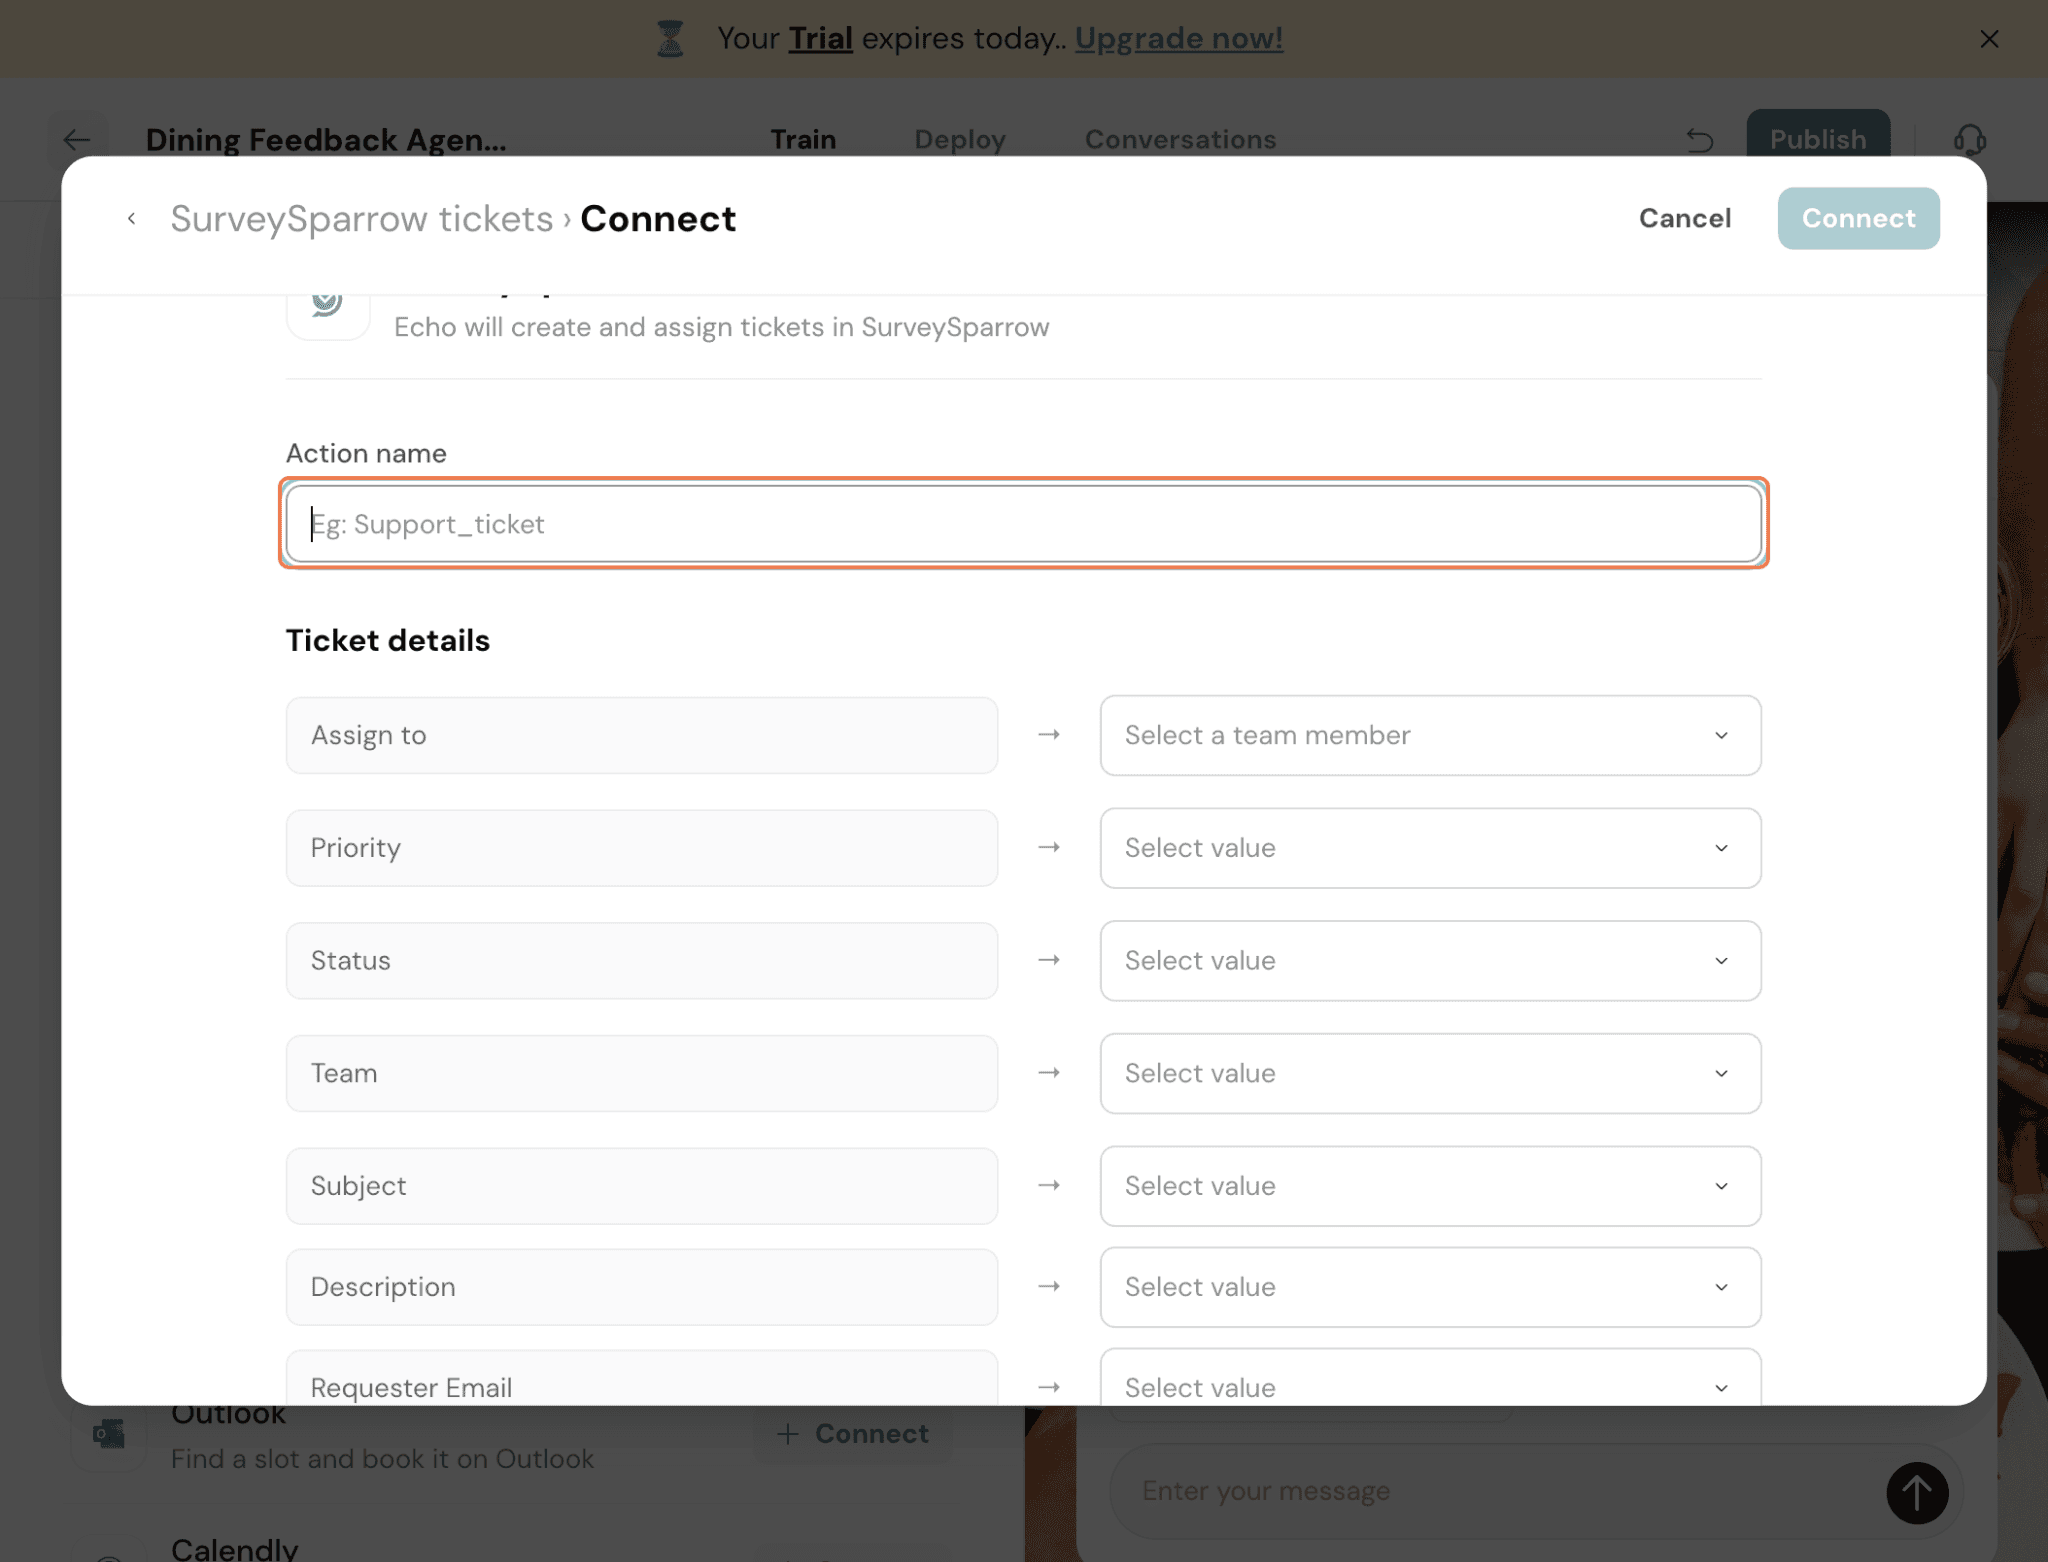
Define the ticket details such as the team, priority, status, and subject. You can also set up your ticket workflow by choosing how tickets should be created and assigned.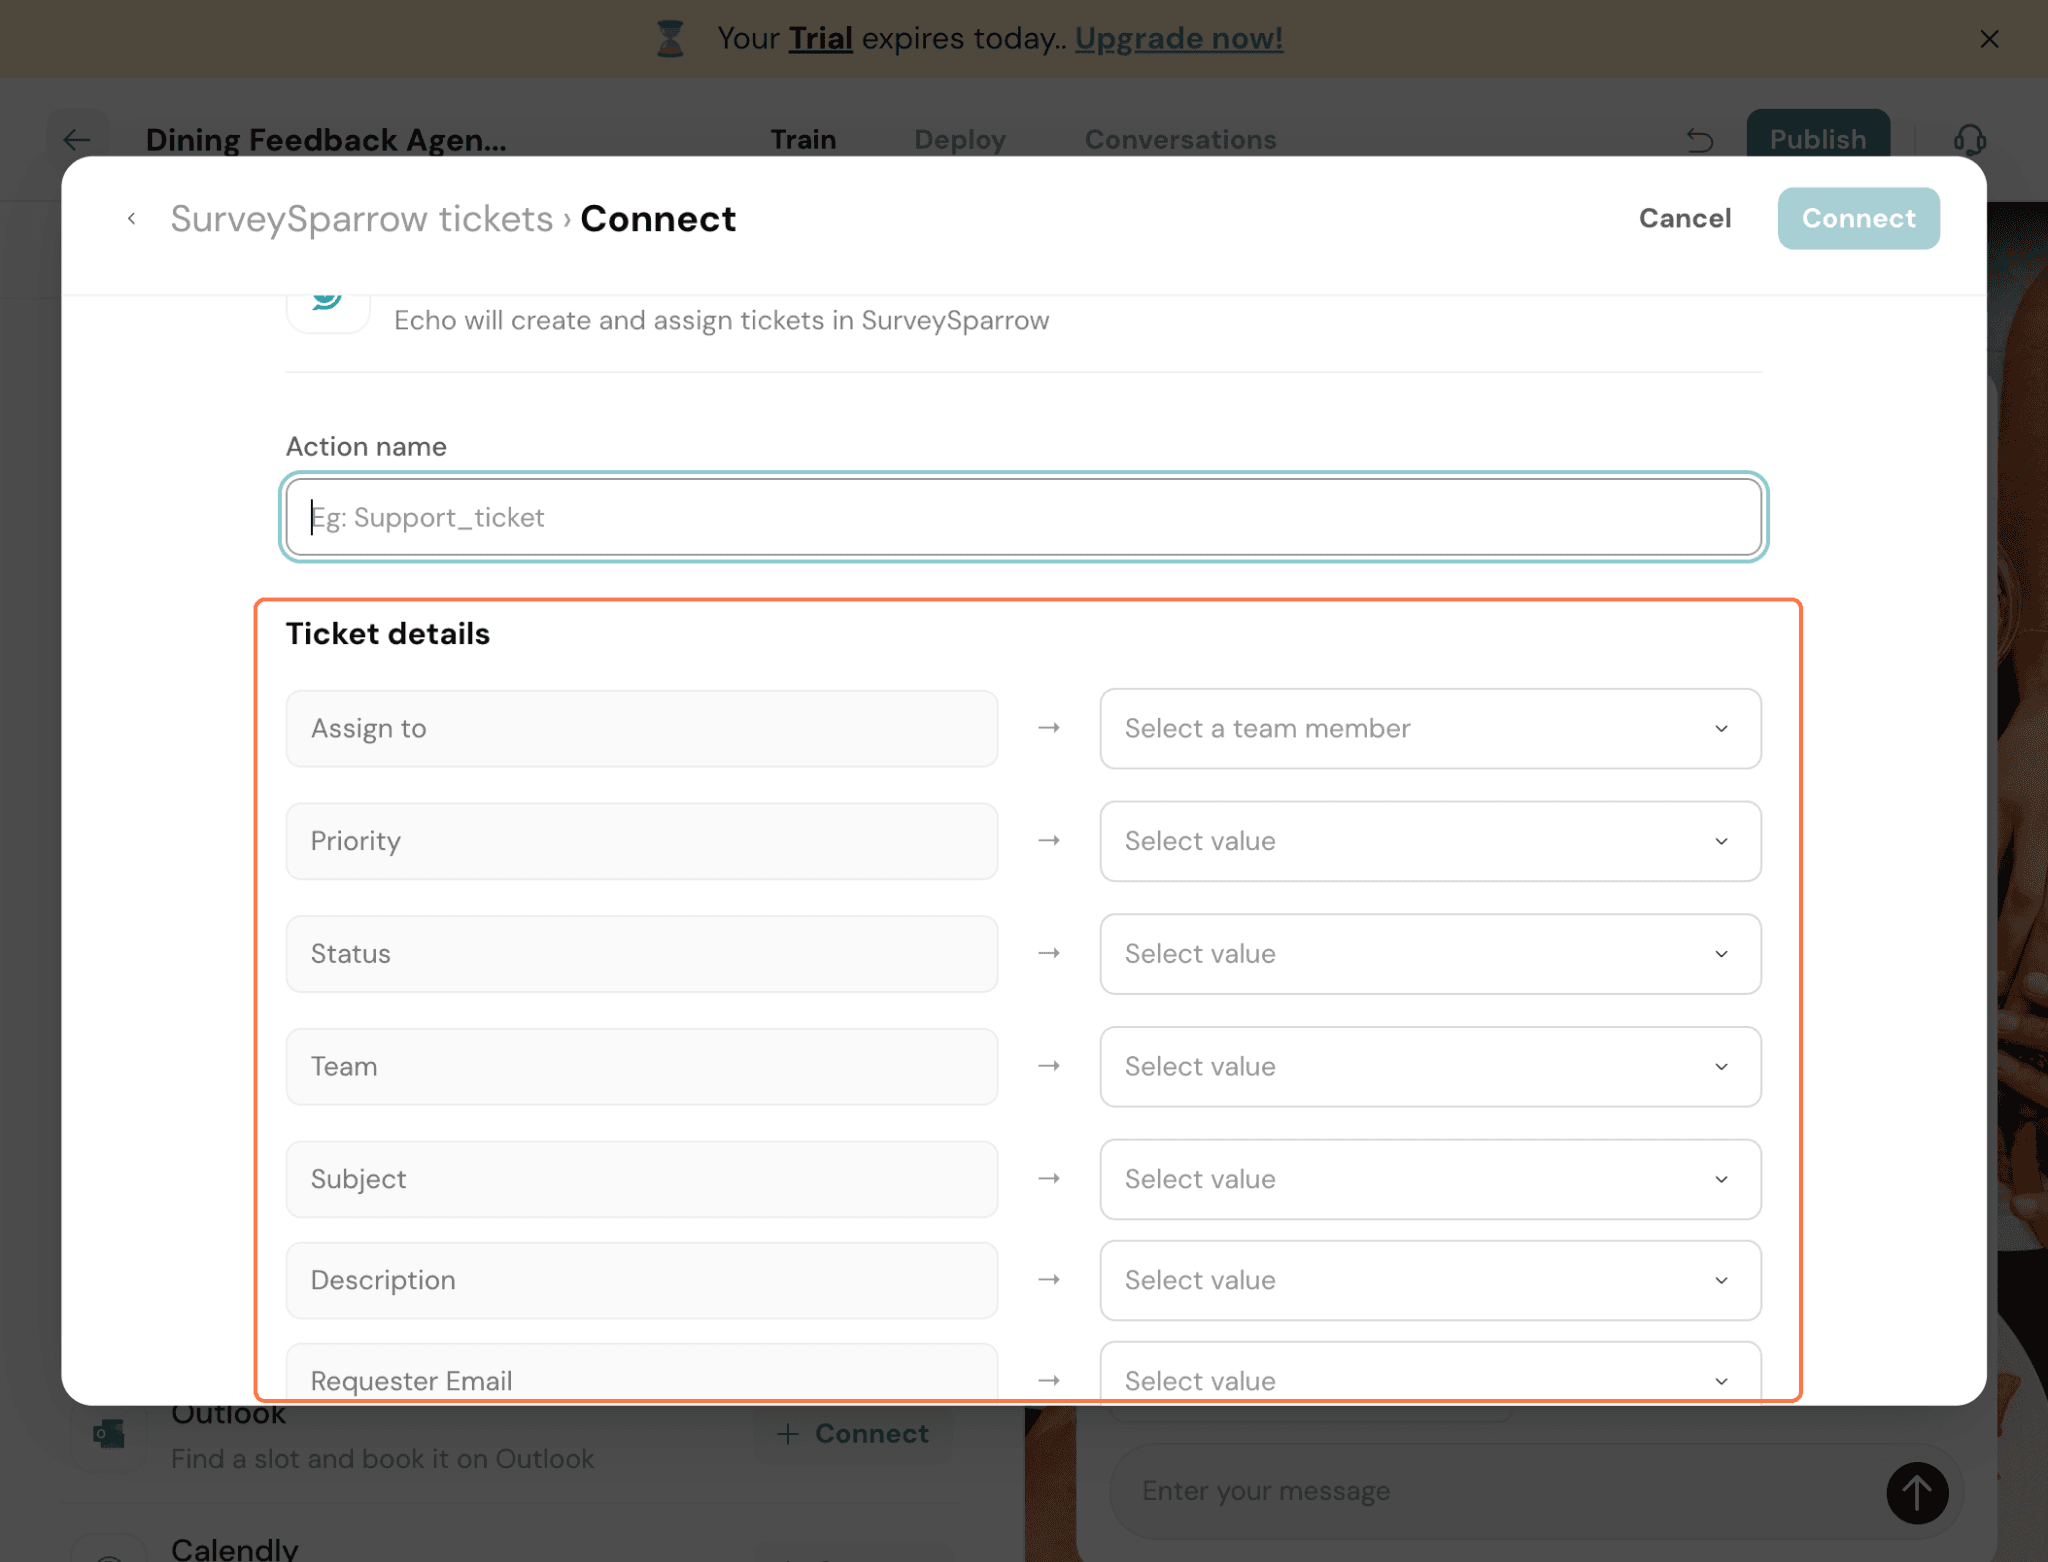
You can also provide additional instructions for Echo to follow before creating the ticket. For example, you can instruct Echo to collect the customer's email address or any other required information before the ticket is raised. This ensures that the ticket contains all the necessary details when it is created.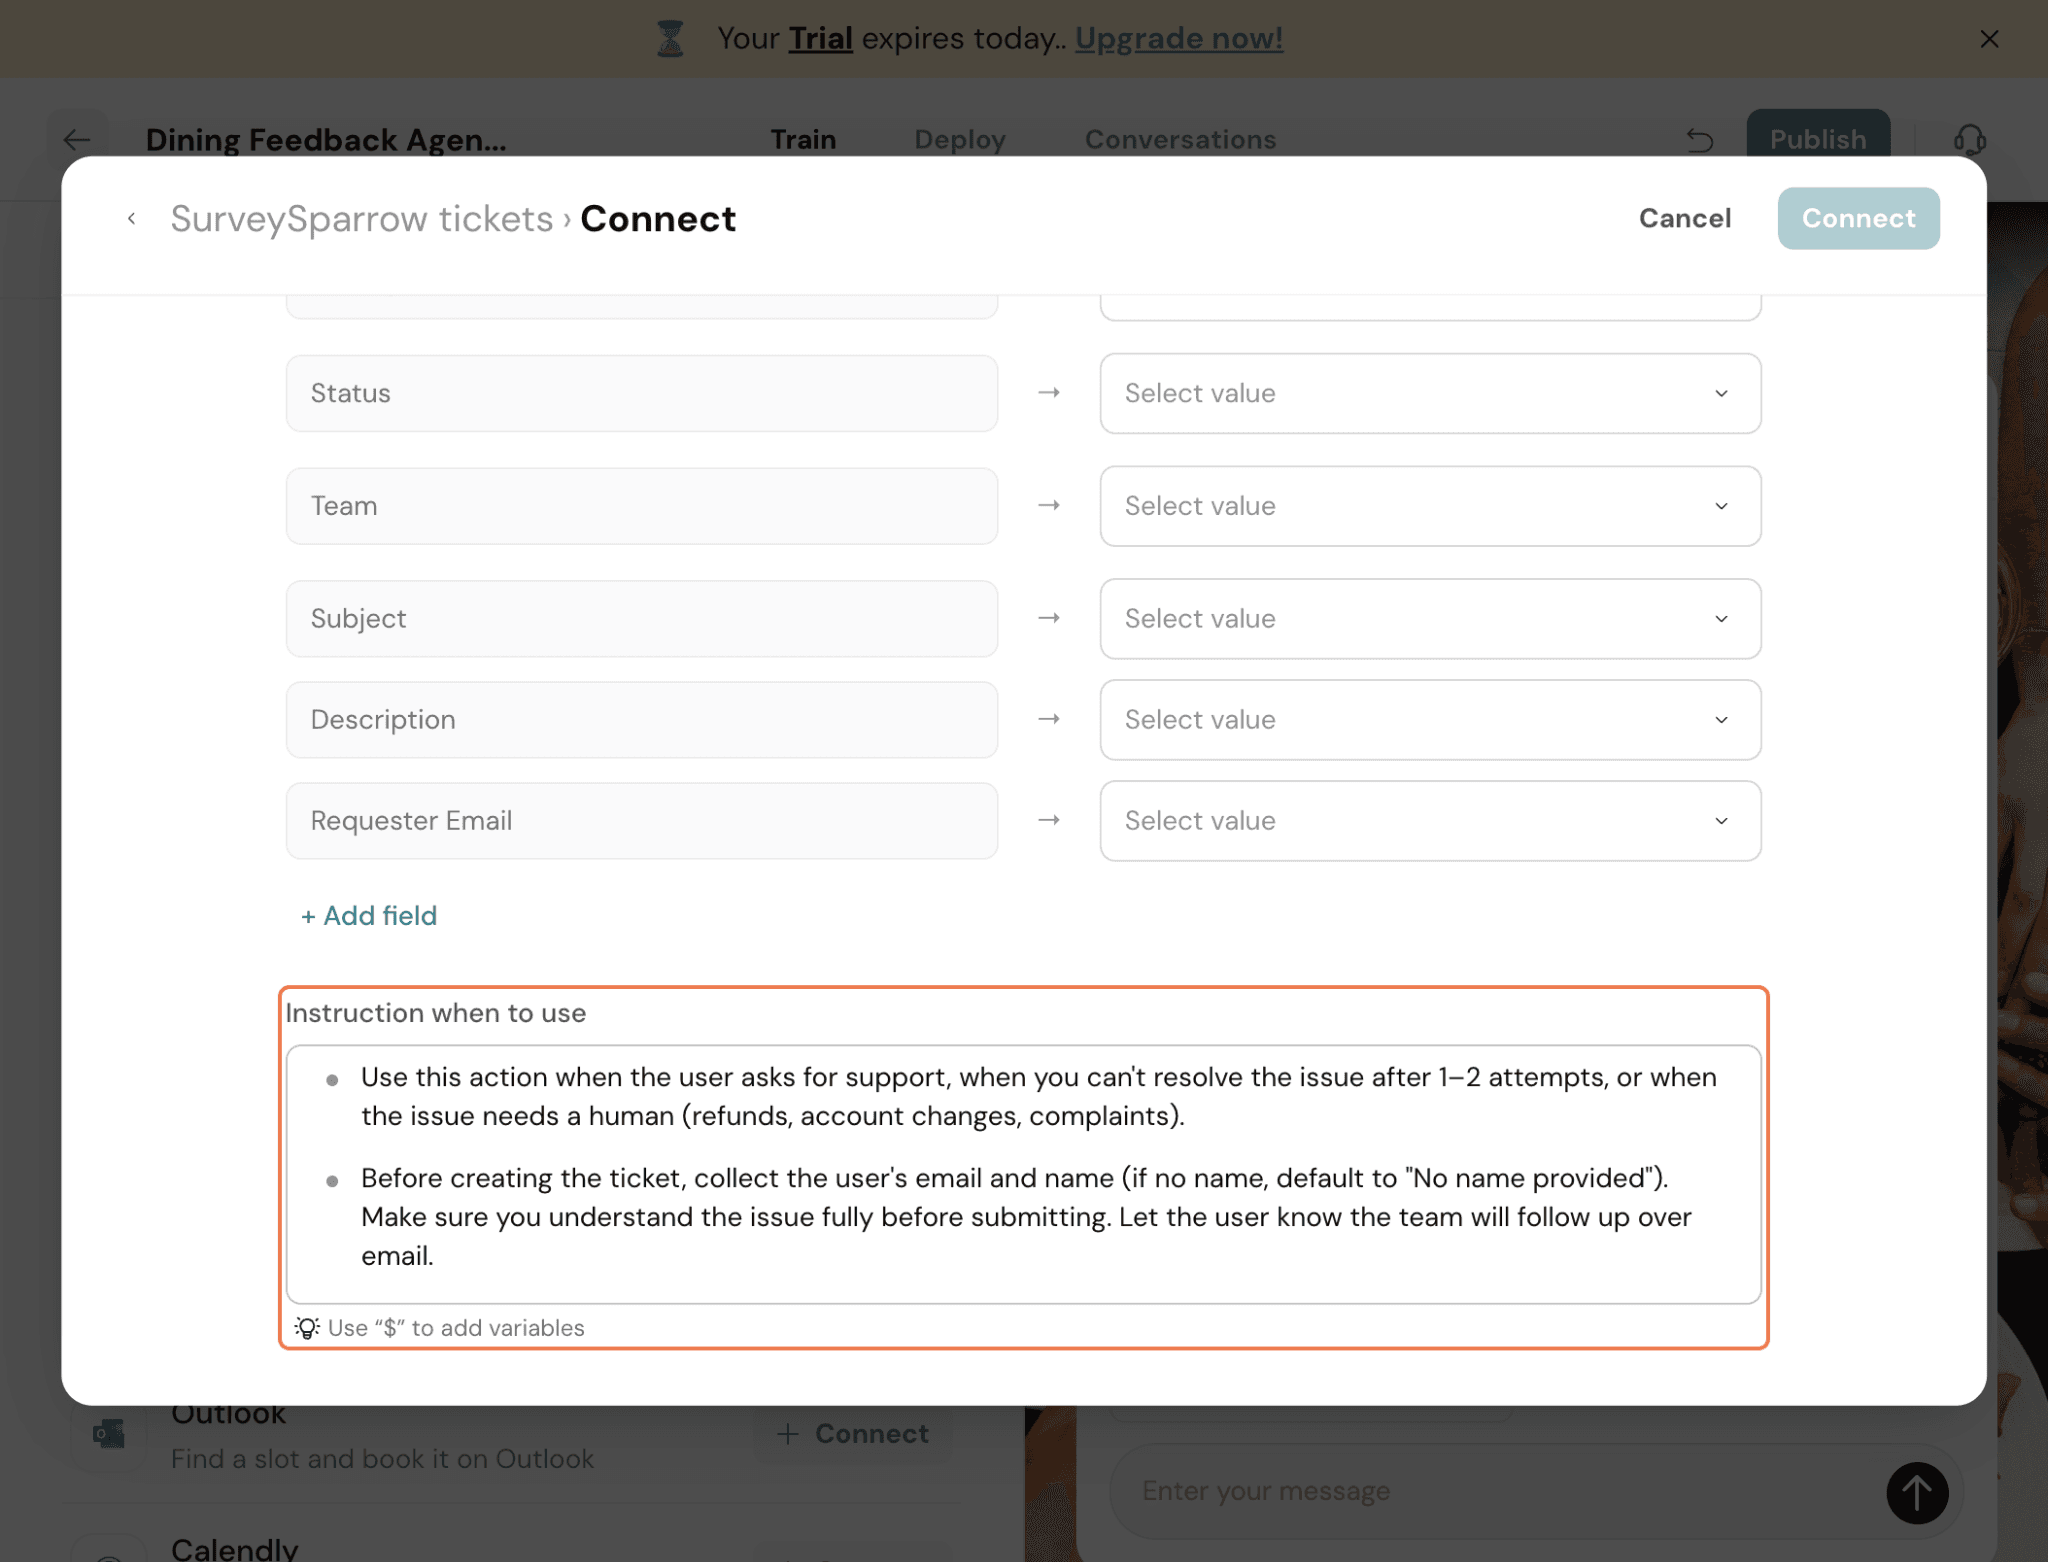
Connecting with Zendesk
Connect Echo with Zendesk to automatically create support tickets or hand off conversations to a live agent, helping you close the loop with customers in real time.
Click Connect to configure the integration.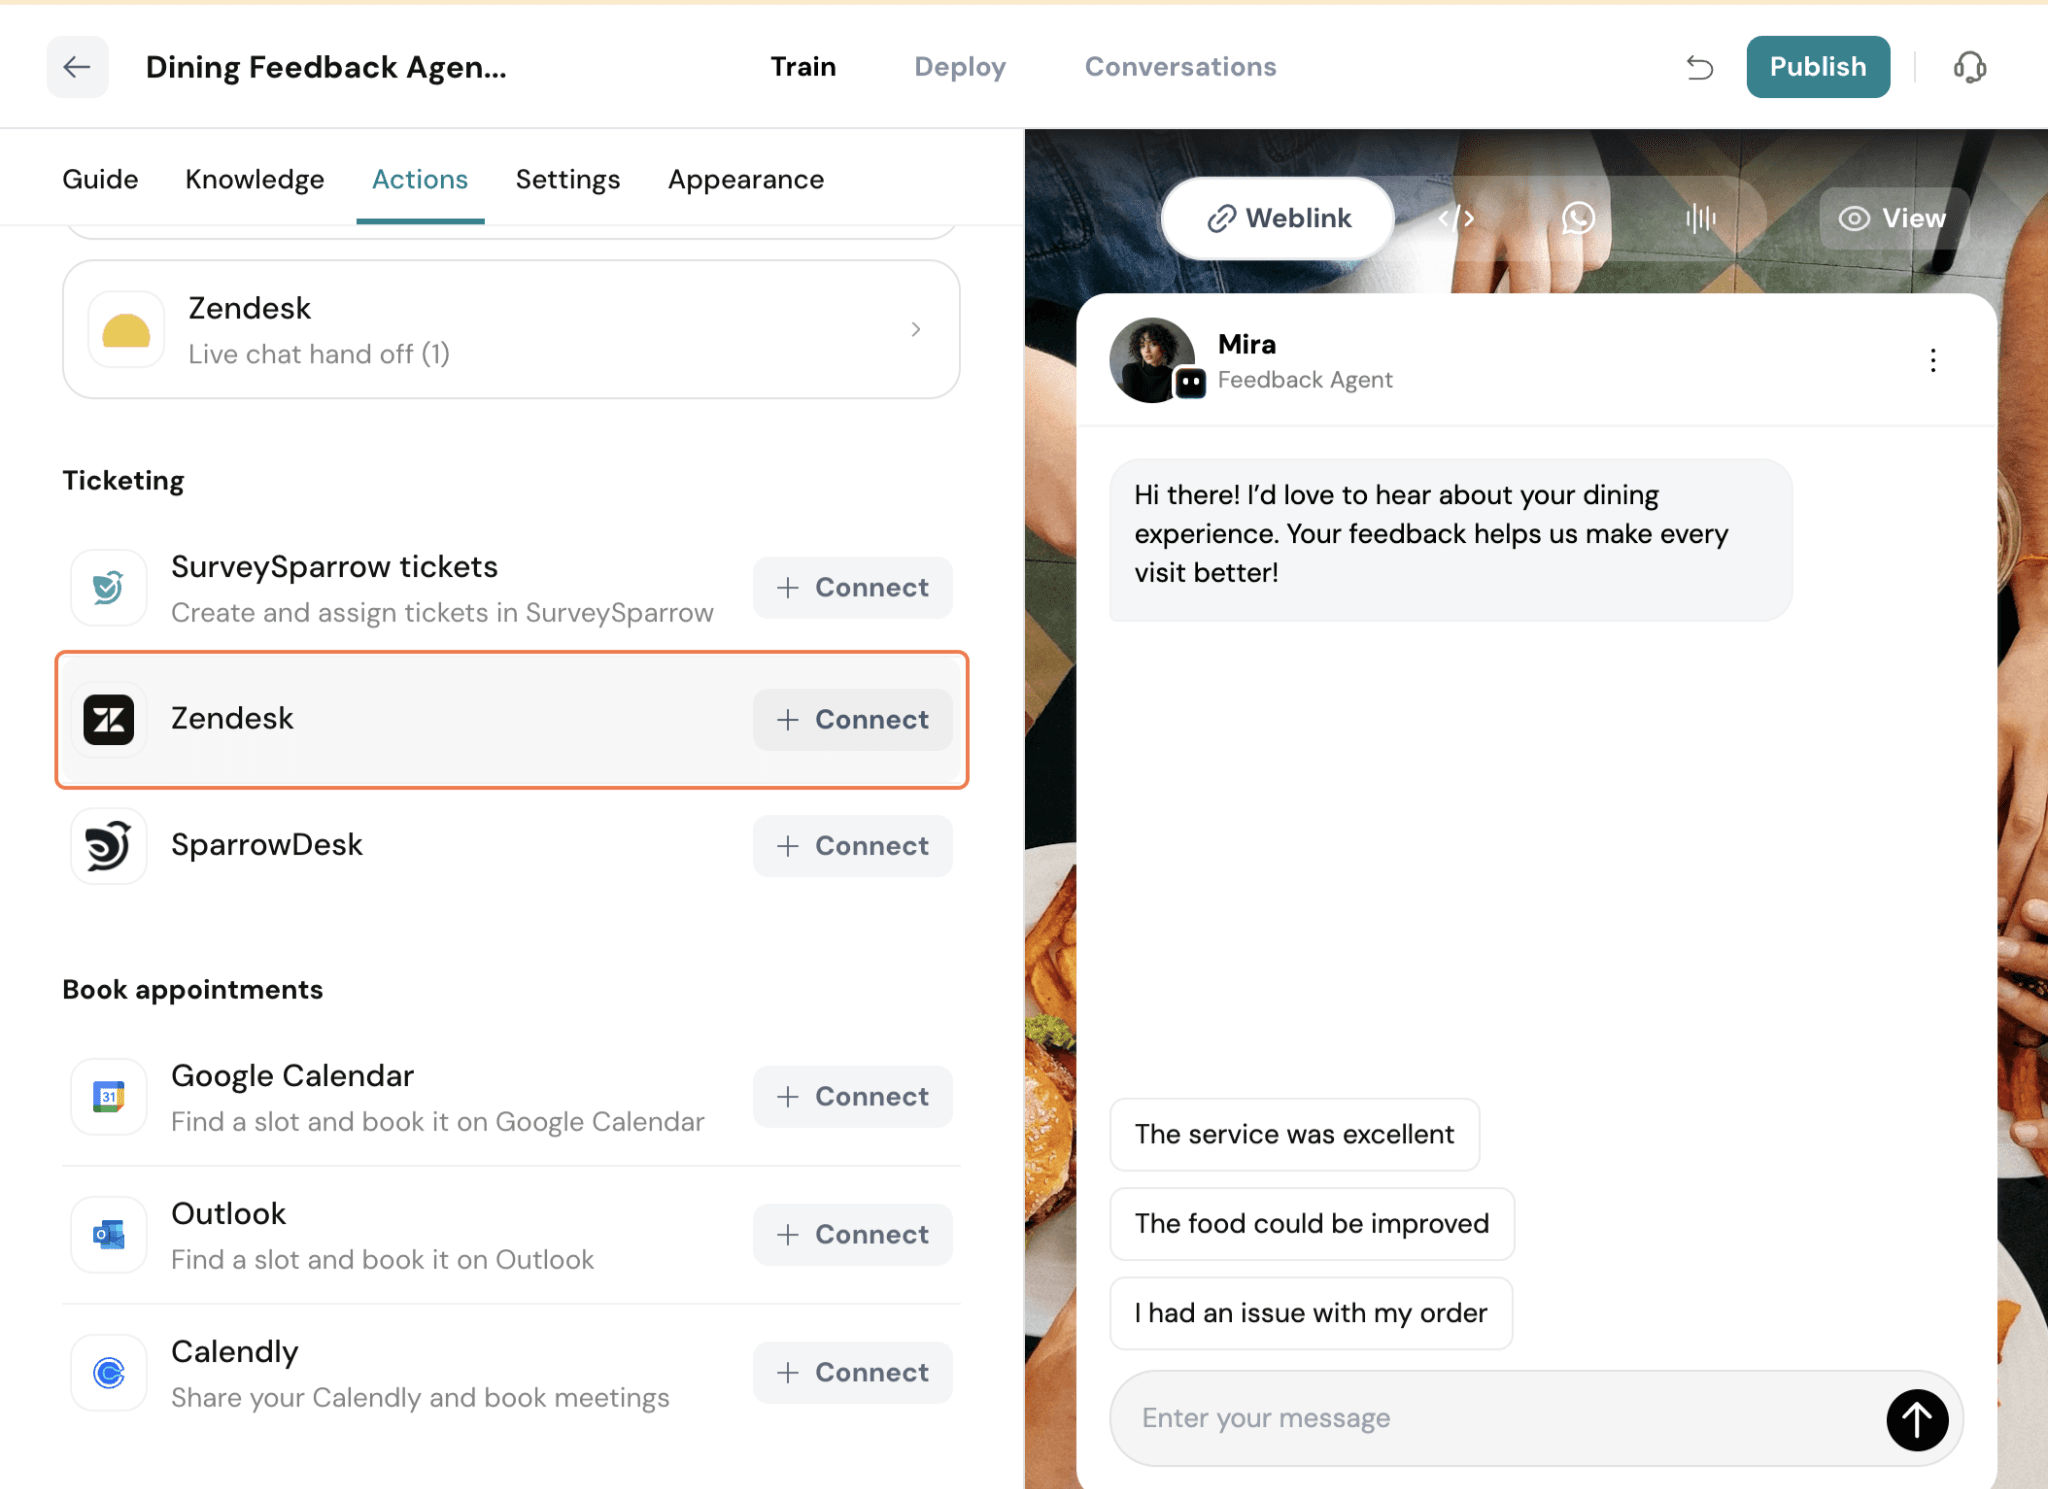
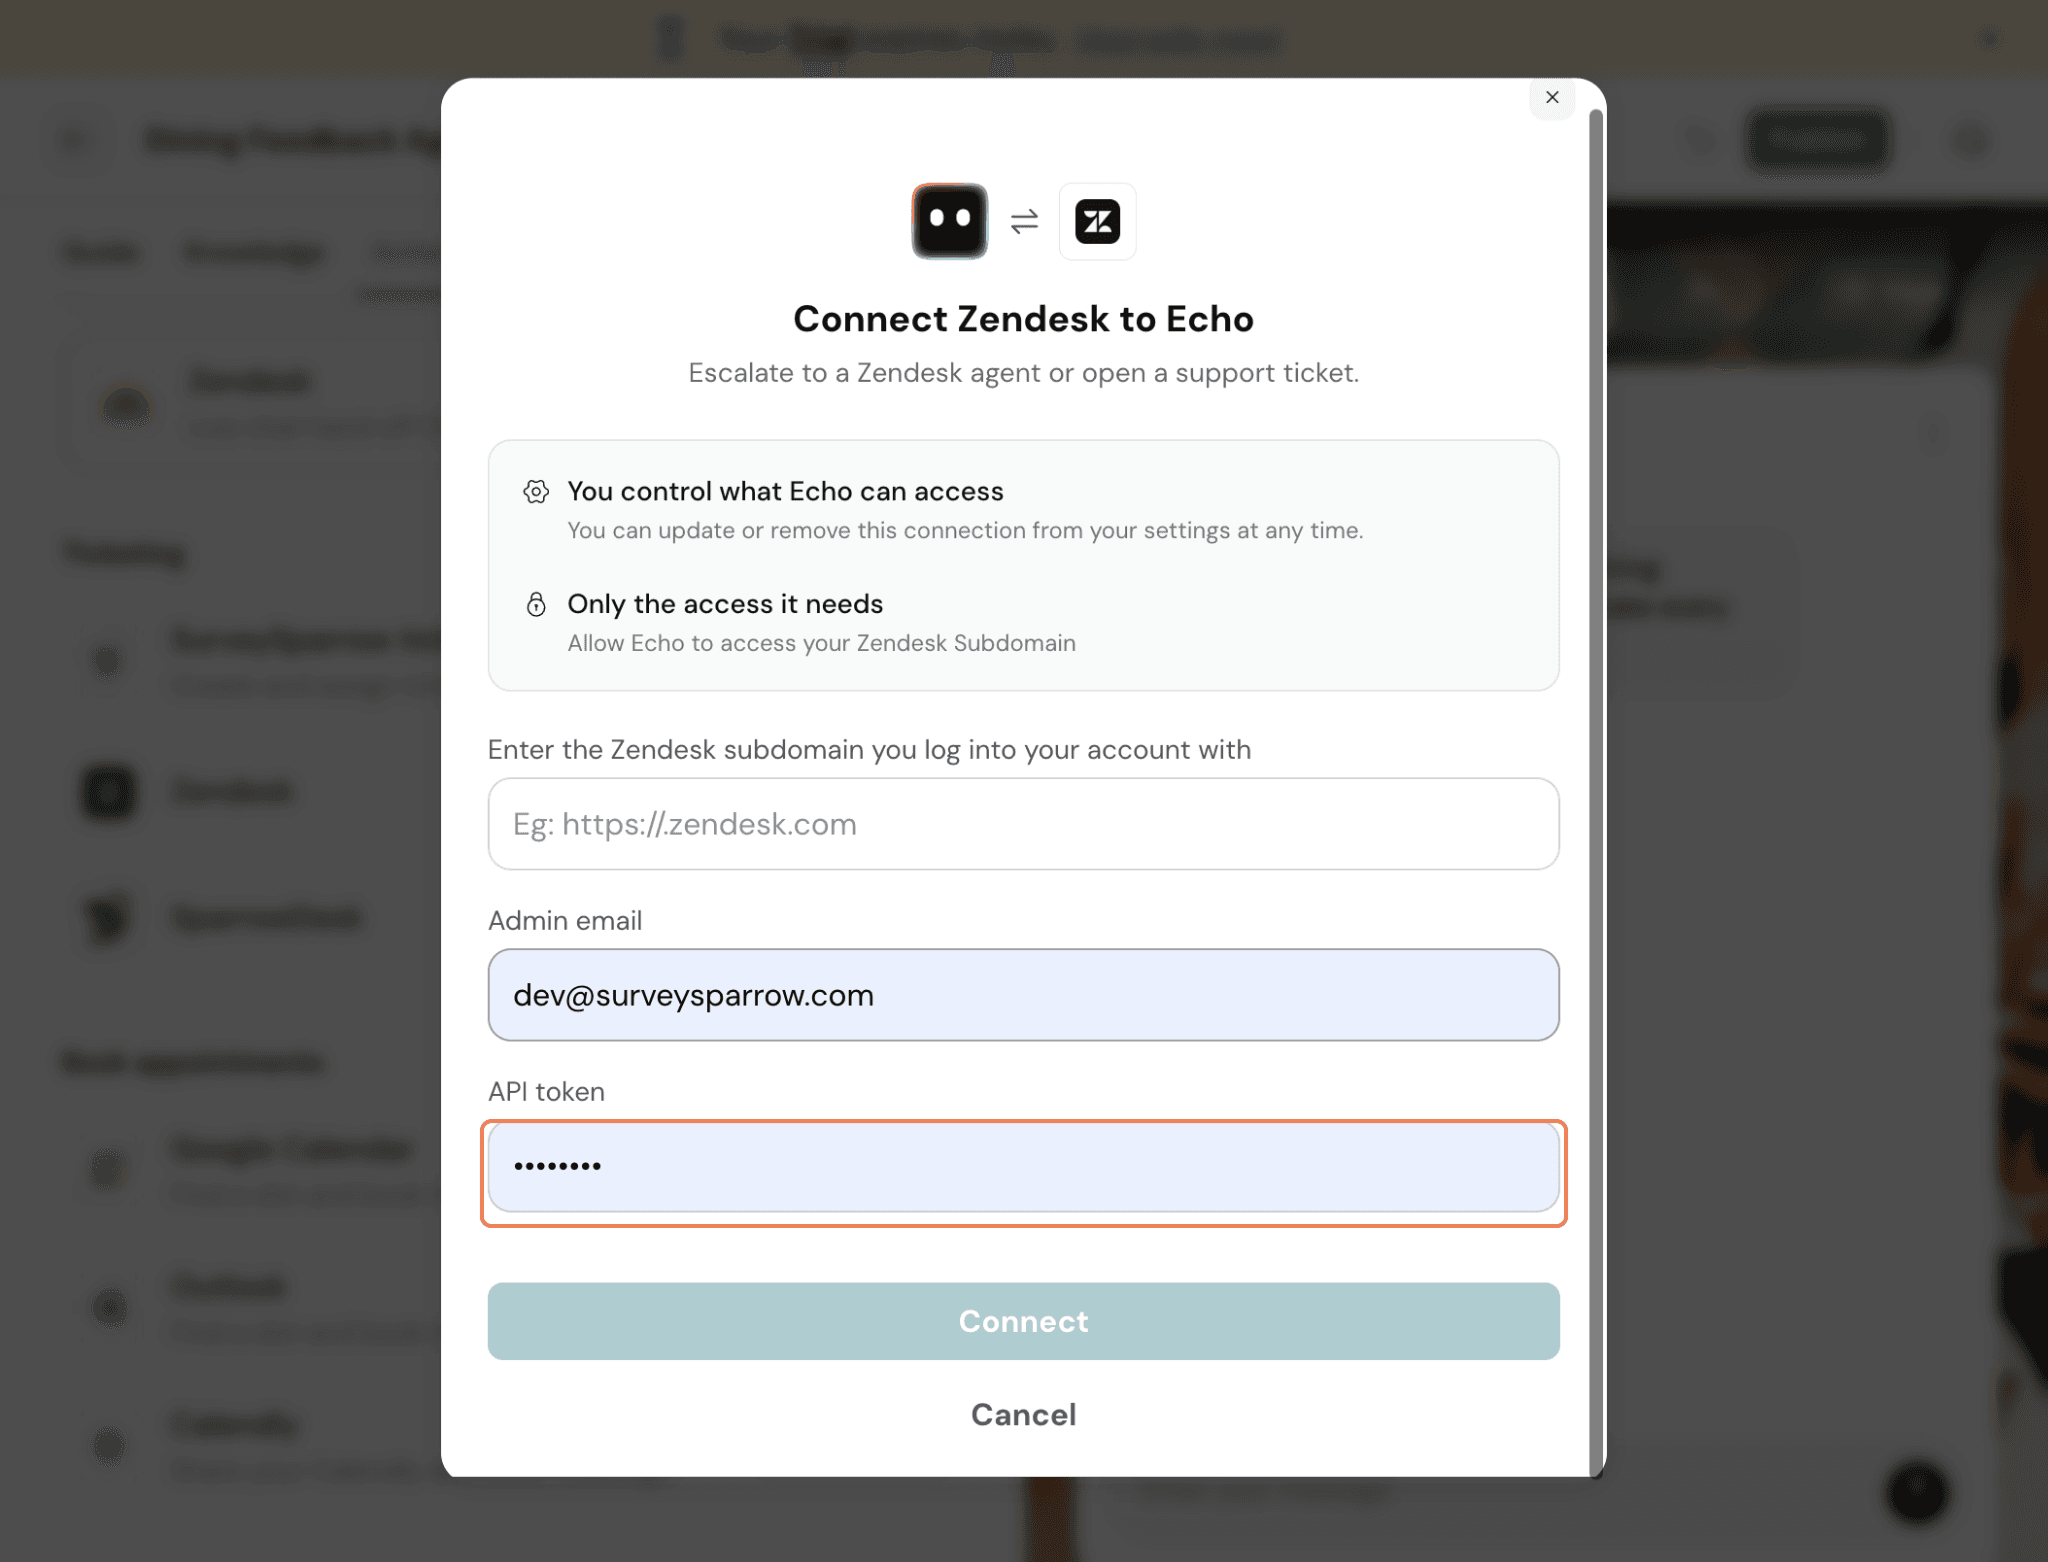
Zendesk Ticket – Use this option when the customer's issue needs follow-up but doesn't require immediate assistance. Echo creates a support ticket in Zendesk with the complete conversation context, so your support team can review and resolve it later.
For this, enter your Zendesk Subdomain, Admin Email, and API Token to establish the connection. Once connected, Echo can automatically create tickets with the complete conversation context.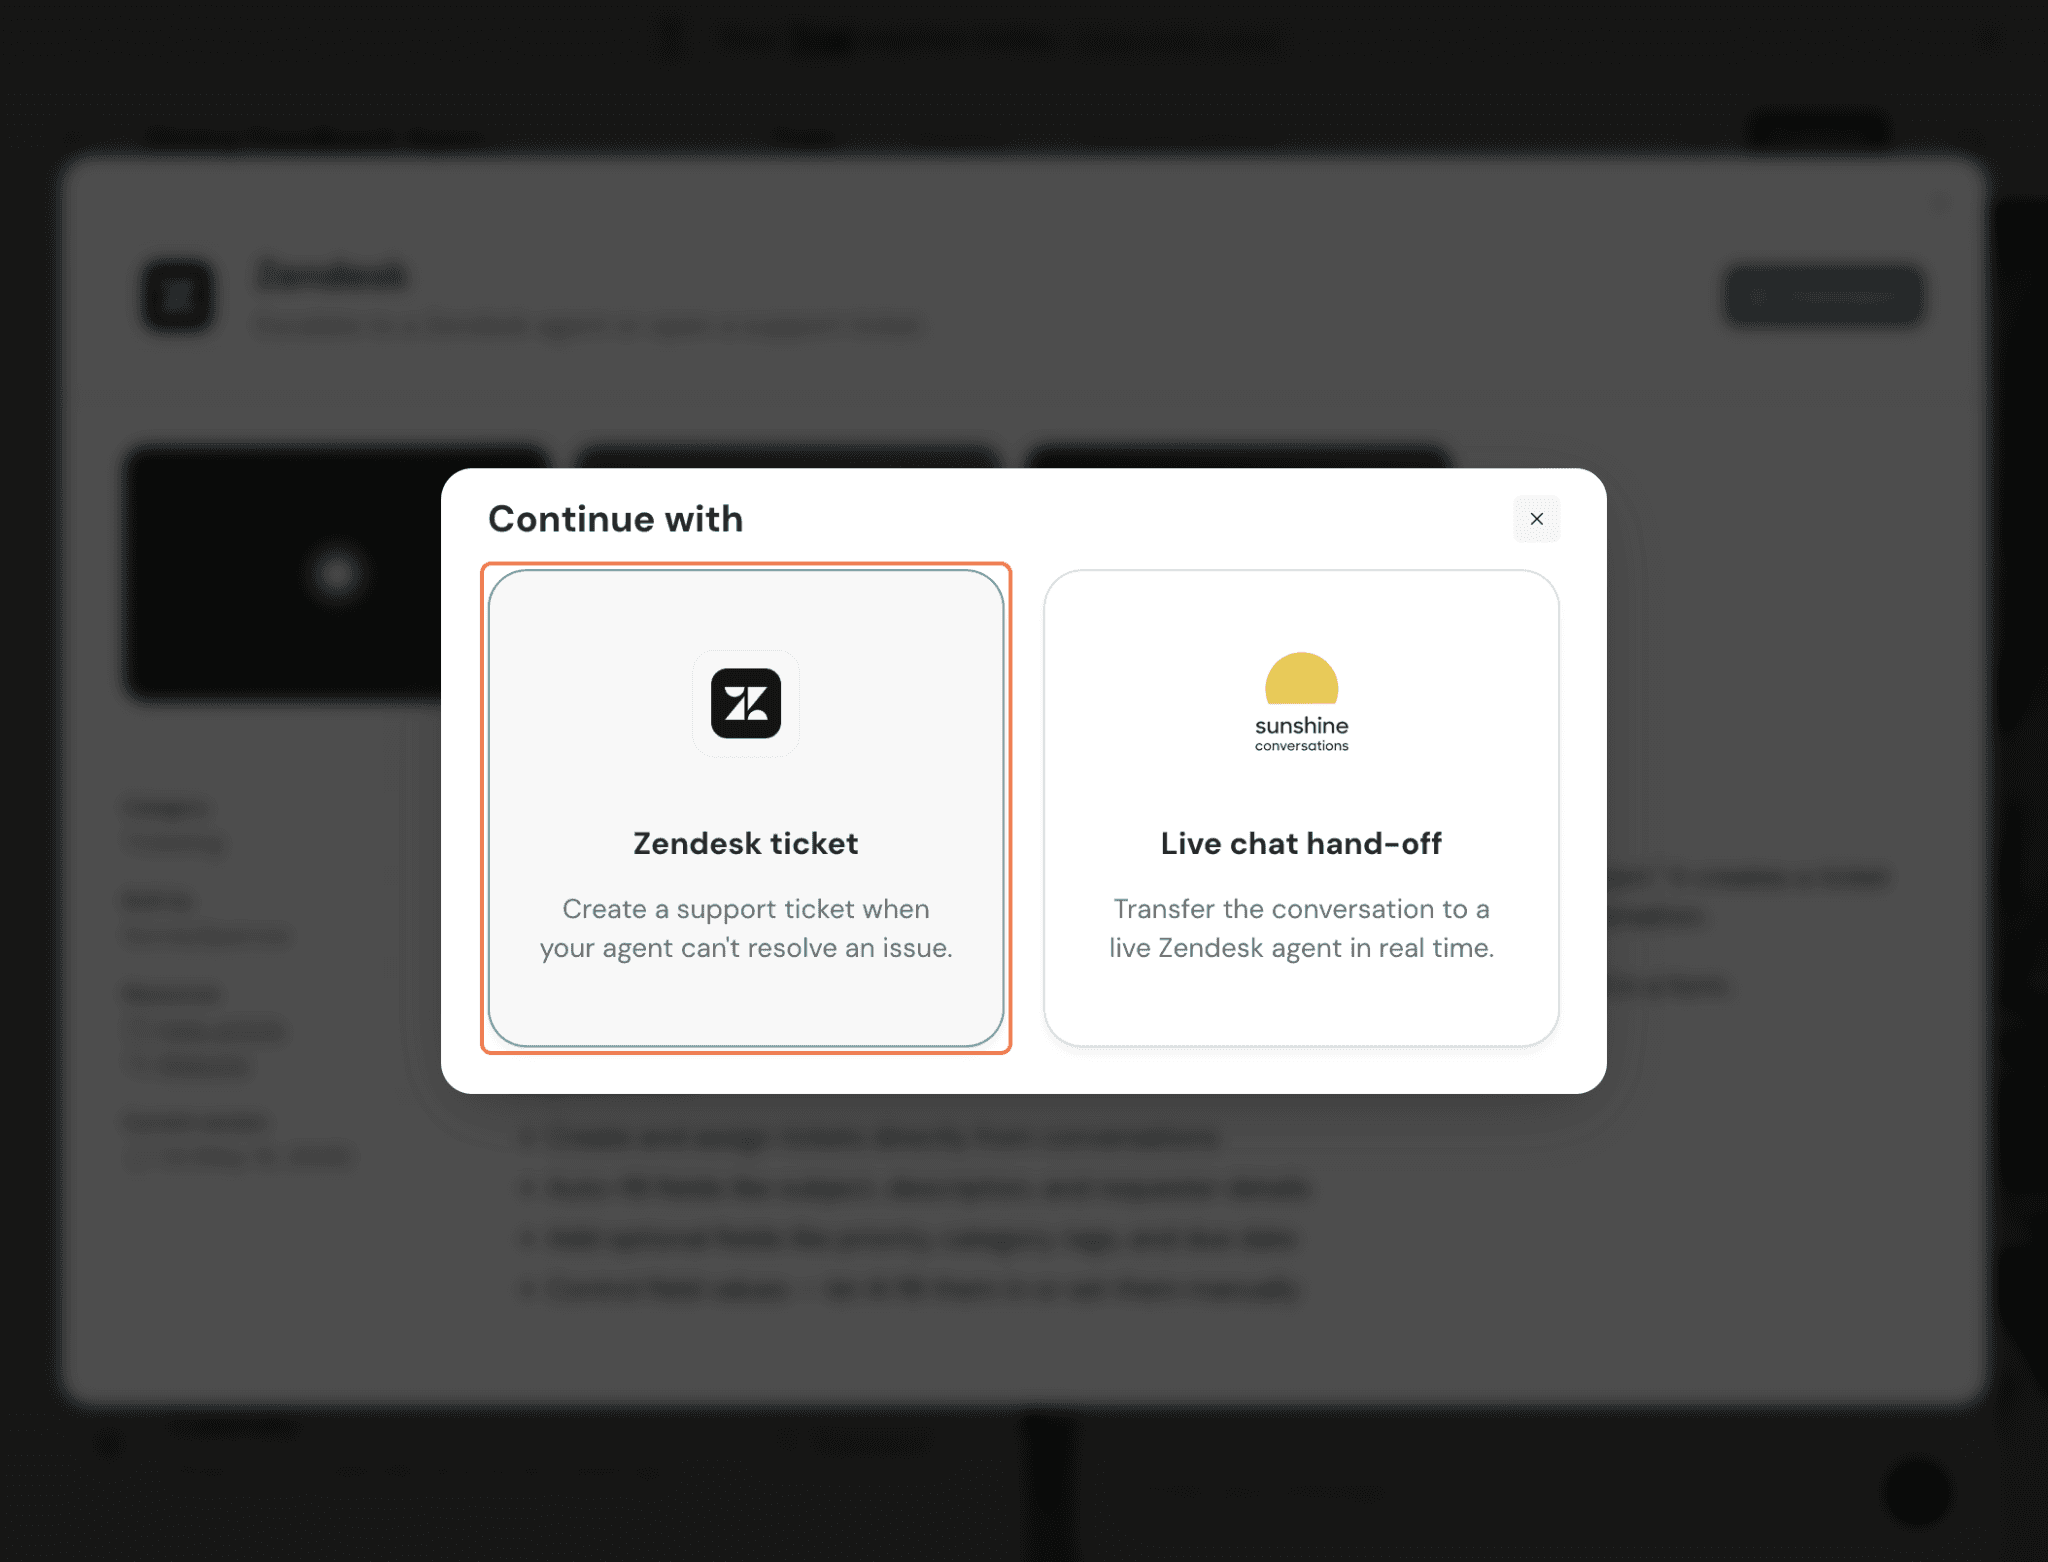
Live Chat Handoff – Use this option when the customer needs immediate assistance. Echo transfers the conversation to a live Zendesk agent, allowing your support team to continue the conversation in real time with the full conversation history.
For this, enter your App ID, Key ID, and Secret Key to configure the integration. Echo will hand off the conversation along with the full customer context, allowing your support team to continue the conversation without the customer having to repeat themselves.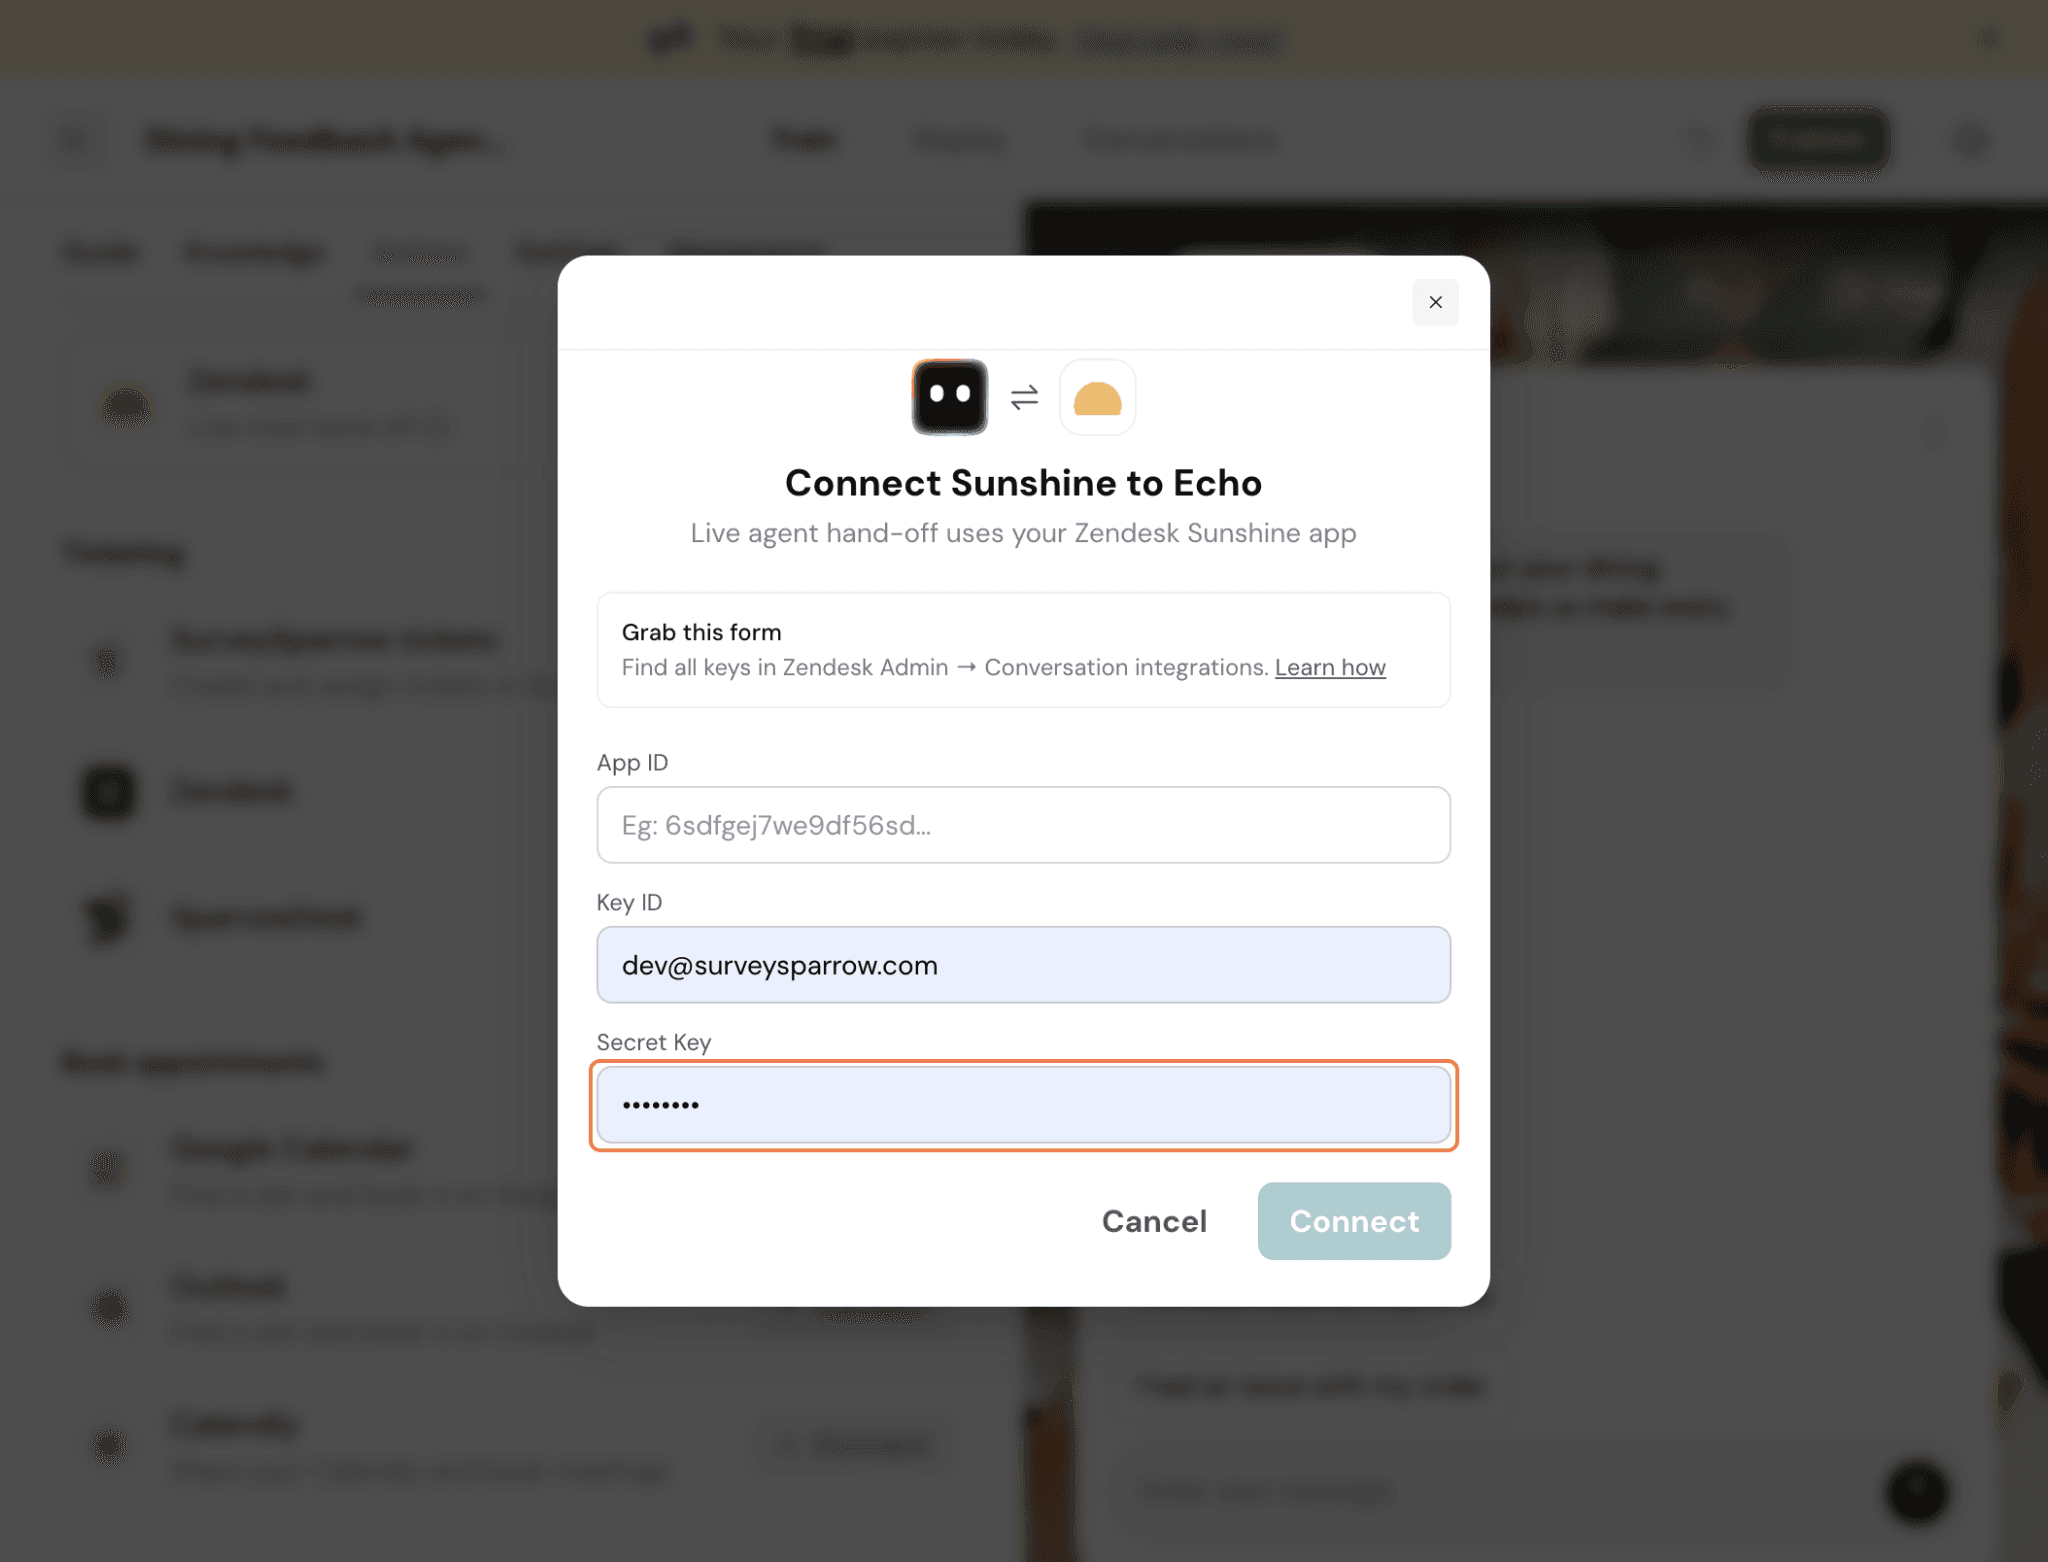
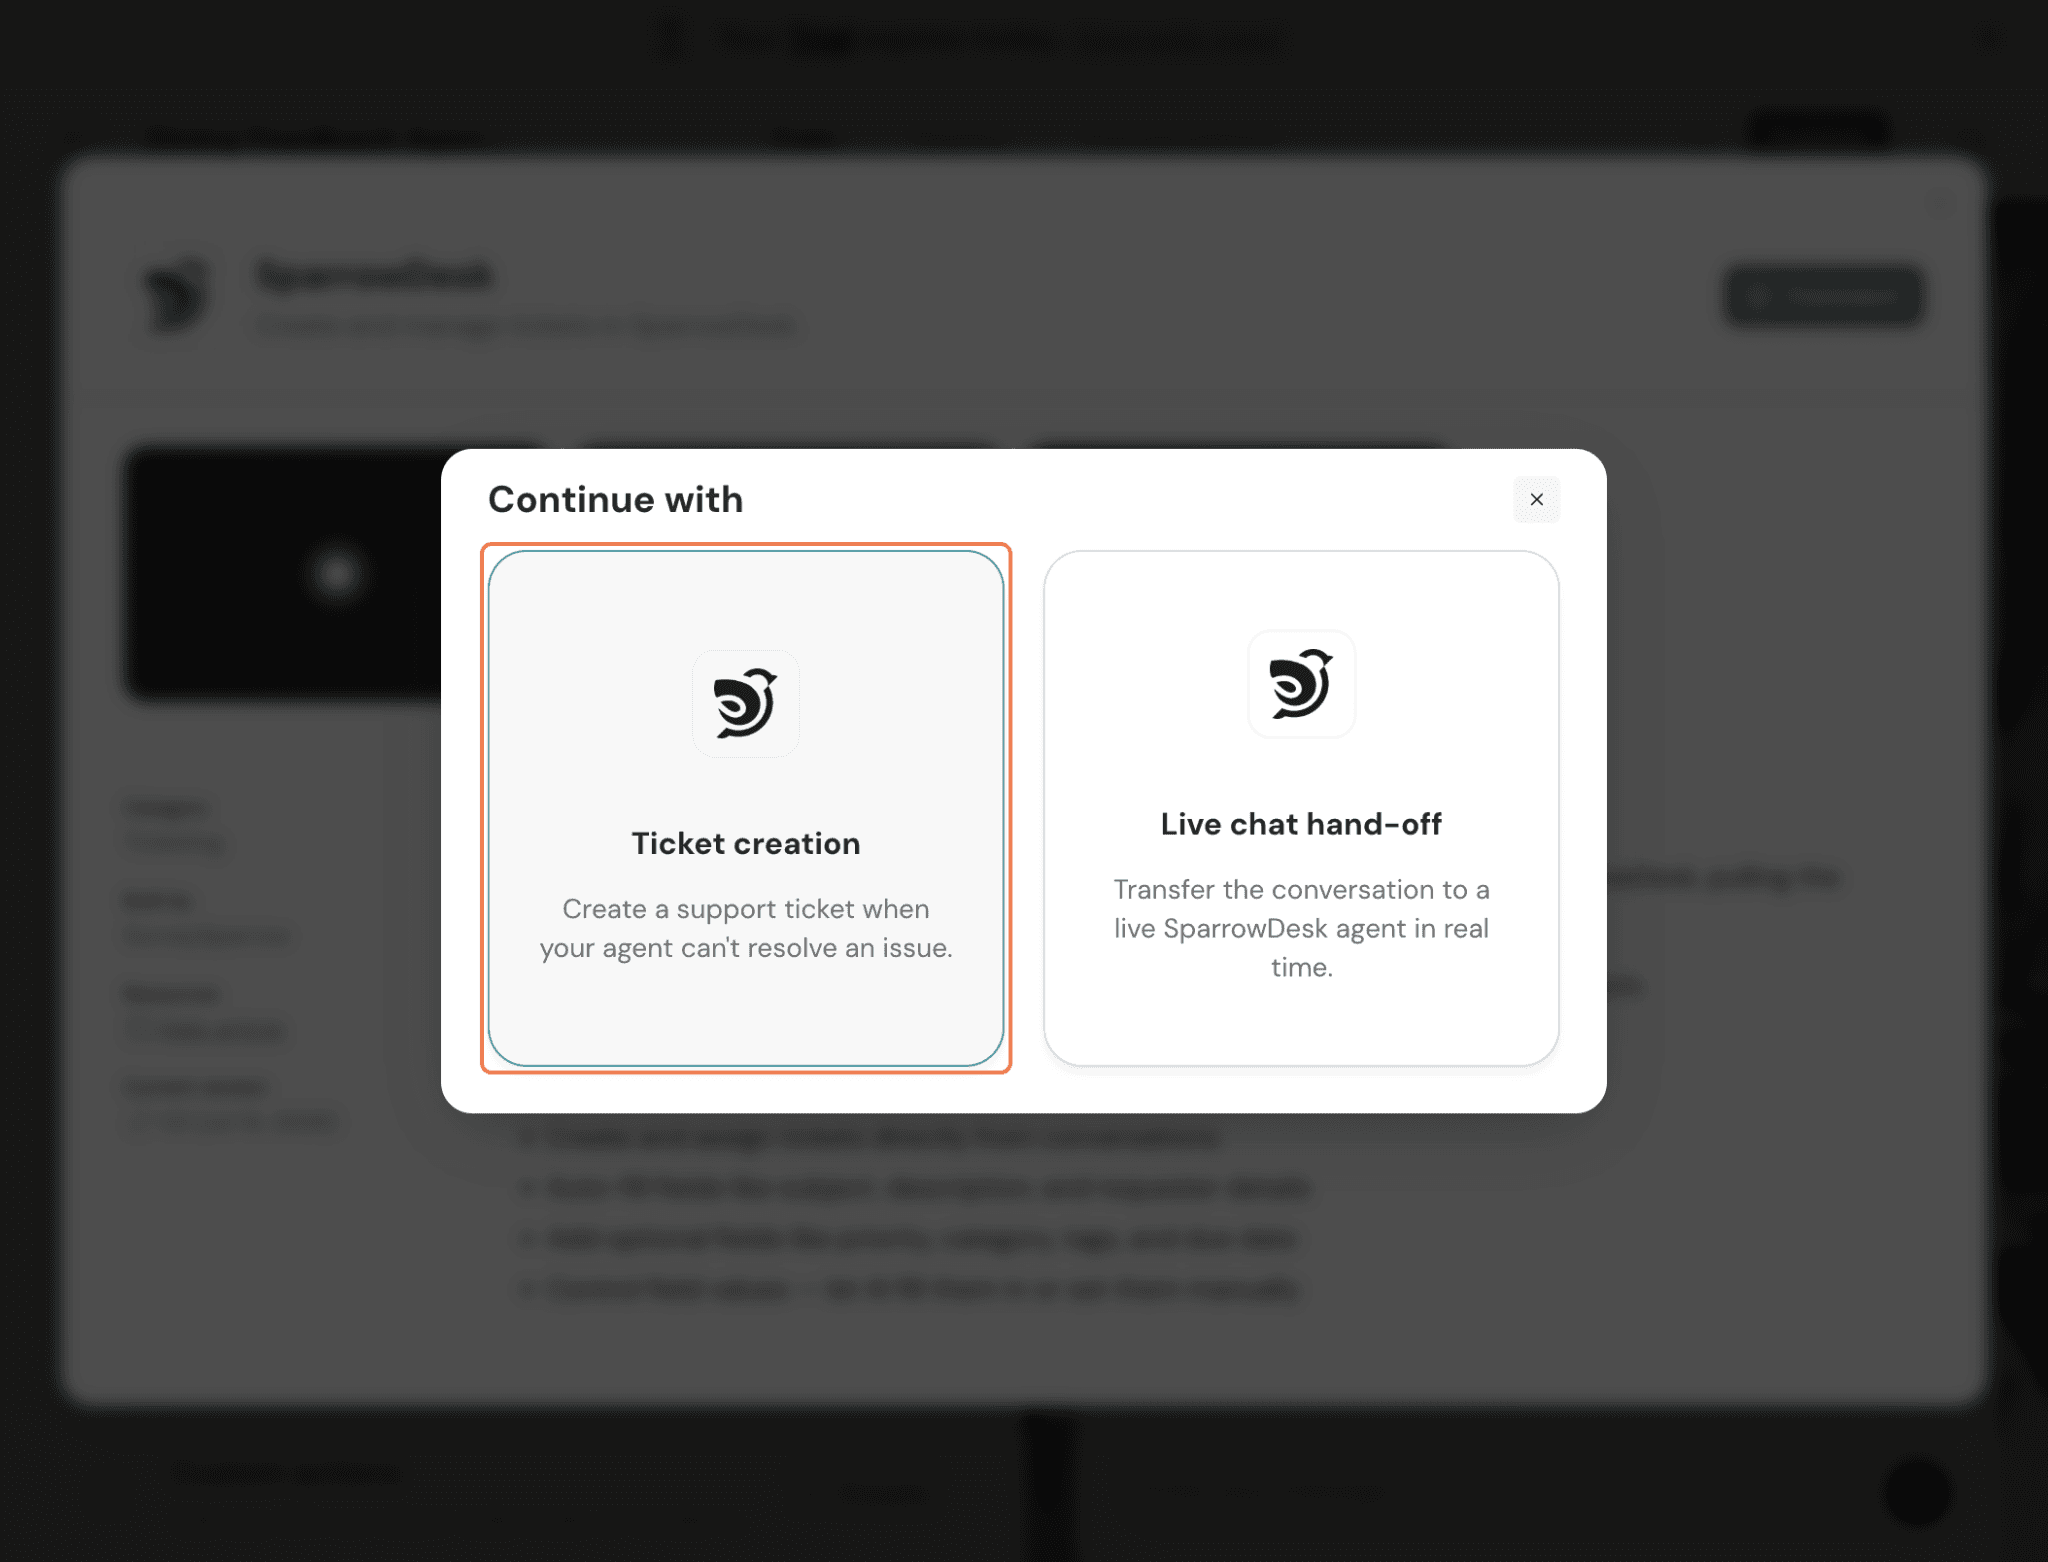
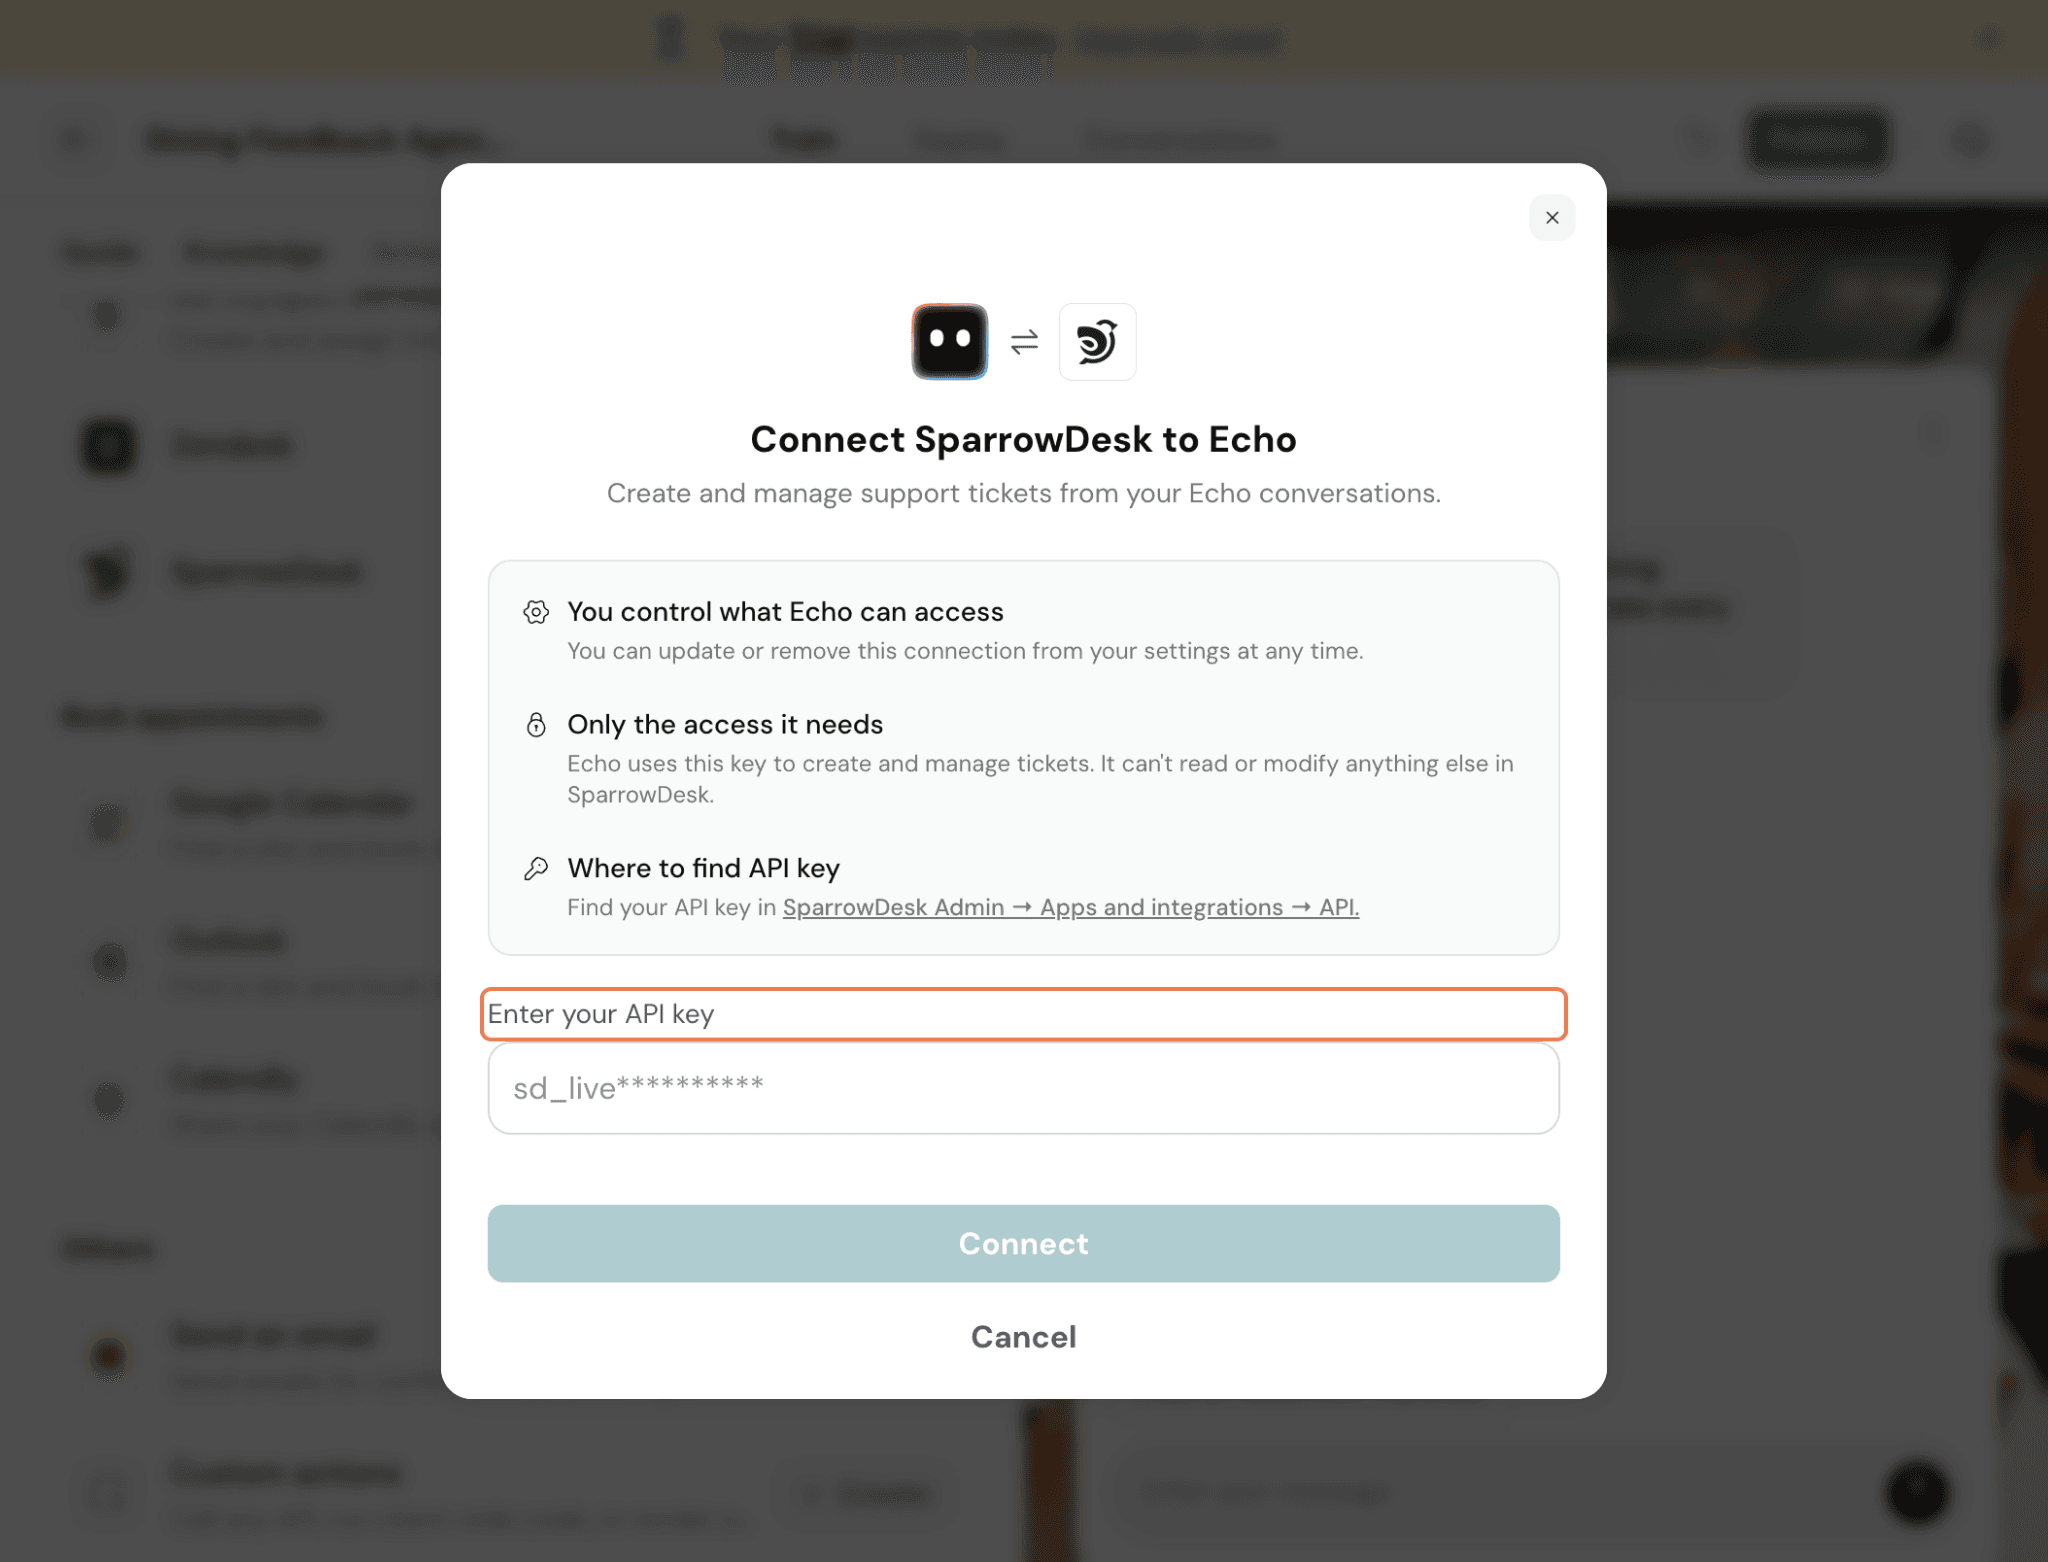
You can also connect your SparrowDesk account to help Echo close the loop with customers by creating support tickets or handing off conversations to a live agent.
Click Connect to configure the integration.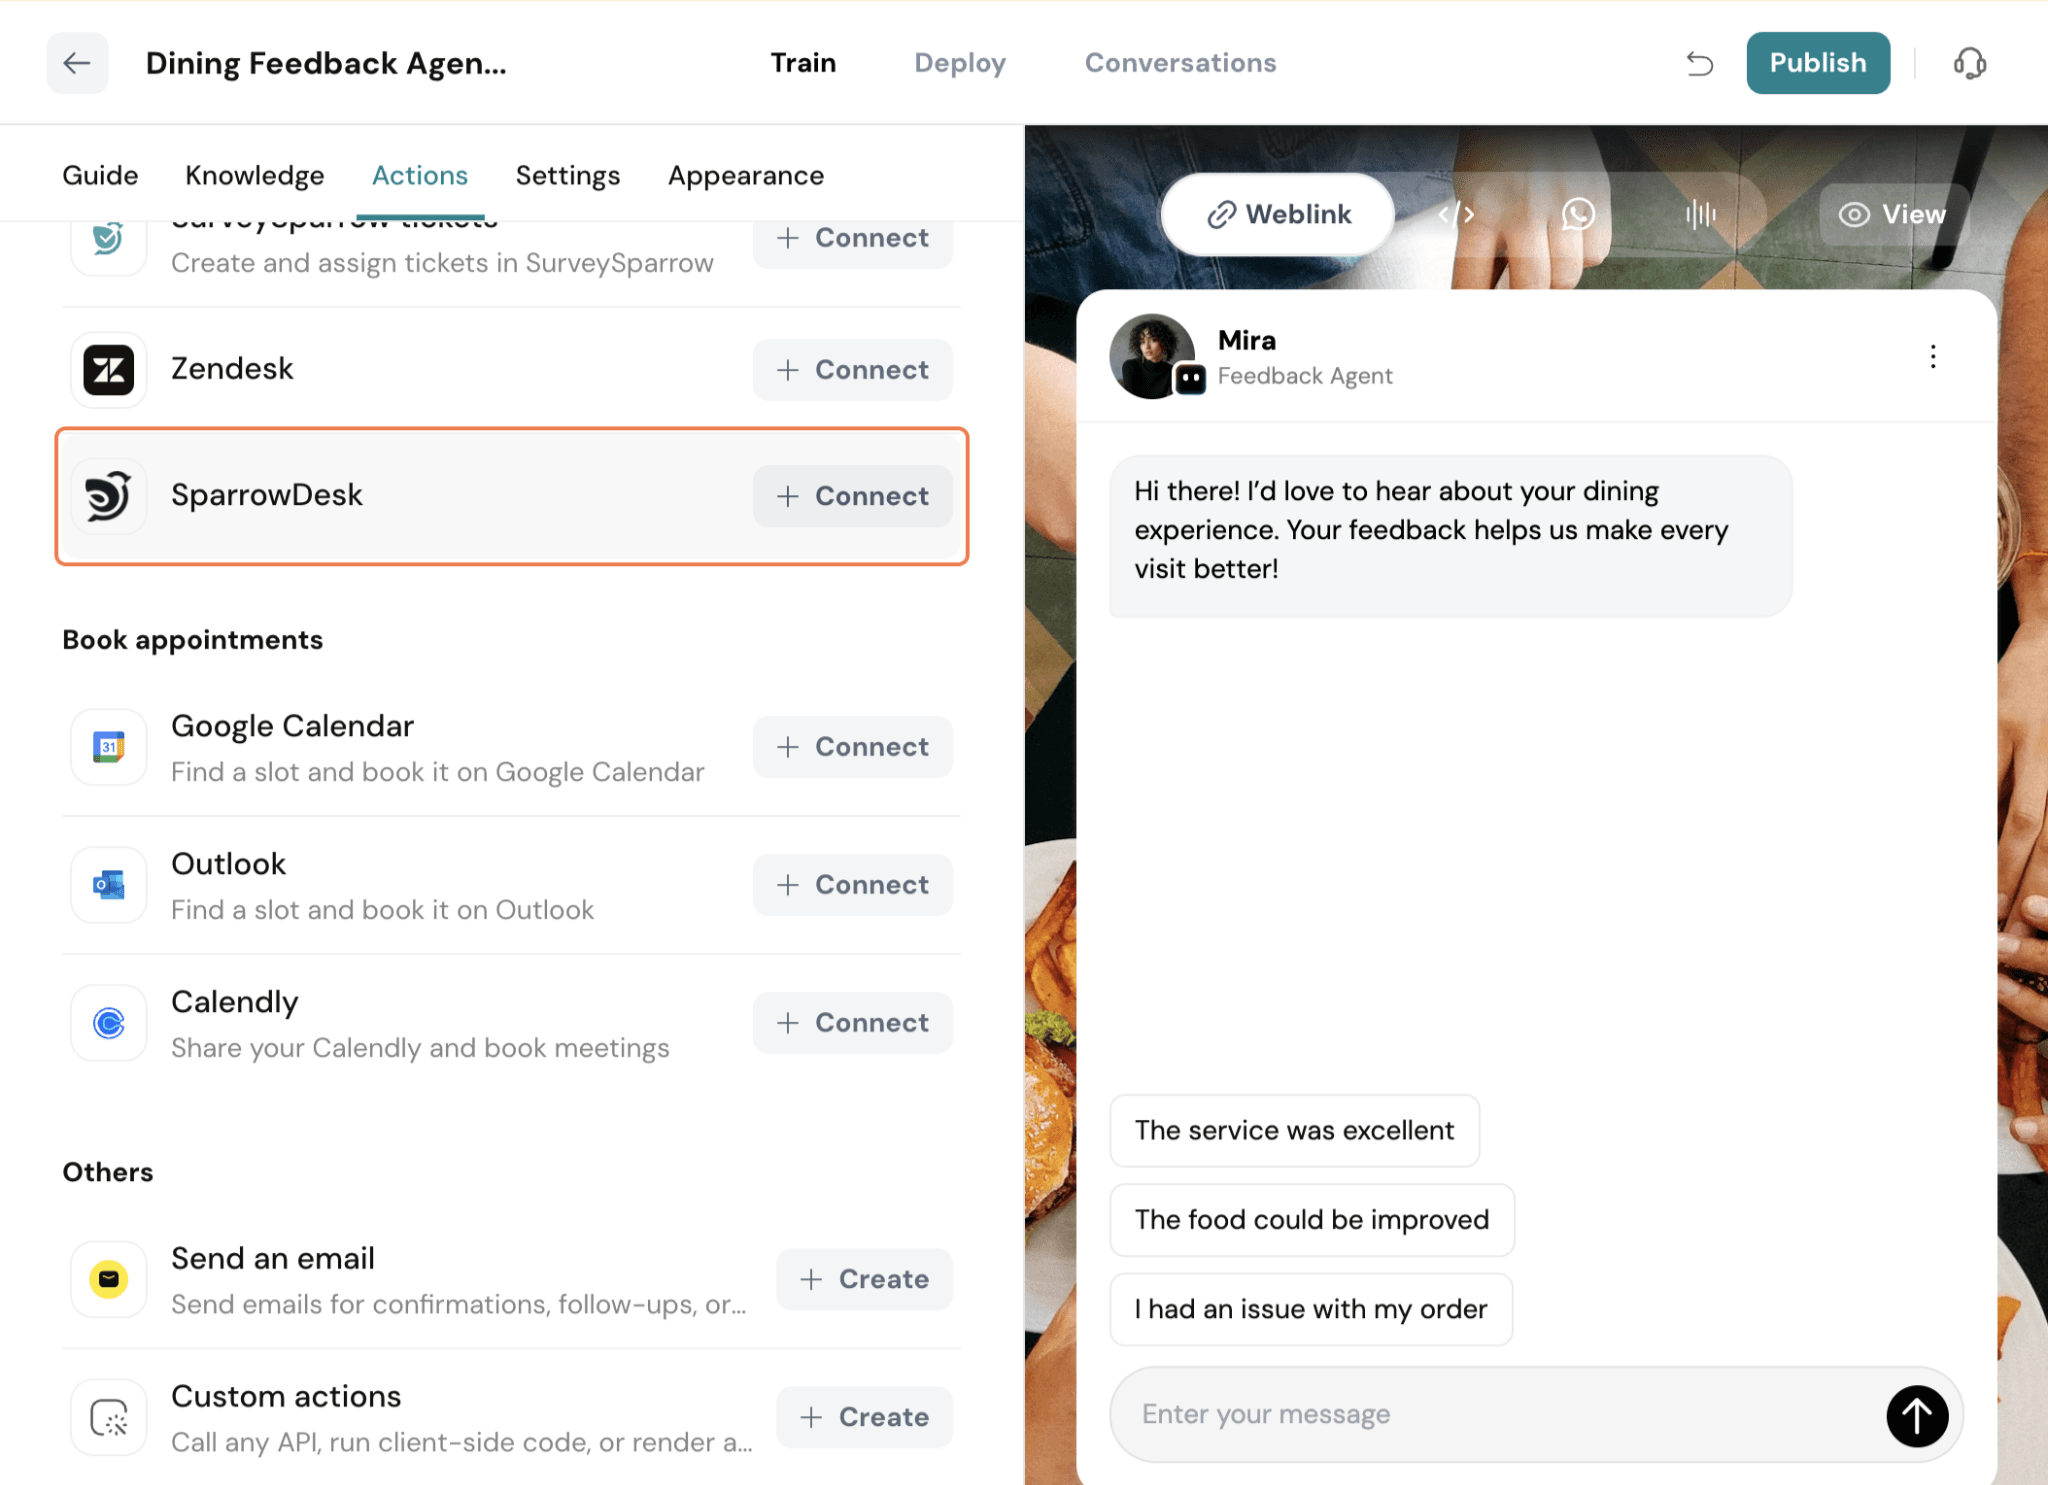
Book Appointments
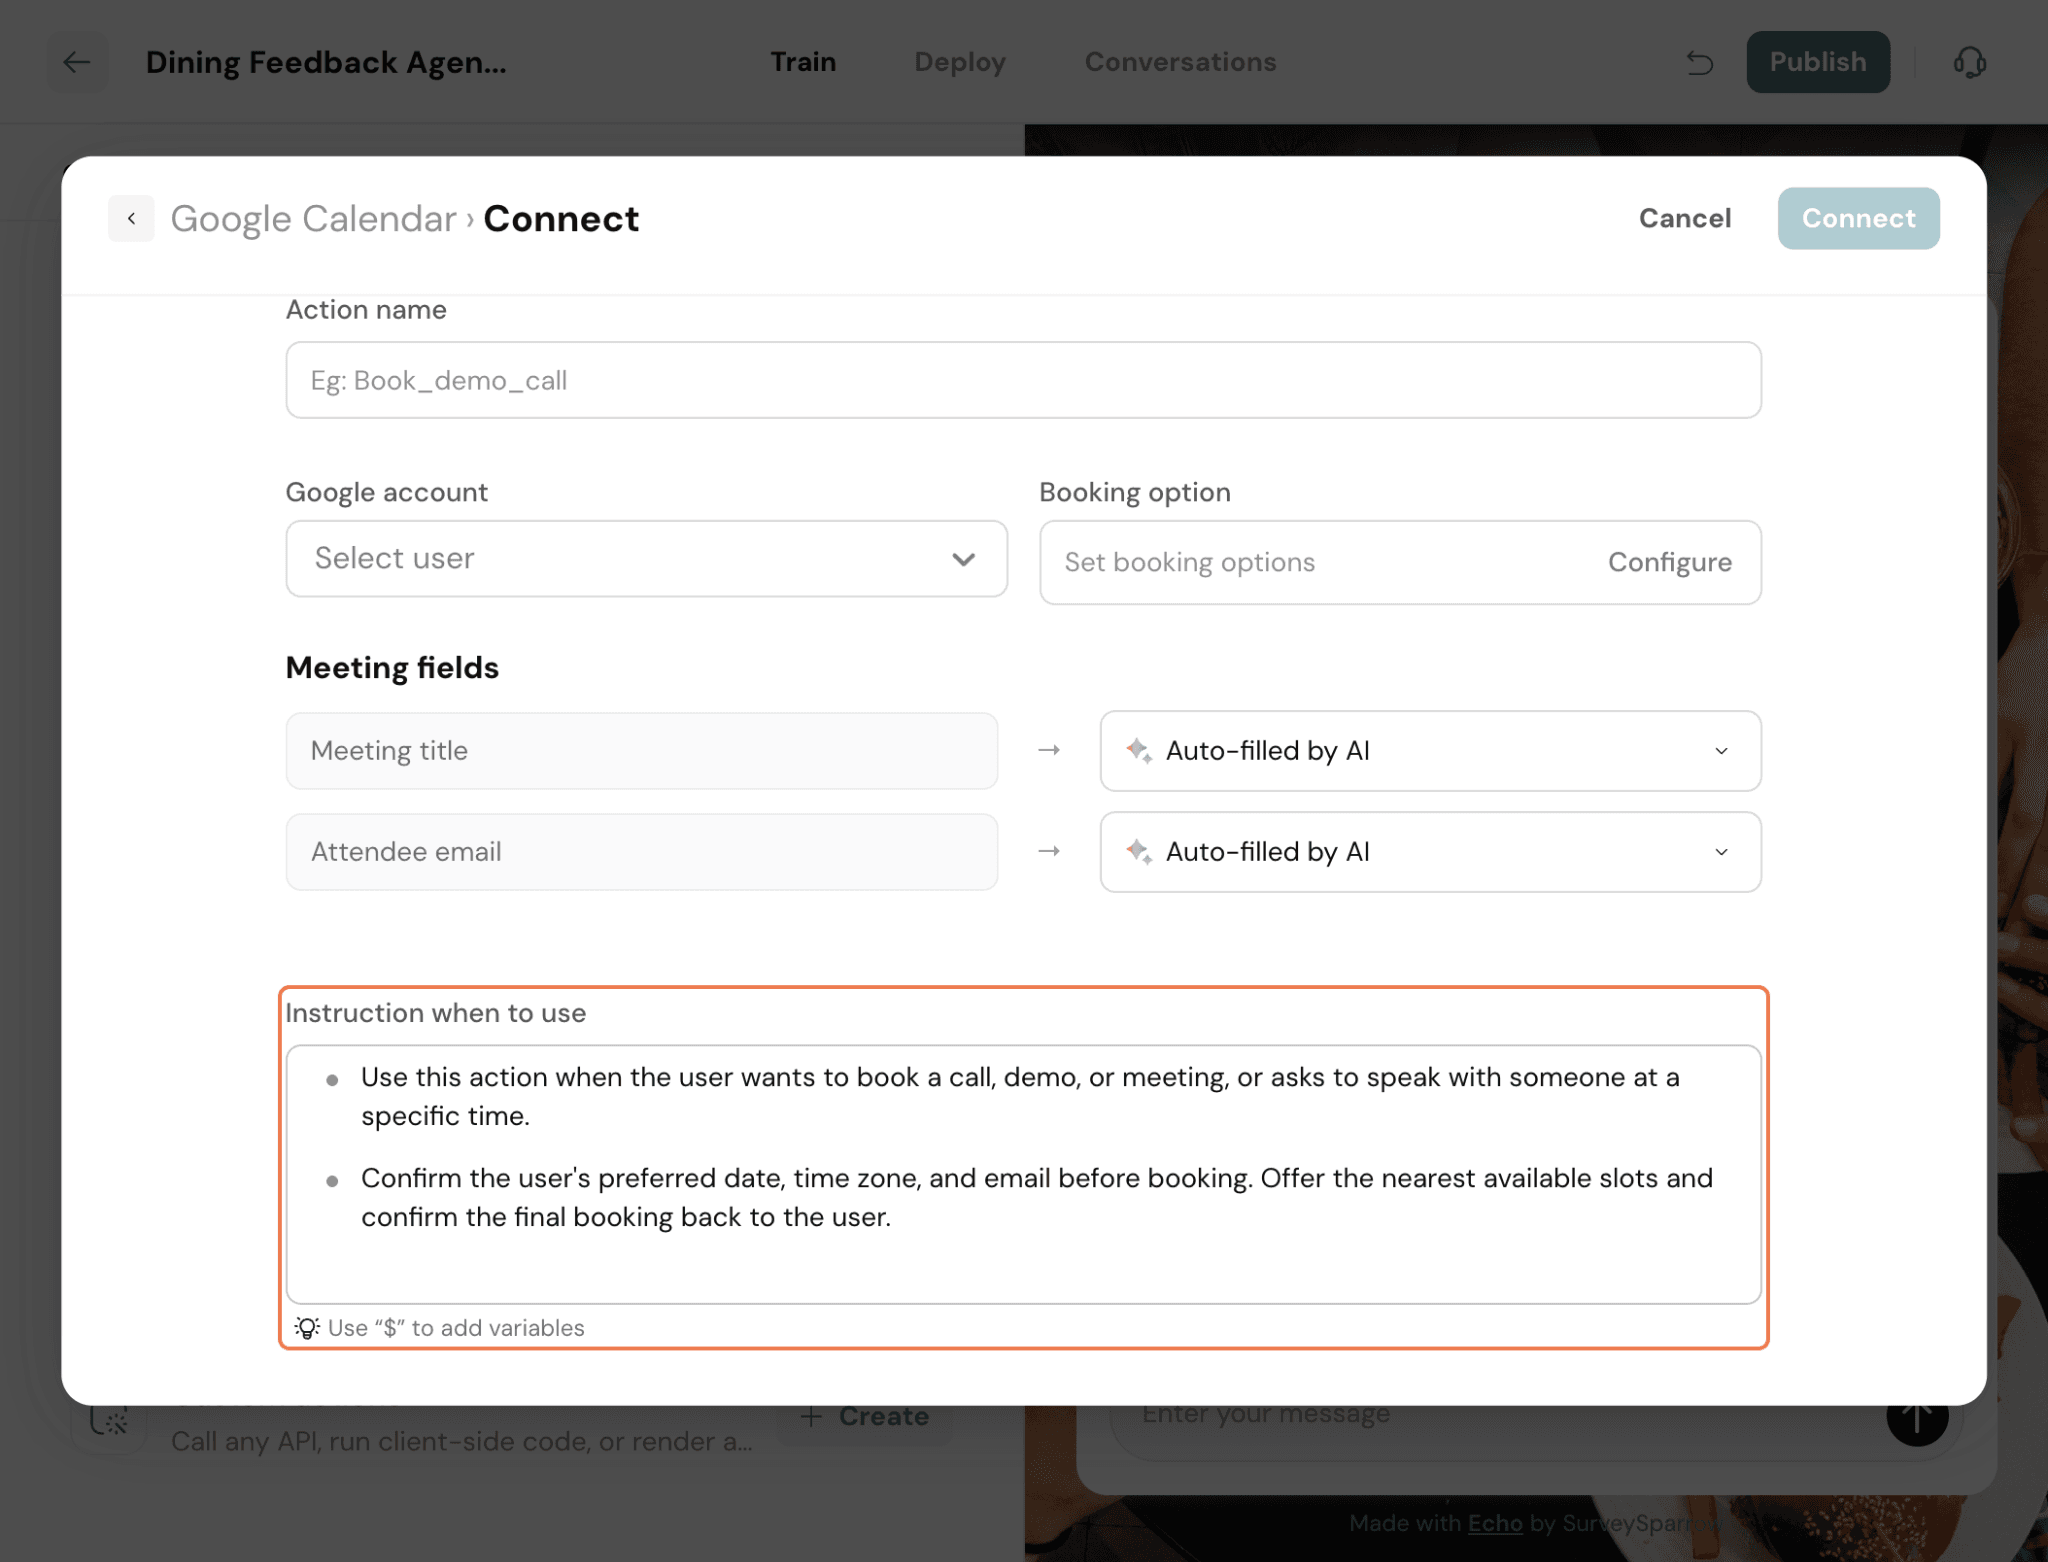
You can also connect Google Calendar to let Echo schedule meetings and appointments during customer conversations.
Click Connect to configure the integration.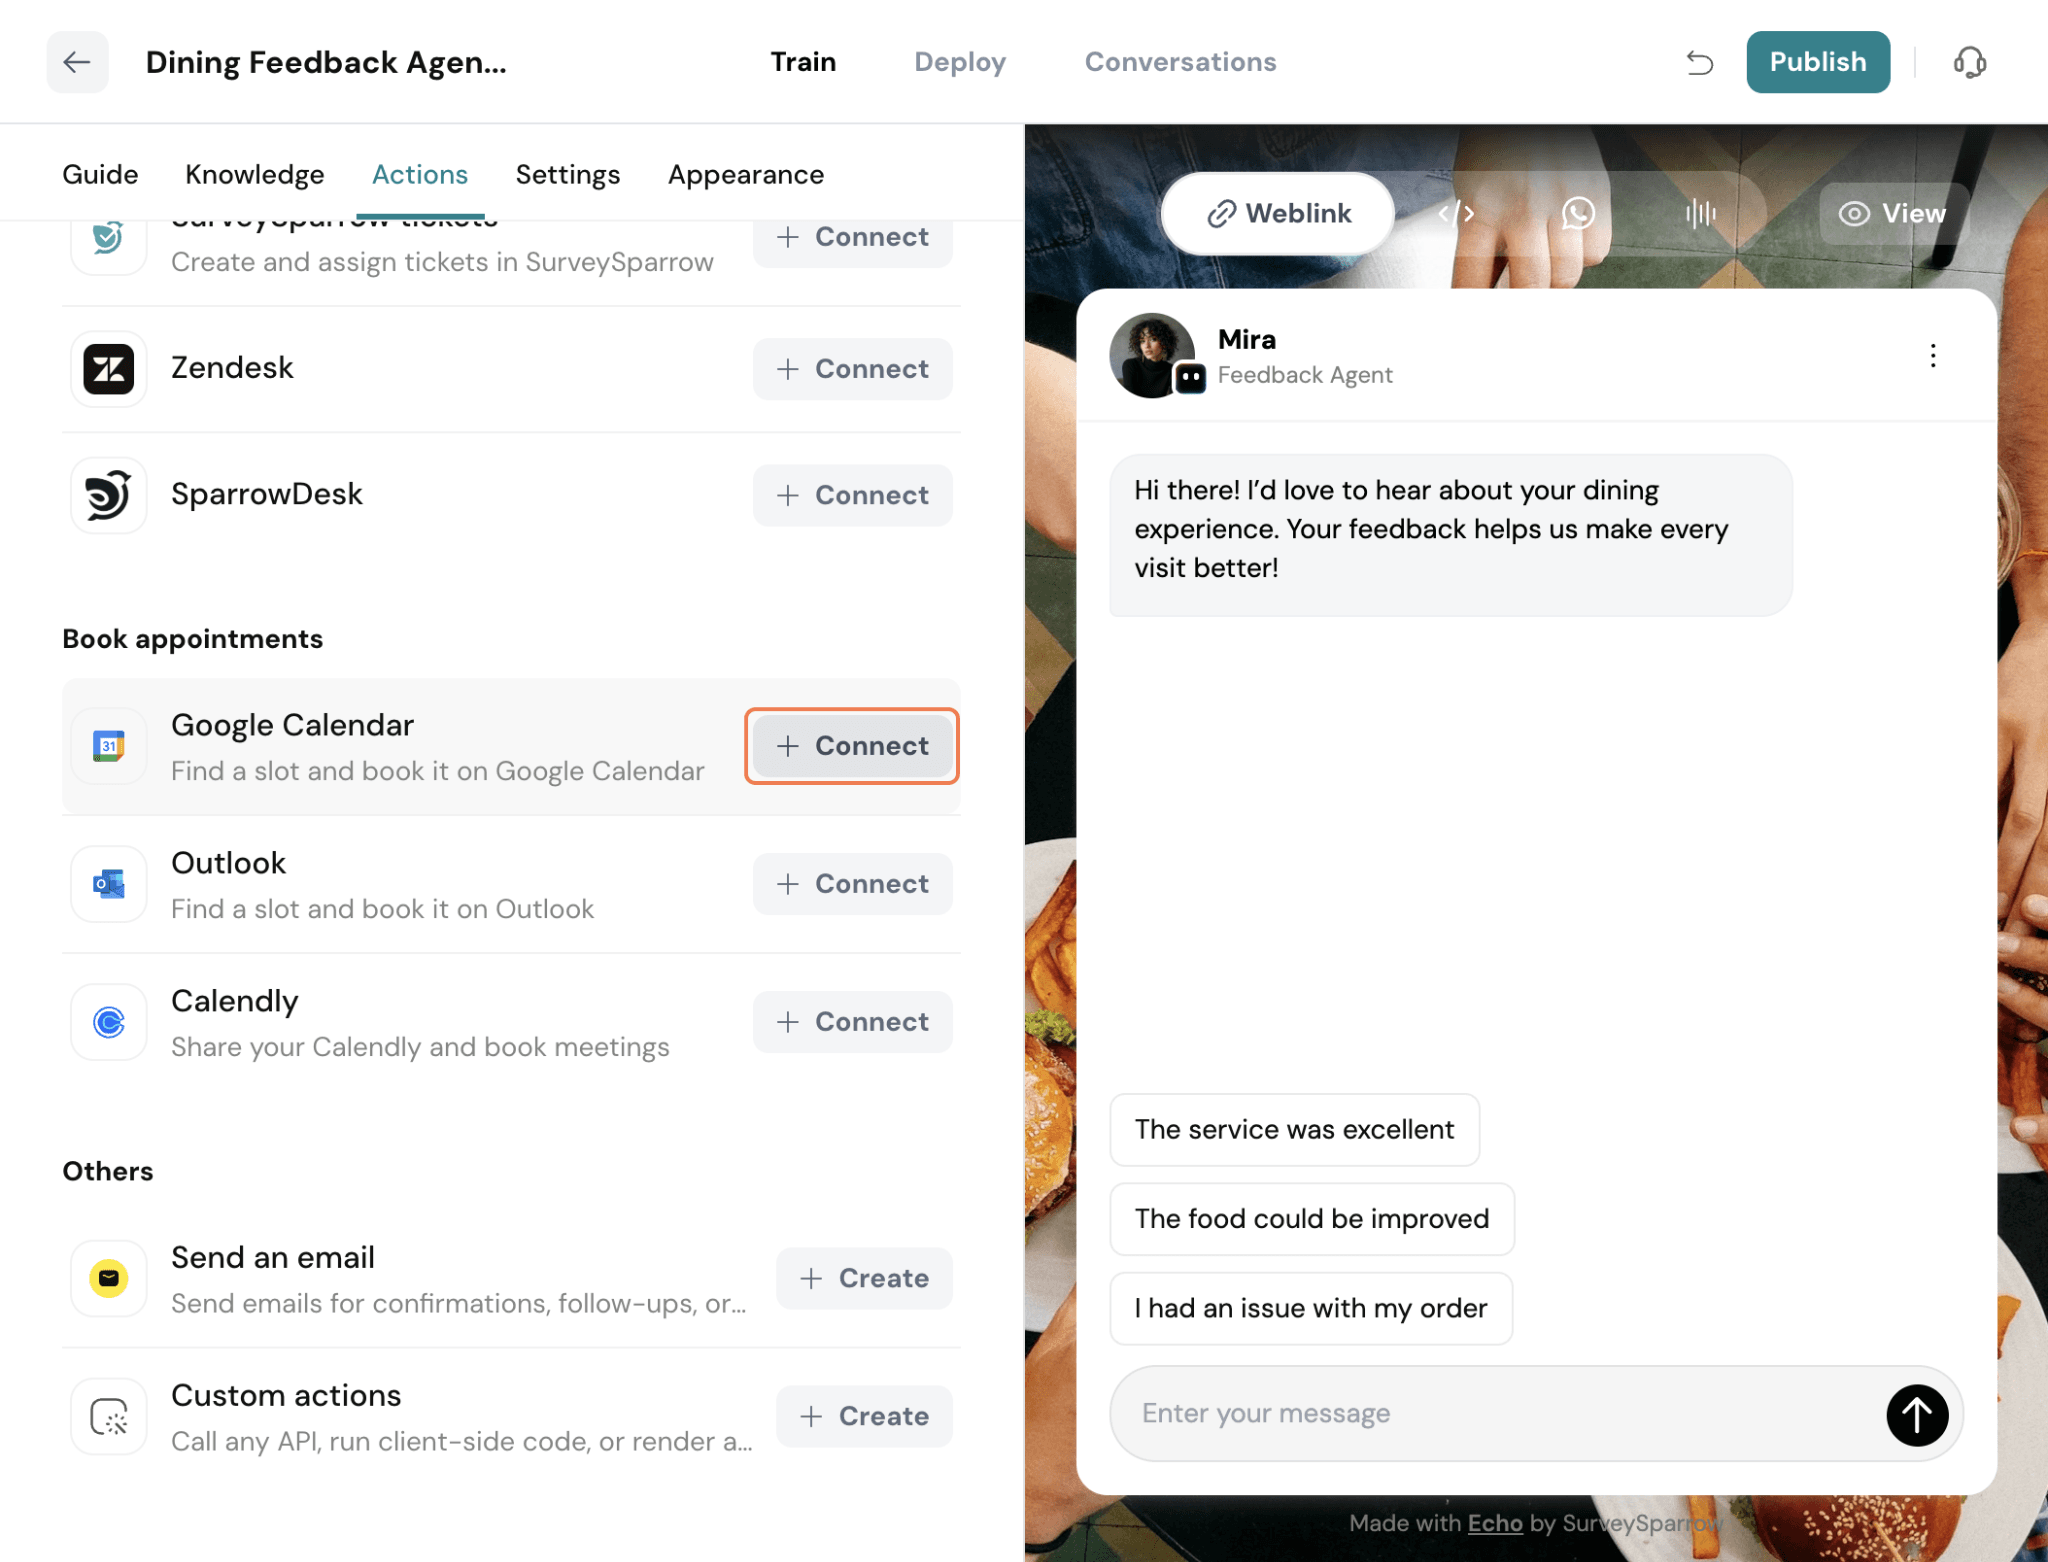
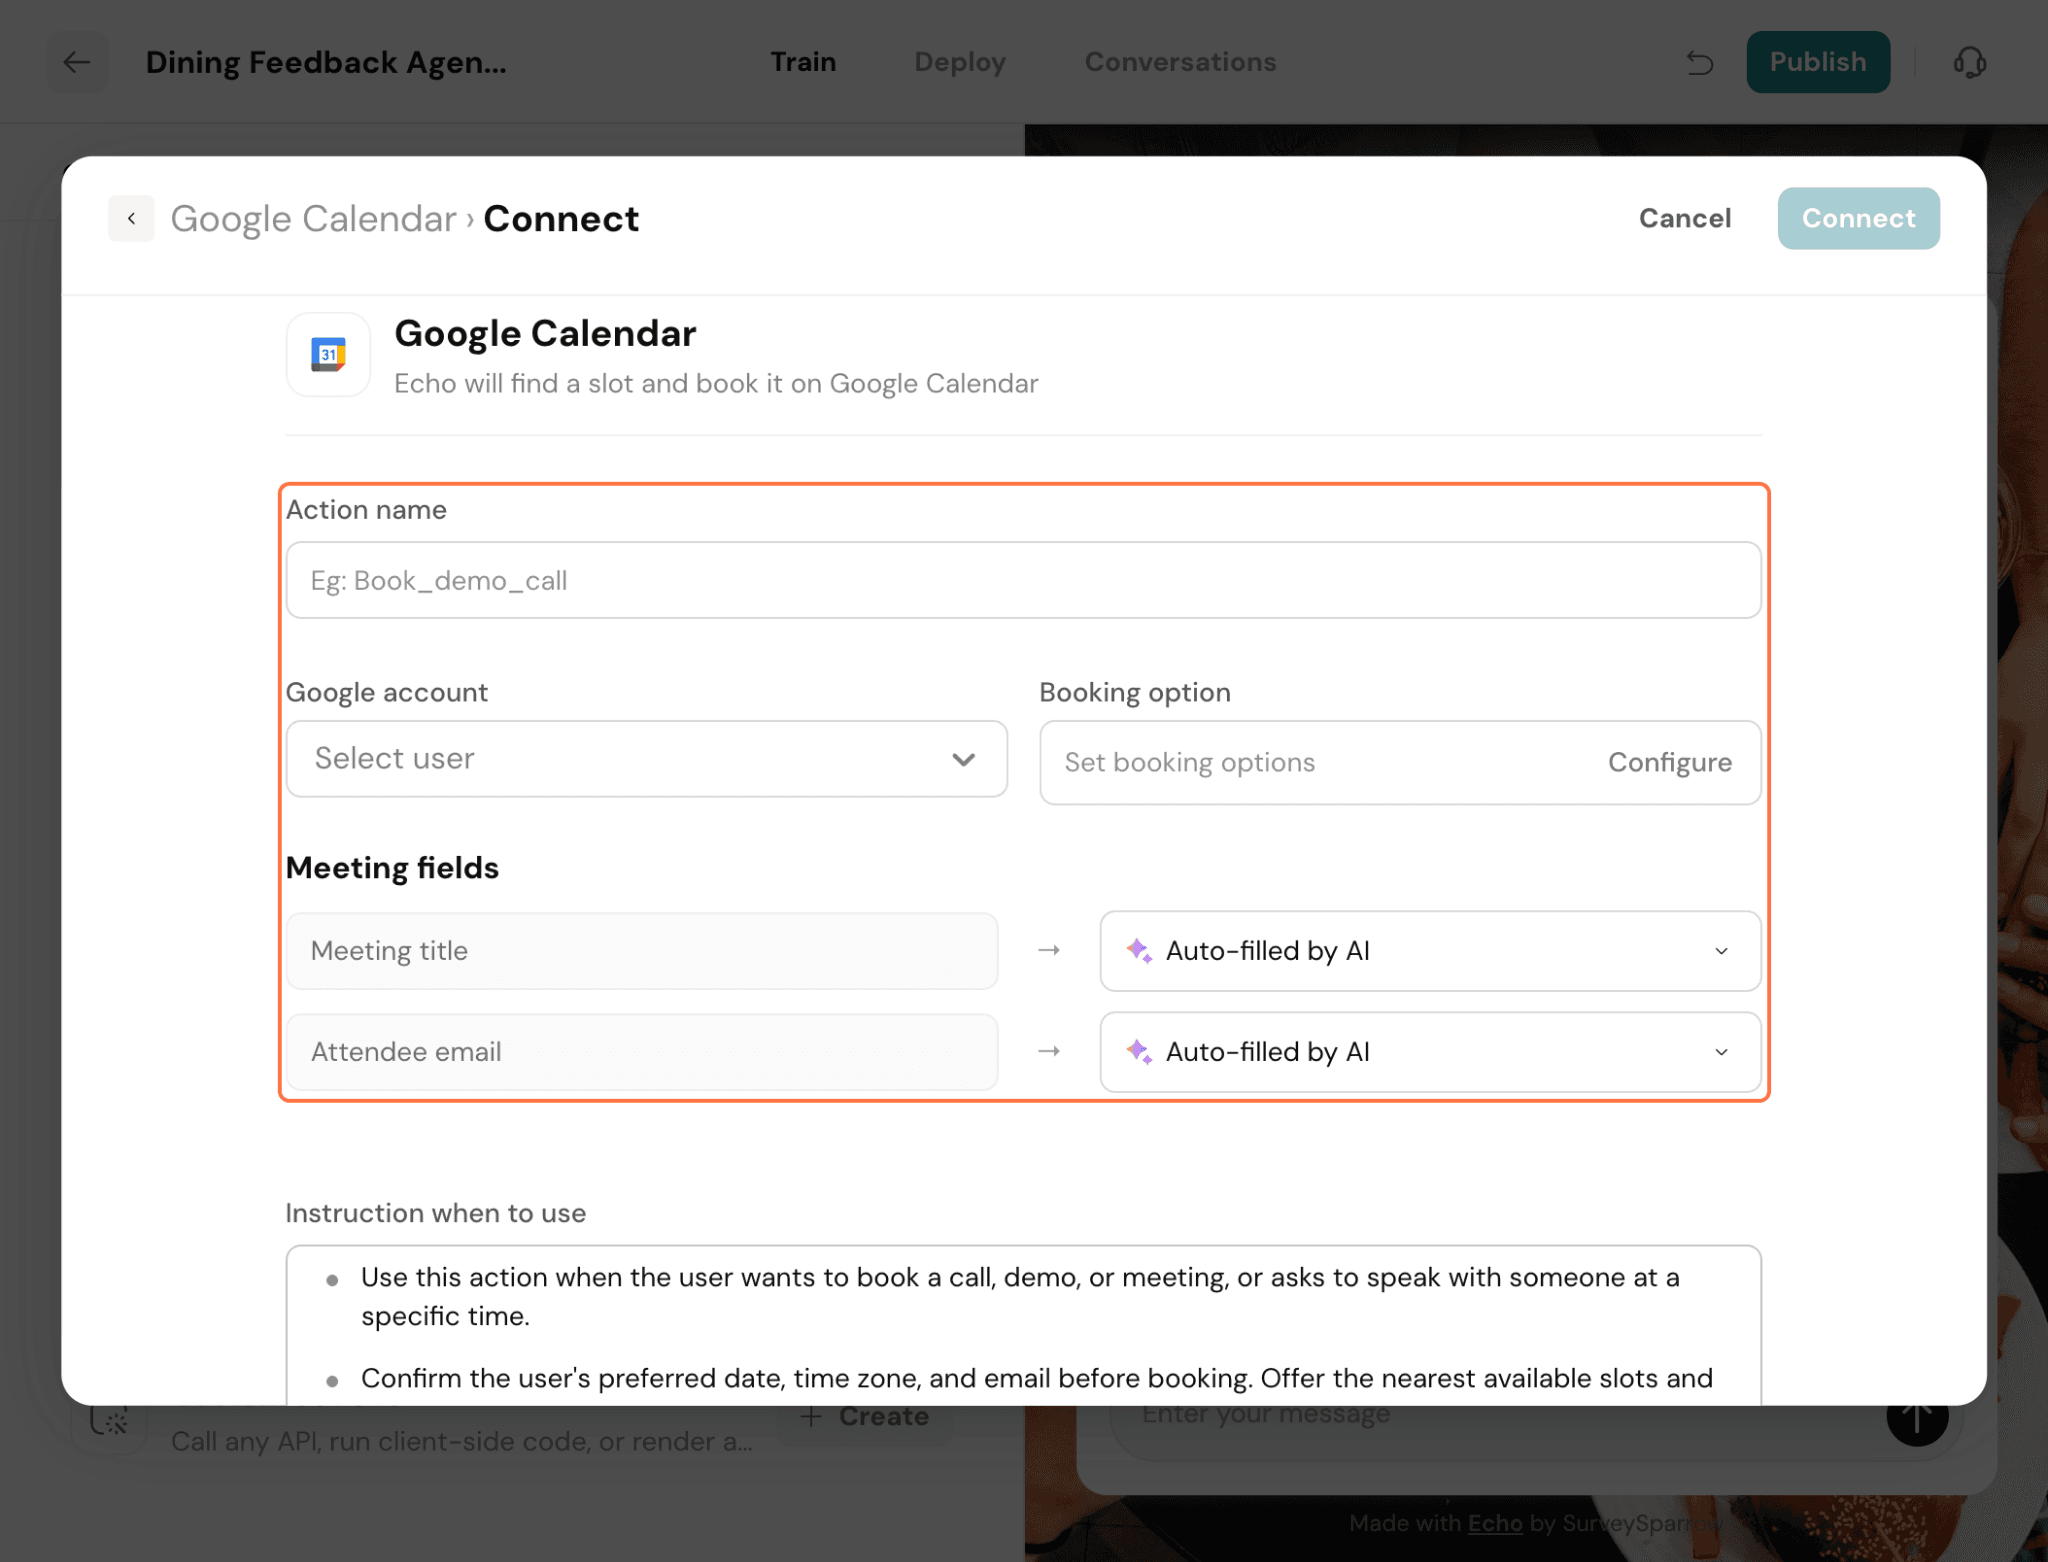
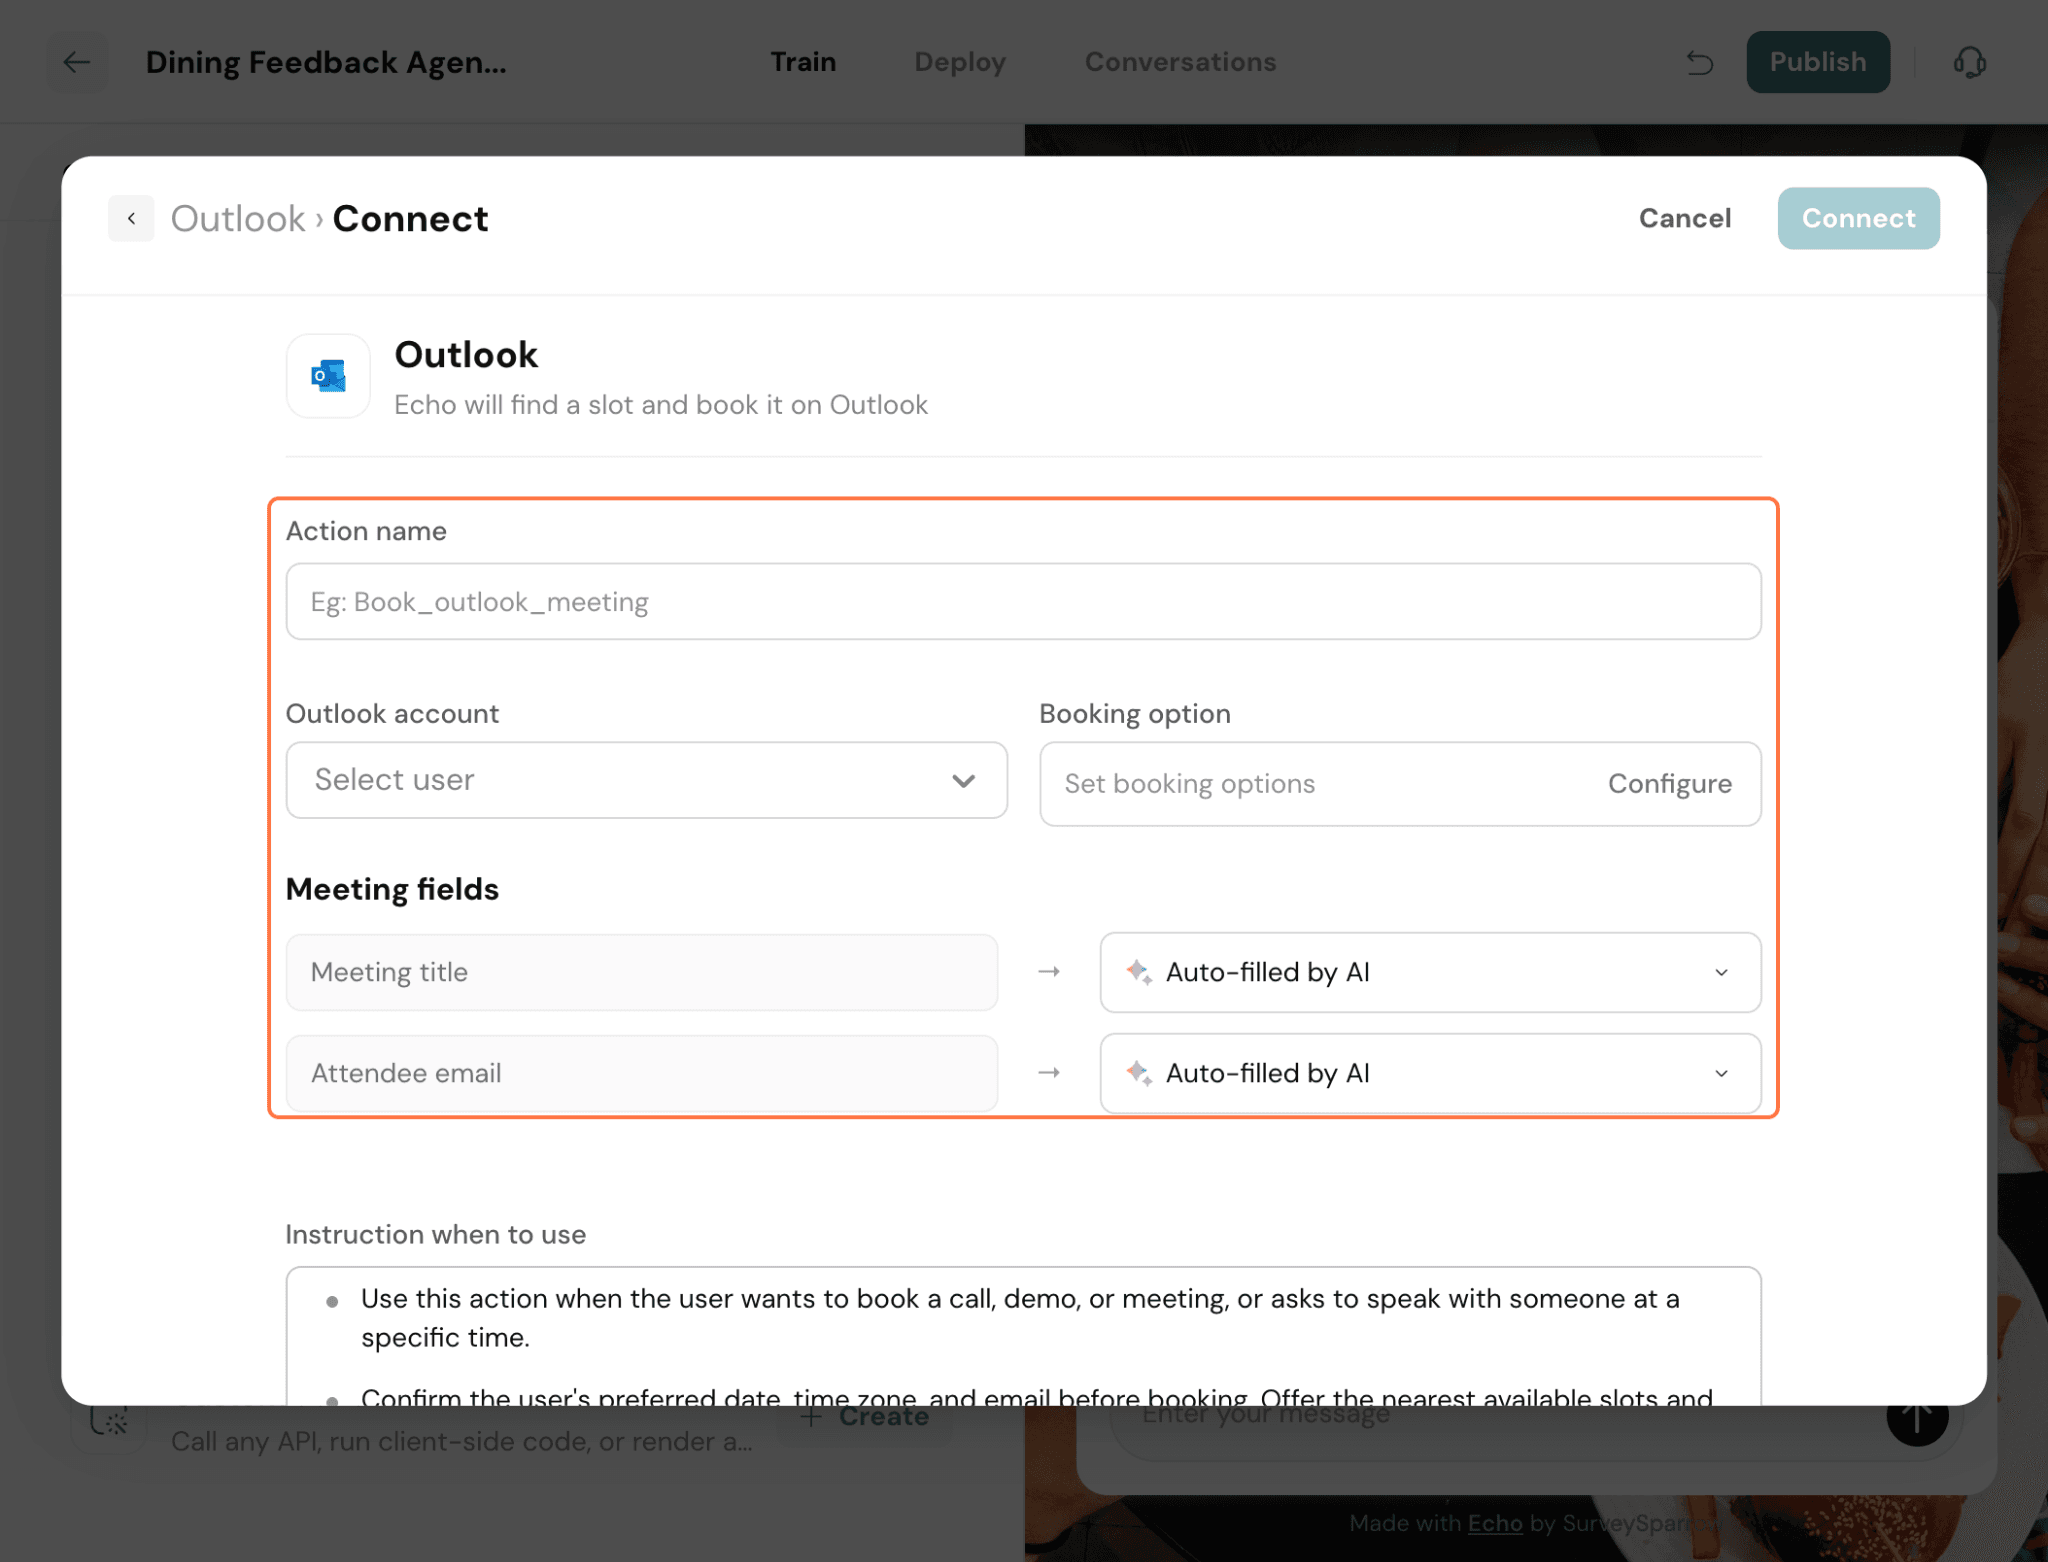
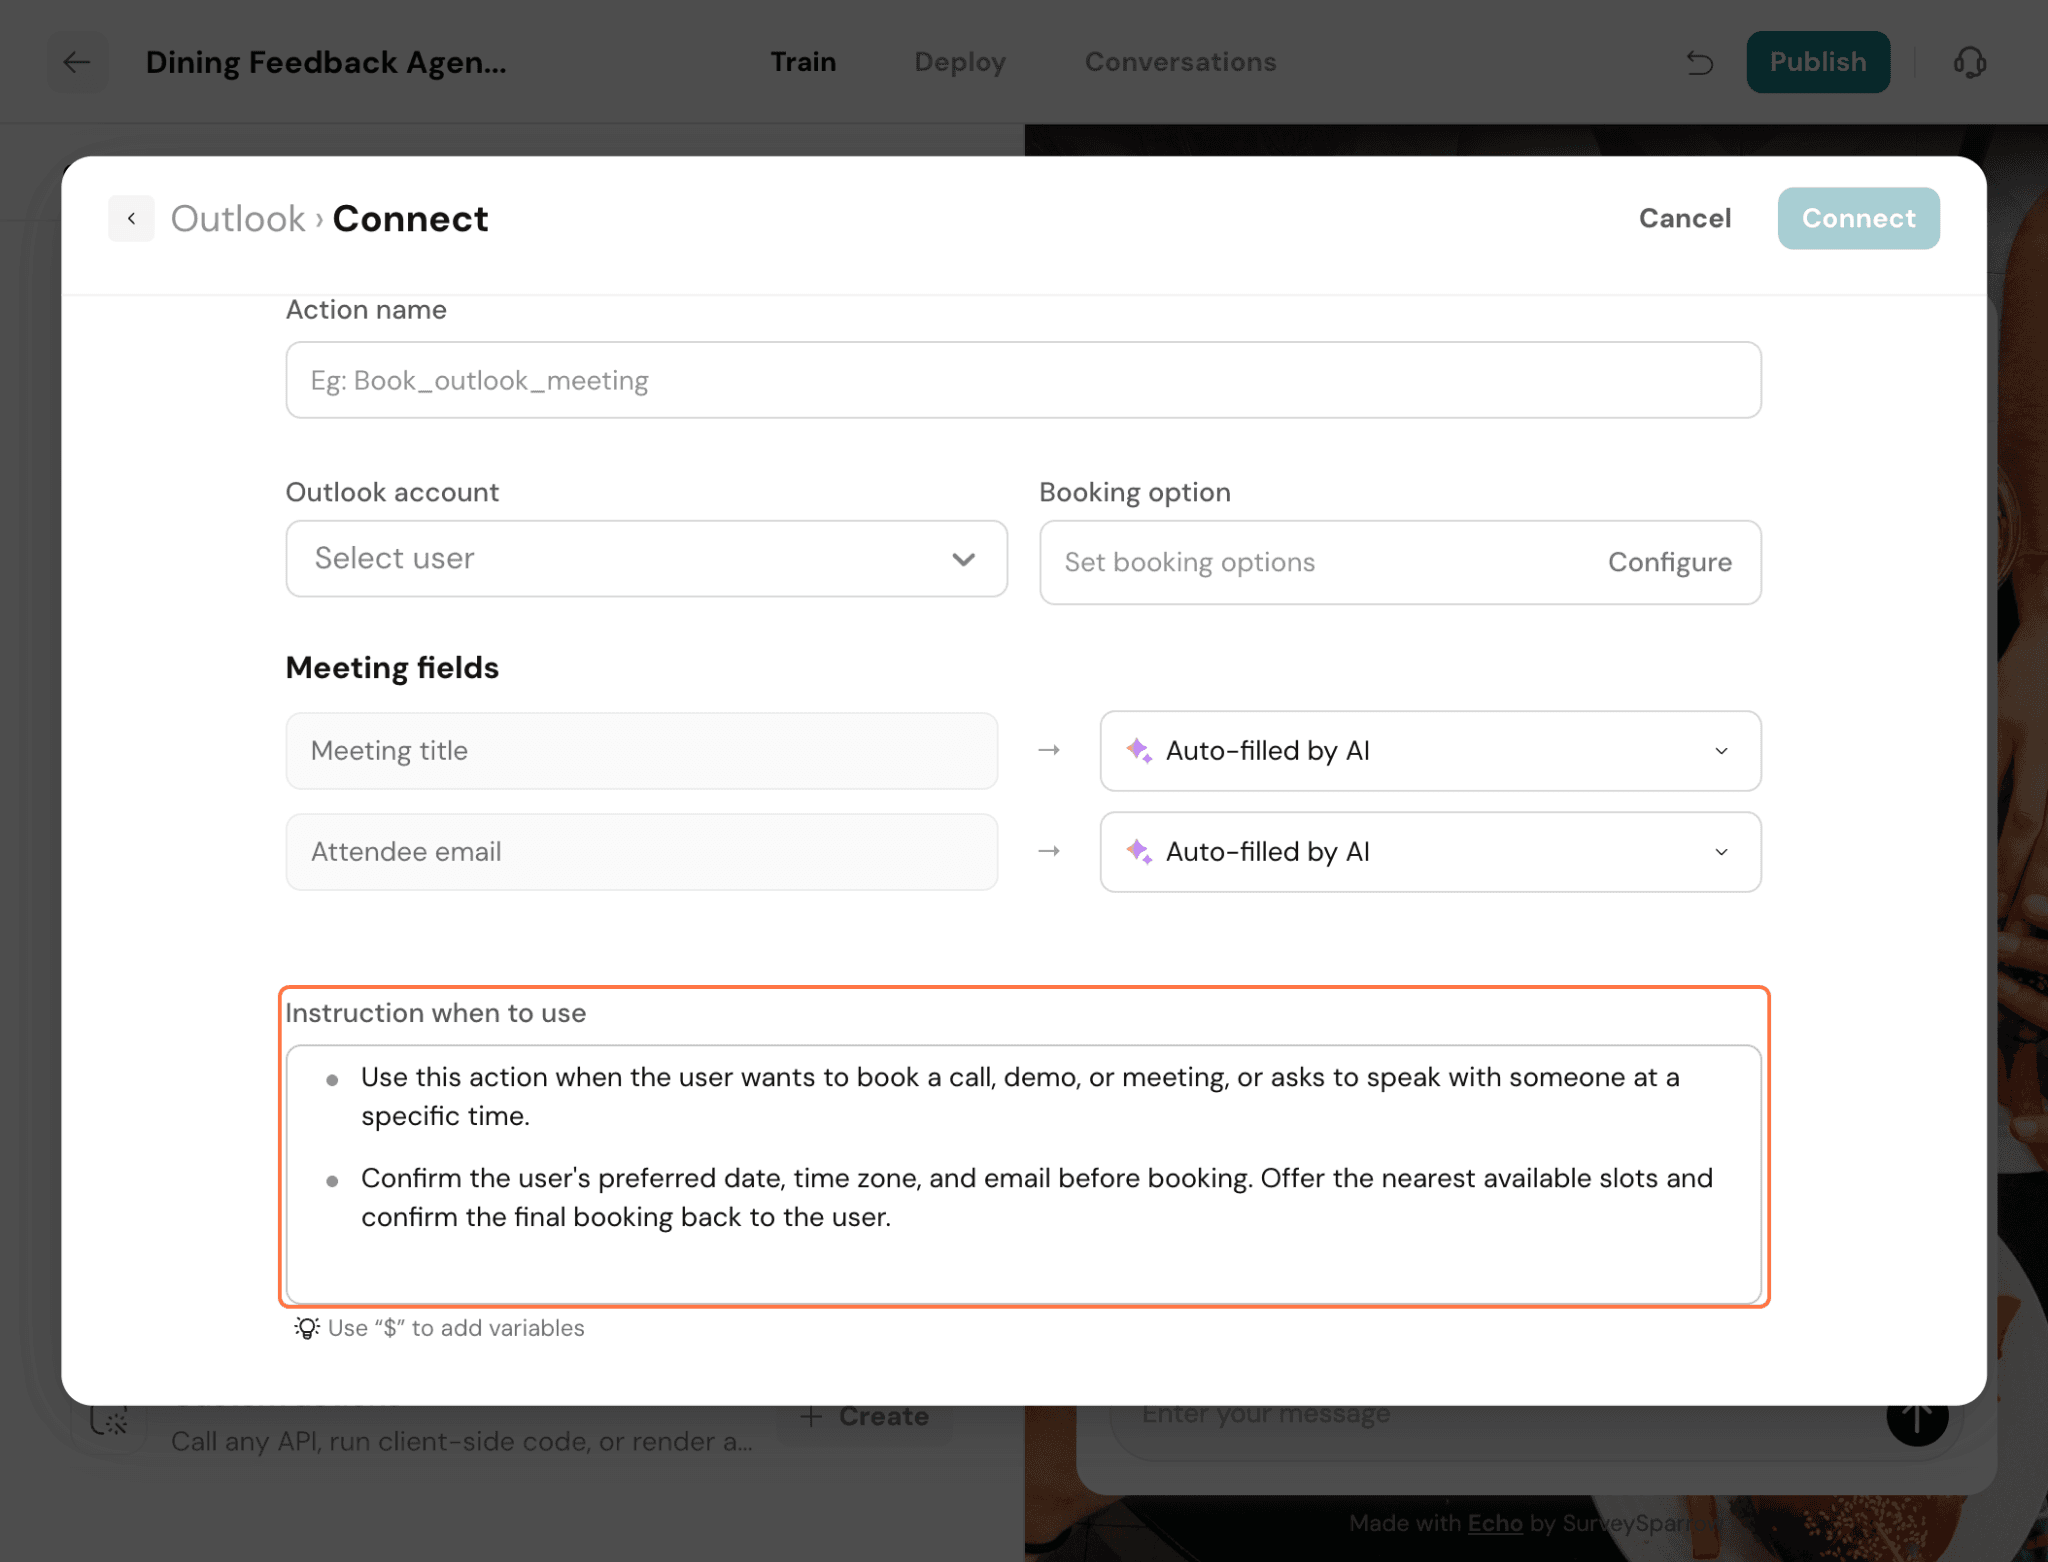
Connect Outlook Calendar to enable Echo to schedule meetings and appointments on your behalf during customer conversations.
Click Connect to set up the integration.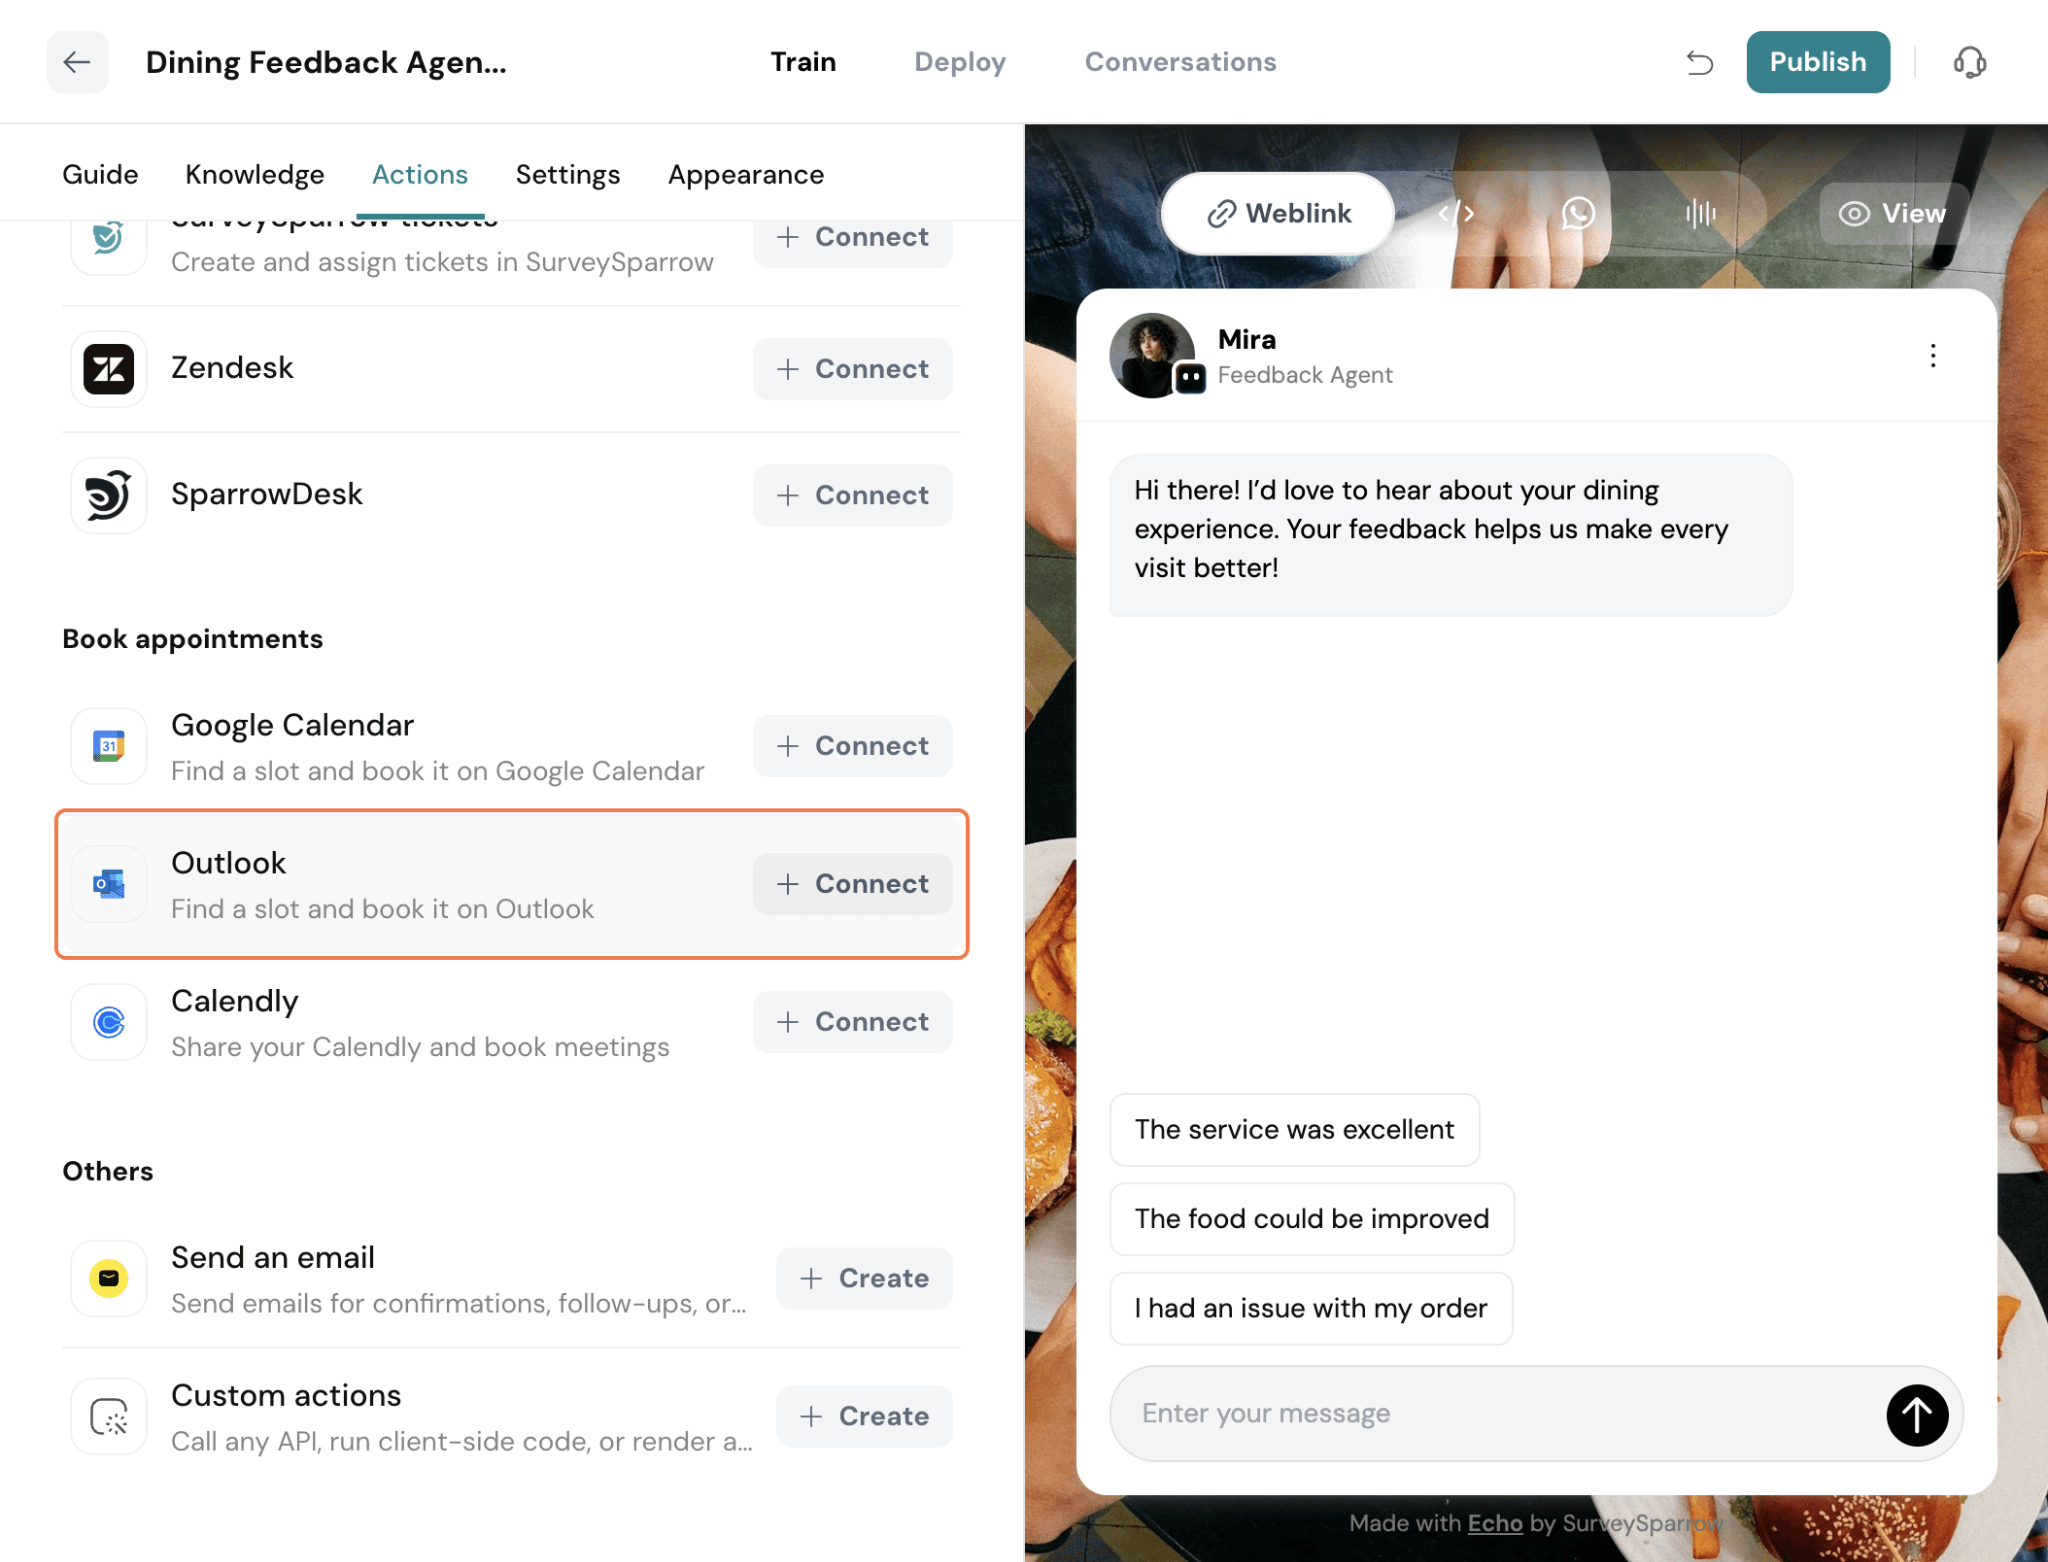
Click + Connect next to Calendly.
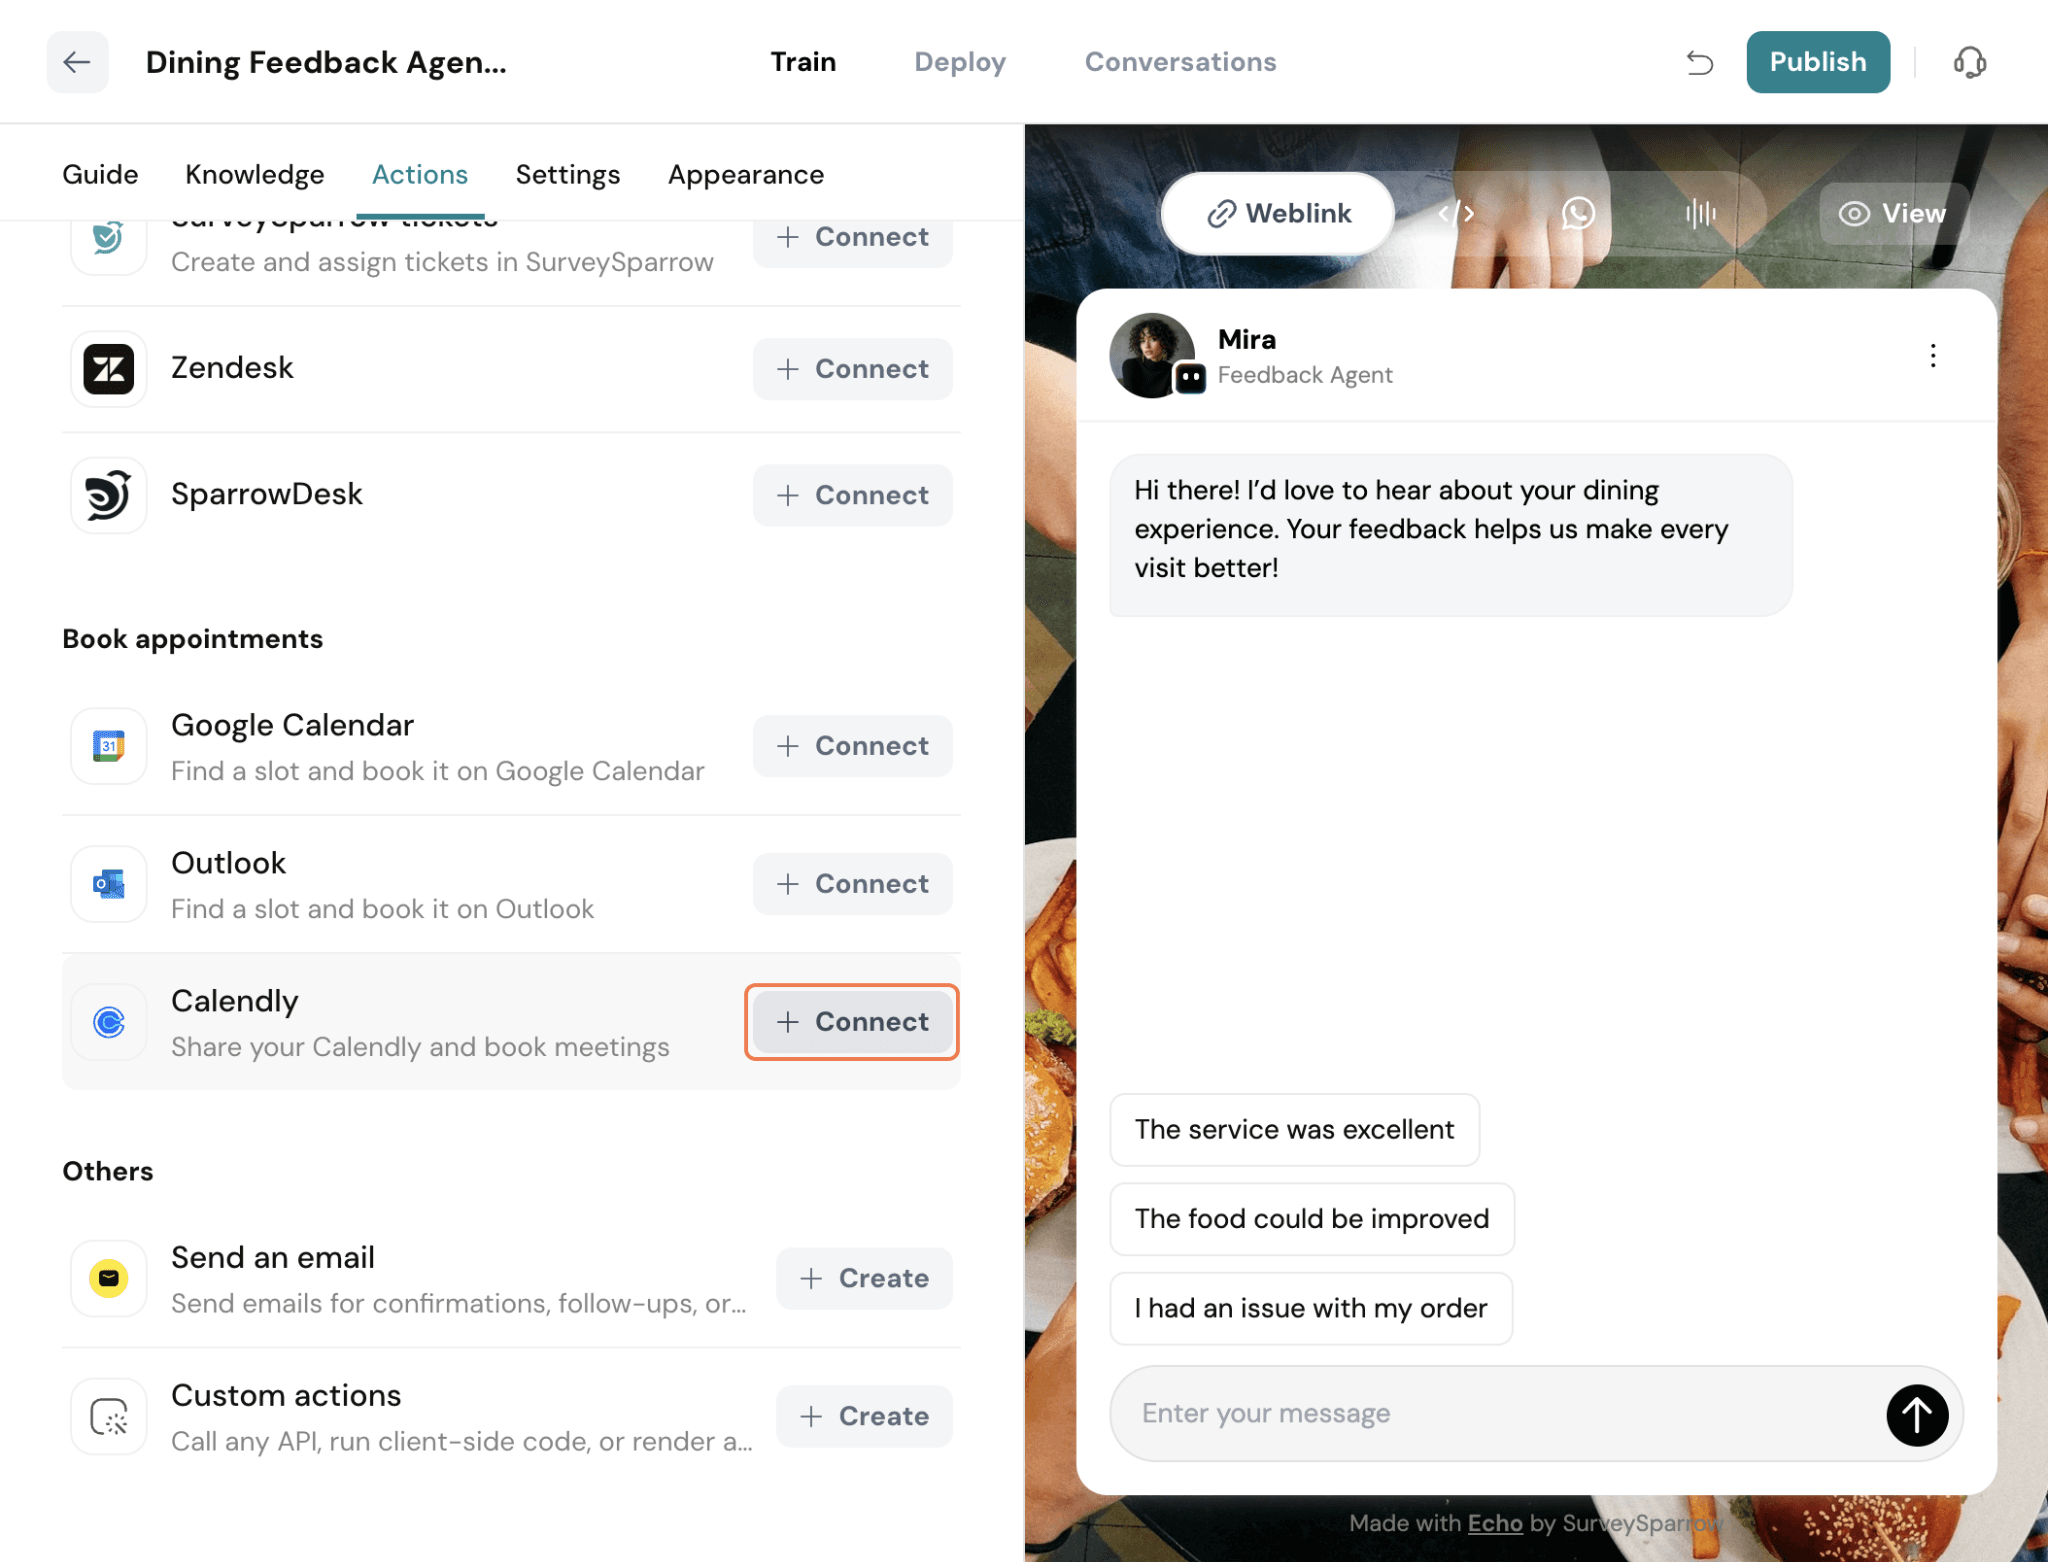
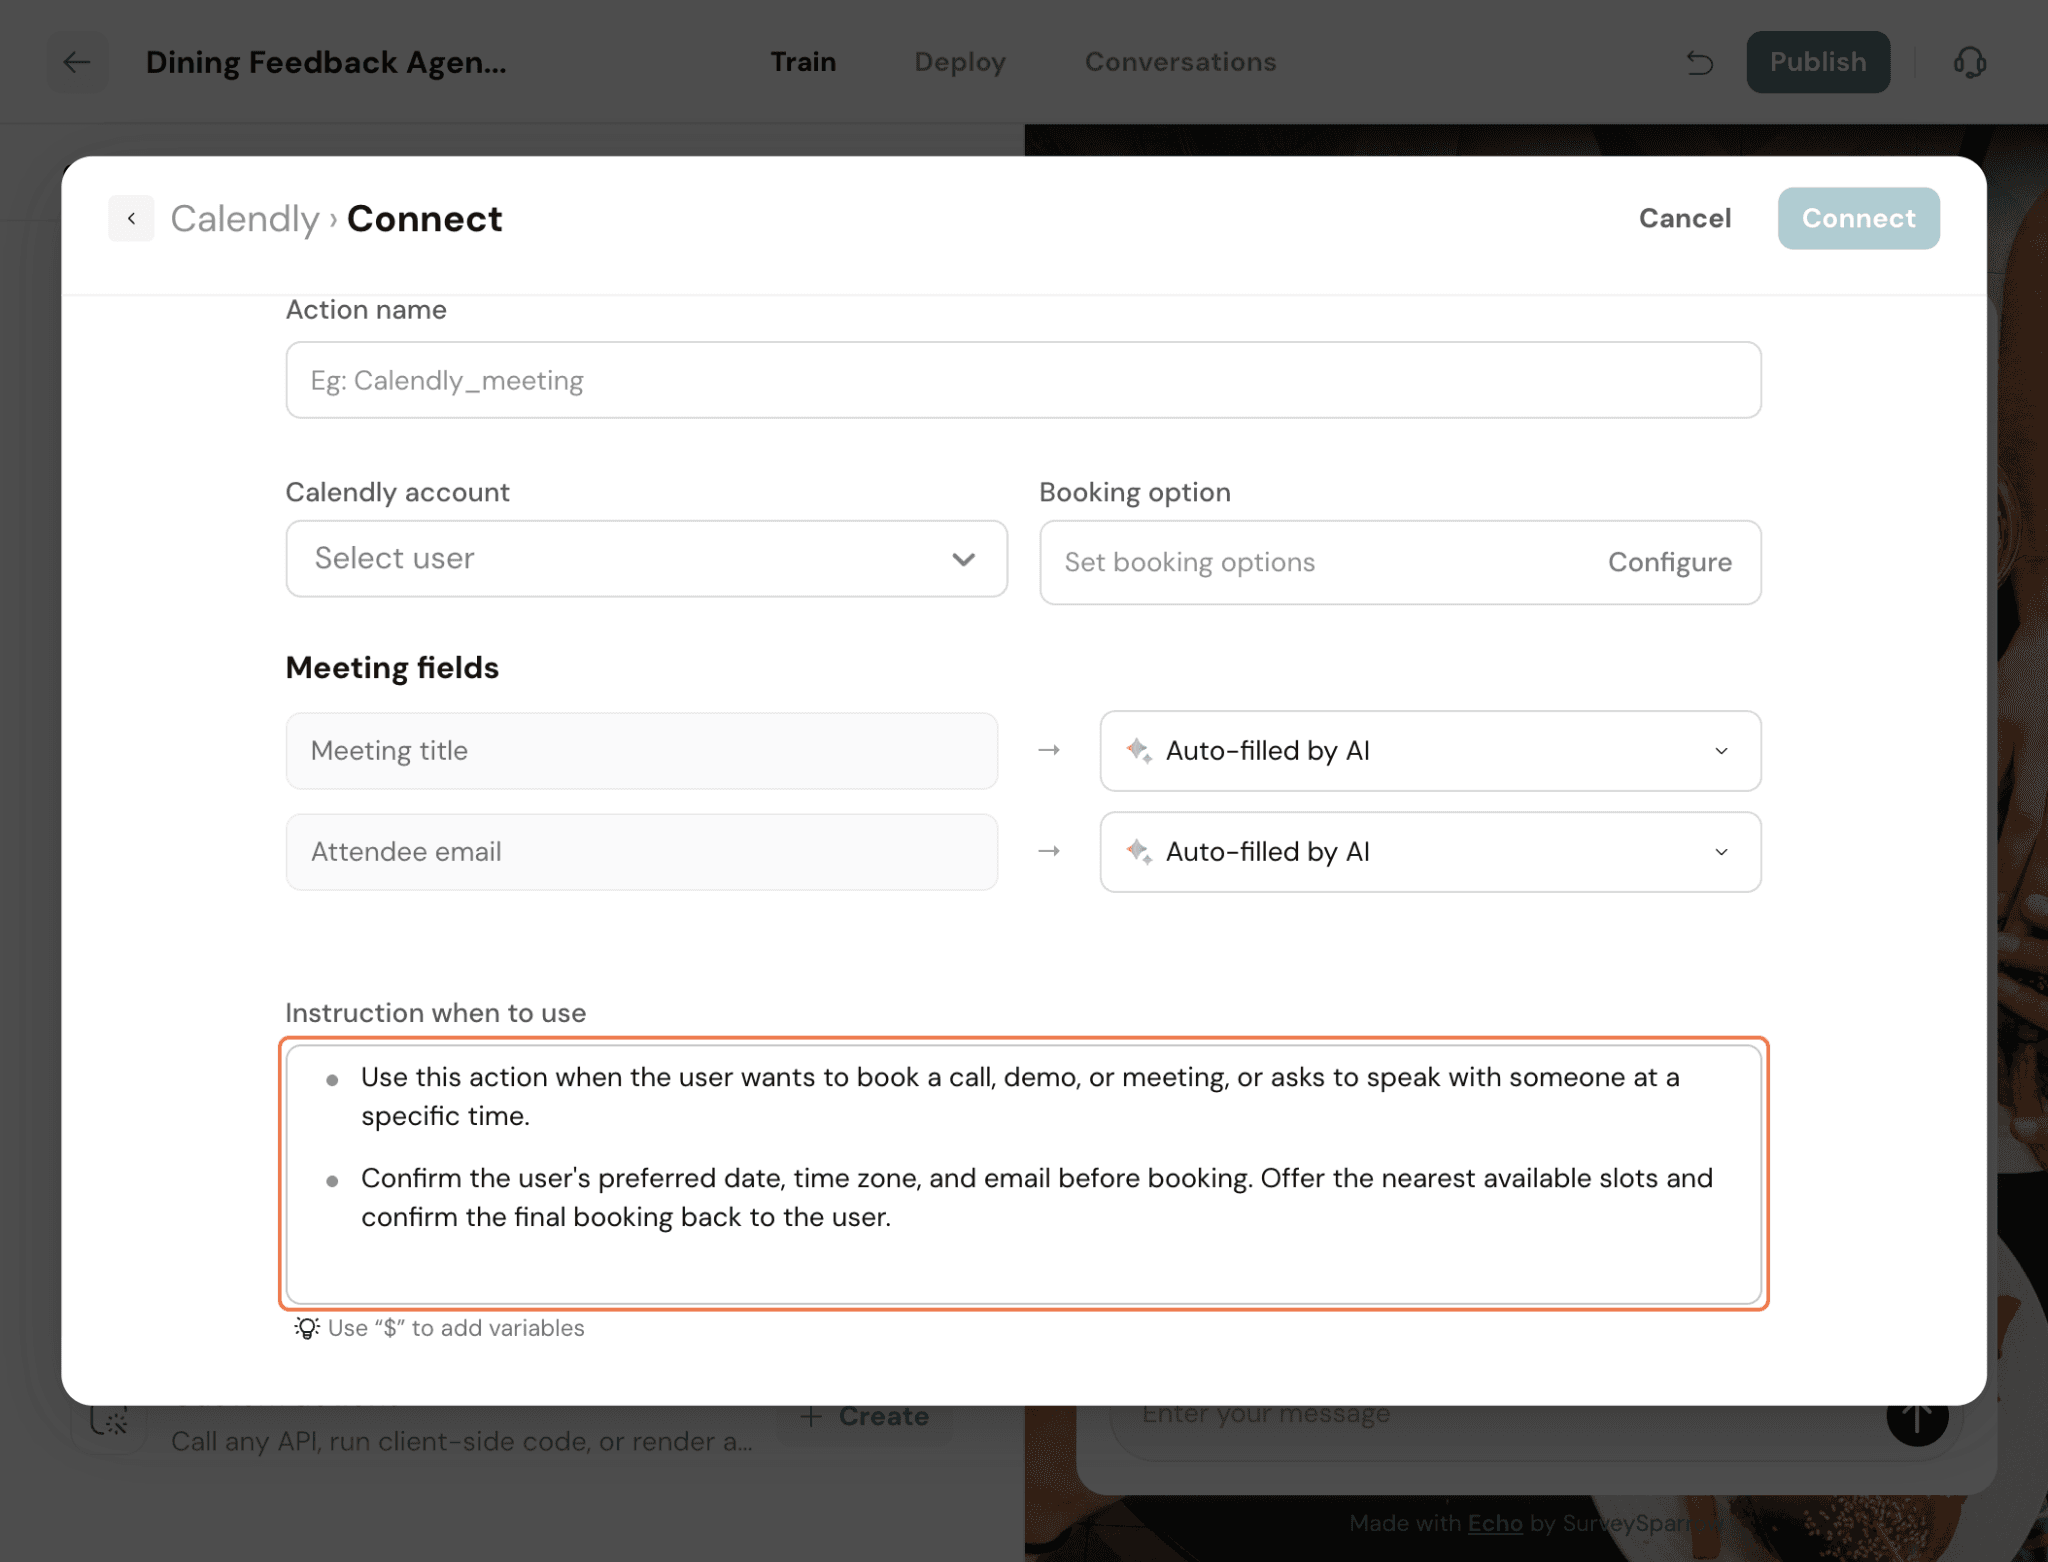
Give the action a name, connect your Calendly account, and select the event type you want Echo to book. Once connected, Echo can share available time slots and schedule meetings based on your Calendly availability.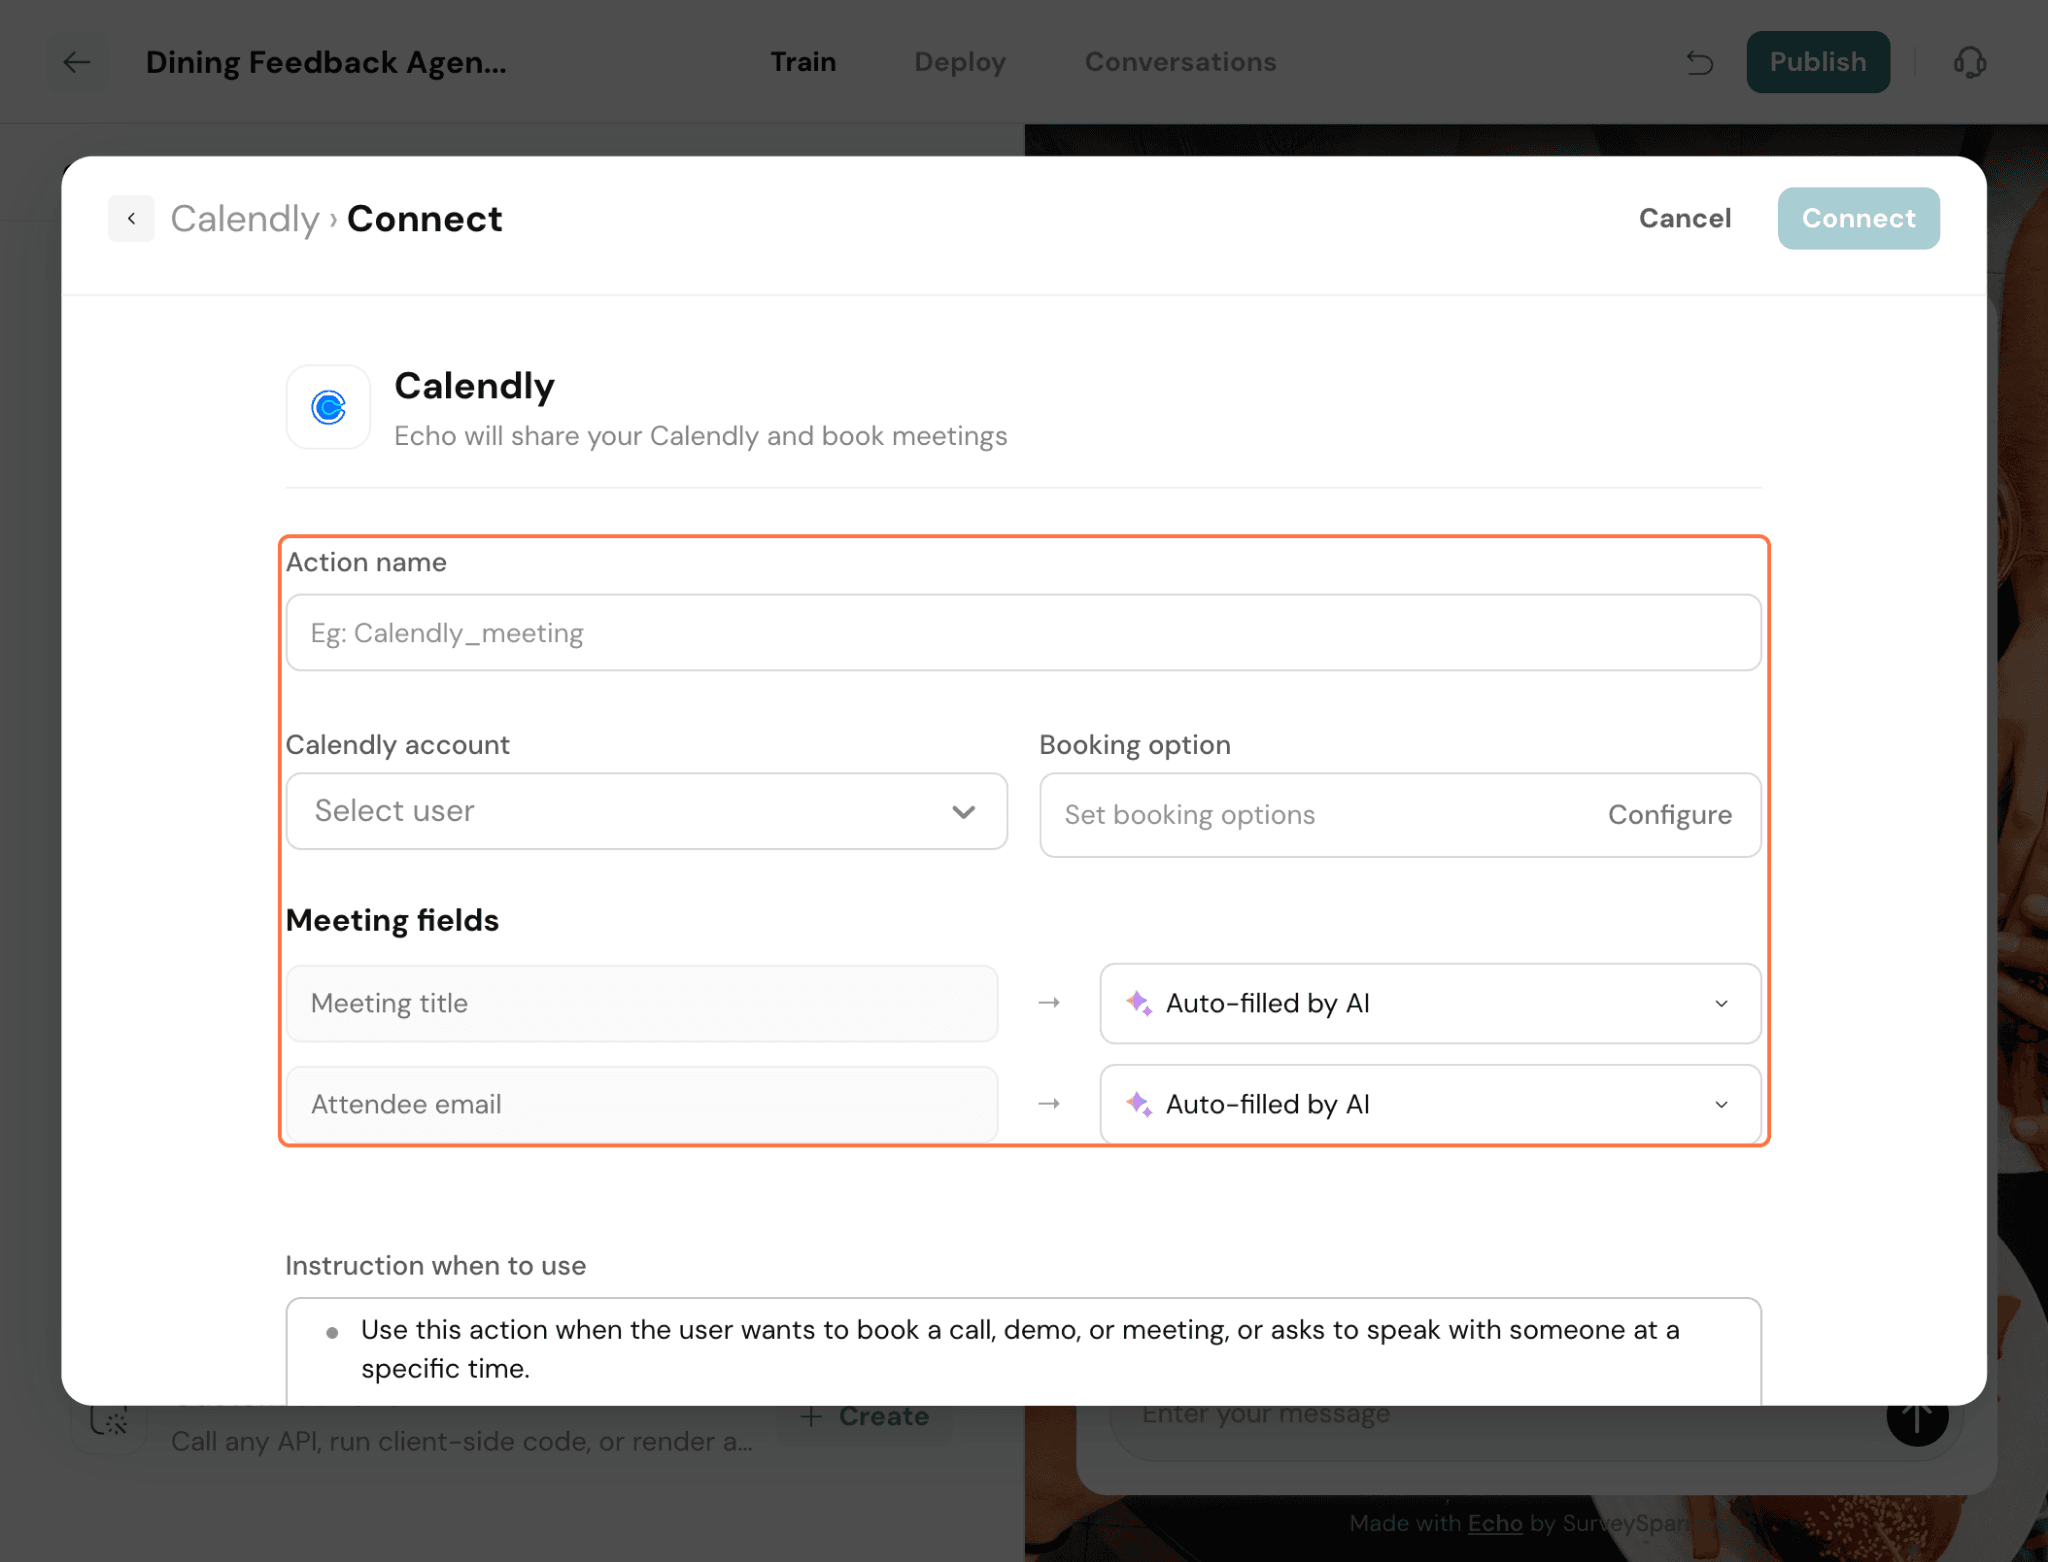
Click Create to configure the action.
Give the action a name.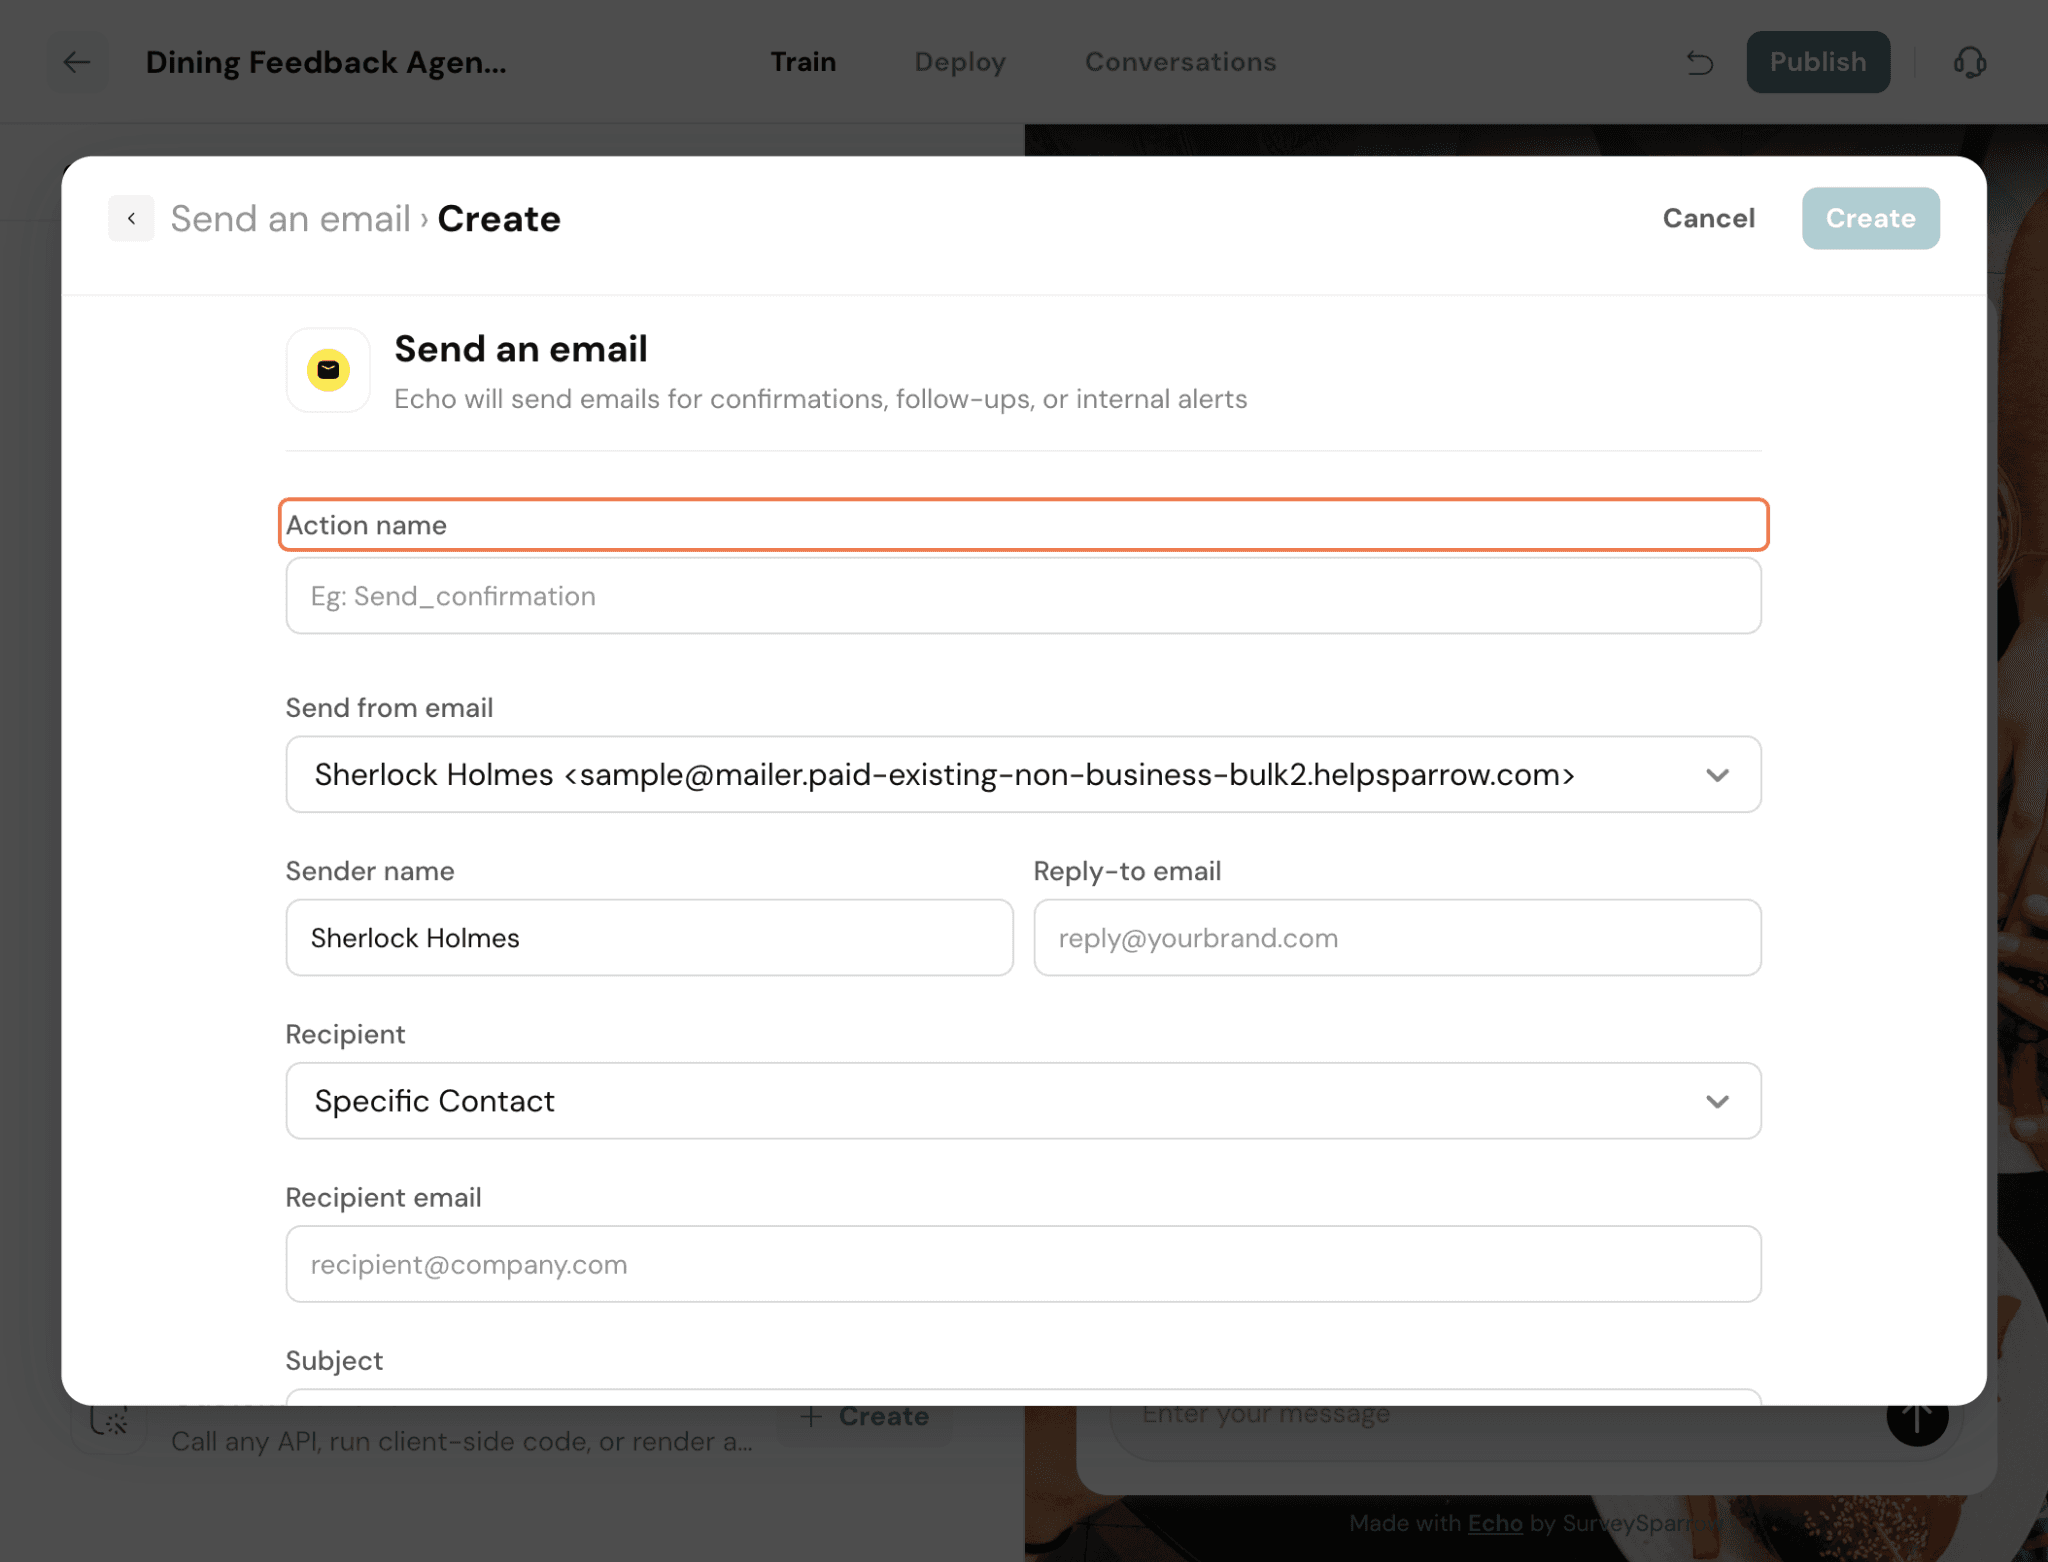
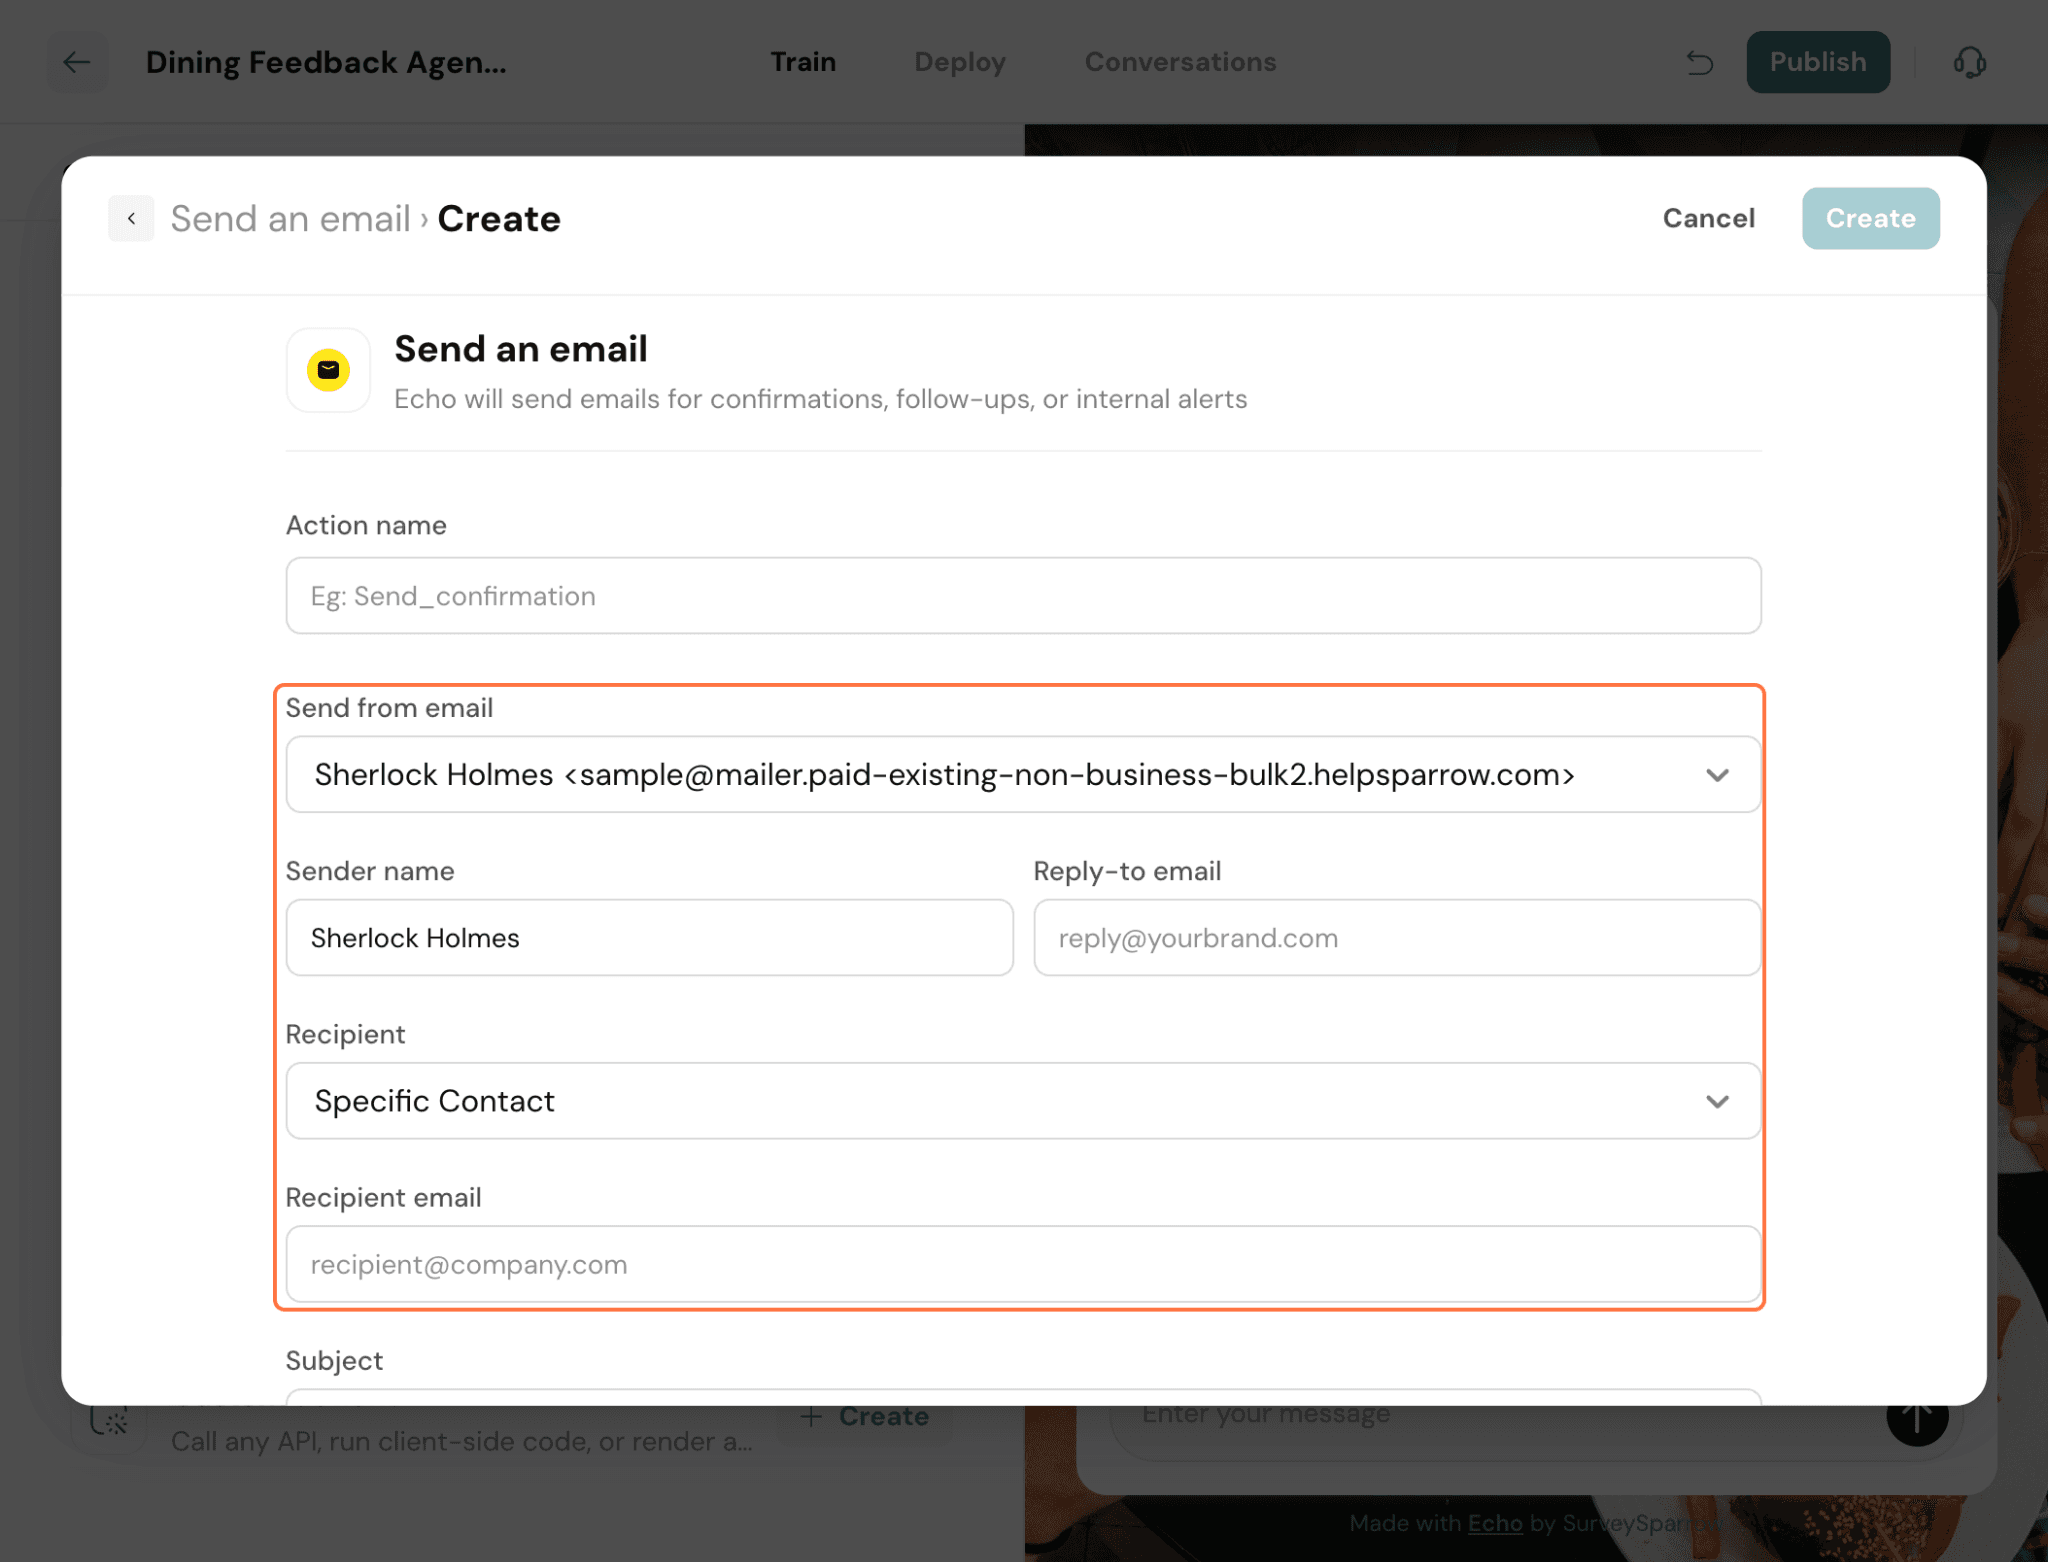
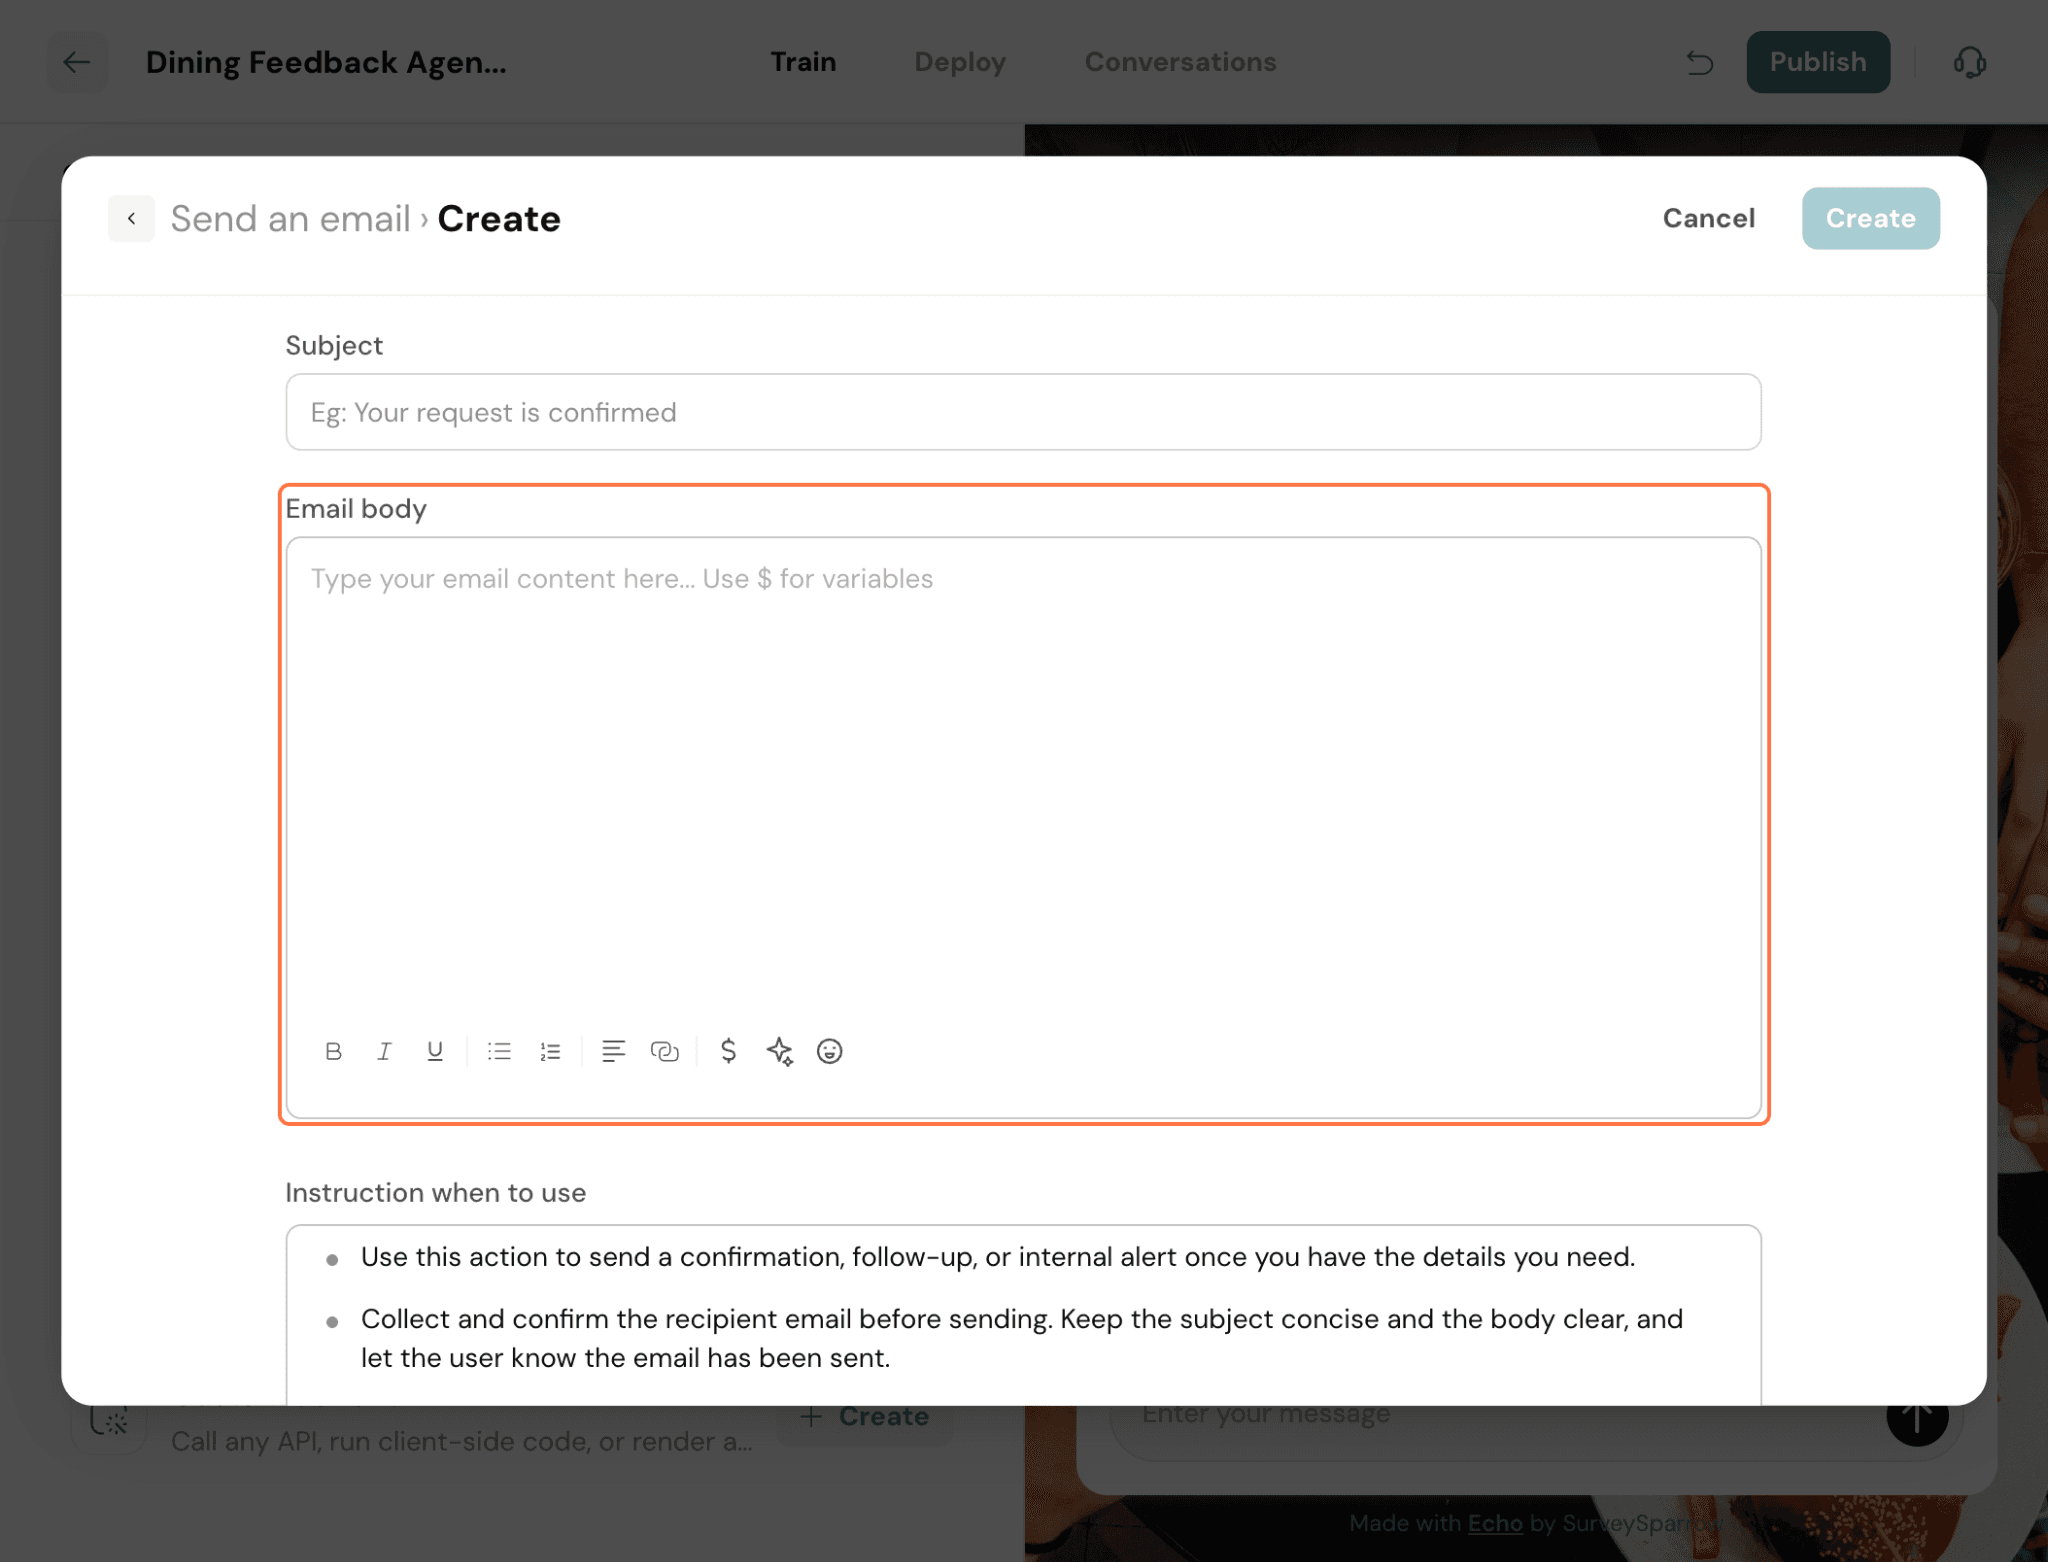
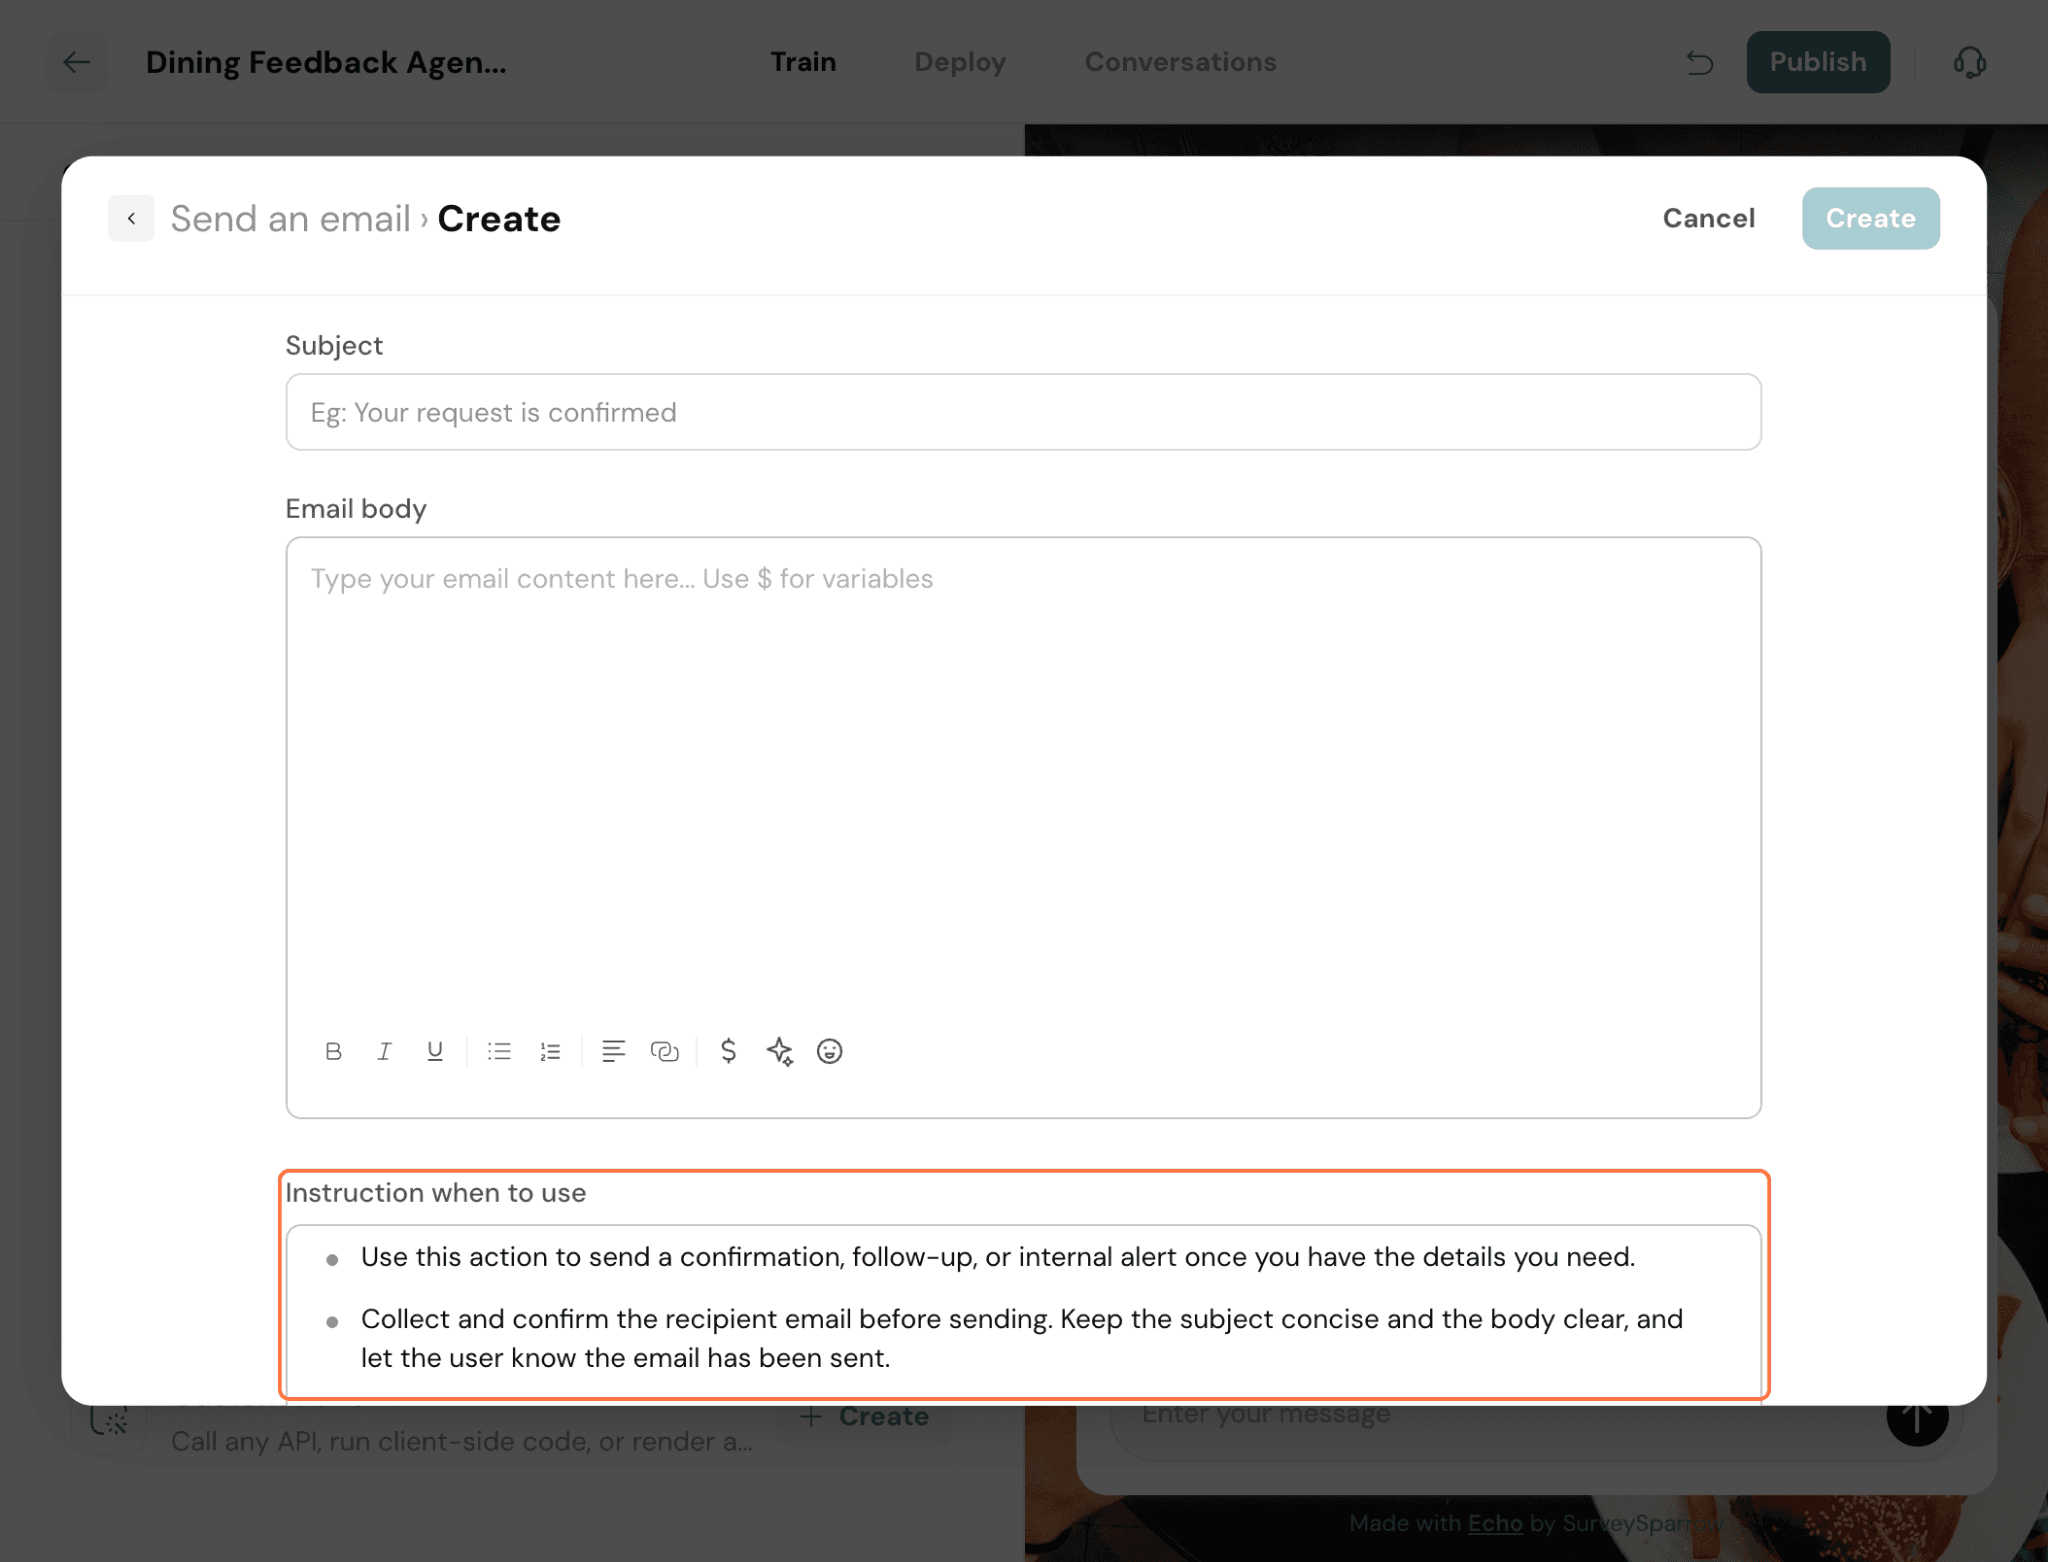
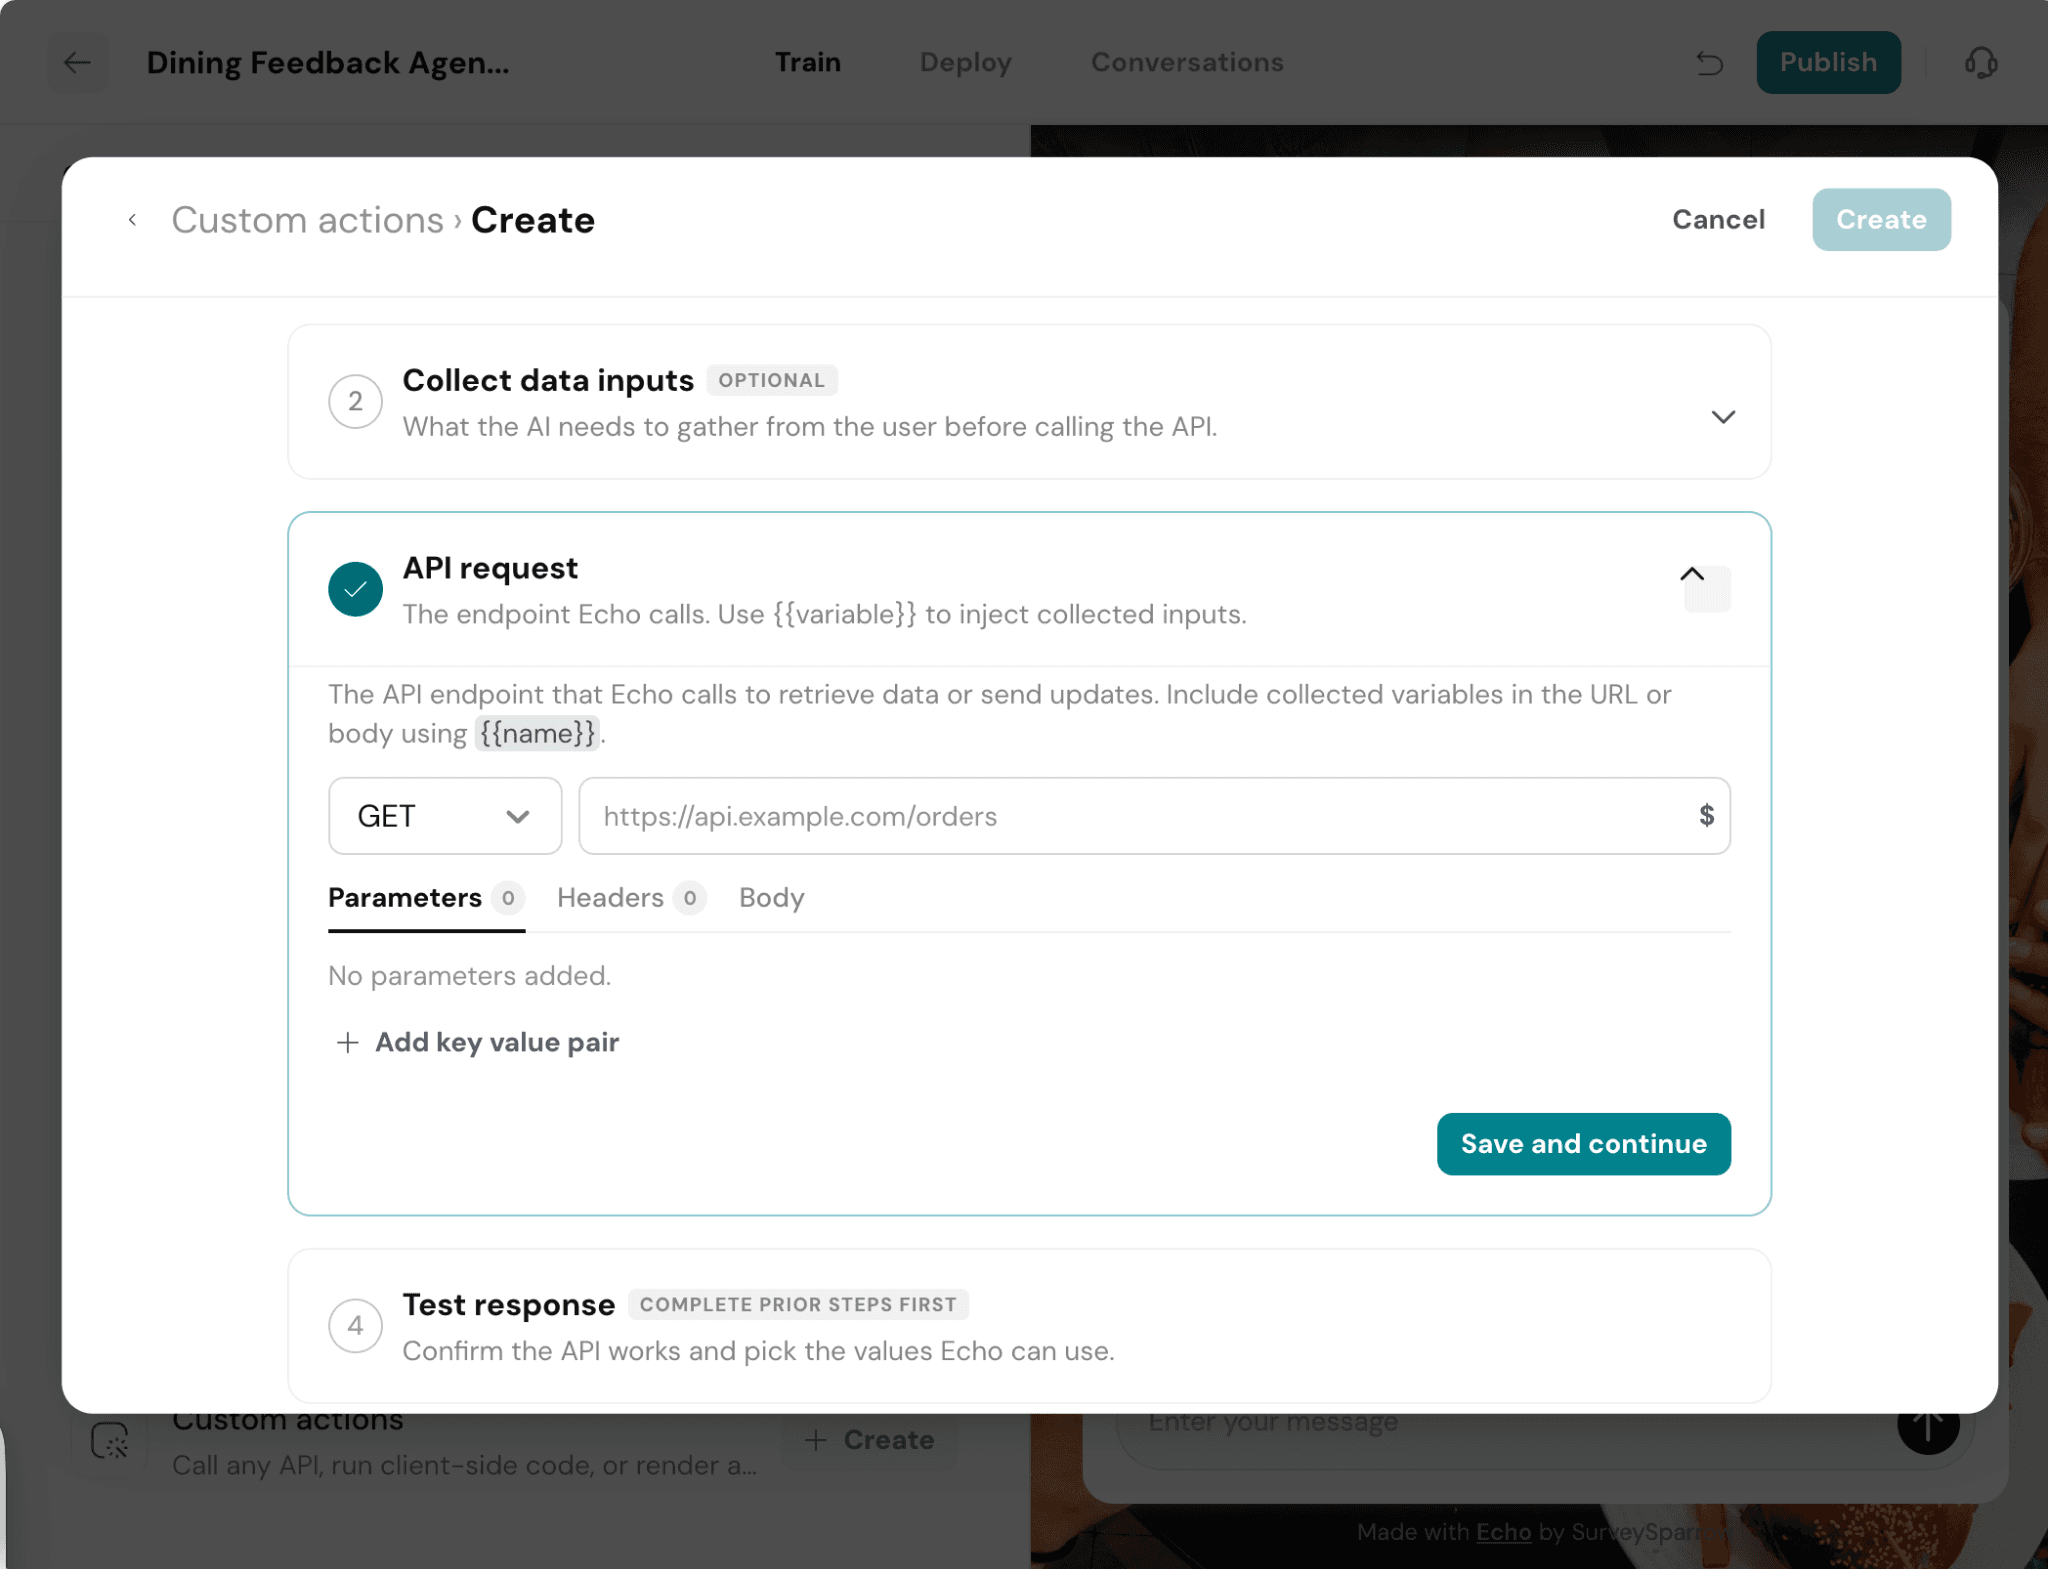
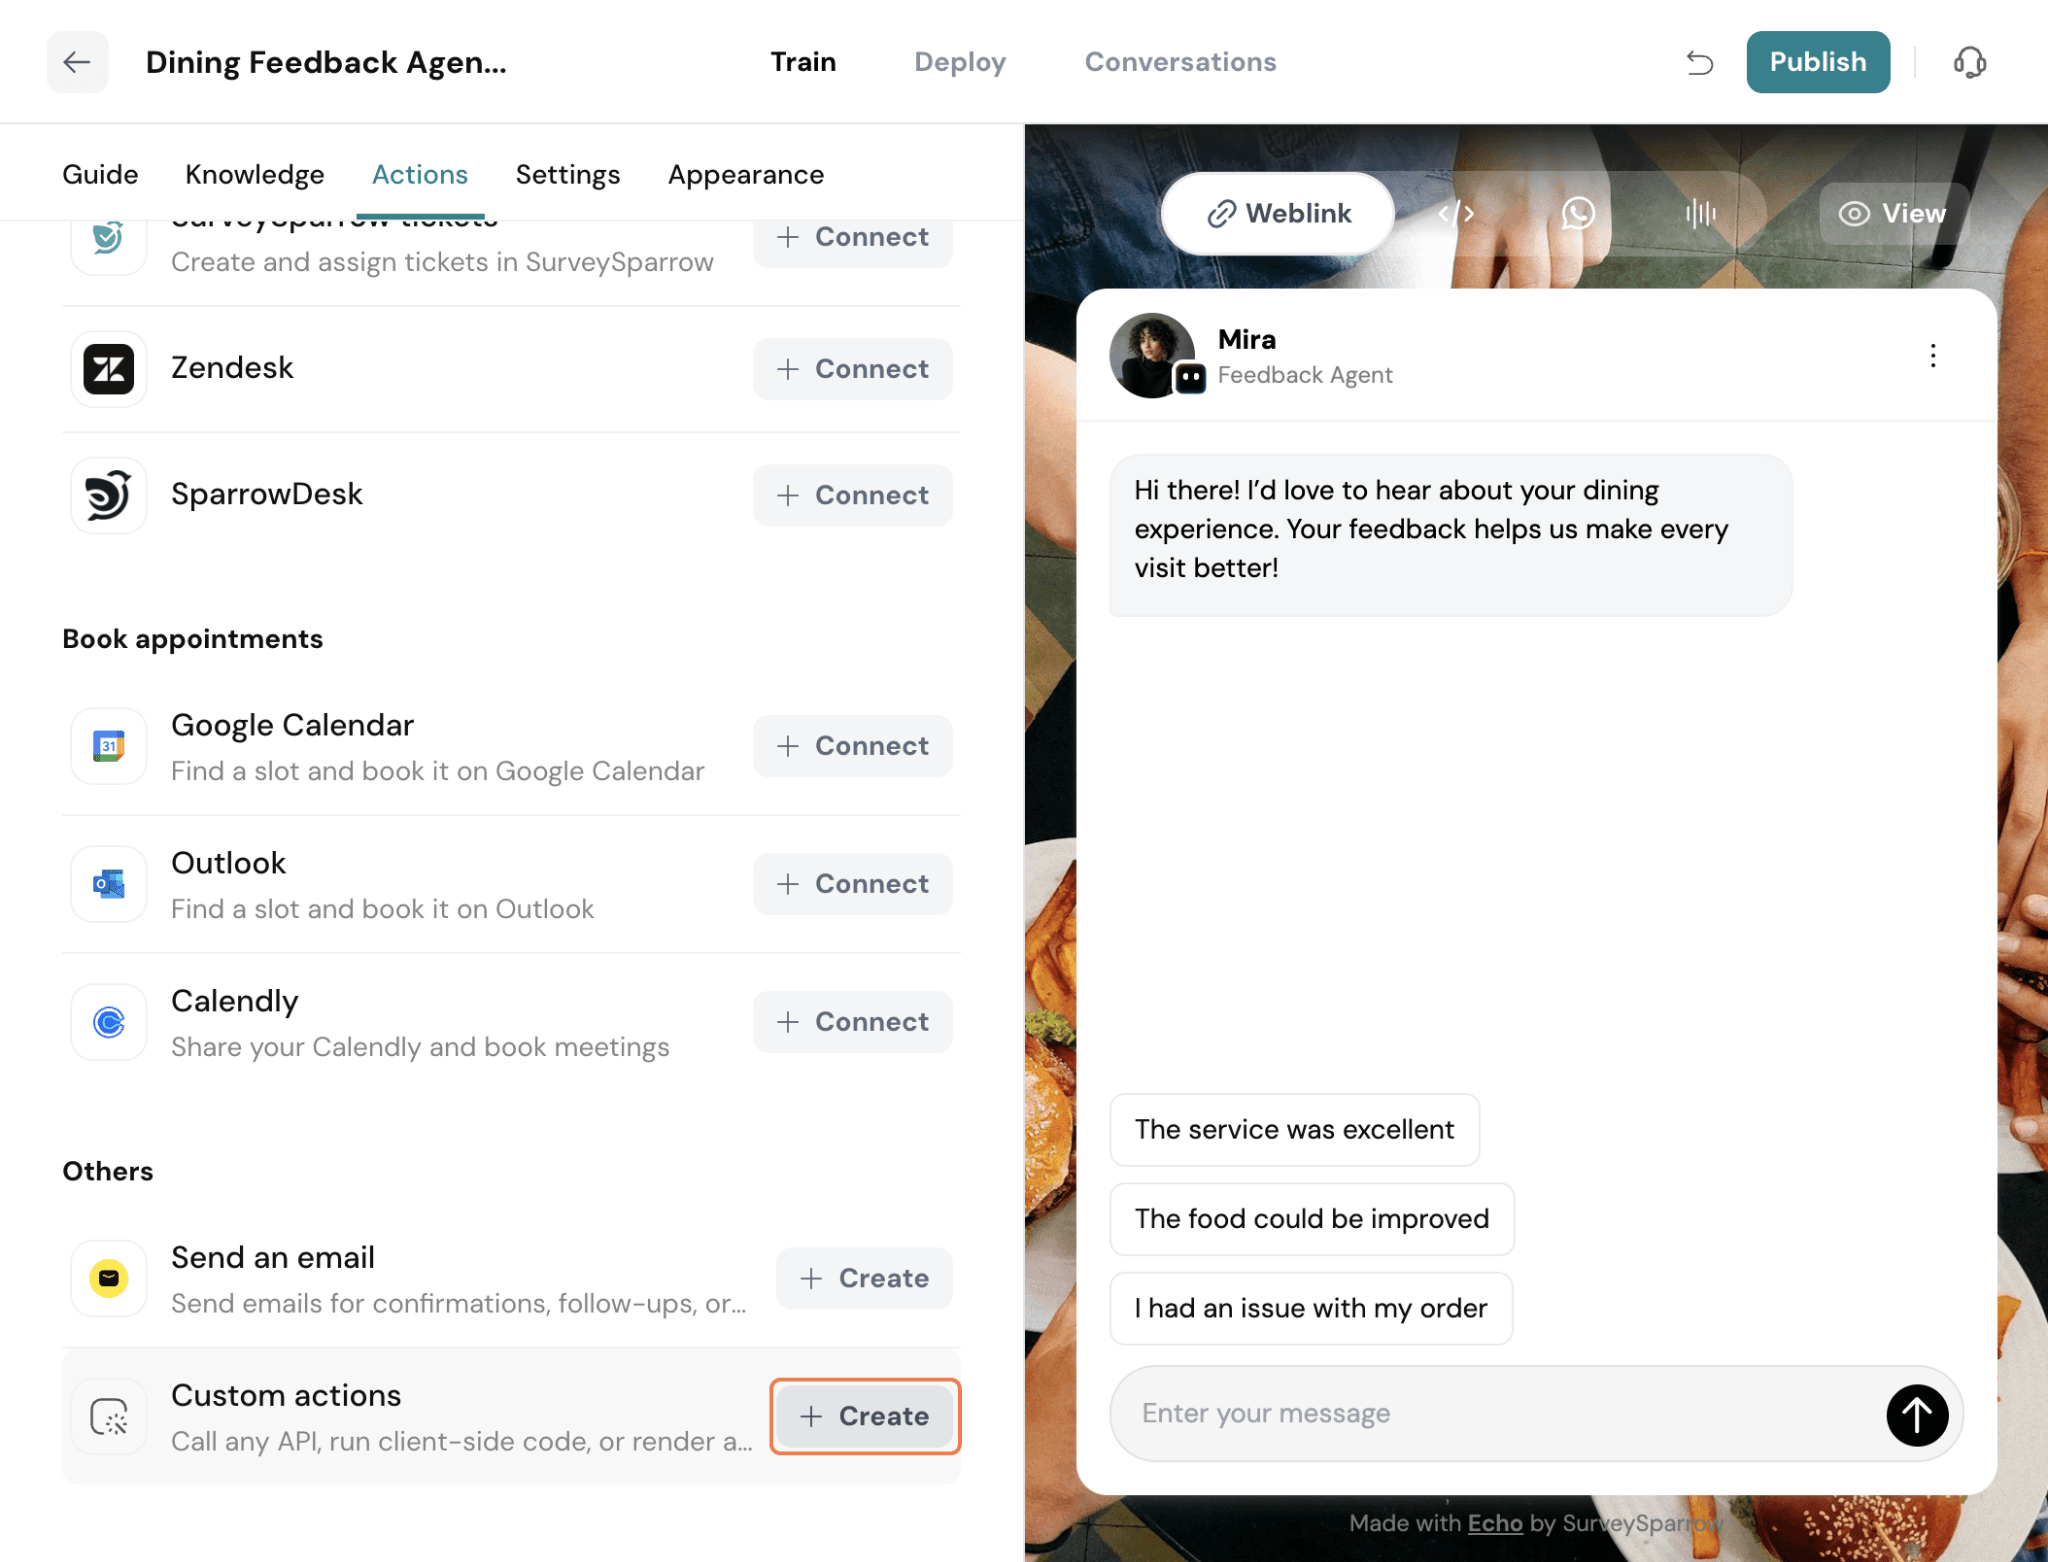
Click Create next to Custom actions to configure.
You will have 4 steps under this
A new dialog titled "Custom actions › Create" will appear. This is where you will configure the details of your custom action. Click the Create button in the top-right corner of this dialog to begin.
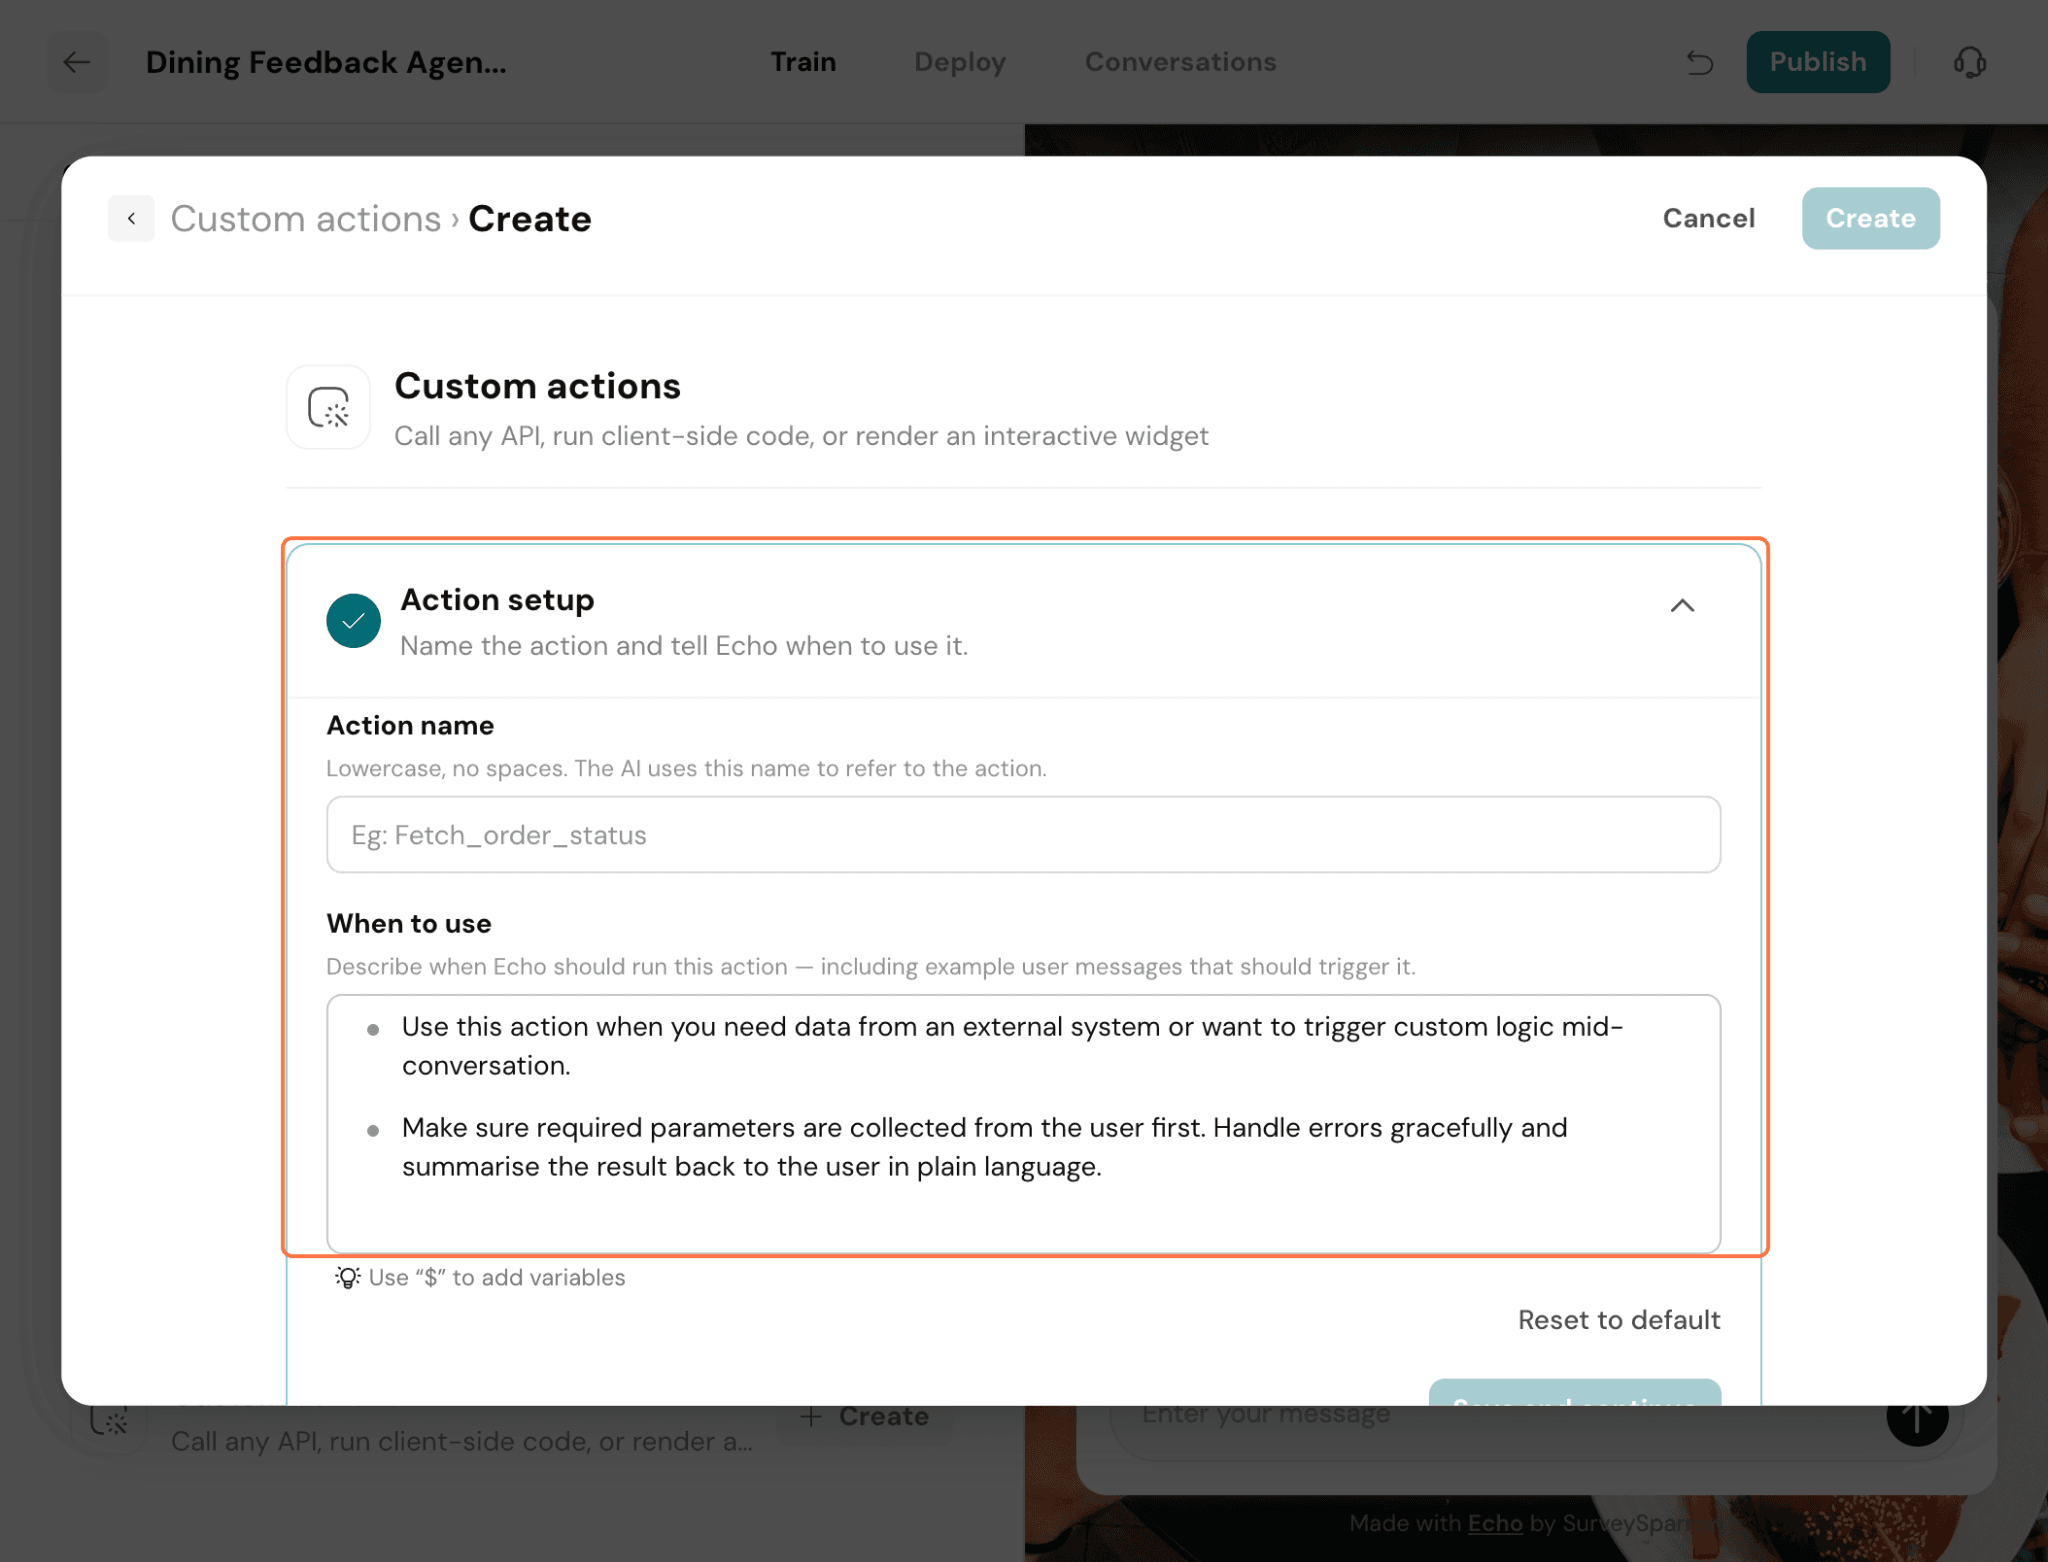
After naming your action, the dialog expands to show different action types. Select the API request option. This tells SurveySparrow that this custom action will involve making a call to an external API.
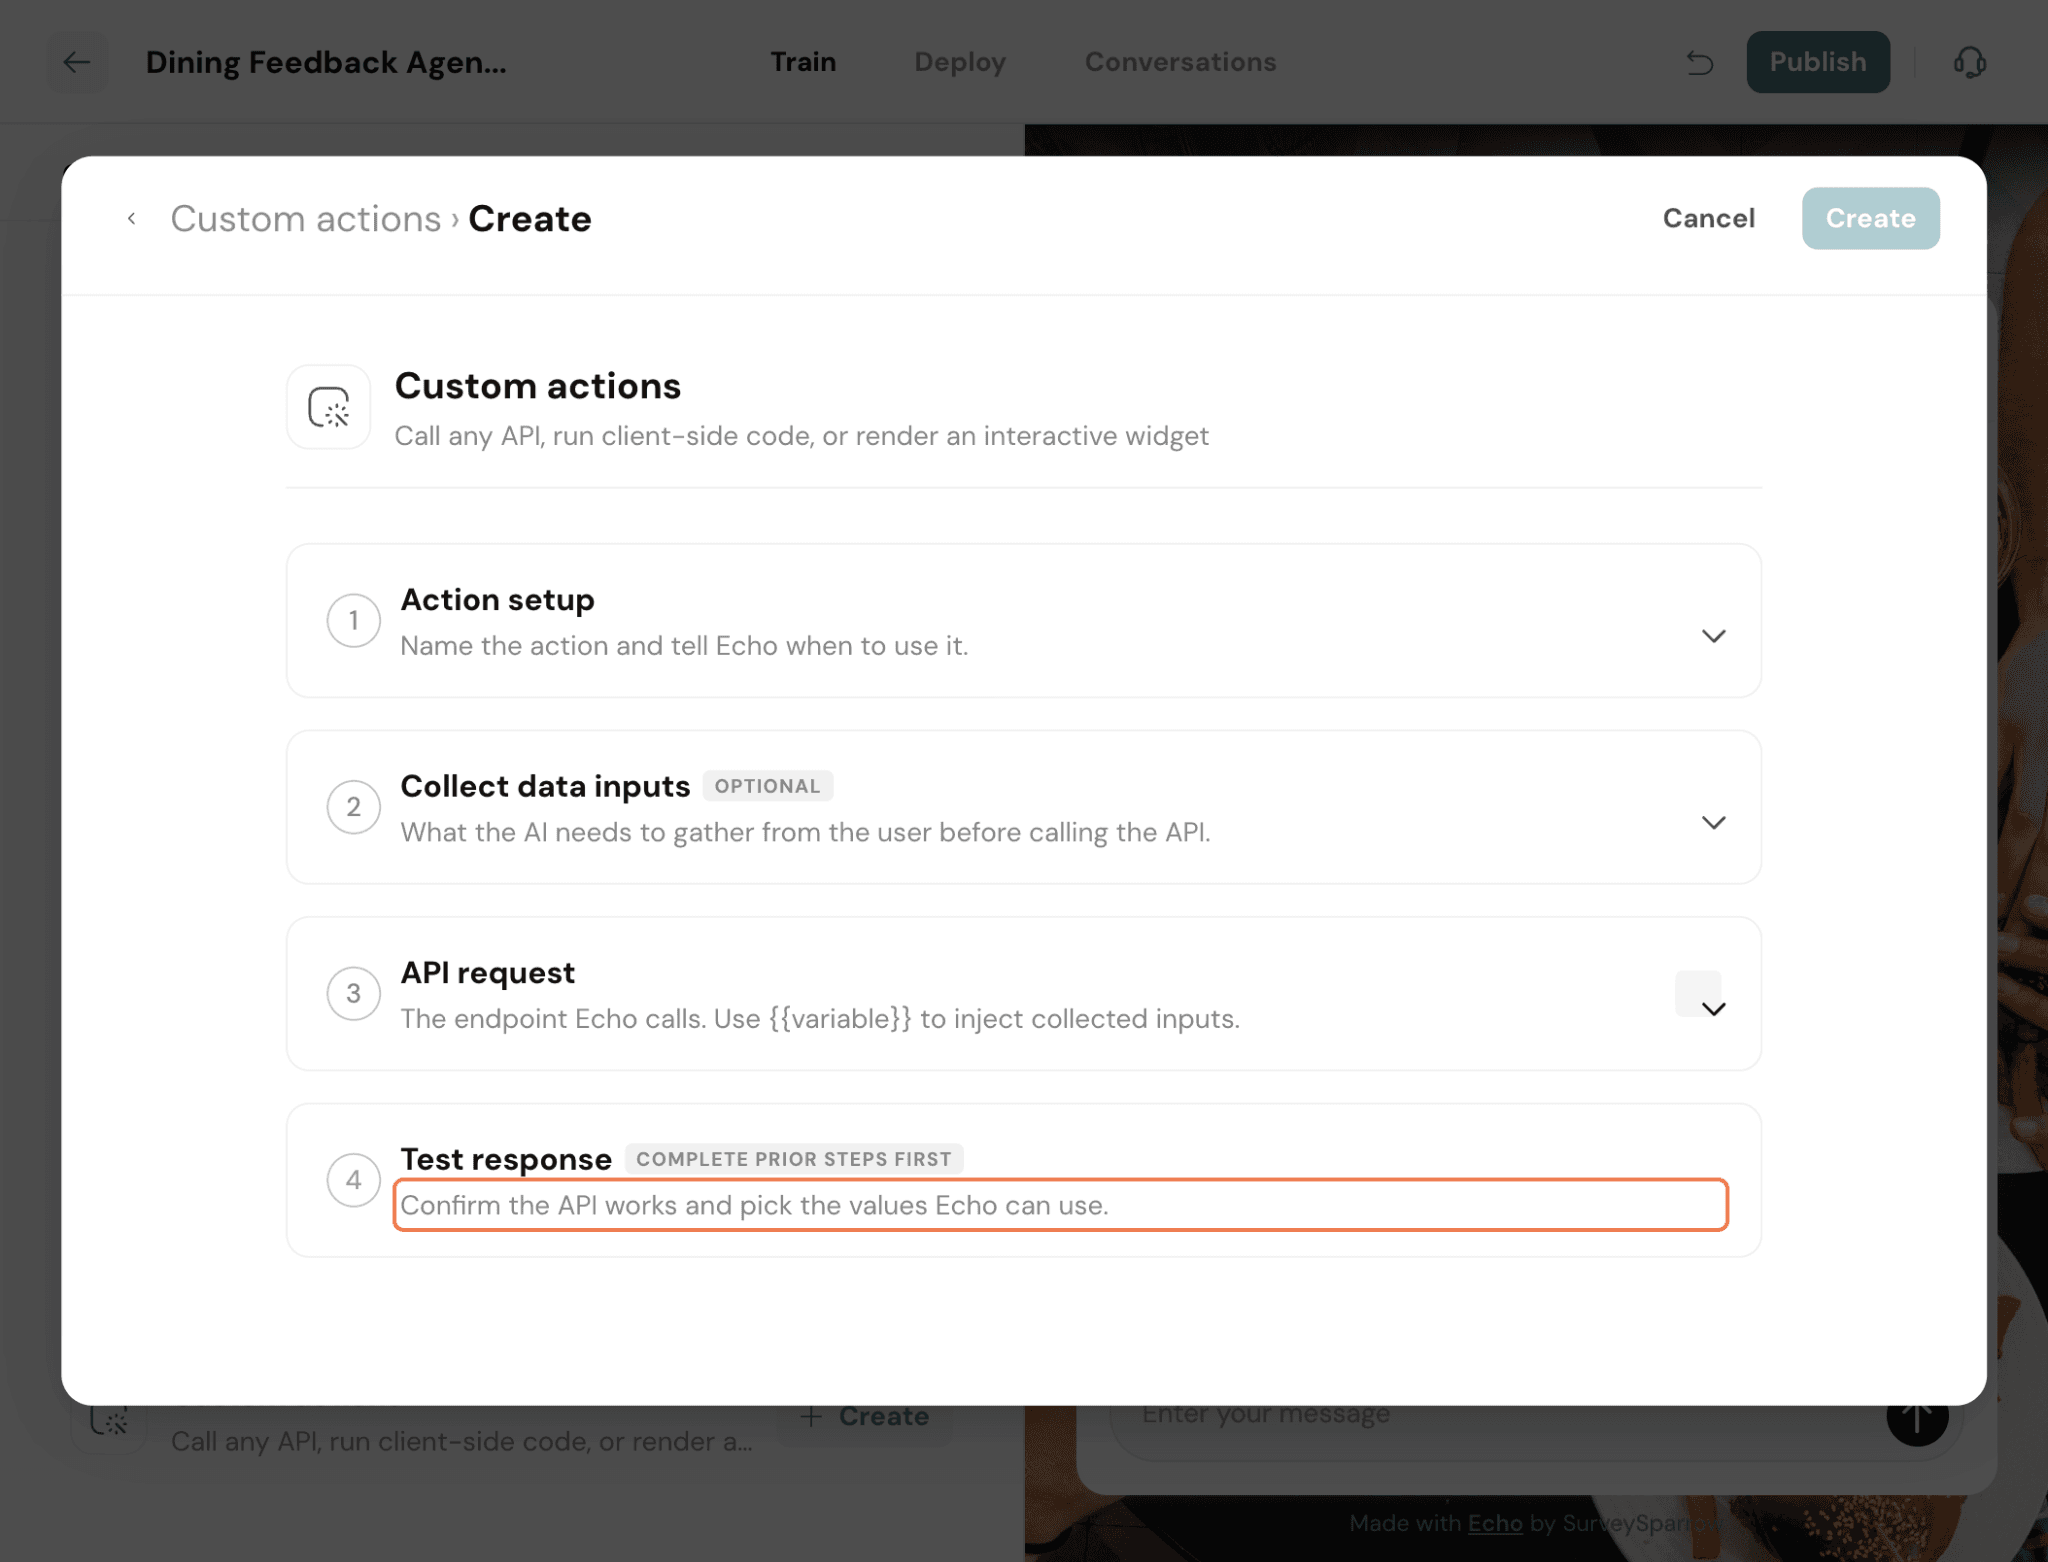
In the "API request" section, specify the HTTP method (e.g., GET, POST) and the full API endpoint URL. The example shown is a GET request to https://api.example.com/orders. Adjust these fields to match the target API.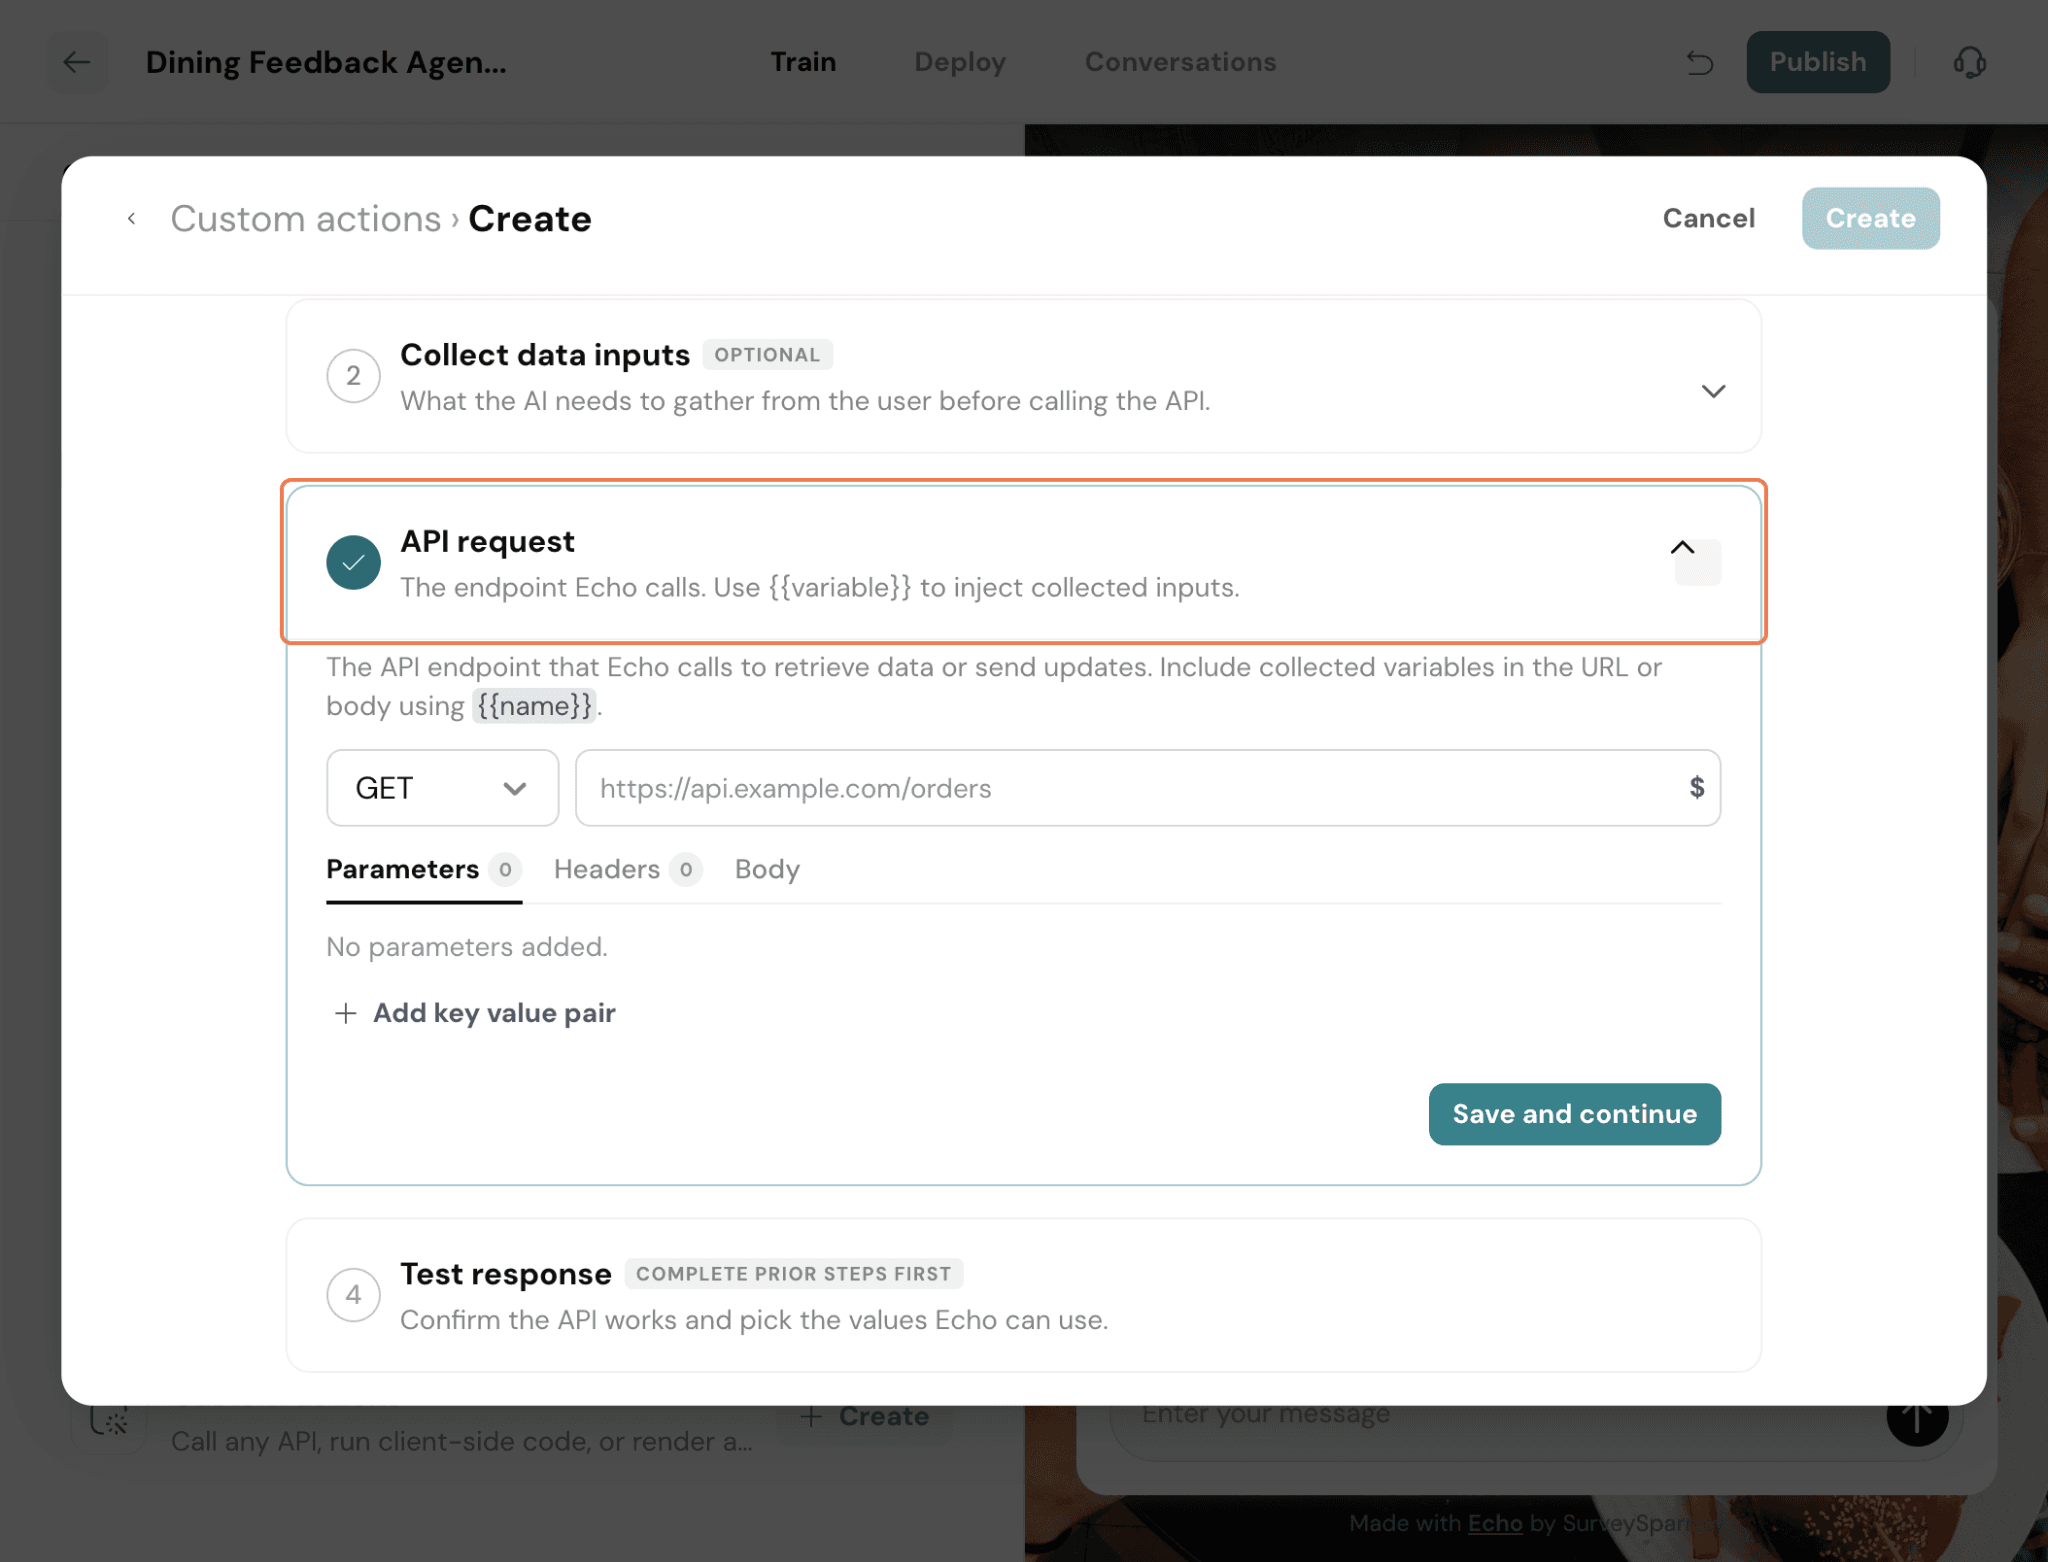
If your API requires data to be sent in the request body, switch to the Body tab. Click + Add key value pair to add parameters. For instance, you can add a parameter named order_id with a value of 12345 to send specific data to the API.