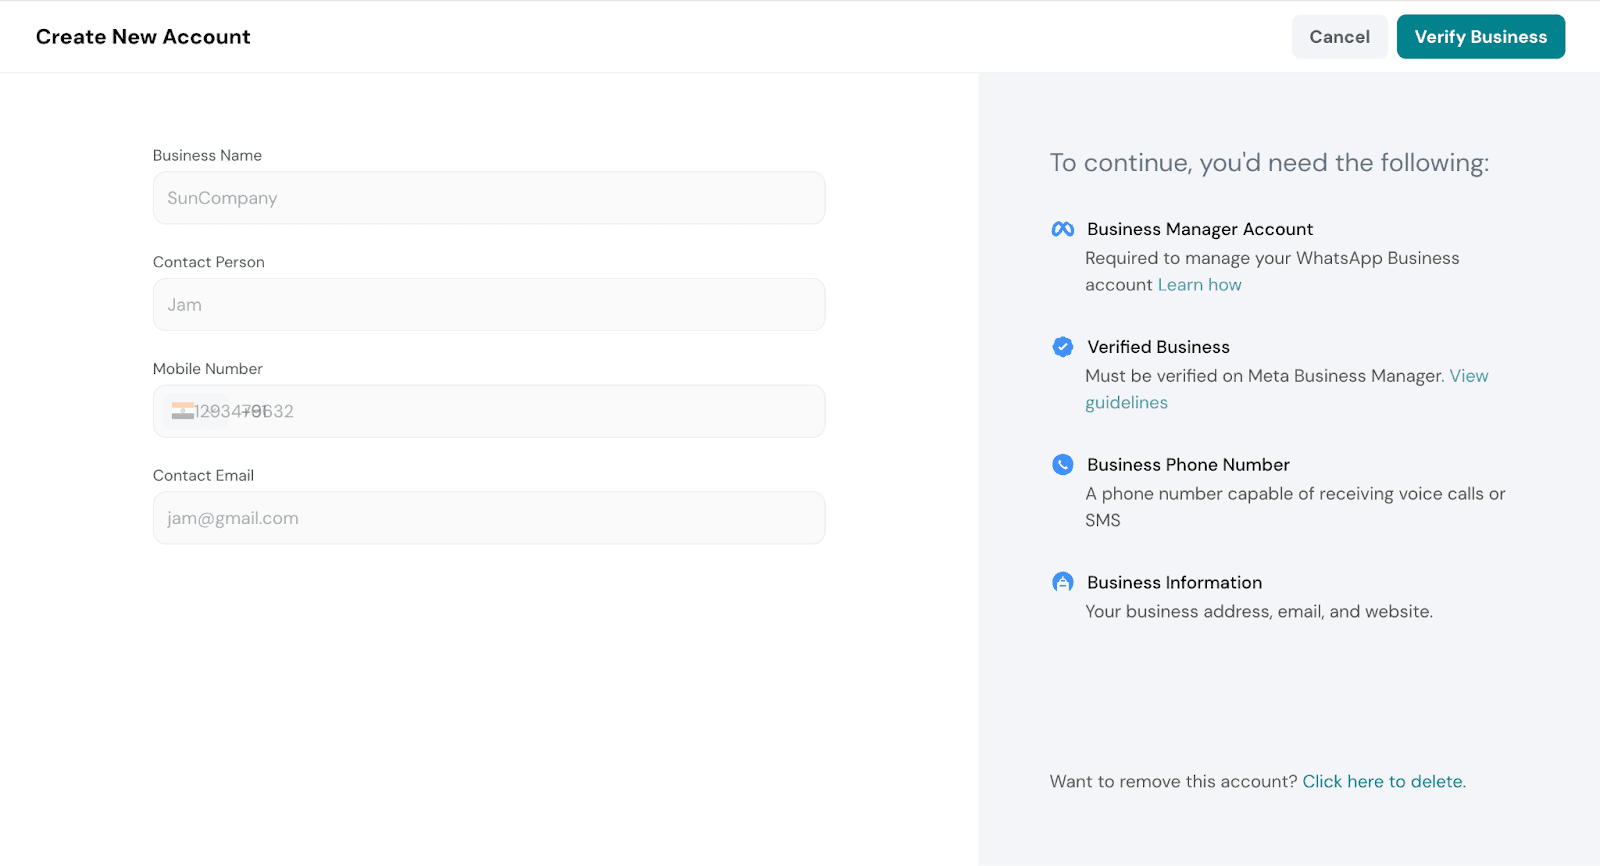
Before you can connect SurveySparrow with WhatsApp via Gupshup, make sure you have the following:
Business Manager Account A Meta Business Manager account is required to manage your WhatsApp Business setup. Learn how to create one »
Verified Business Your business must be verified on Meta Business Manager to access WhatsApp Business API. View verification guidelines »
Business Phone Number A valid phone number that can receive voice calls or SMS. This will be used for WhatsApp.
Business Information Ensure you have your business address, email, and website handy for account setup and verification.
Note: You can also refer to the list shown on the right to ensure you have everything.
Once done, click on Verify Business in the top right corner.
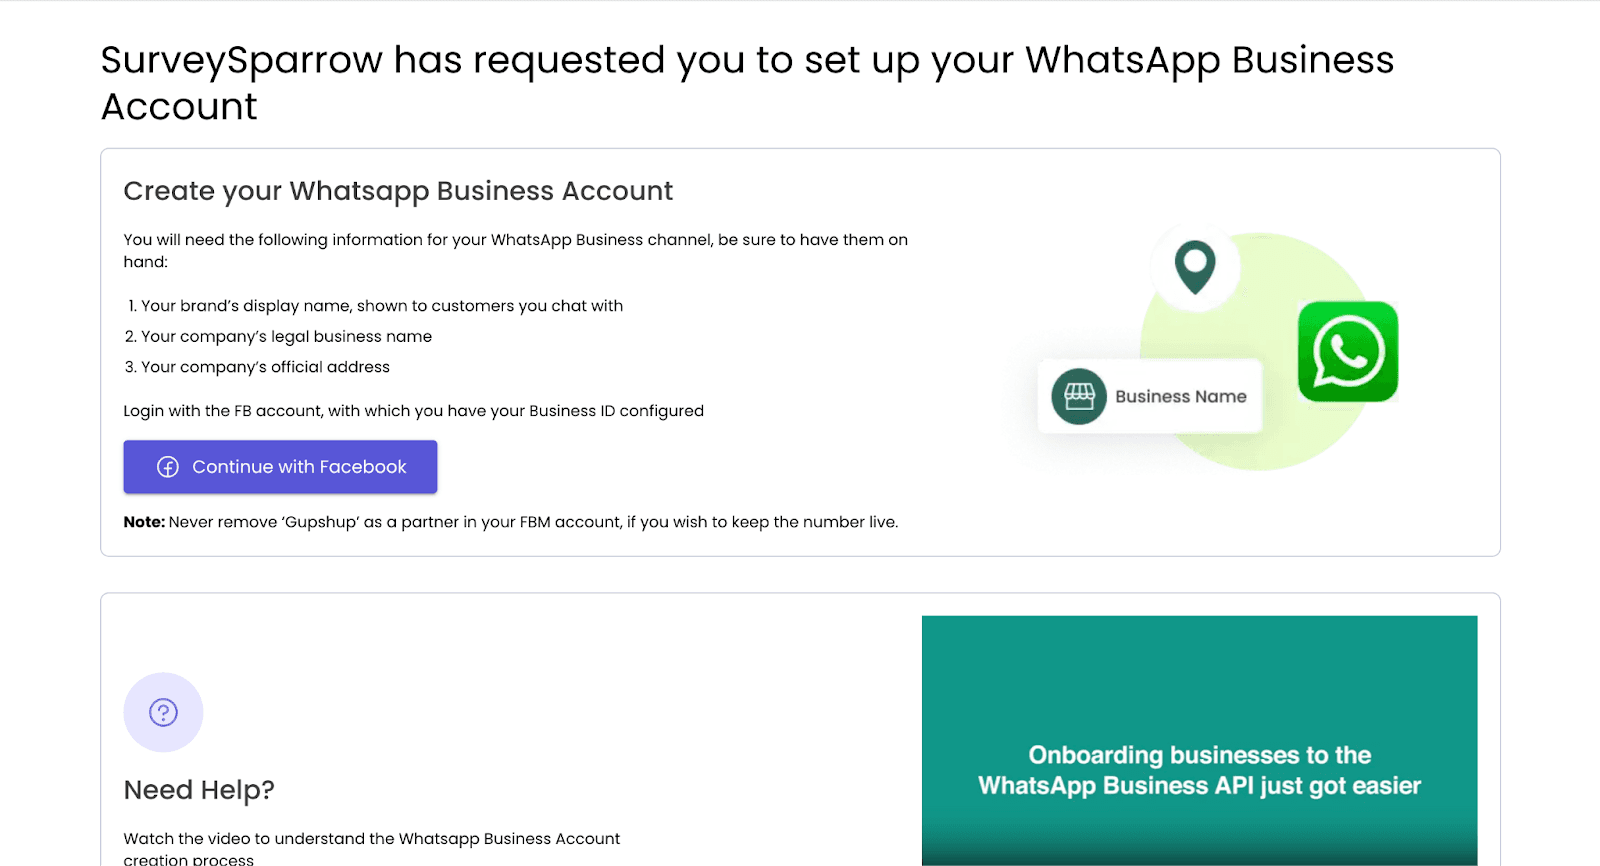
5. You’ll be redirected to Meta’s Business Profile Verification page. Click Confirm to proceed.
Click on Continue with Facebook to proceed.
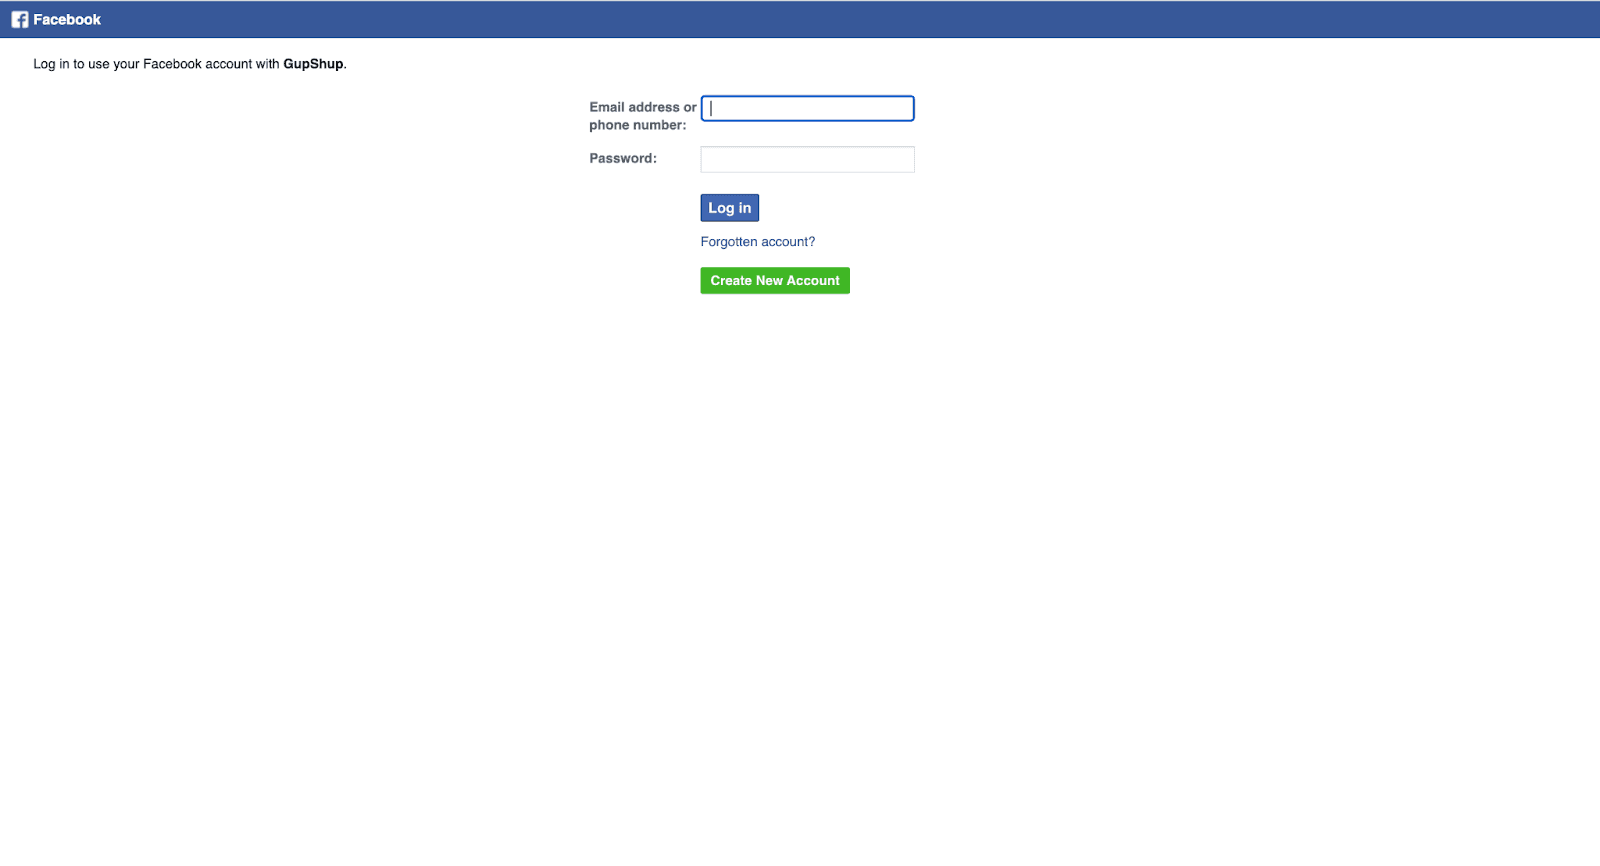
Sign in using your email/phone number and password. If you're already logged in, your Meta Business account will be automatically selected..
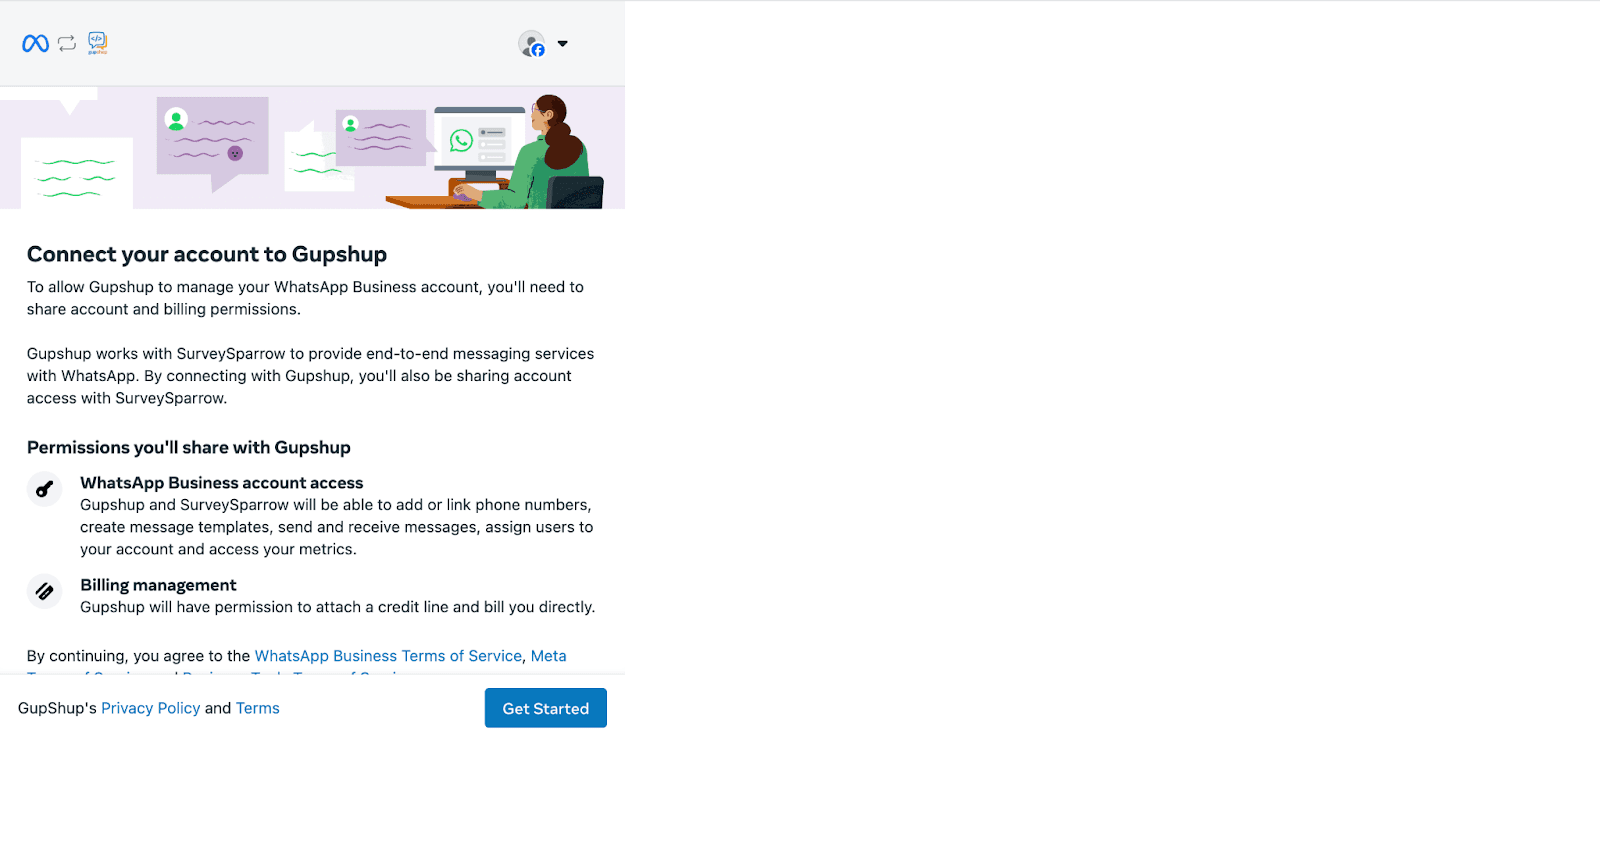
If you're already logged into your Facebook account, your existing Meta Business account will be automatically detected — you can select it directly without logging in again.
Click Get Started to begin your Gupshup account setup.
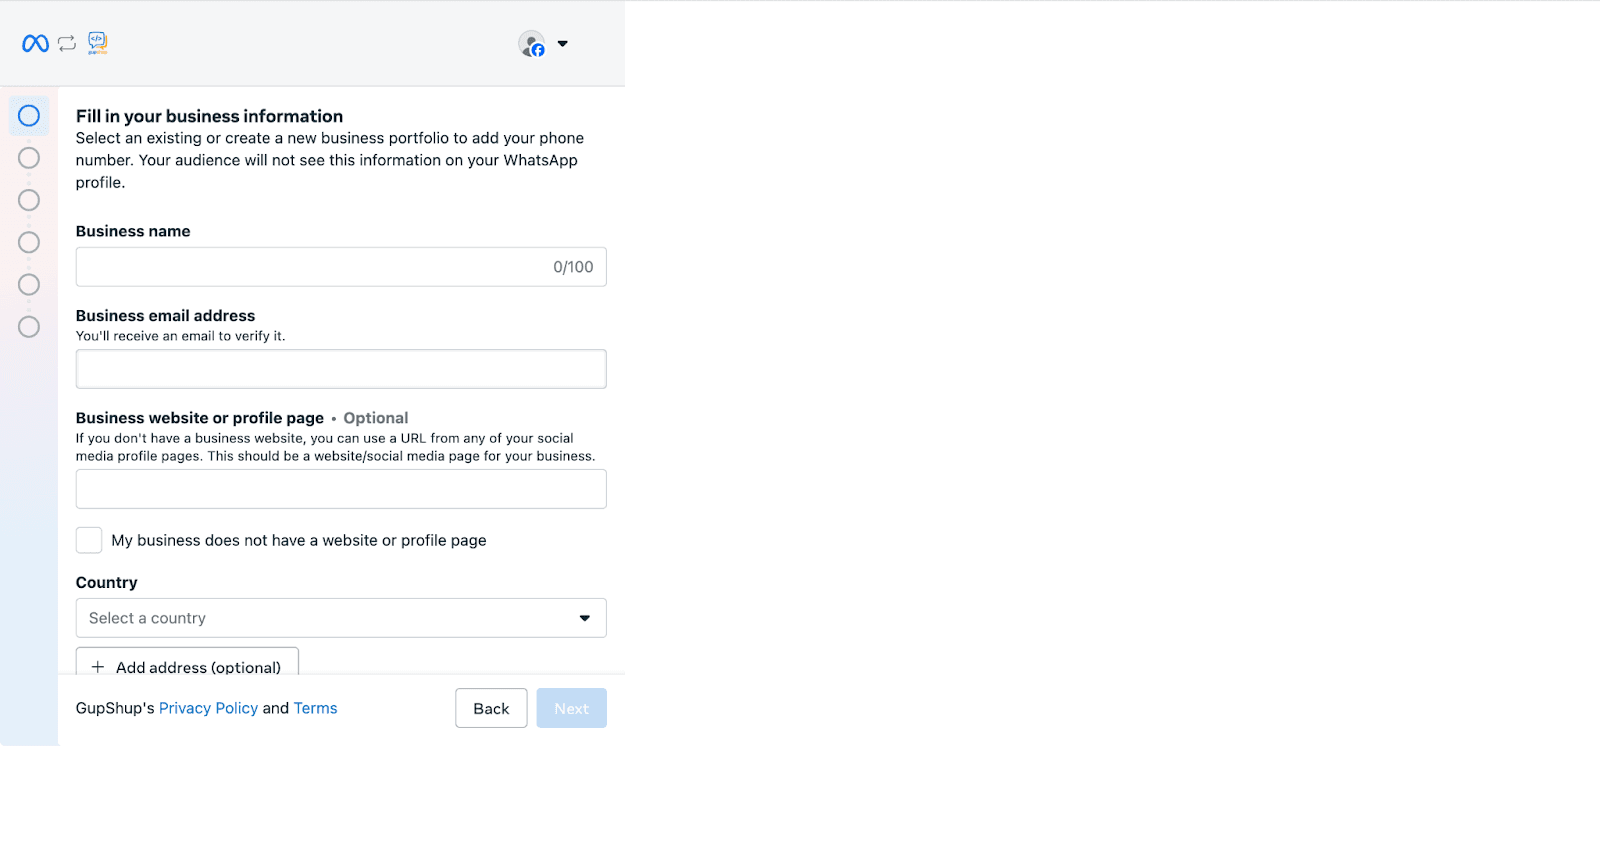
To set up your Gupshup account ,fill in your business name, website, and other required information. Once done, click Next. Note: Enter a verified business website and ensure your business is verified to ensure smooth onboarding.
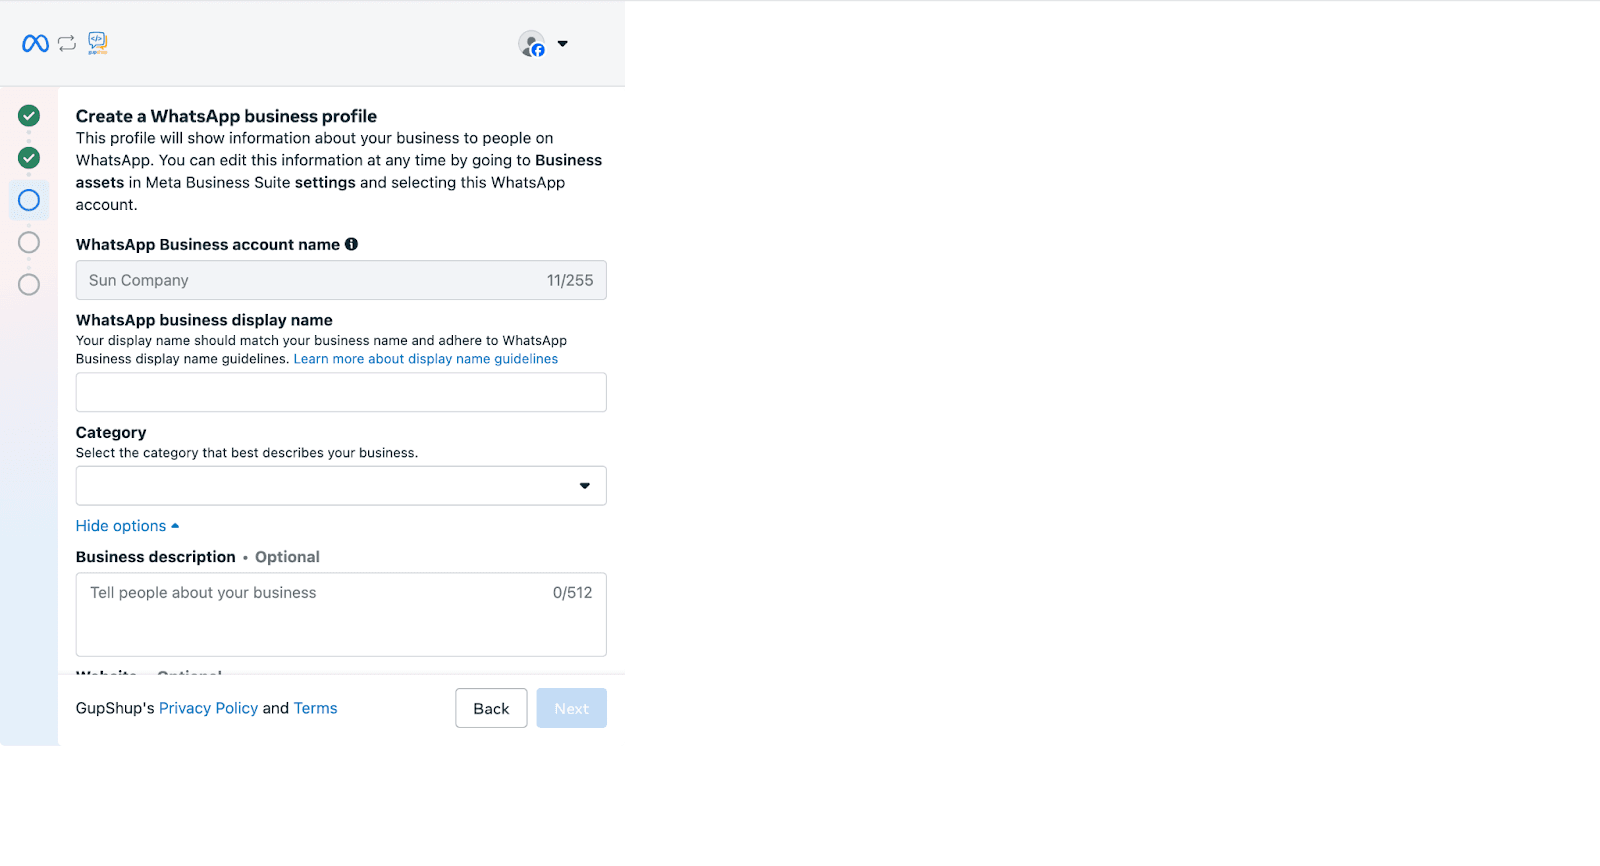
Choose the WhatsApp Business Account you want to use.
Add a short description to appear on your WhatsApp profile
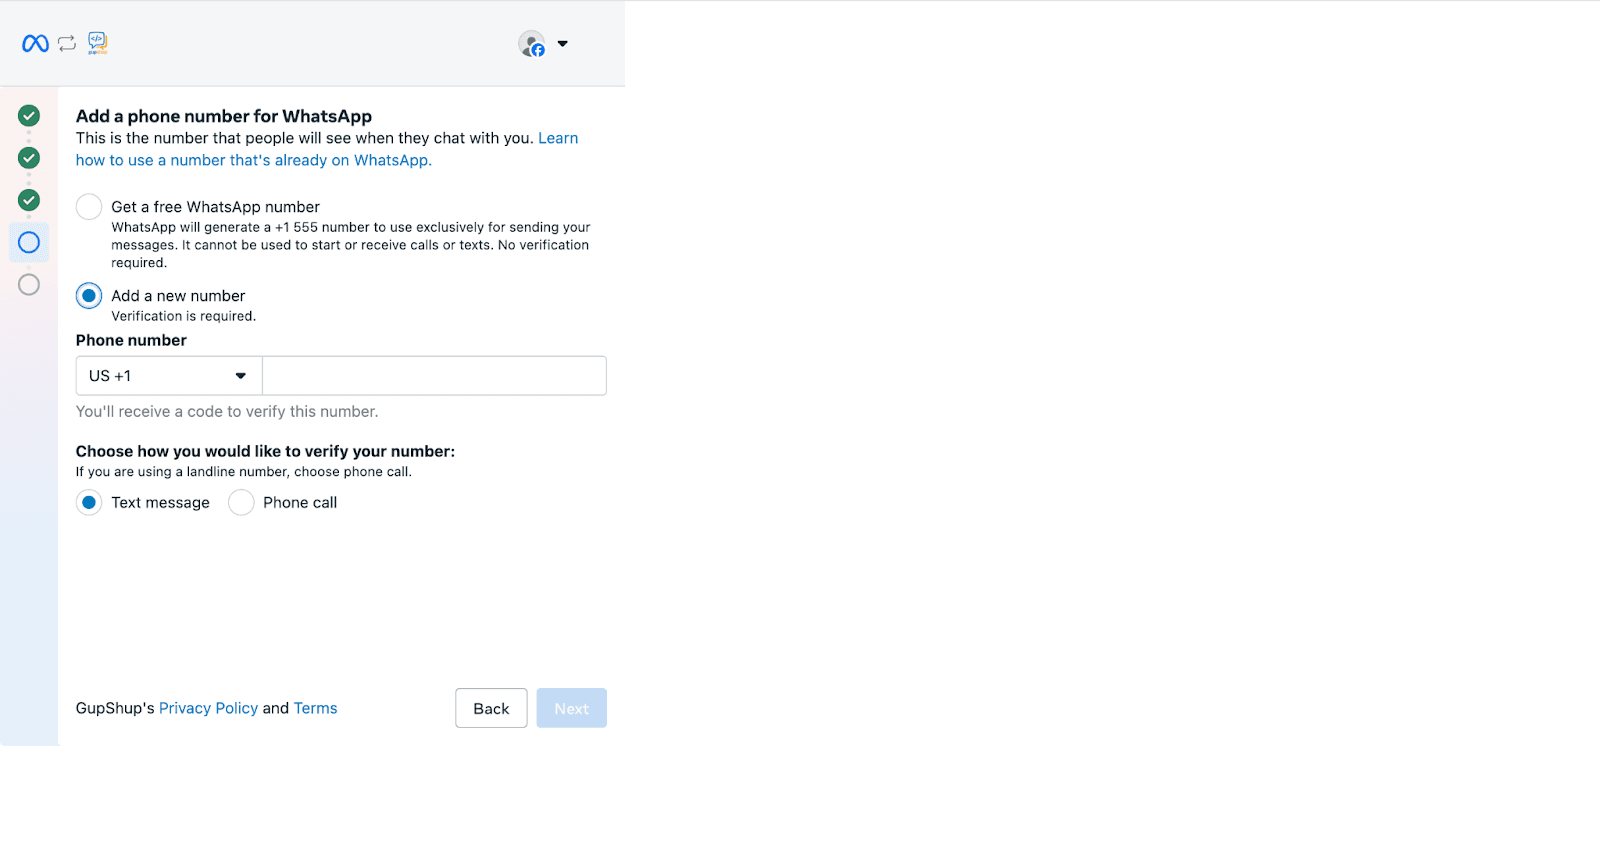
Enter a phone number that can receive calls or SMS, then verify it via text message or phone call.
Note: Enter a valid business phone number and not a free WhatsApp number when setting up.
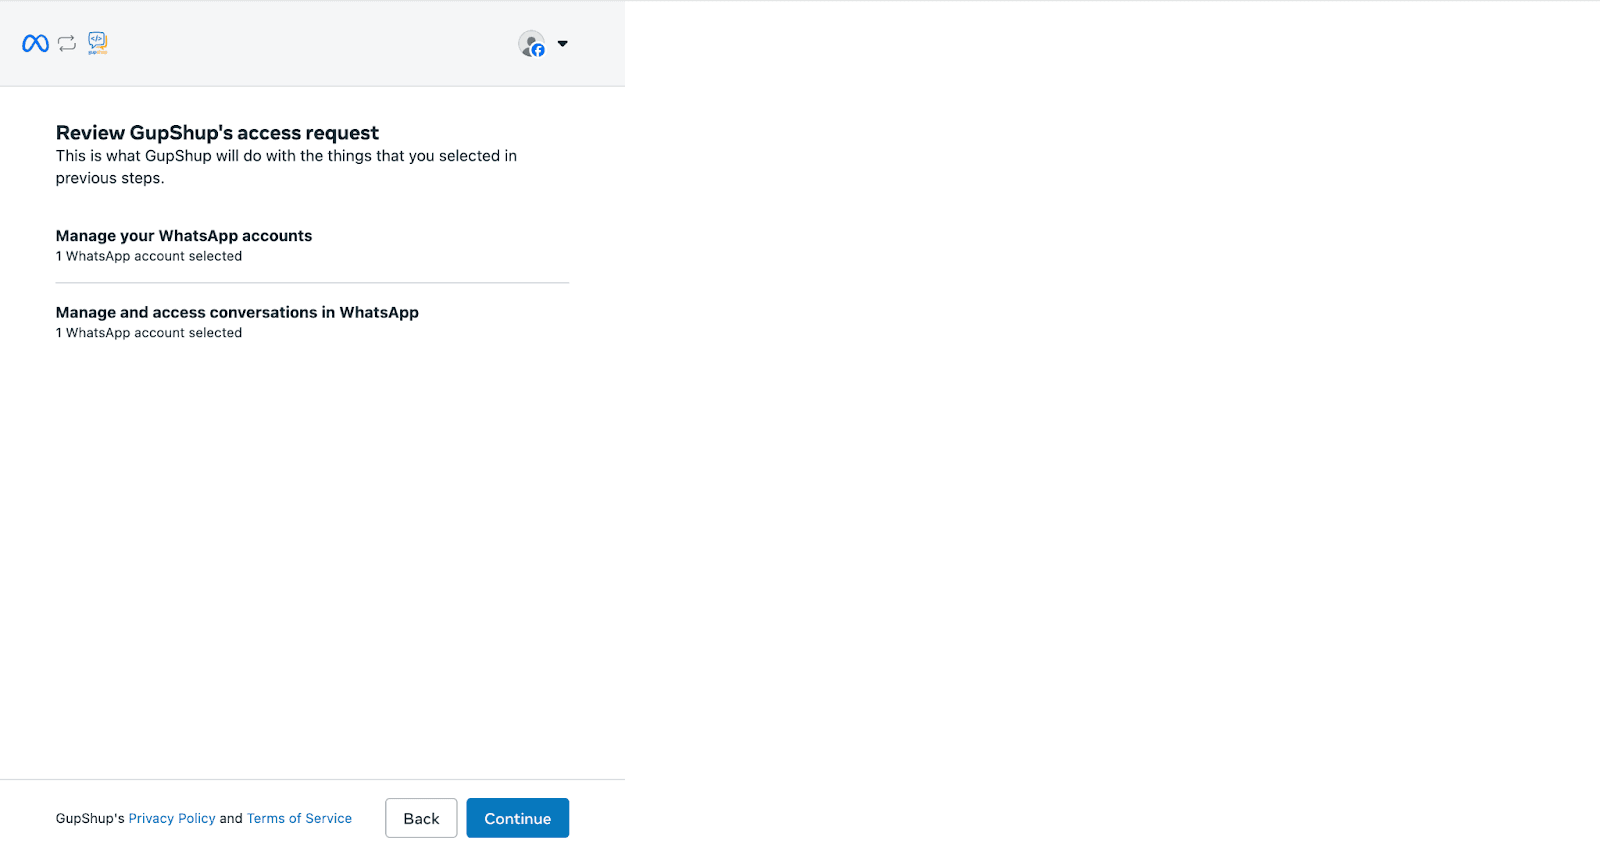
Next, Gupshup will now review the information provided. Click Continue to connect your account with Gupshup.
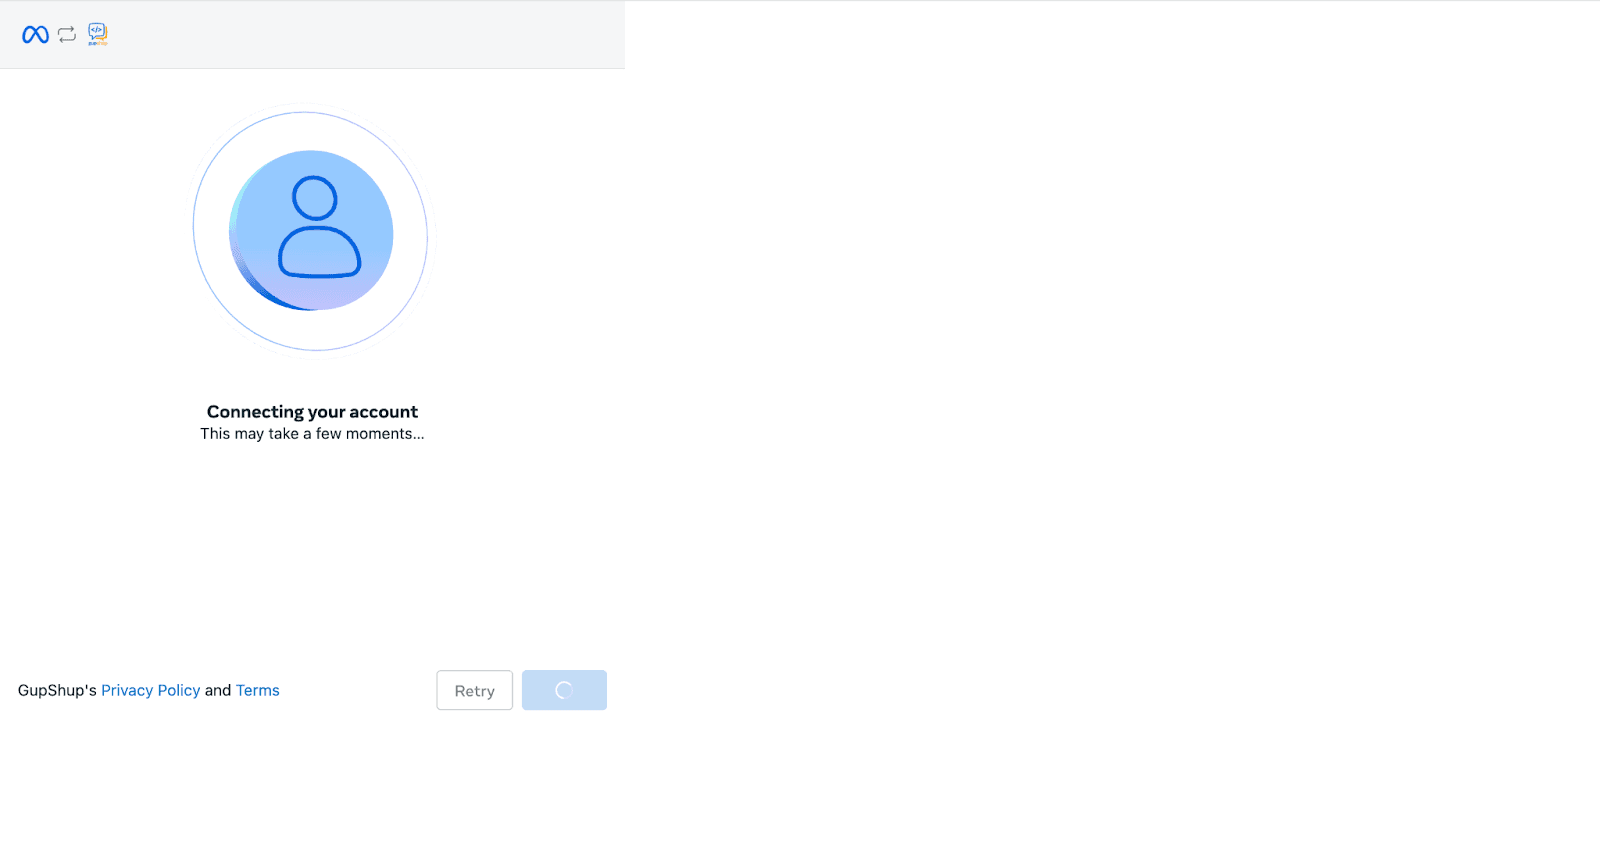
This will connect your account with Gupshup, and the process may take a few minutes to complete.
With this, the phone number verification process by Meta is complete. Click Finish to proceed to the next step.
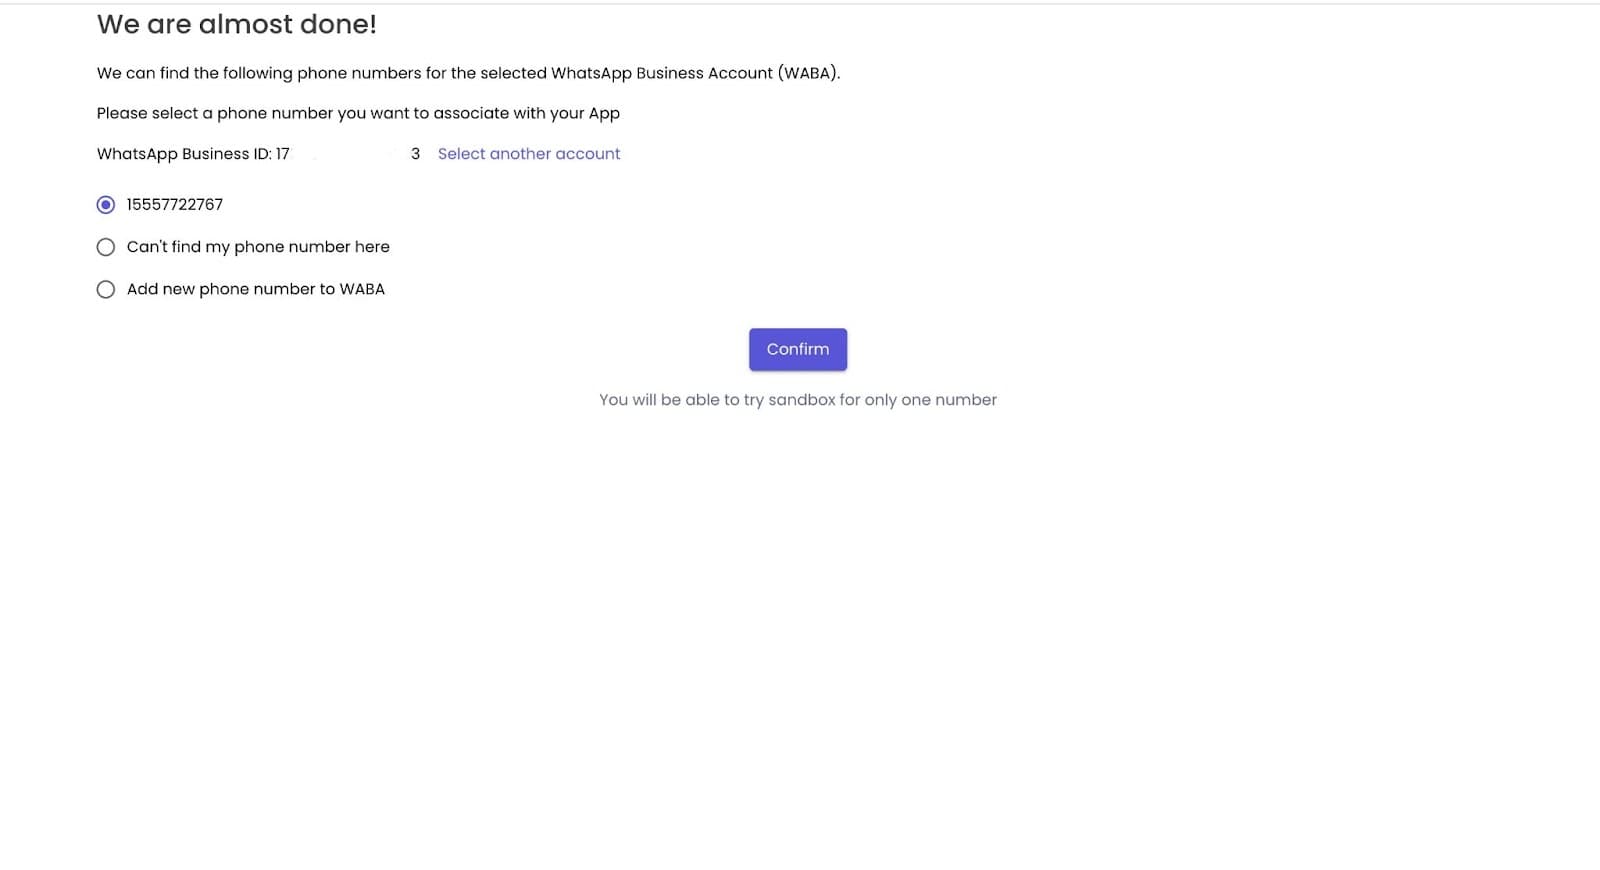
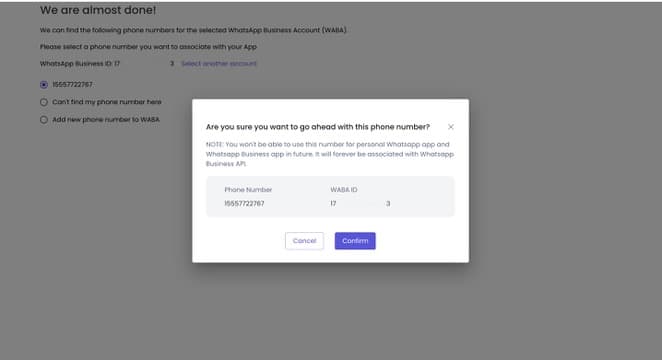
Select the phone number and click Confirm.
18. You will now see a confirmation screen asking you to verify your WhatsApp Business phone number.
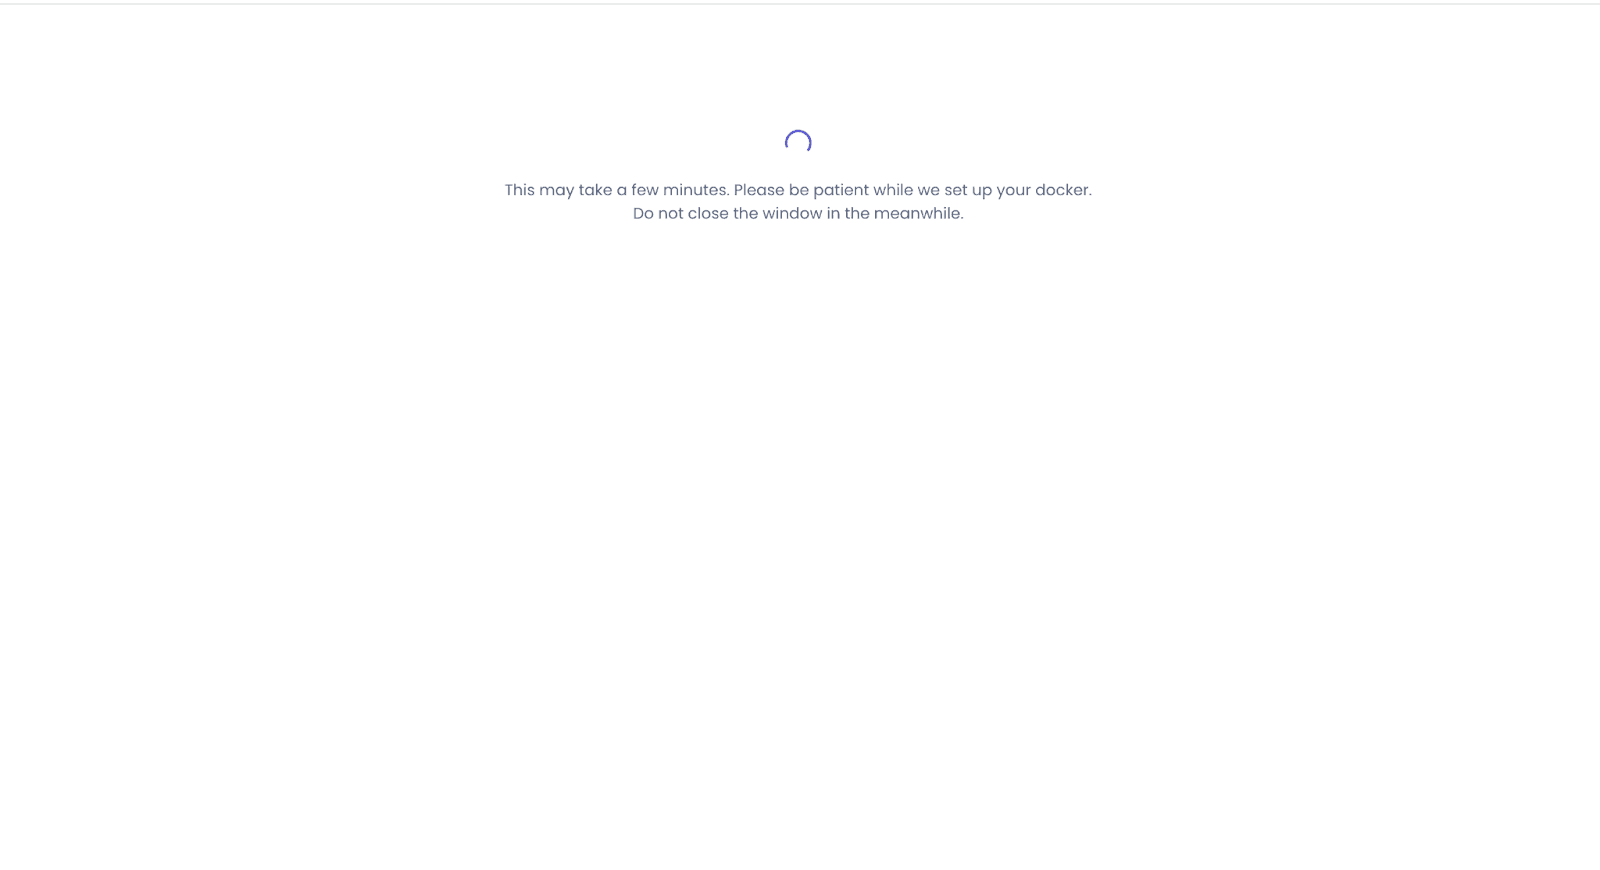
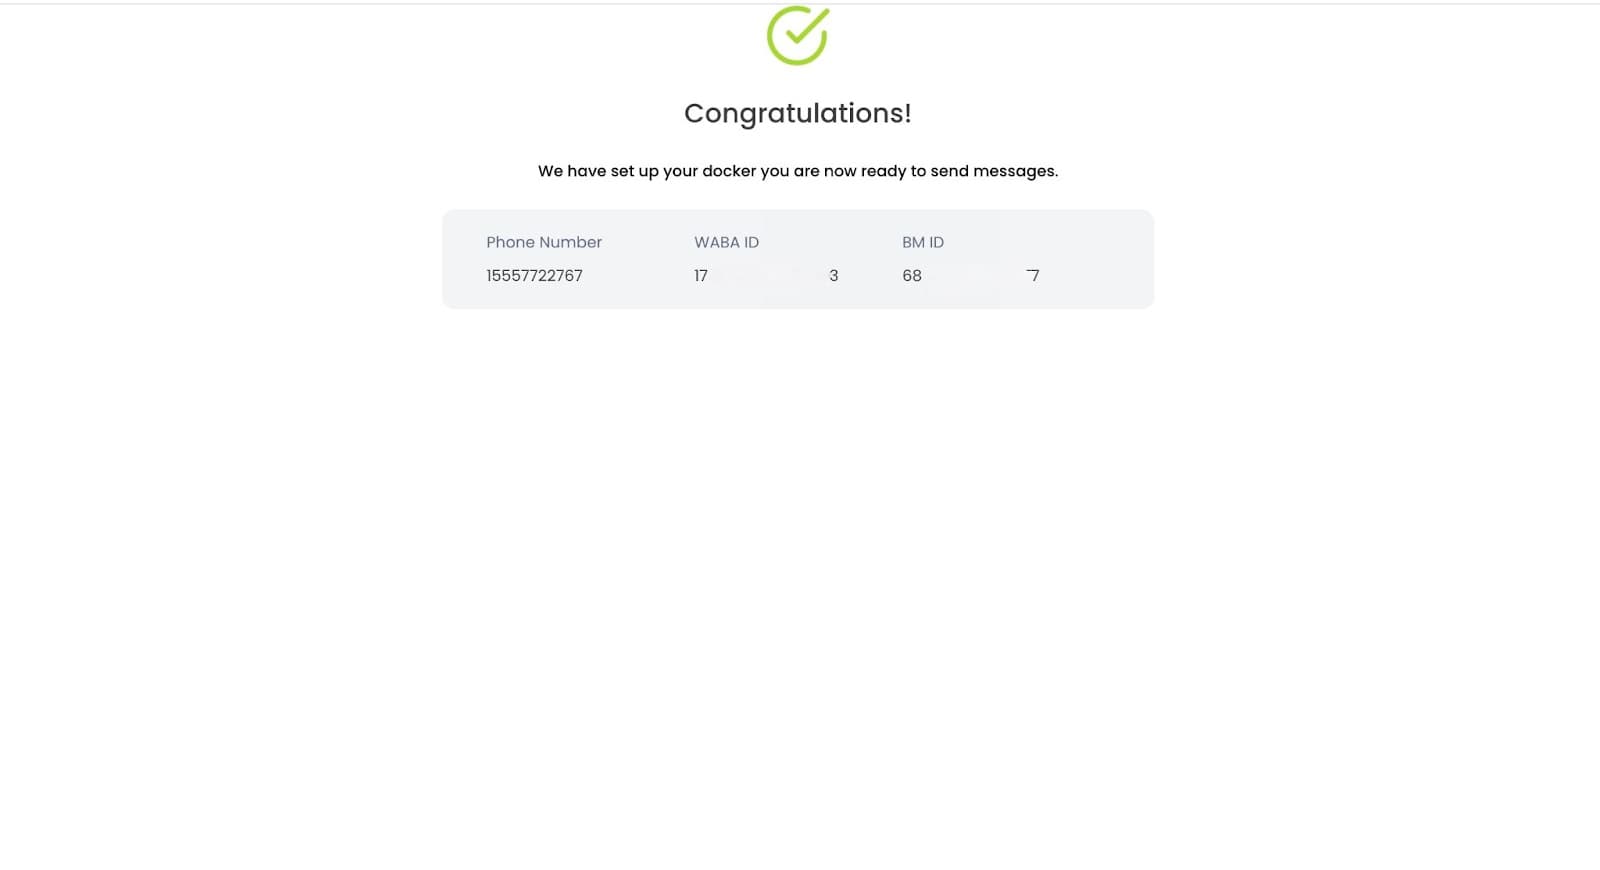
19. The process of confirming your WhatsApp Business phone number may take some time to complete. 20. You will get a confirmation once the number has been verified.
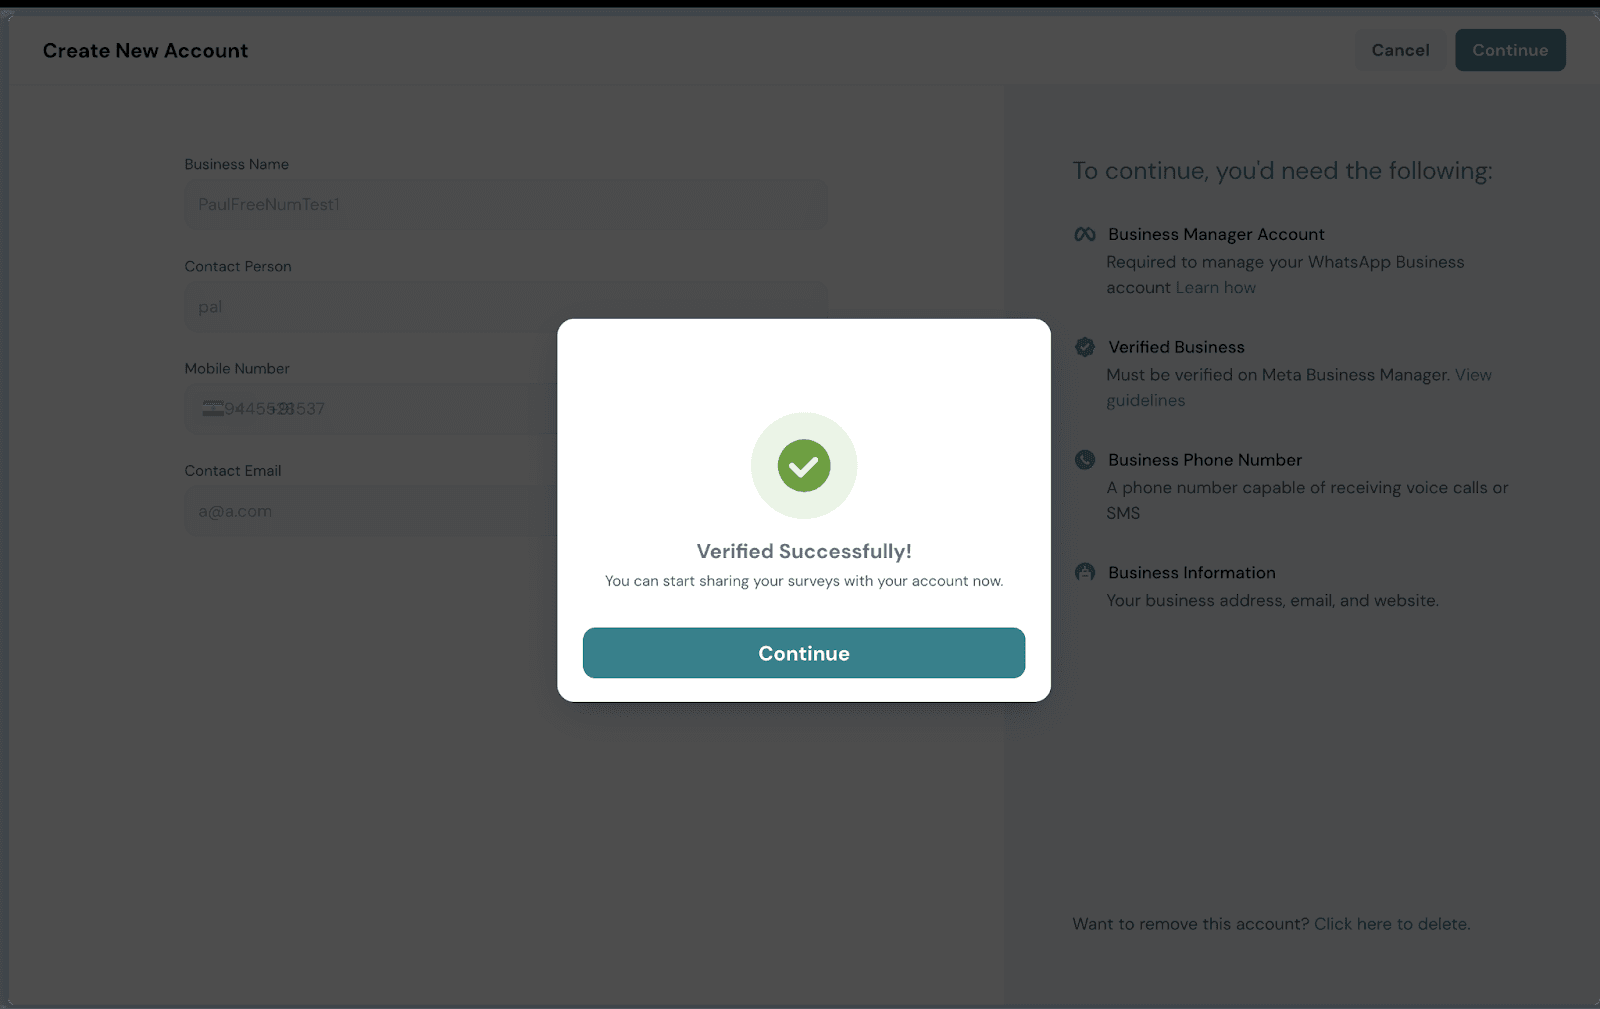
21. You will see a confirmation that the phone number is verified successfully.
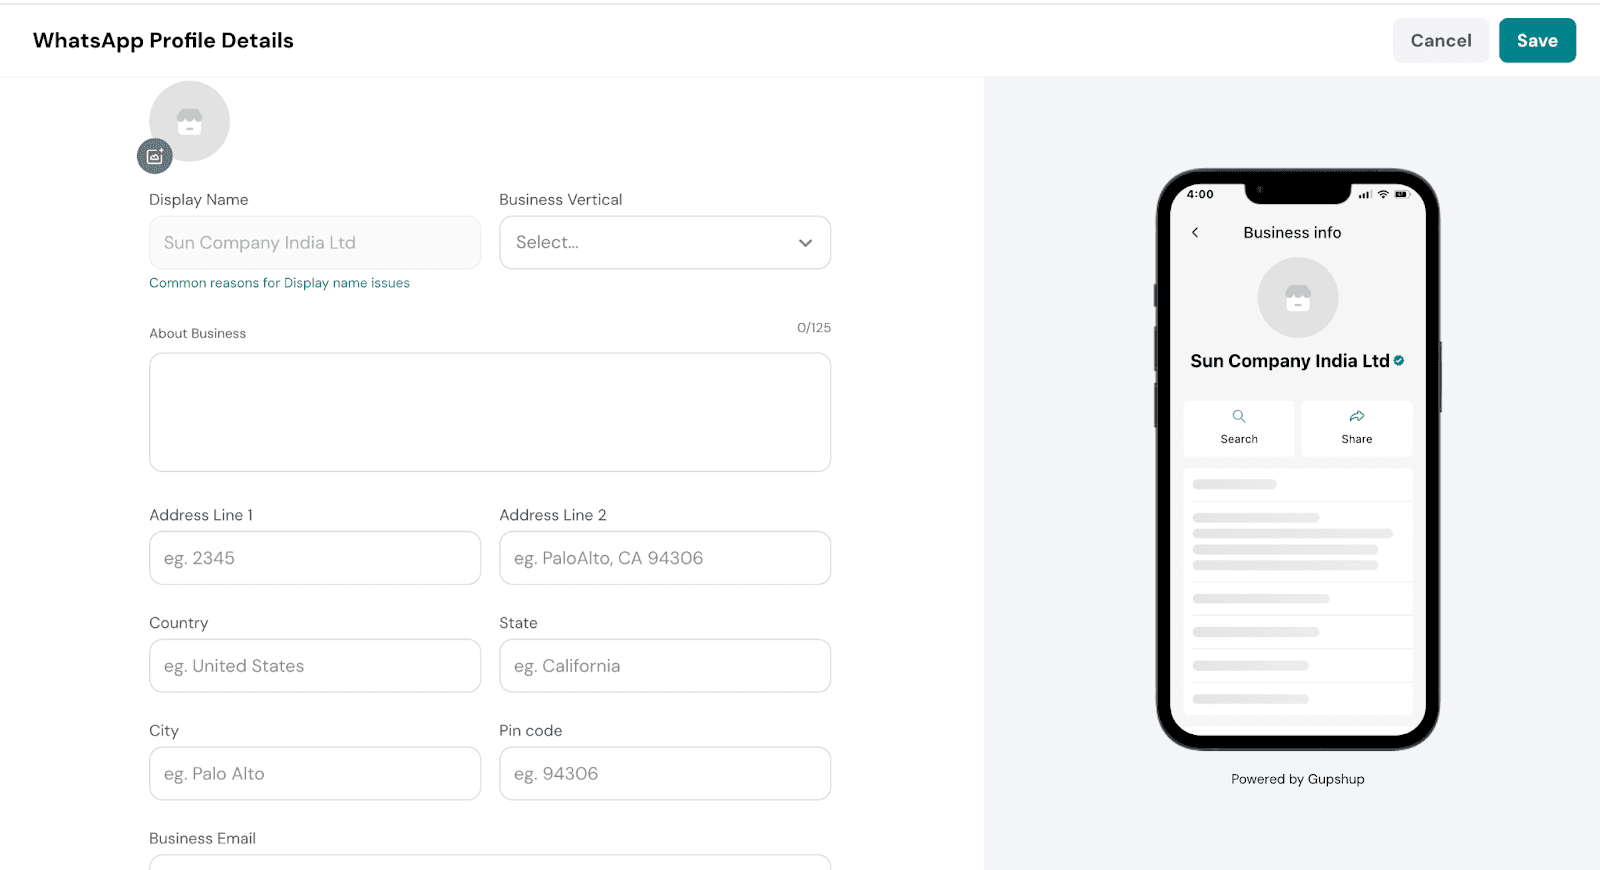
22. You will be able to edit details of the company and set the profile for your business WhatsApp profile. To do this, select the Pen shape icon to edit details.
That's all about onboarding.
Feel free to reach out to our community if you have questions.