Search
Ever spent hours copying and pasting survey responses into spreadsheets? The SurveySparrow add-on for Google Sheets lets you collect survey feedback directly in your spreadsheets, saving you time and effort.
This is best suited for situations involving custom data analysis on large sets of data. Without having to spend time curating and pulling data, you can instead focus on building visualizations and reports within Google Sheets. You also get a variety of export formats (CSV, TSV etc) that Google Sheets offers.
Some possible applications include:
Note: SurveySparrow also has a native integration with Google Sheets that allows you to import responses from within the platform. To learn more, click here.
Let’s take a look at the process of setting up the add-on inside Google Sheets.
1. Open the Google Sheet where you want to import your survey’s responses, then click on Extensions.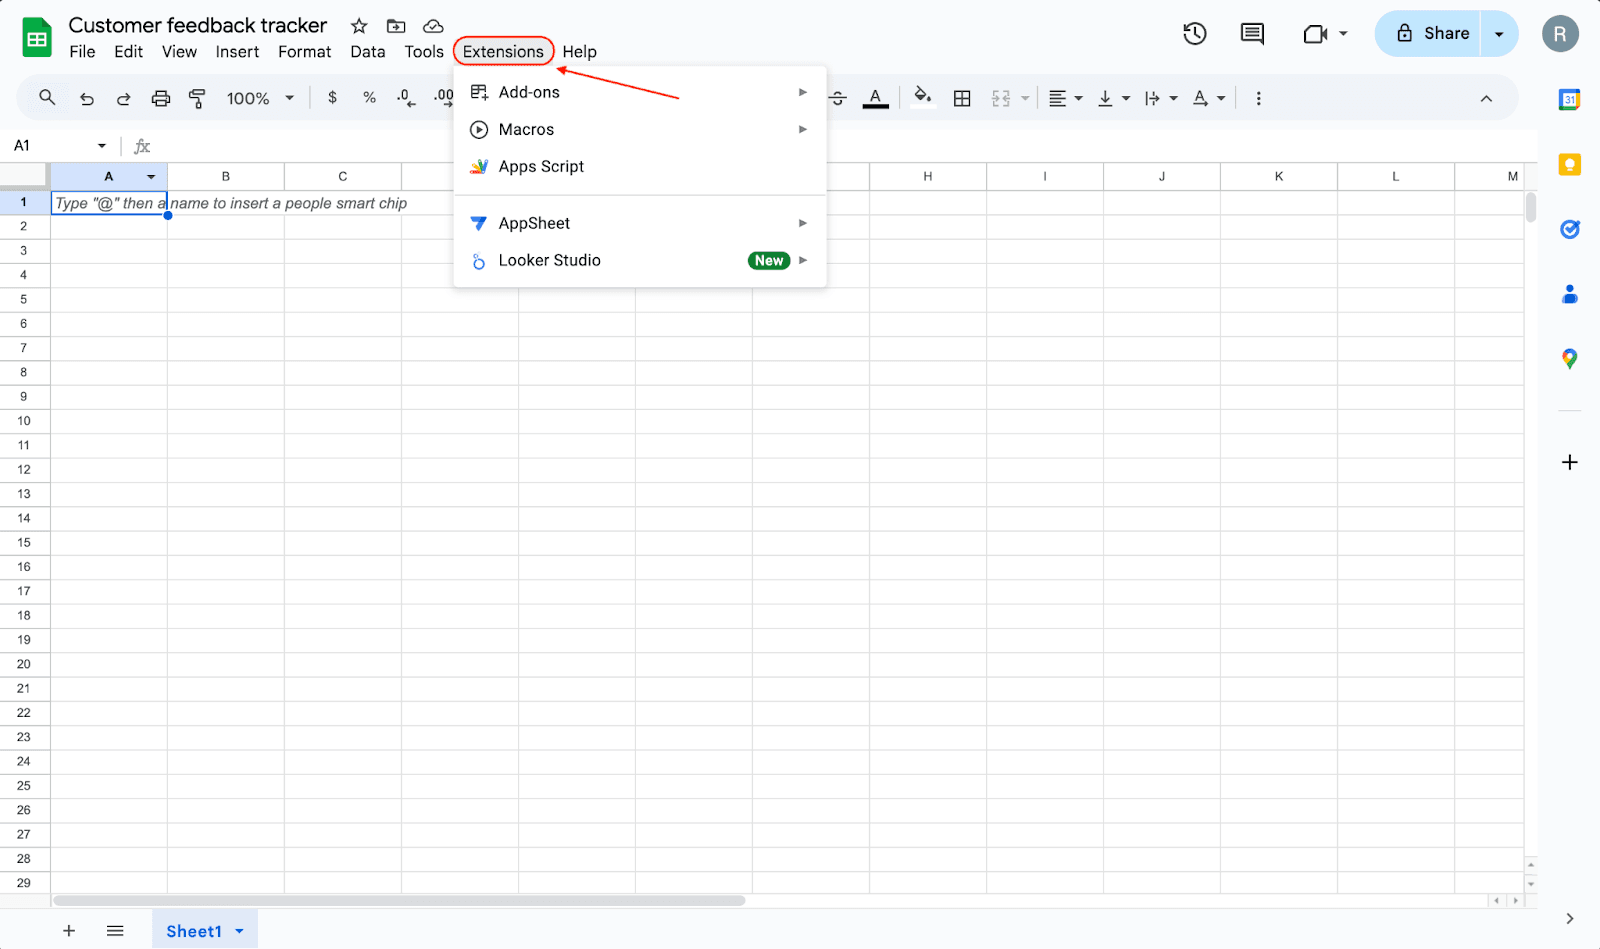
2. Hover over Add-ons, then click on Get add-ons.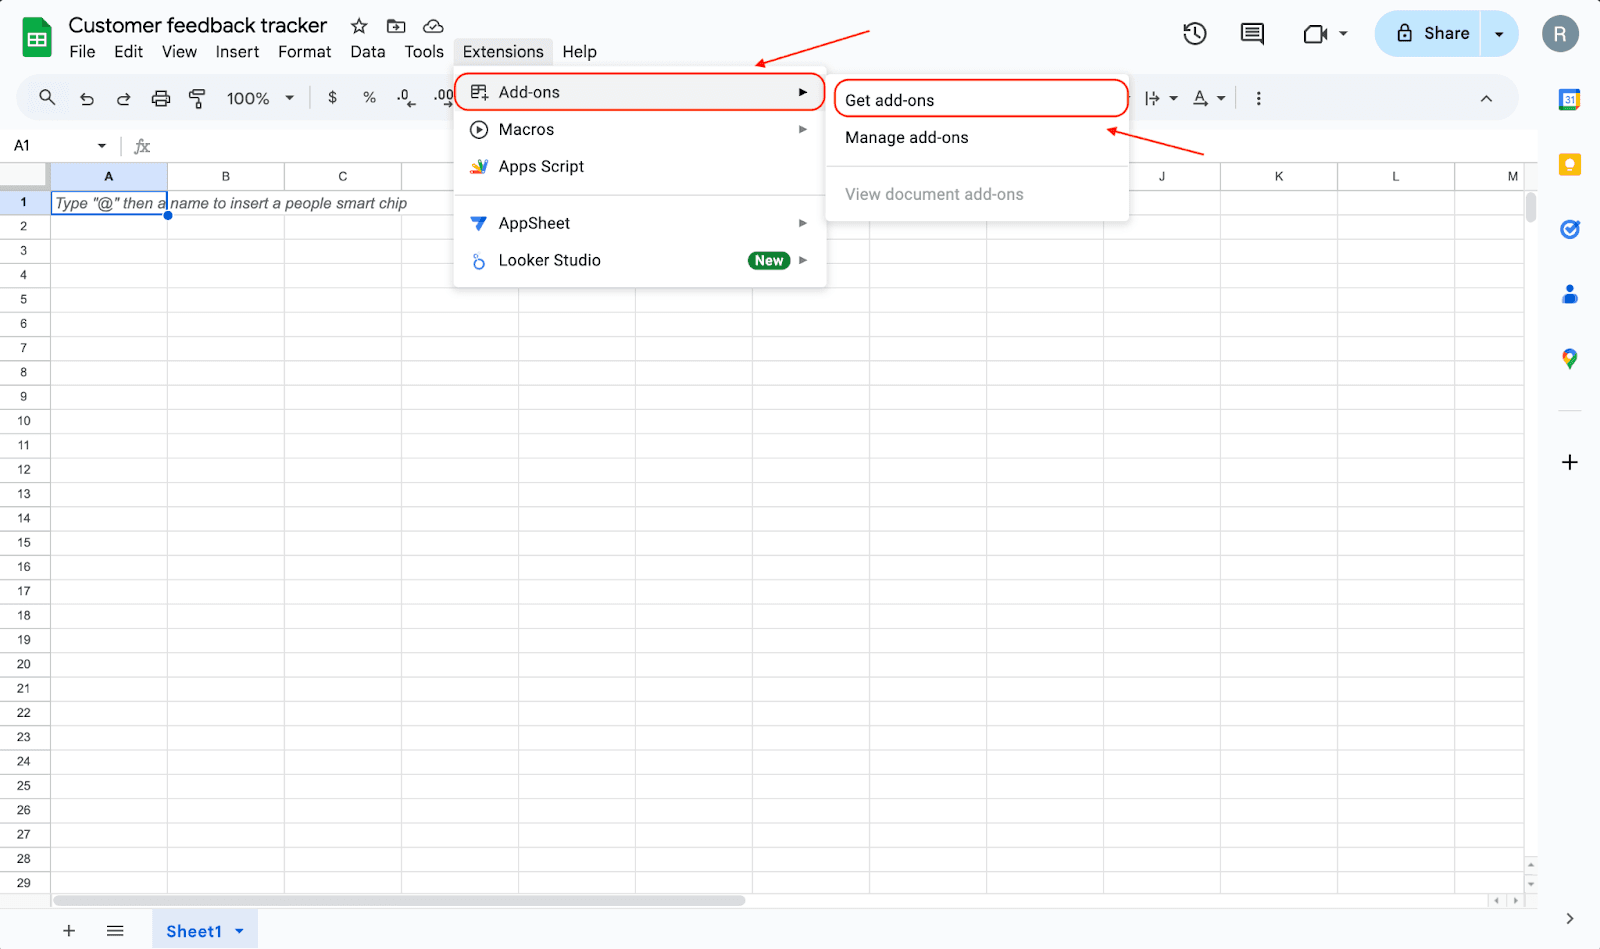
3. The Google workspace marketplace pops up. Use the search box to find the SurveySparrow add-on, then click Install.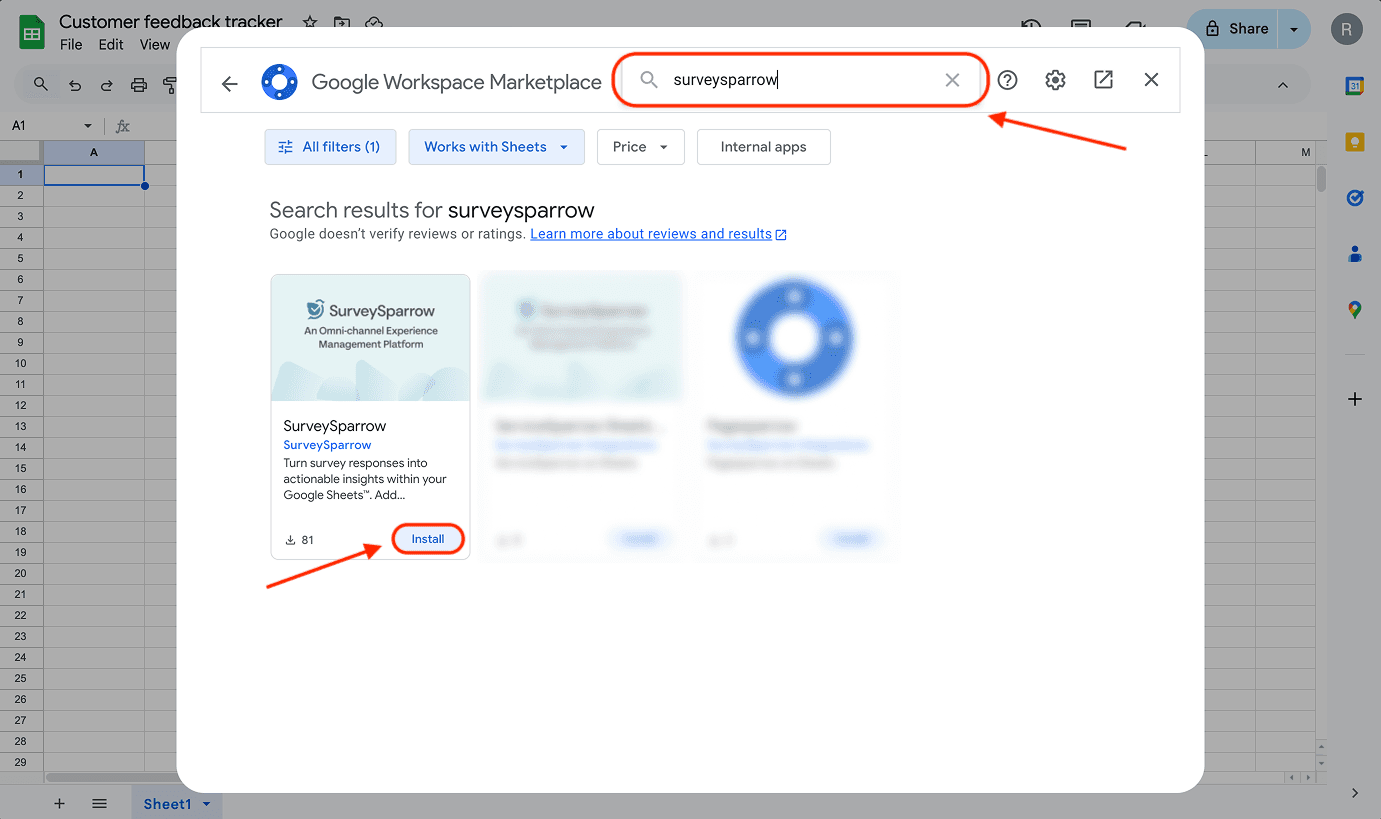
4. You will be redirected to another tab to sign into SurveySparrow. Choose a Google Account.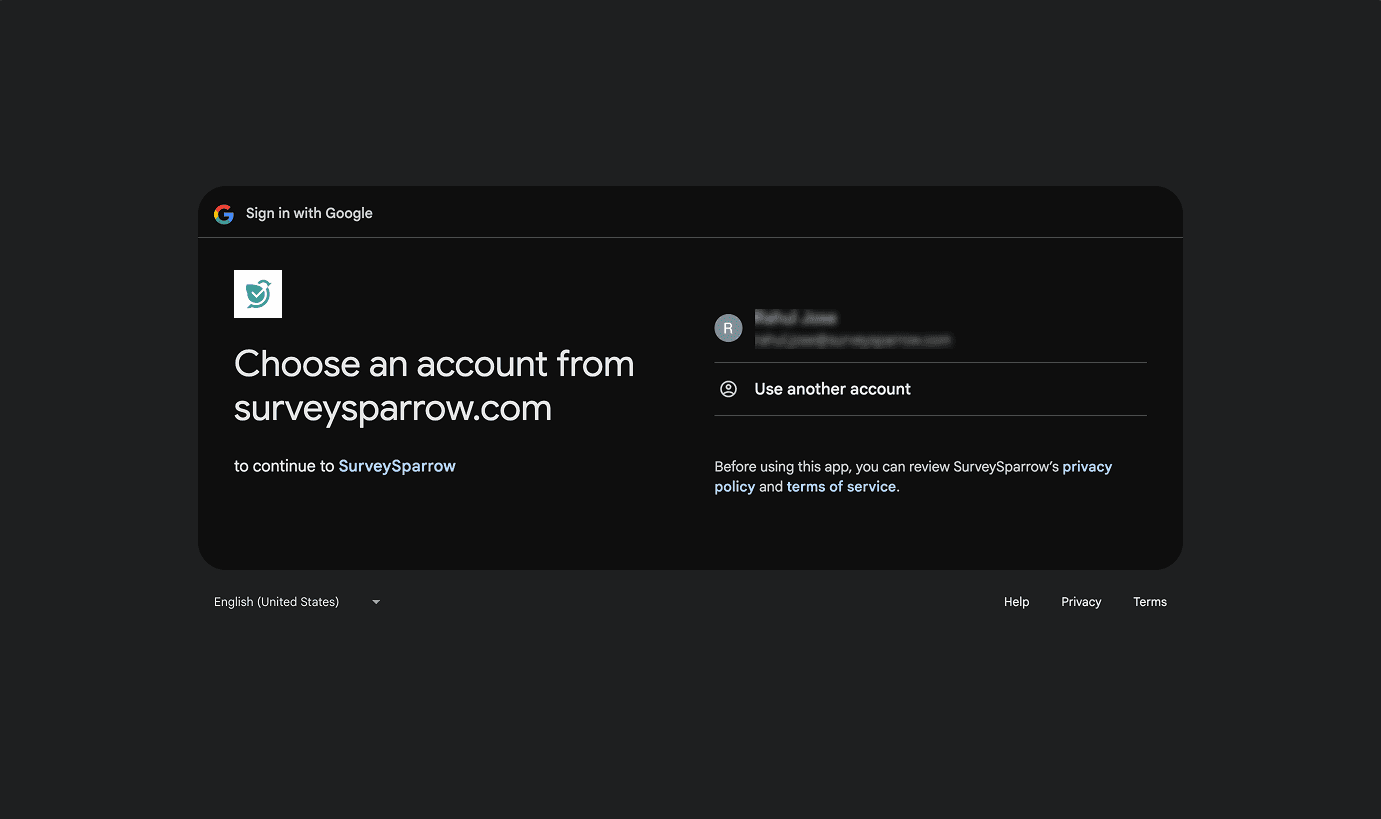
5. Then, click Continue.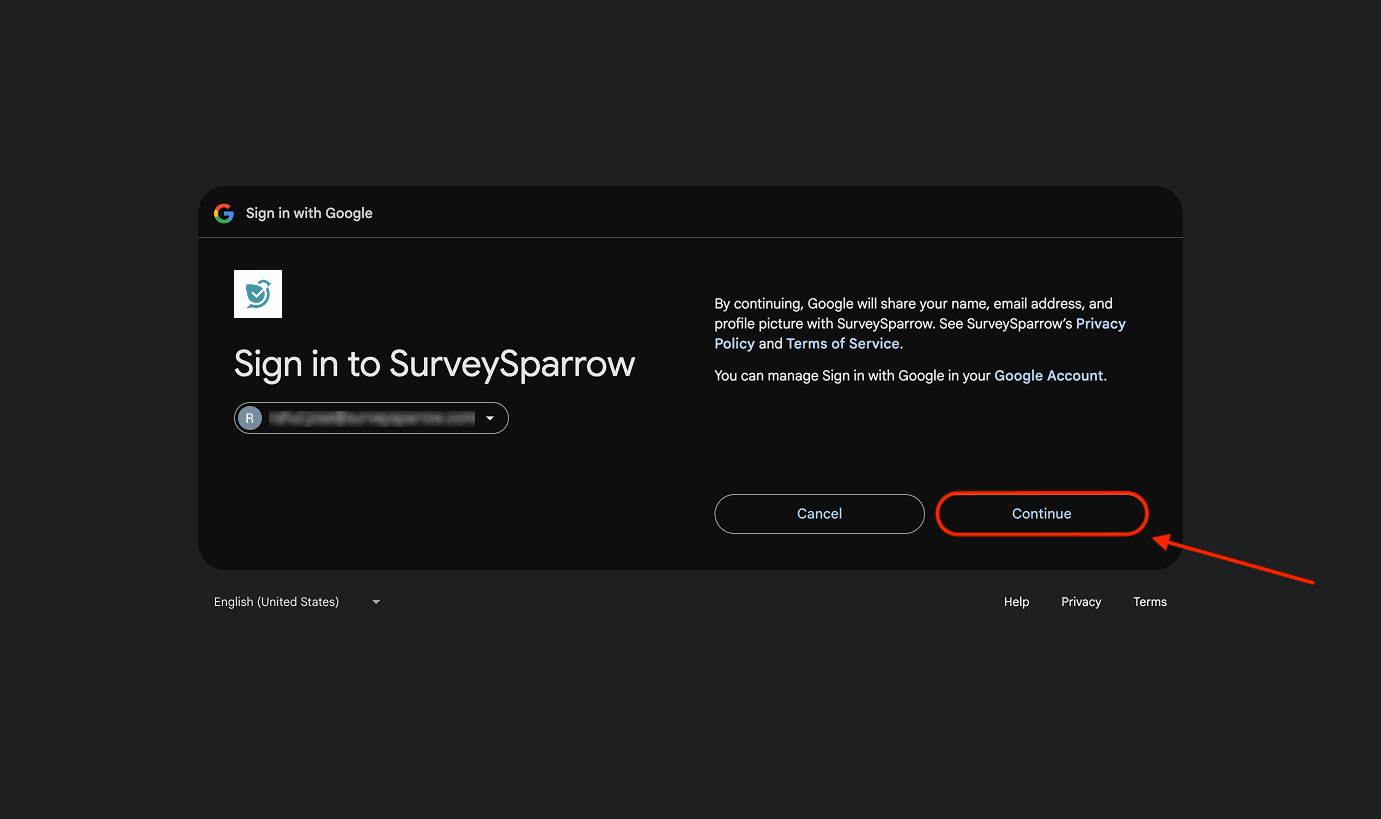
6. A screen listing the access controls appears. Click Allow.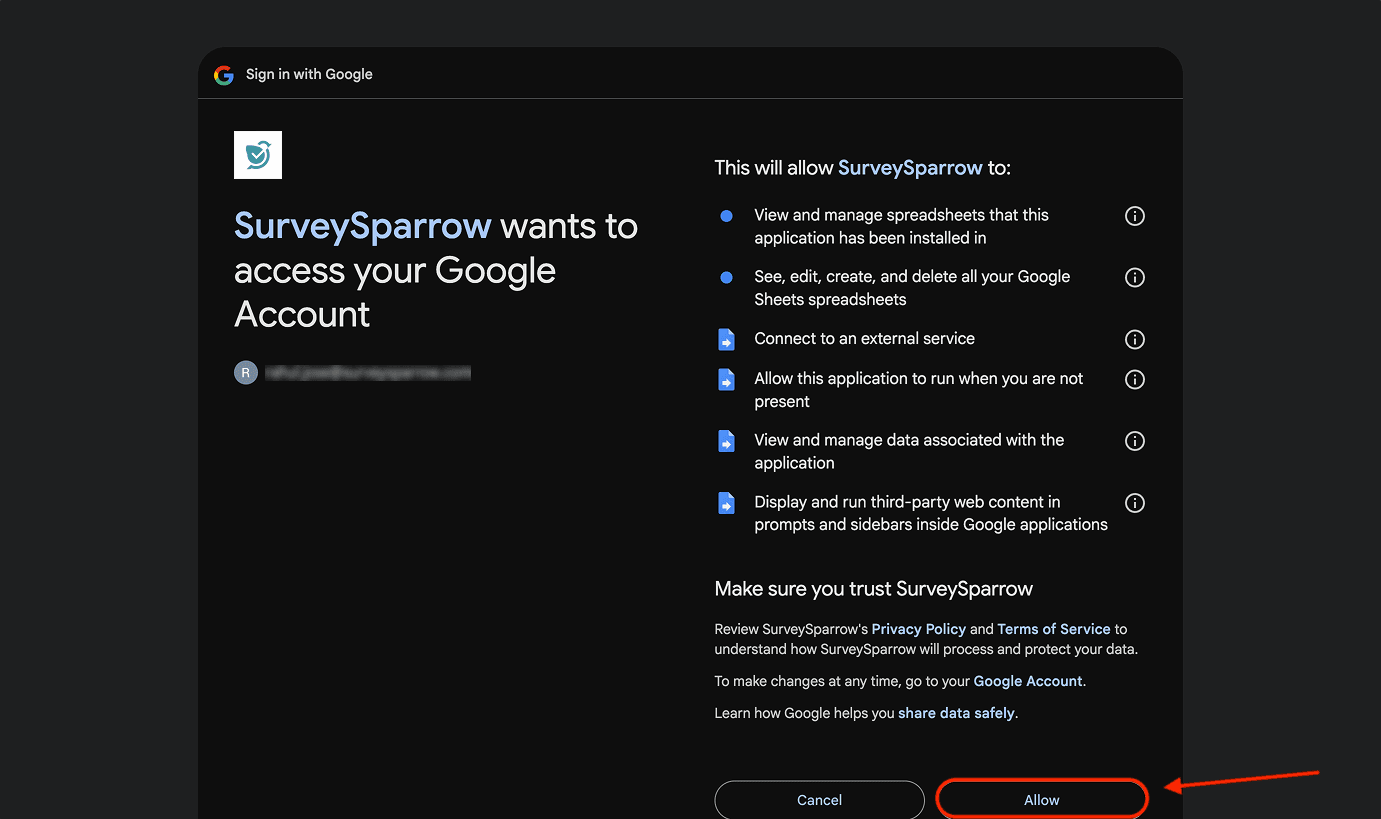
7. The tab will close, taking you back to Google Sheets.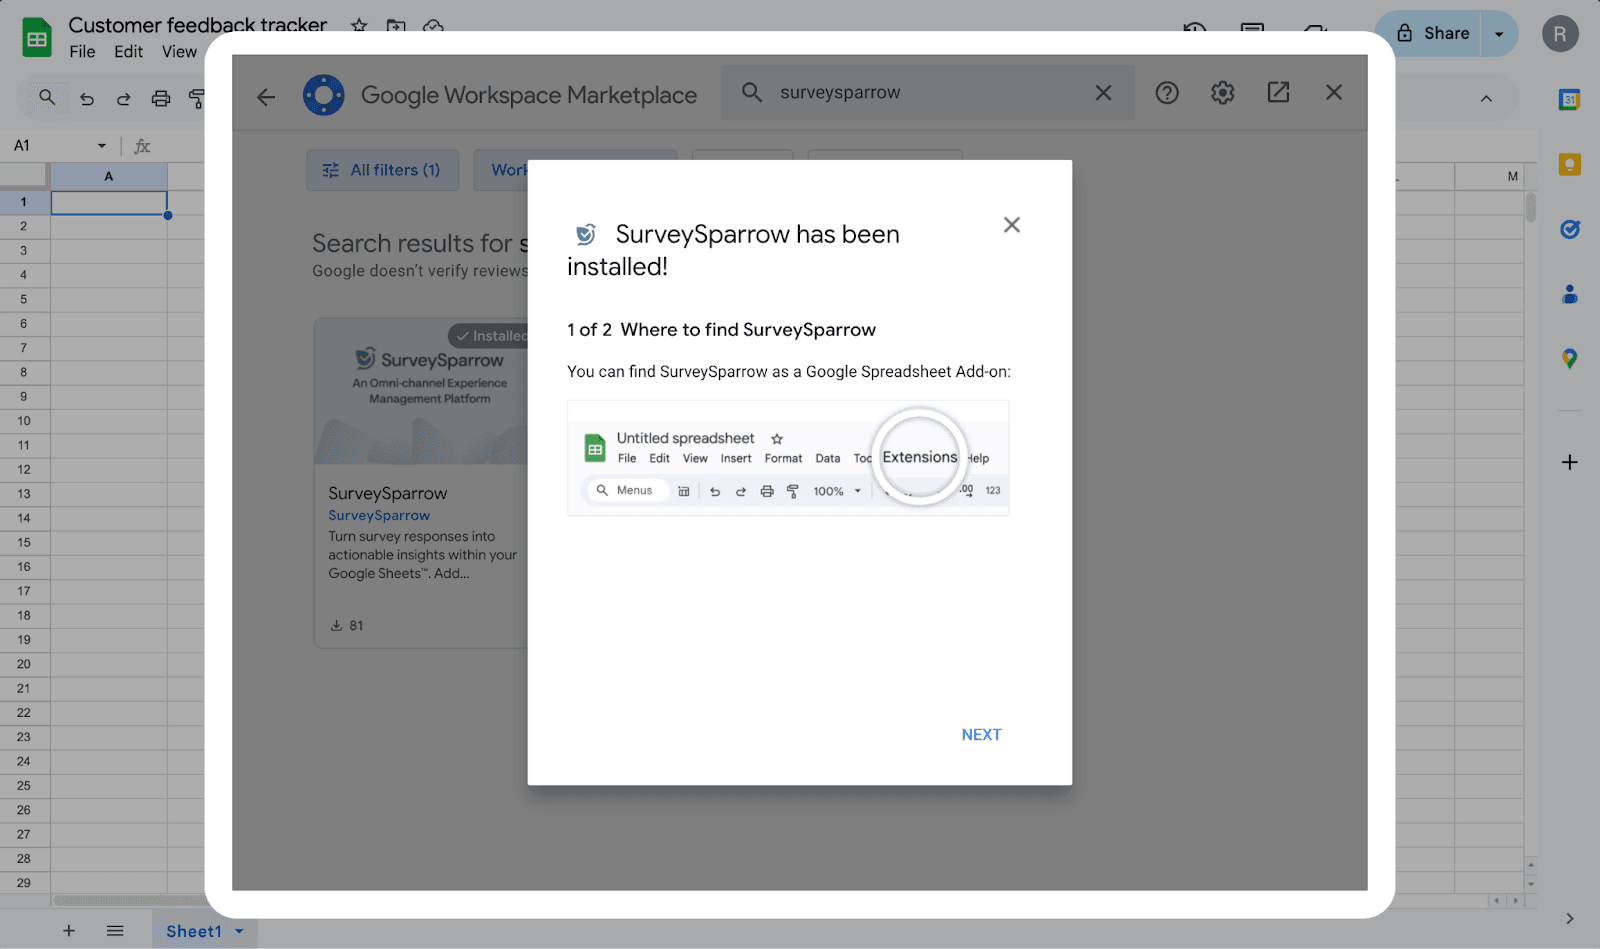
8. Now when you click on the Extensions menu, the SurveySparrow add-on will appear at the end of the menu.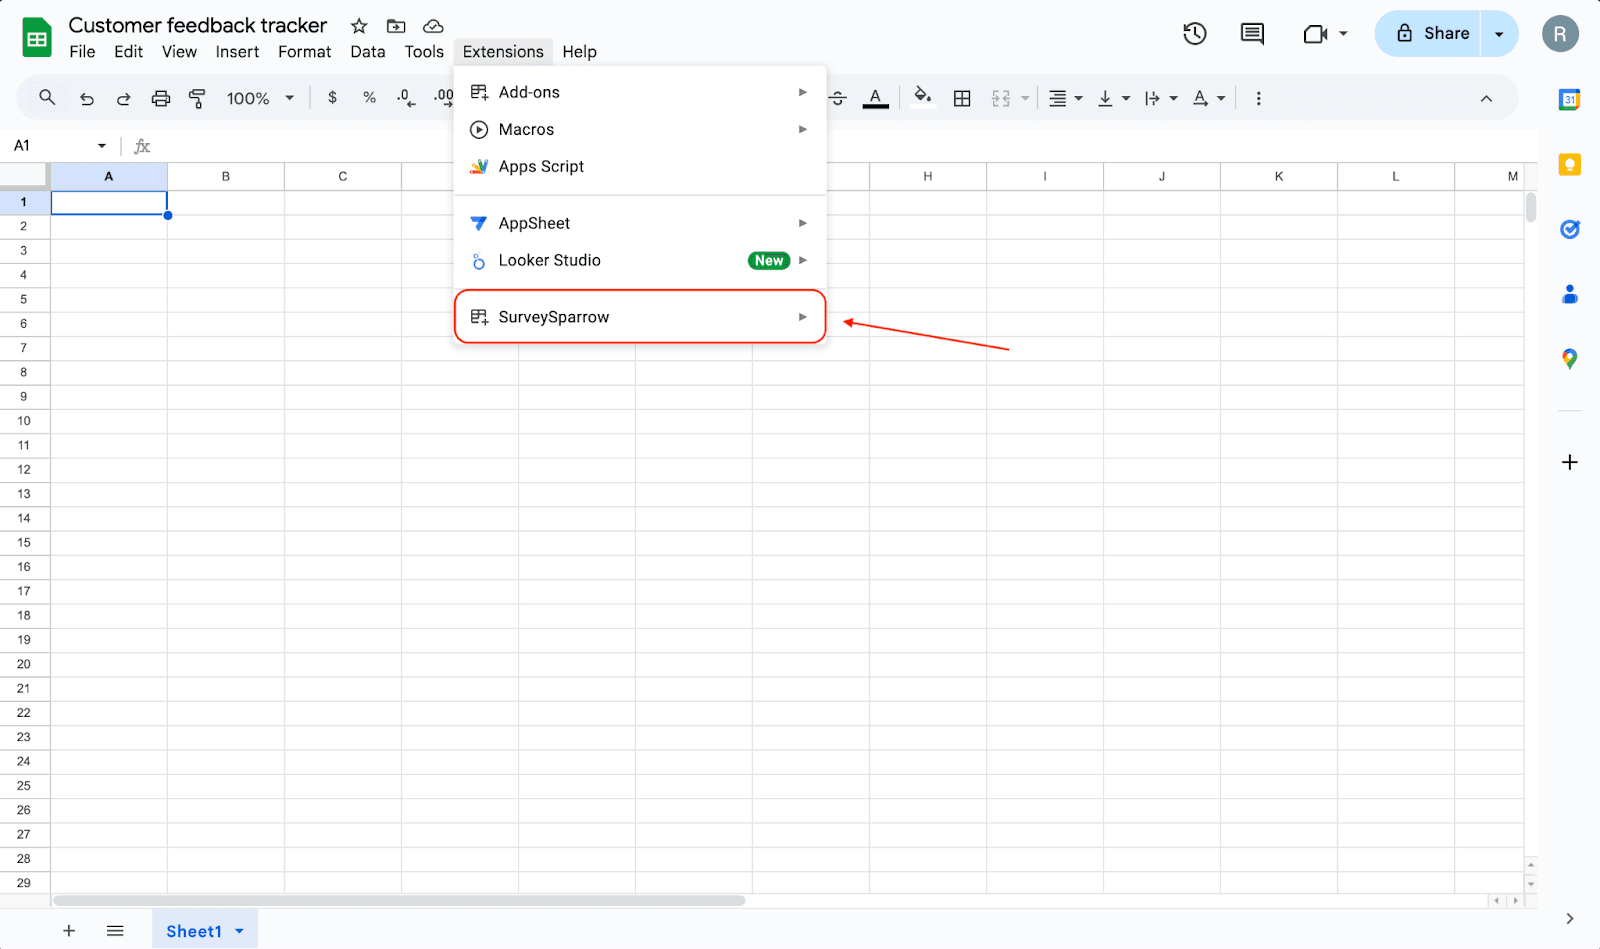
9. When you hover over the extension, a menu appears. Click on Open.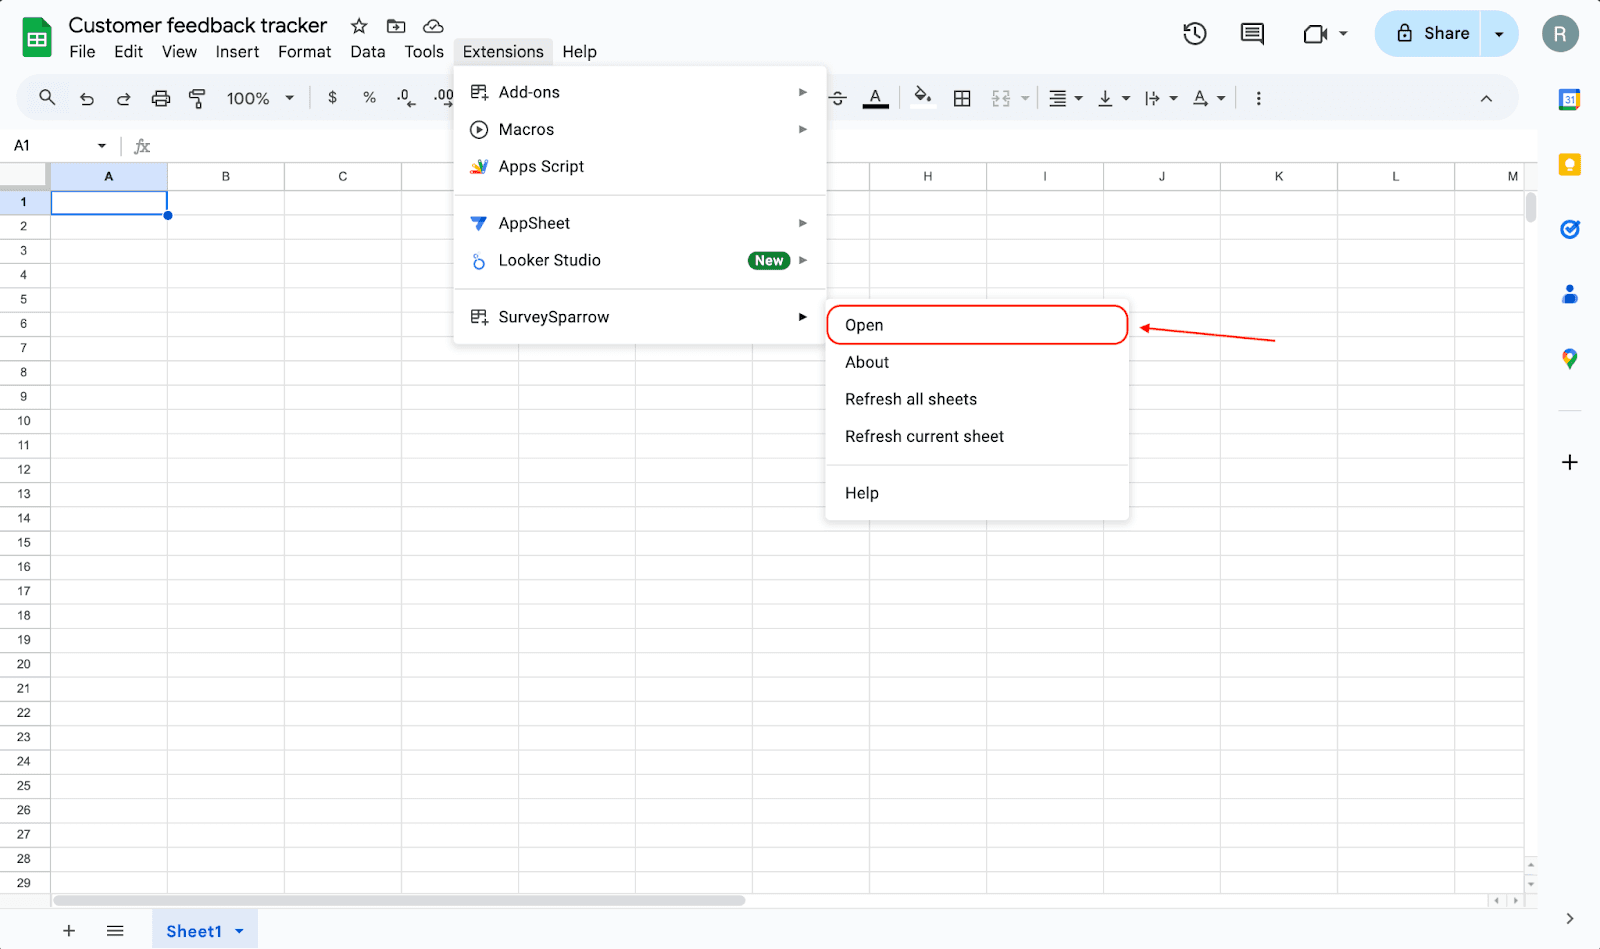
10. A panel opens on the right side. Click on the button titled Connect to SurveySparrow.
11. A sign-up screen opens up in another tab. If you already have a SurveySparrow account, click on Login and initiate the process.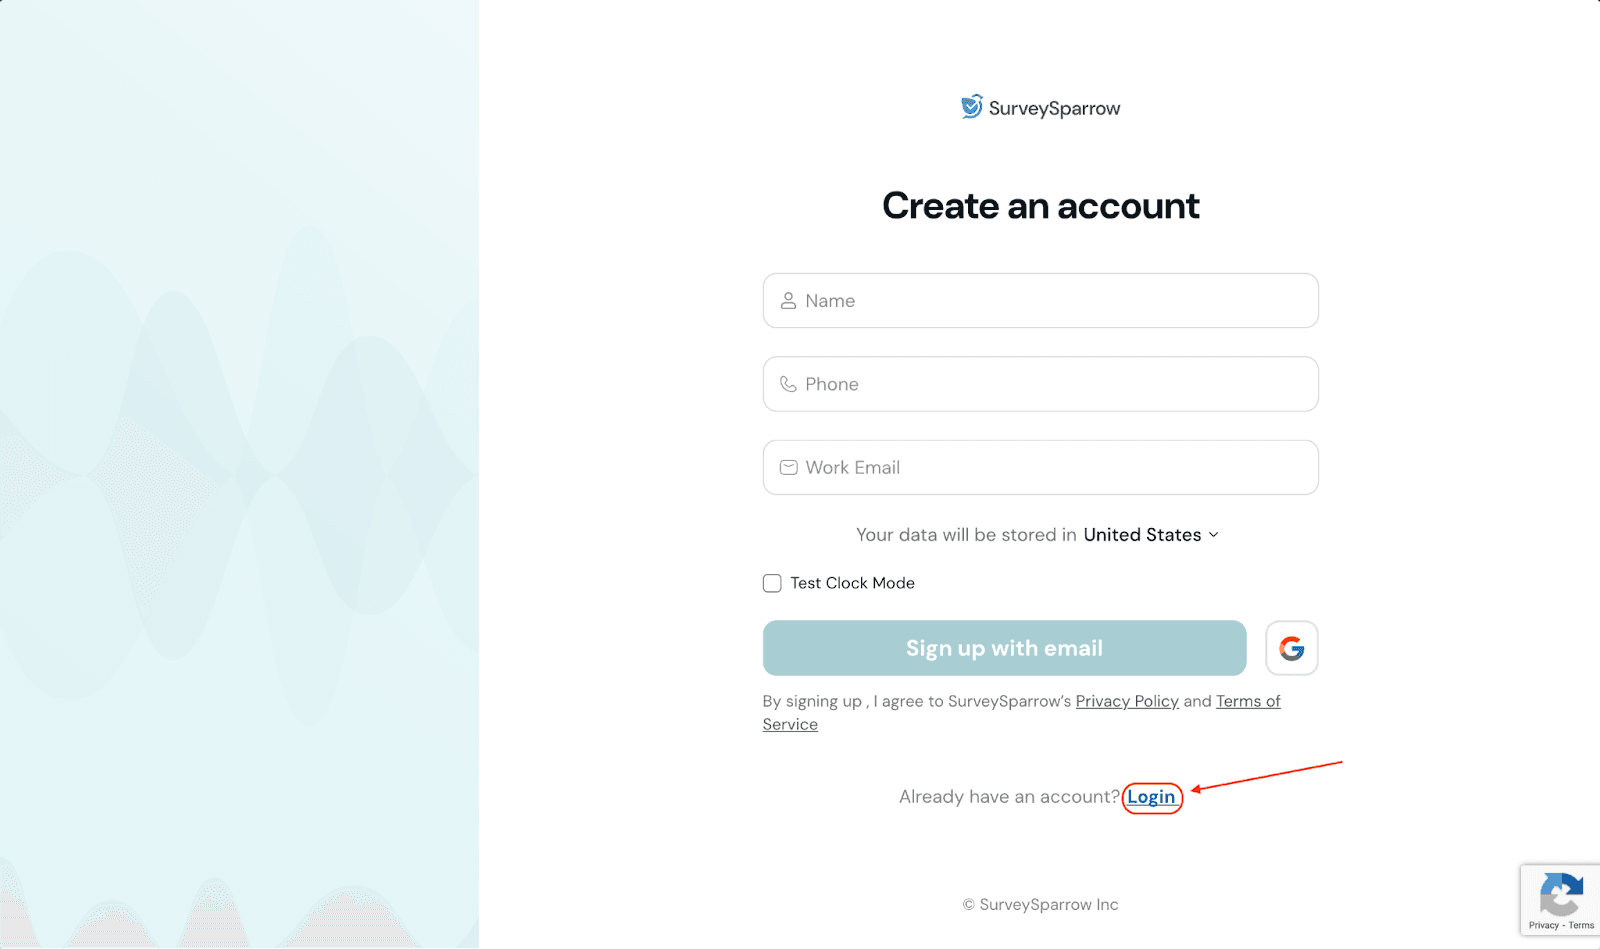
12. After completing the login, an authorization screen appears. Click Authorize.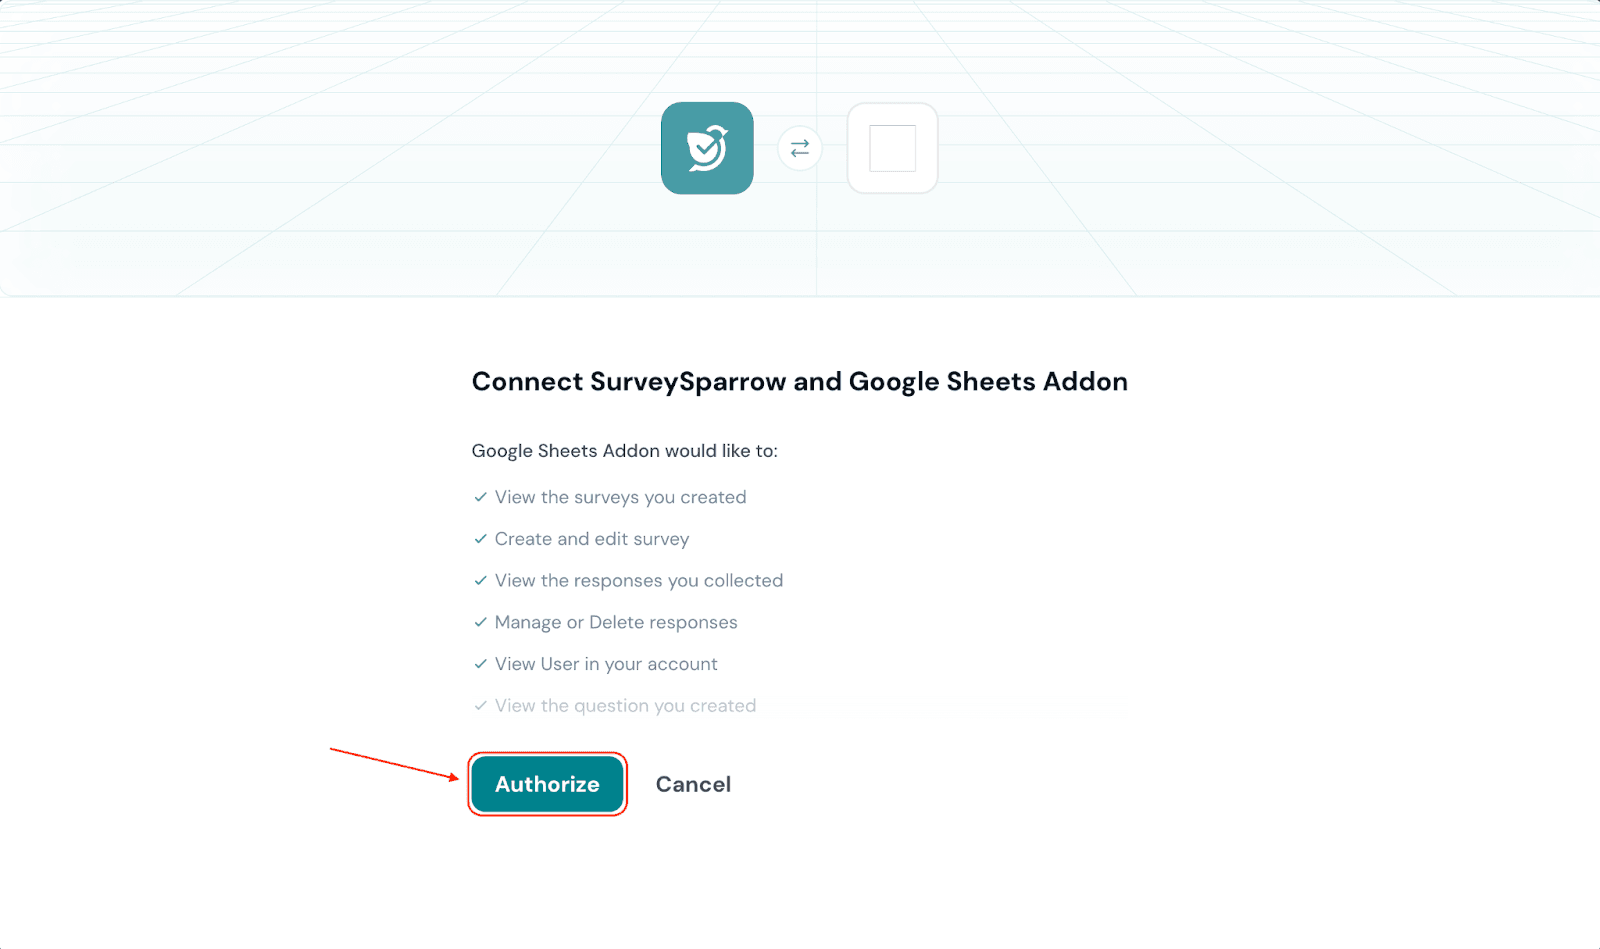
13. Once the authentication is complete, you will see a button titled Close Tab. Click on it to return to Google Sheets.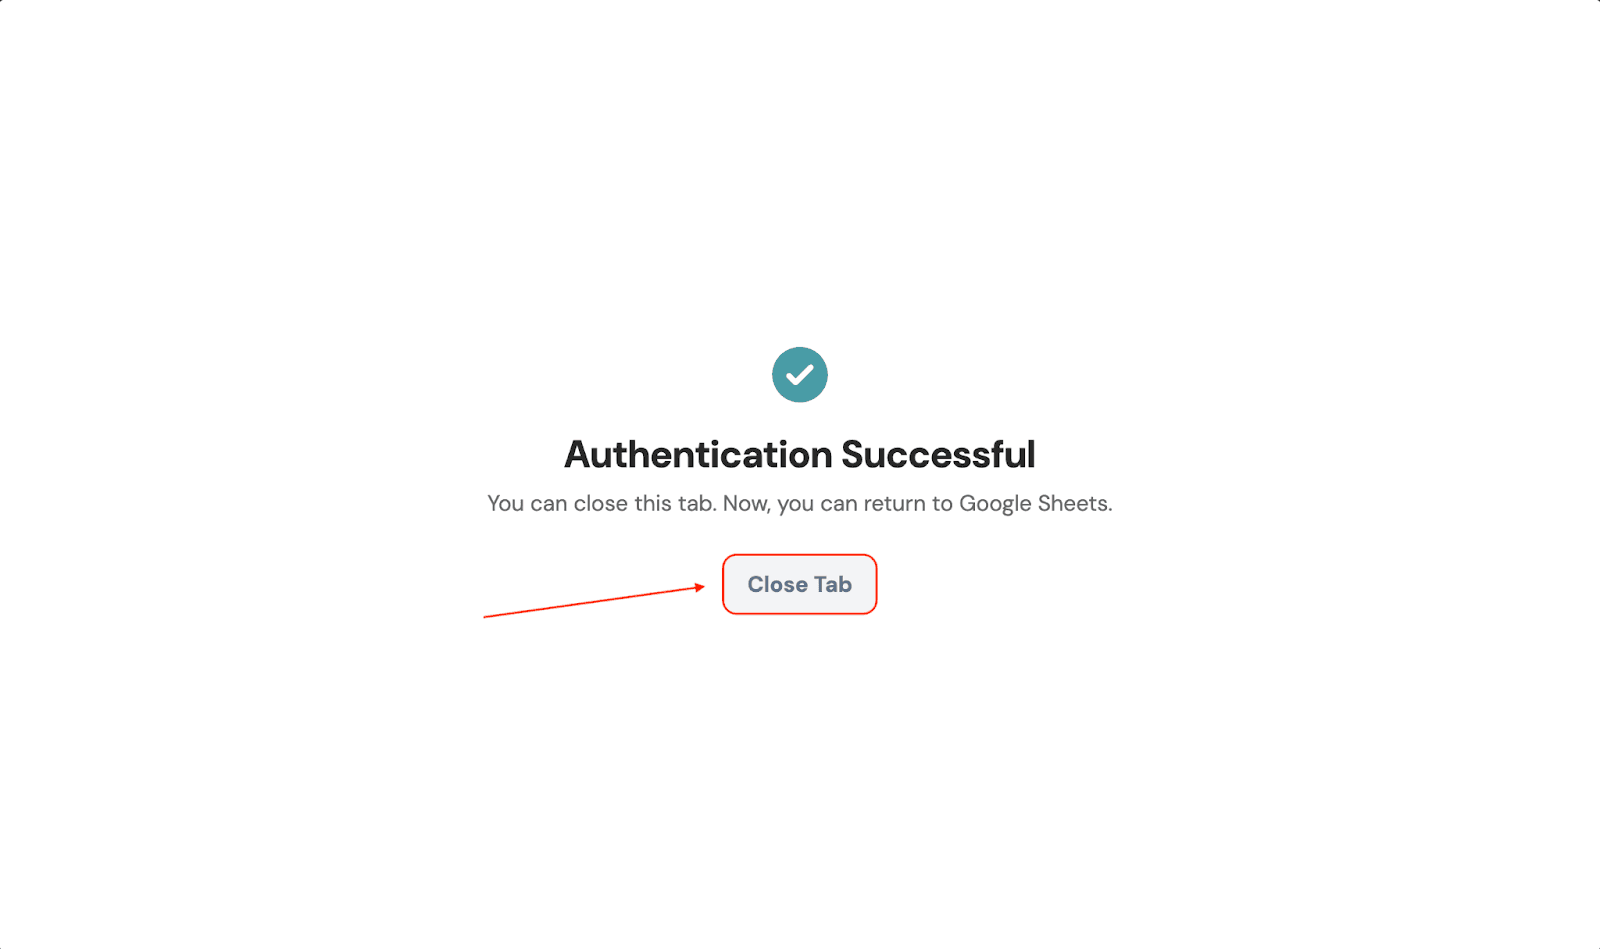
14. After returning to Google Sheets, you’ll need to connect a survey. Click on Start Importing.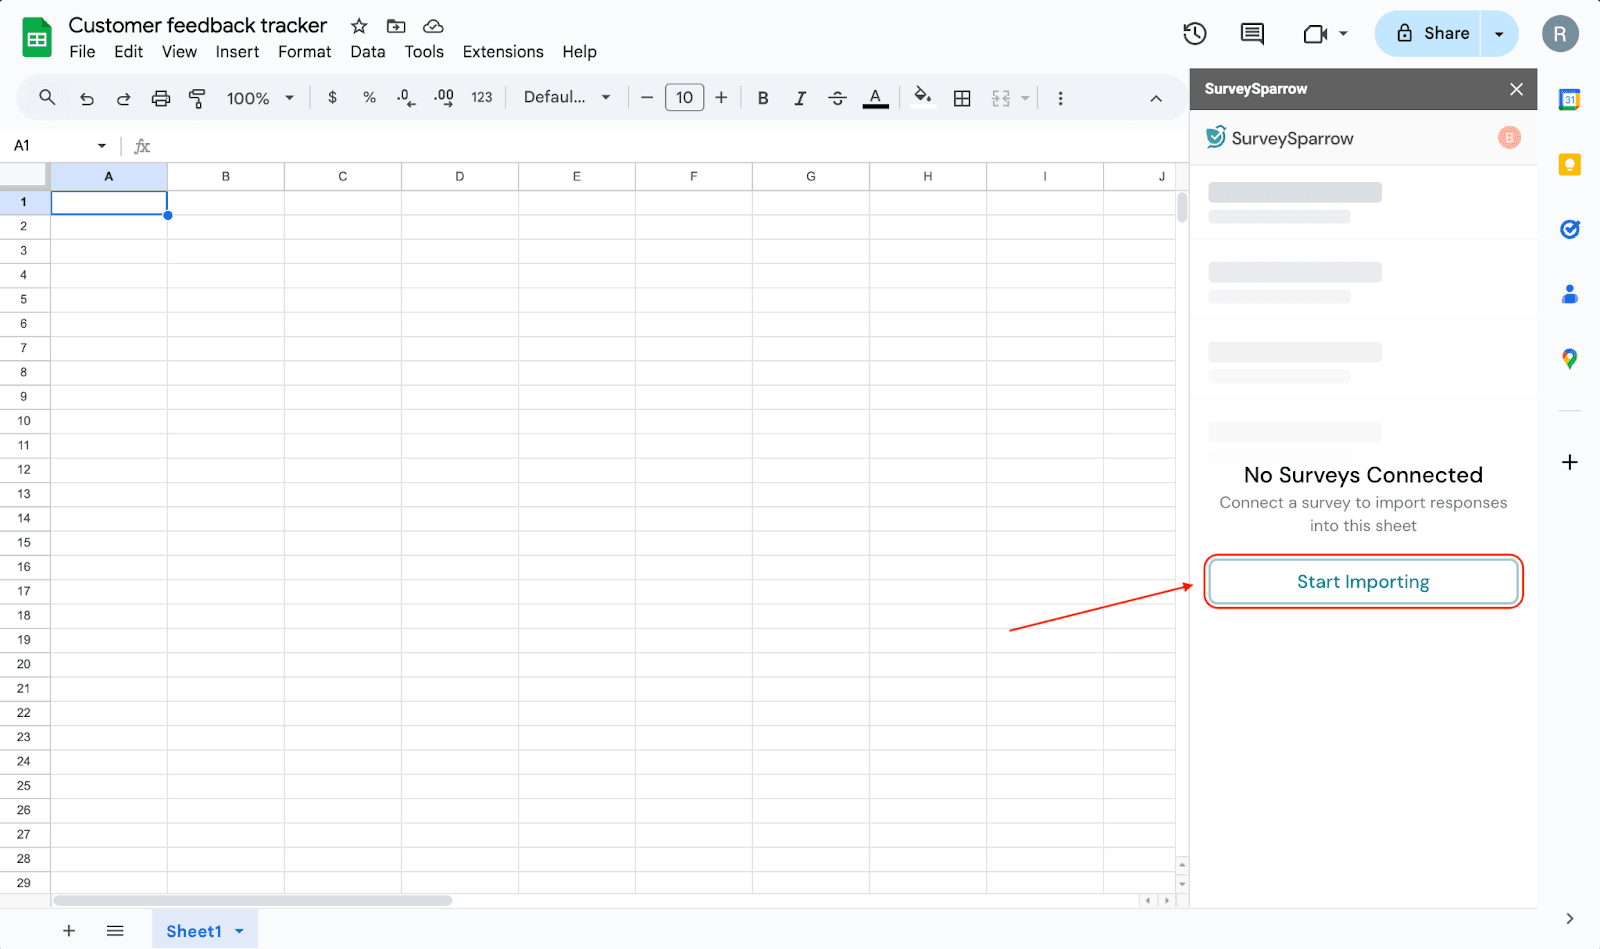
15. Click the drop-down menu below Select Survey and choose one from the list of existing surveys.
Note: If you want to create a fresh survey, click on + Create Survey. You will be redirected to your account.
16. After selecting your survey, you can choose the data types to export to the sheet. There are 5 data types (responses, contacts, variables, expressions, properties), although all of them might not be part of your survey. By default, all of the items in the data types that are part of your survey will be selected. To pick and choose specific data types, click Customize.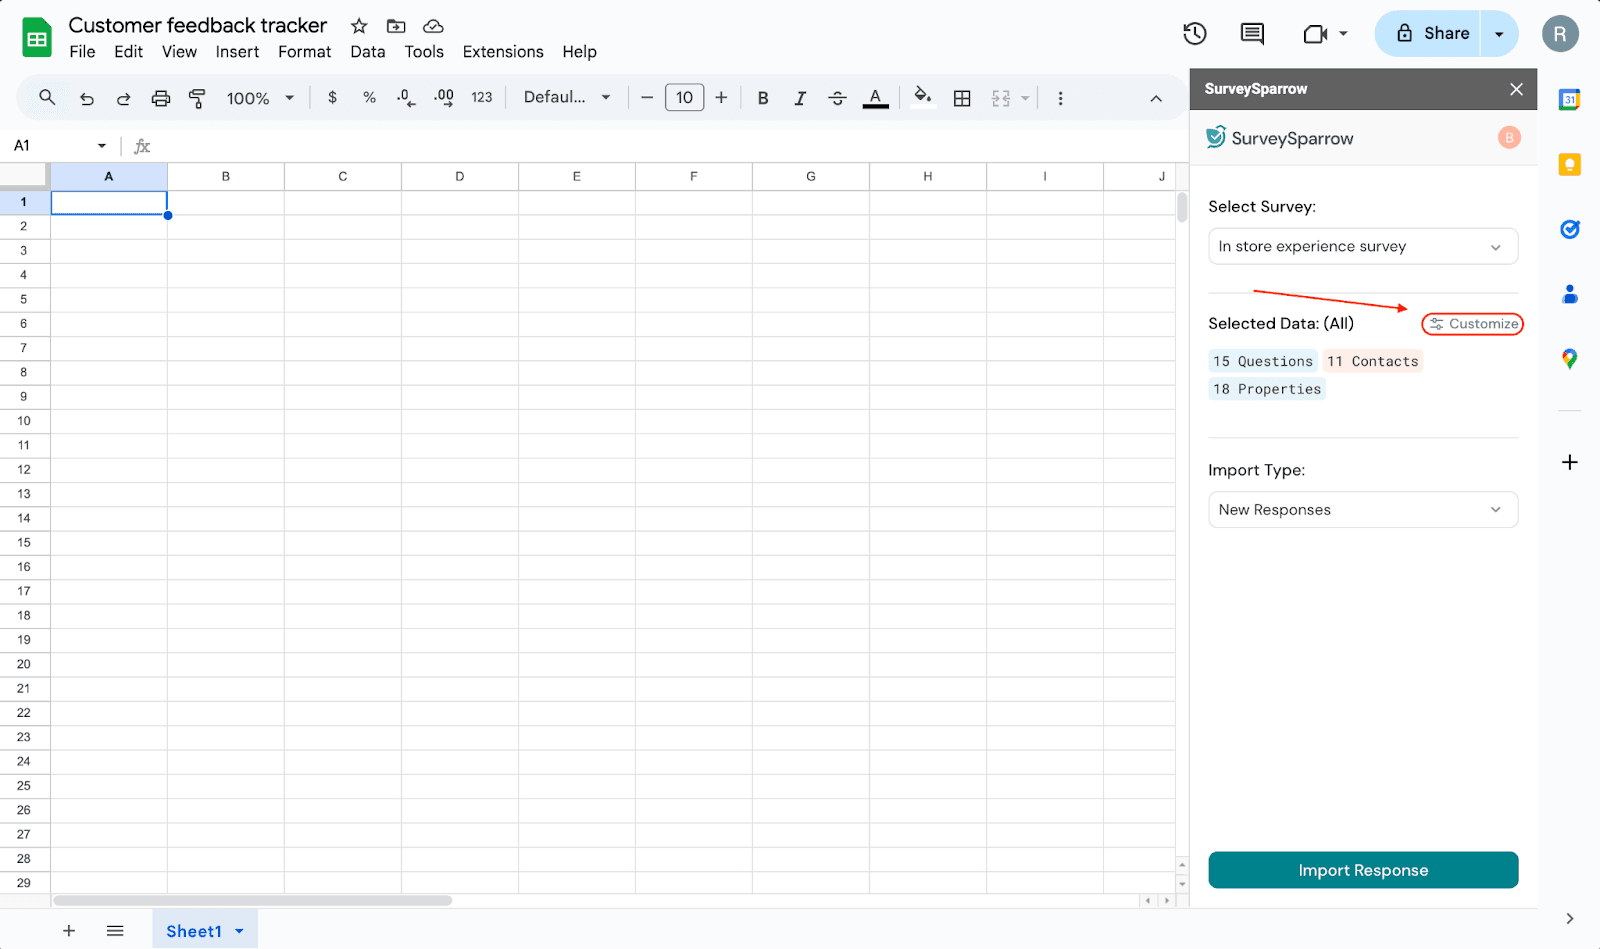
17. A list of data types opens, with the items inside each type. You can scroll through the list (or use the search box) and select the items that you want to import. After you’re satisfied, click Apply Selection.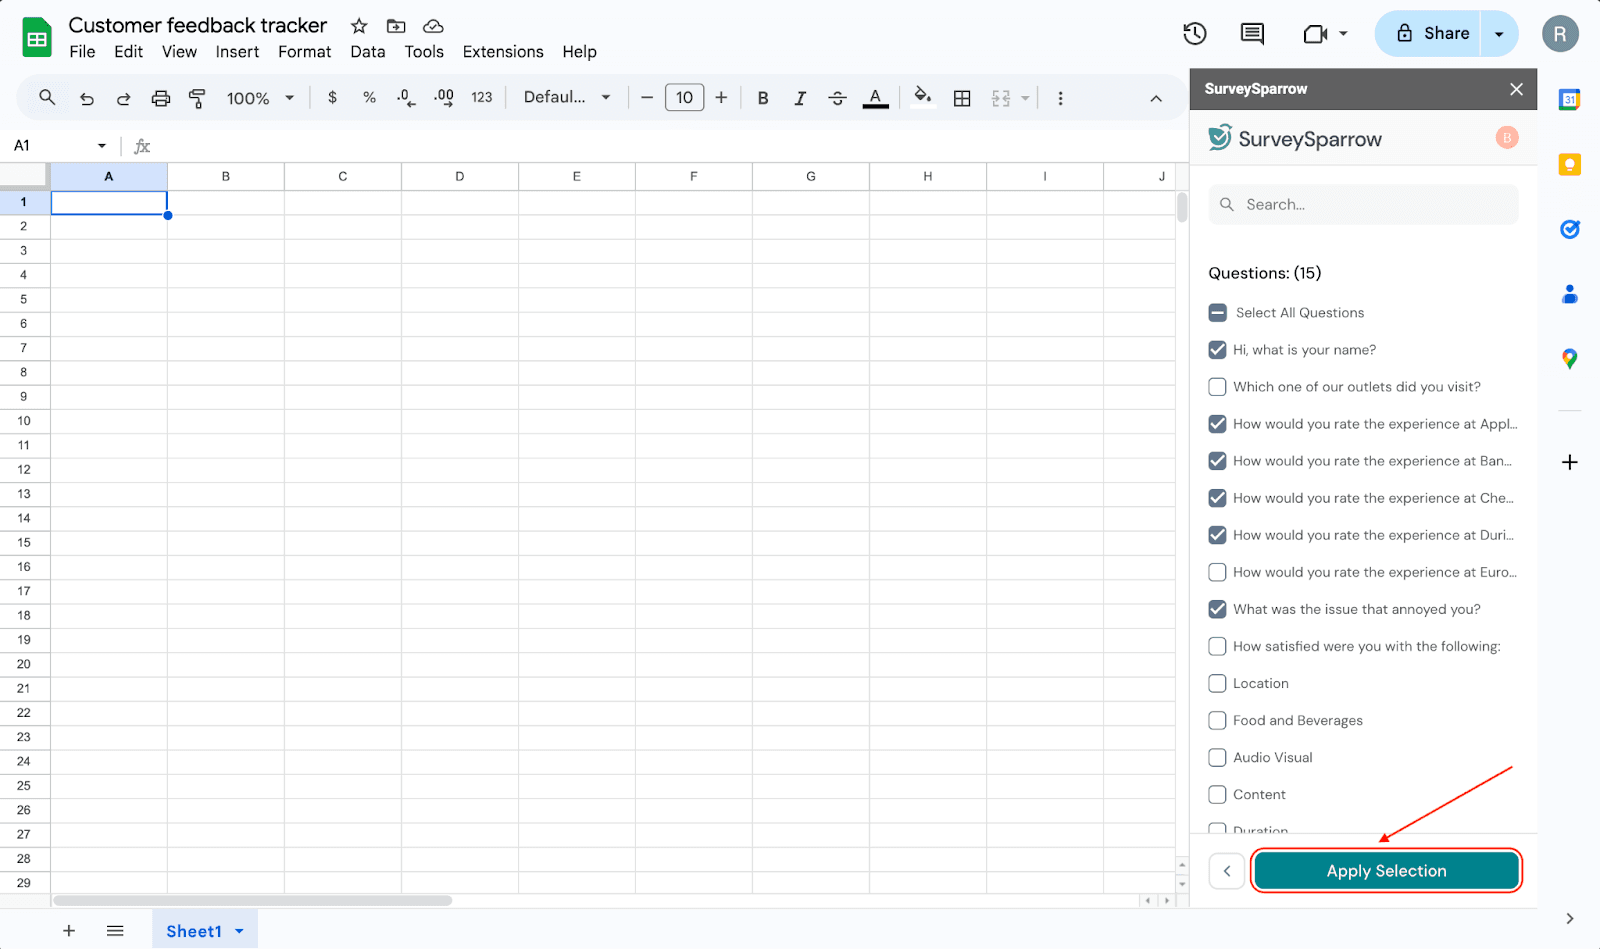
18. Next, you must decide the type of responses to be imported. By default, only new responses (aka responses that arrive after the integration is ready) are imported. But, if you’d like to change it, click on the drop-down menu.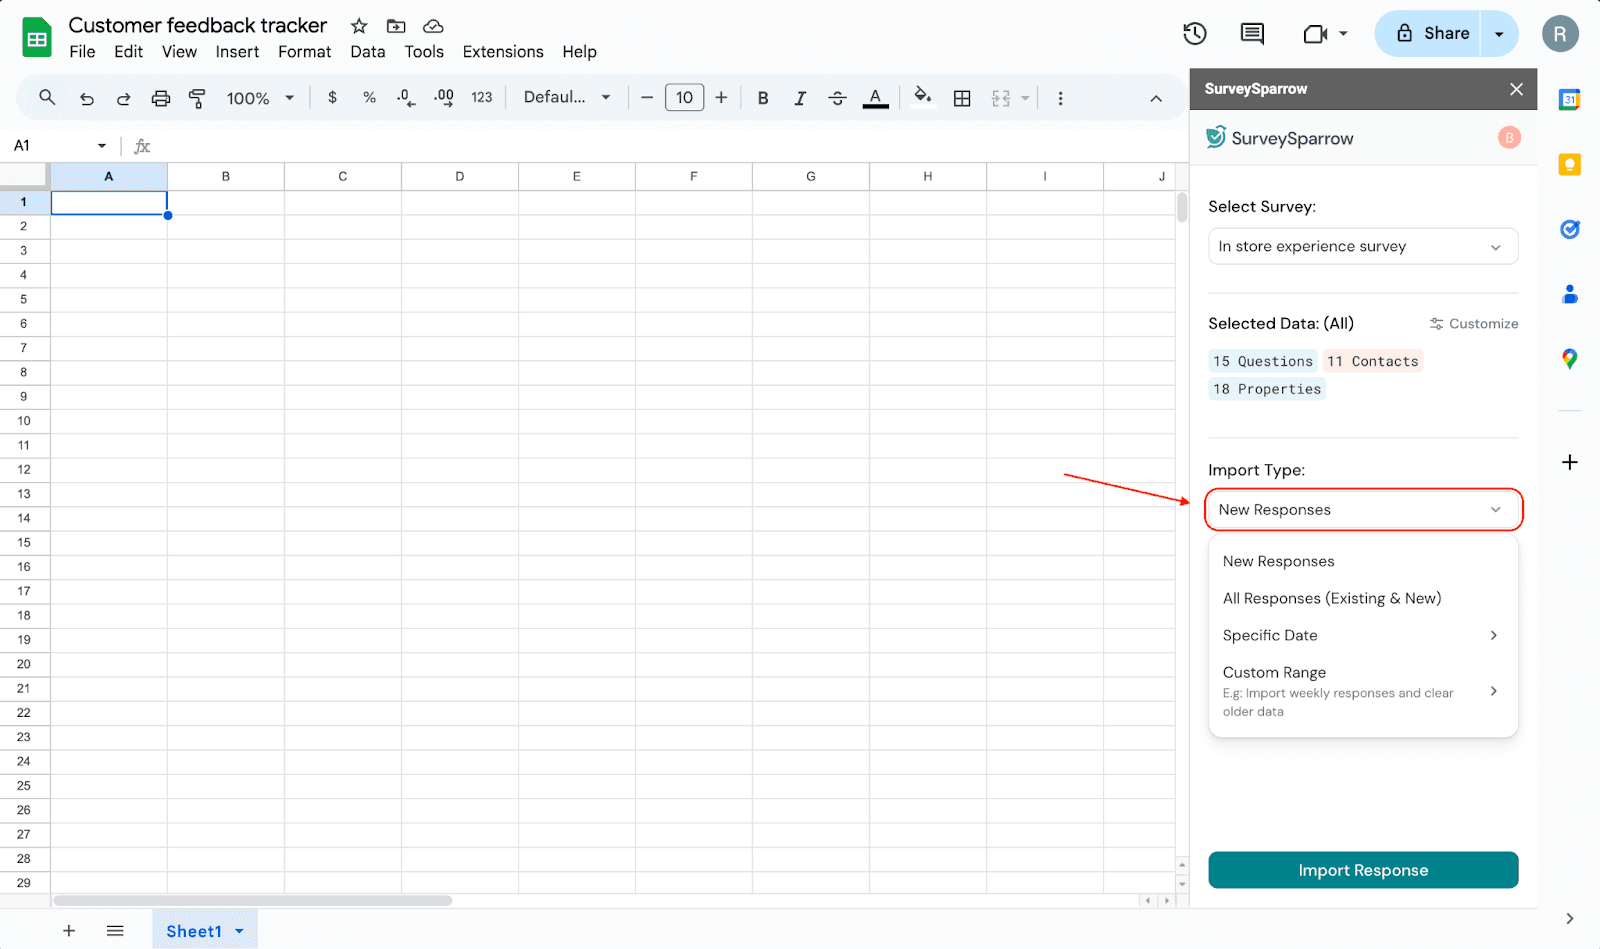
There are three other options to choose from: All Responses, Specific Date and Custom Range. Let’s explore the last two options, starting with Specific Date.
19. In the Specific Date option, you can choose to import responses that arrived from a past date. You can choose any past date, even the present date. Once you’ve chosen your date, click Apply.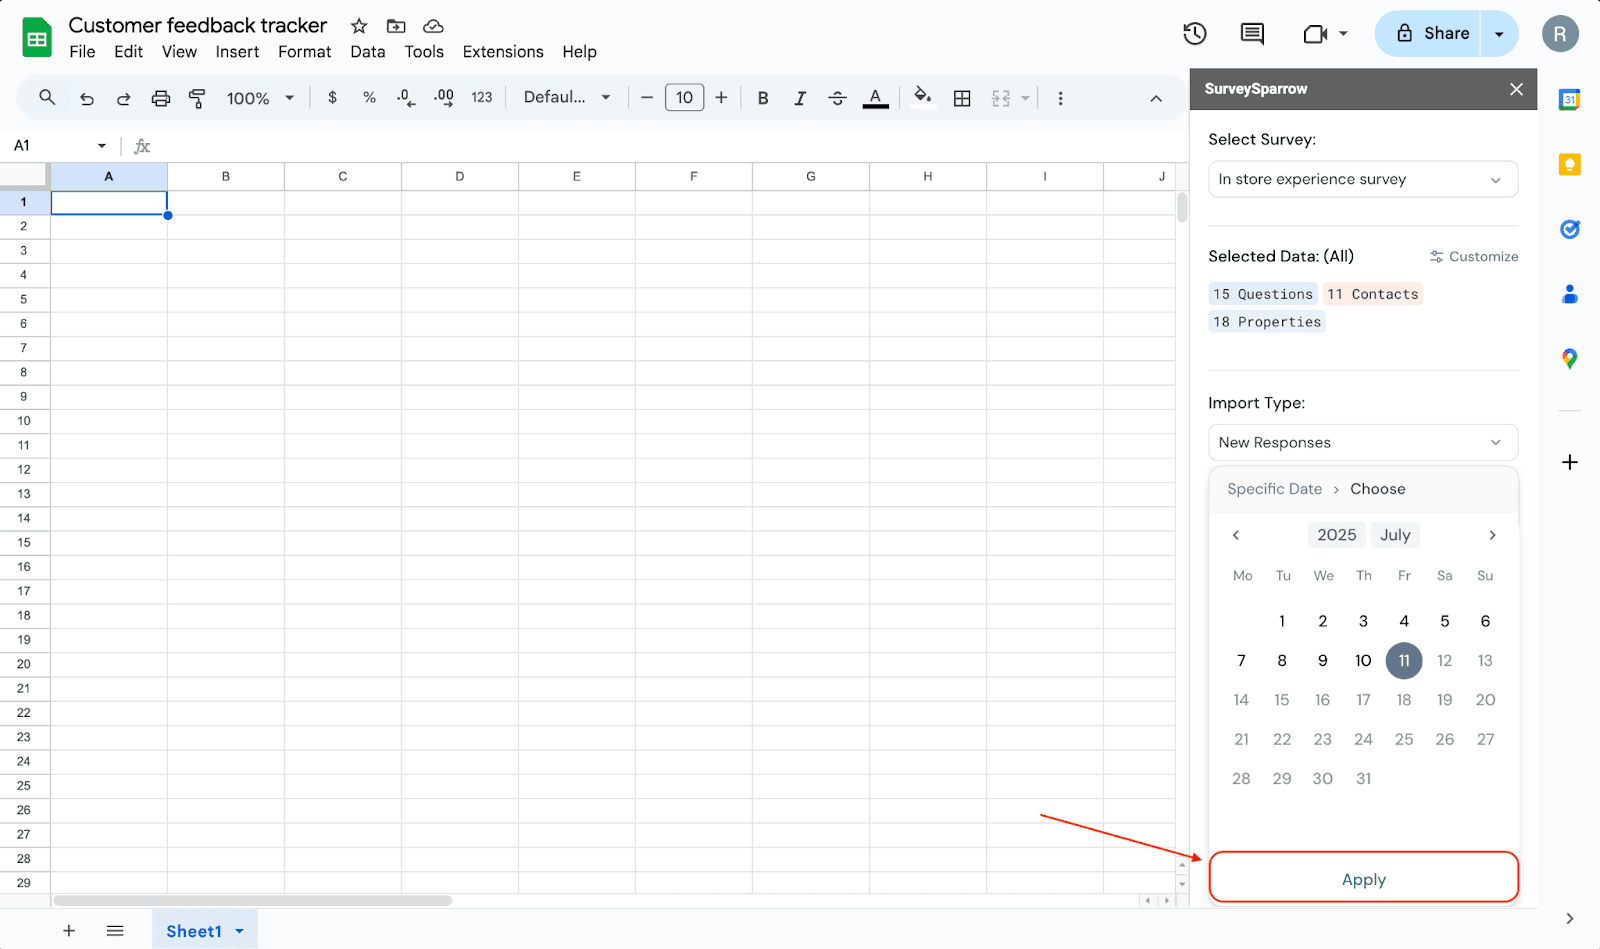
20. In the Custom range option, you can choose from a variety of timeframes. If you’d like a custom timeframe (in days), click on Custom and enter in the number. After selecting the range, click Apply.
21. Finally, when you’ve finished all the customization, click Import Response.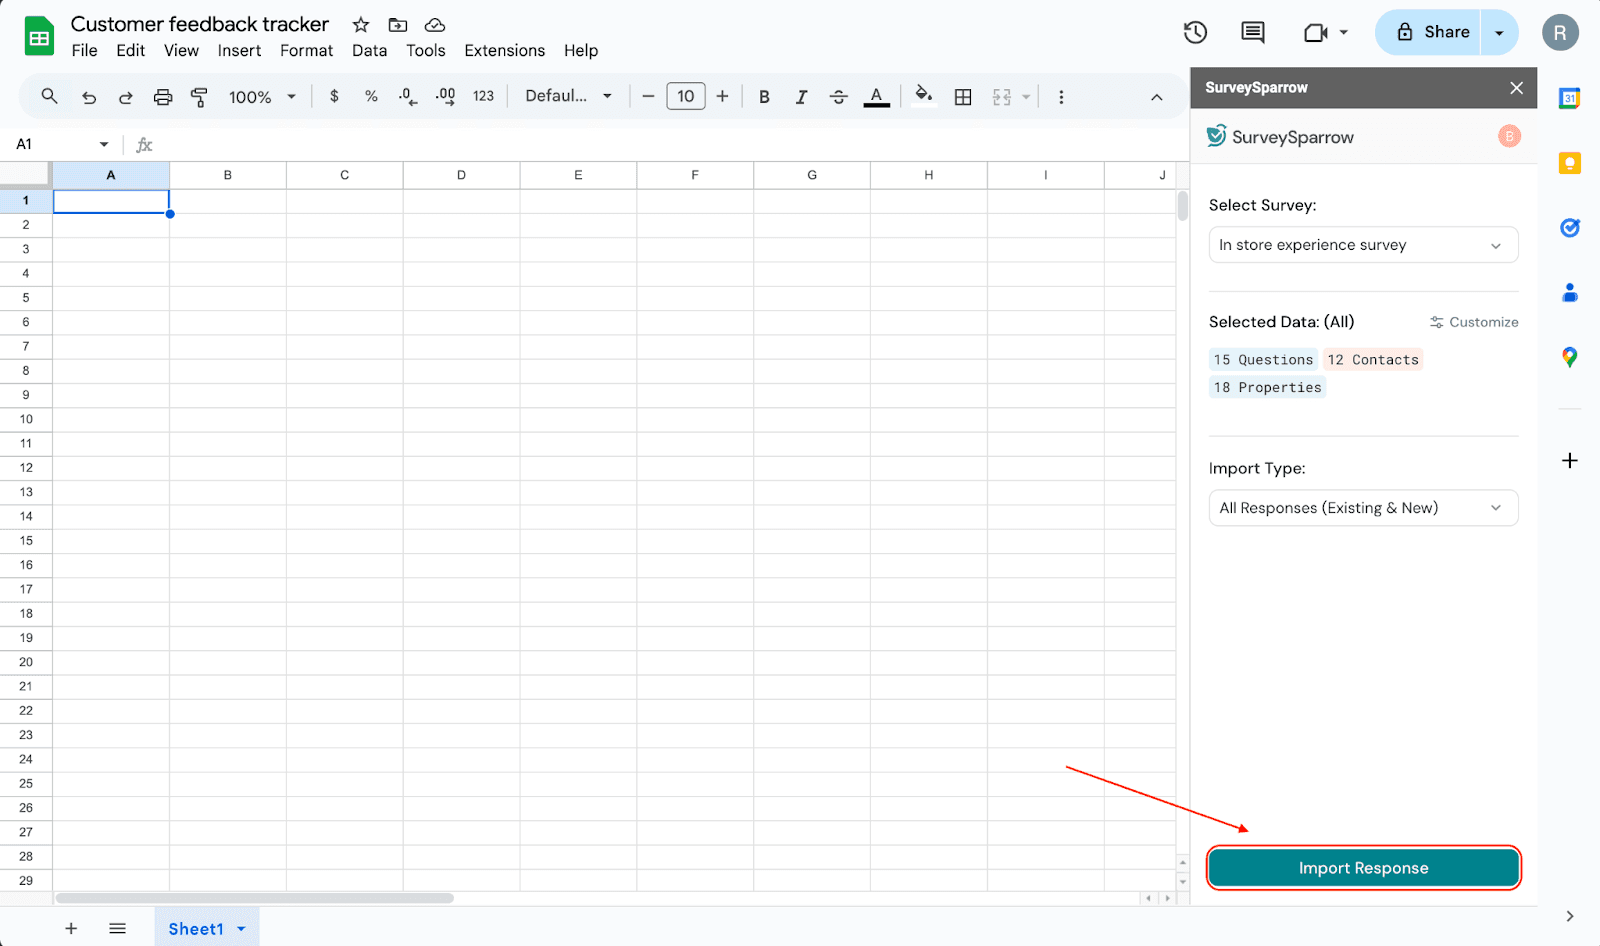
22. The import is ready. However, if you’d like to make changes to it (delete the import, edit the settings or sync the responses), hover over the import and click on the vertical 3-dot icon. A menu opens up, from where you can choose how to proceed.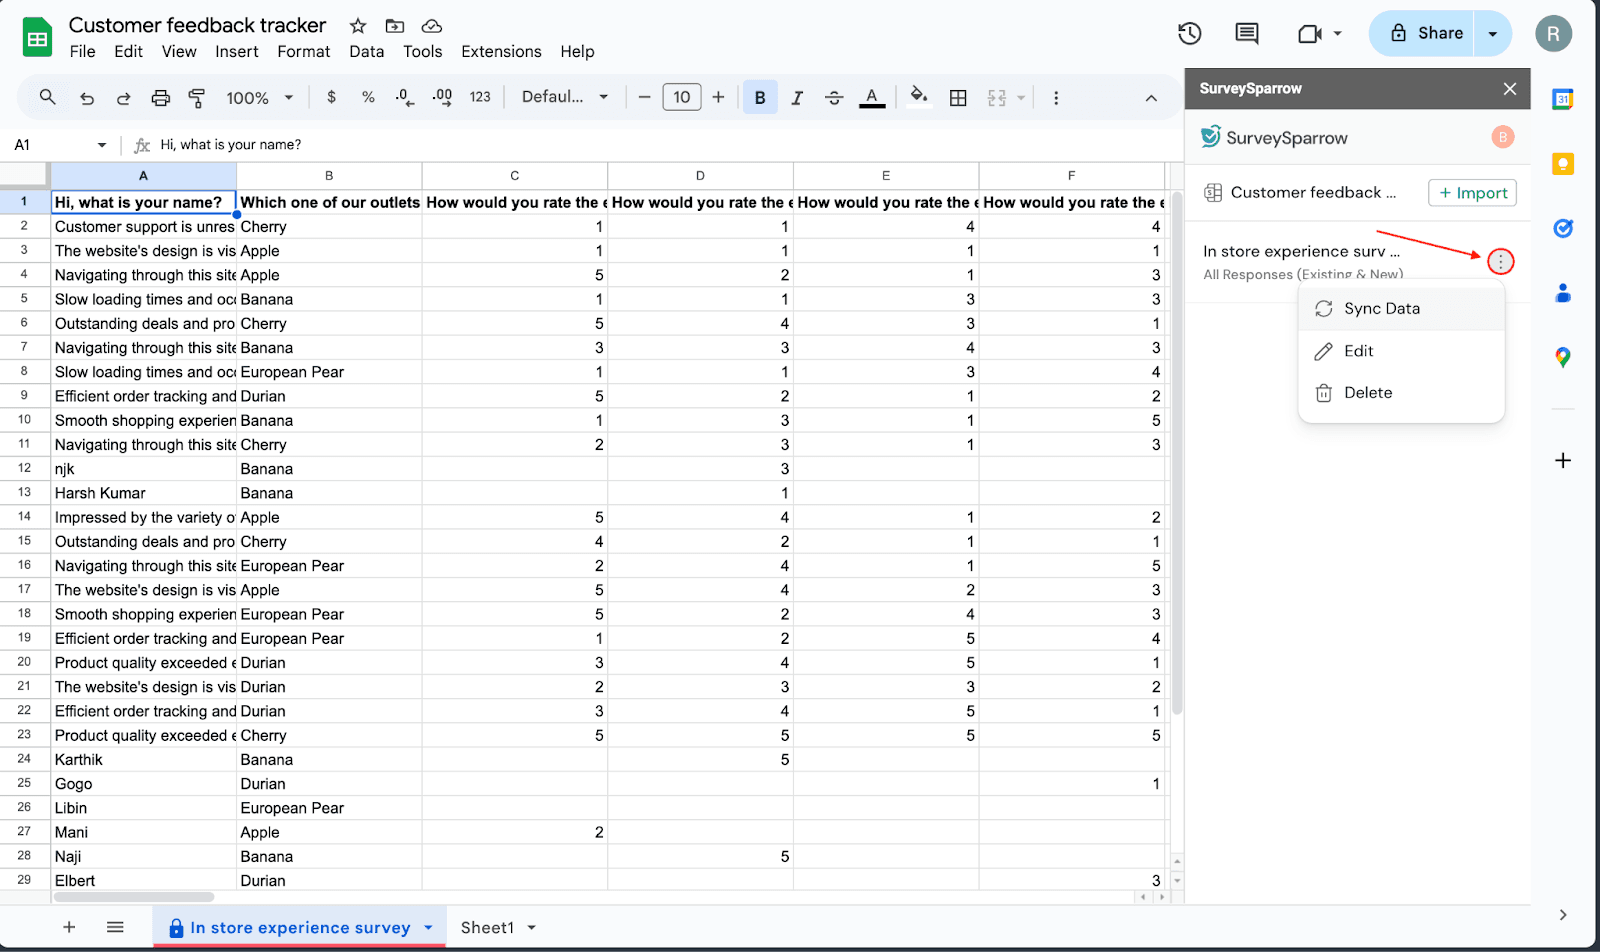
23. You can also import responses from other surveys into different worksheets inside the parent sheet. To do this, click on the button titled + Import.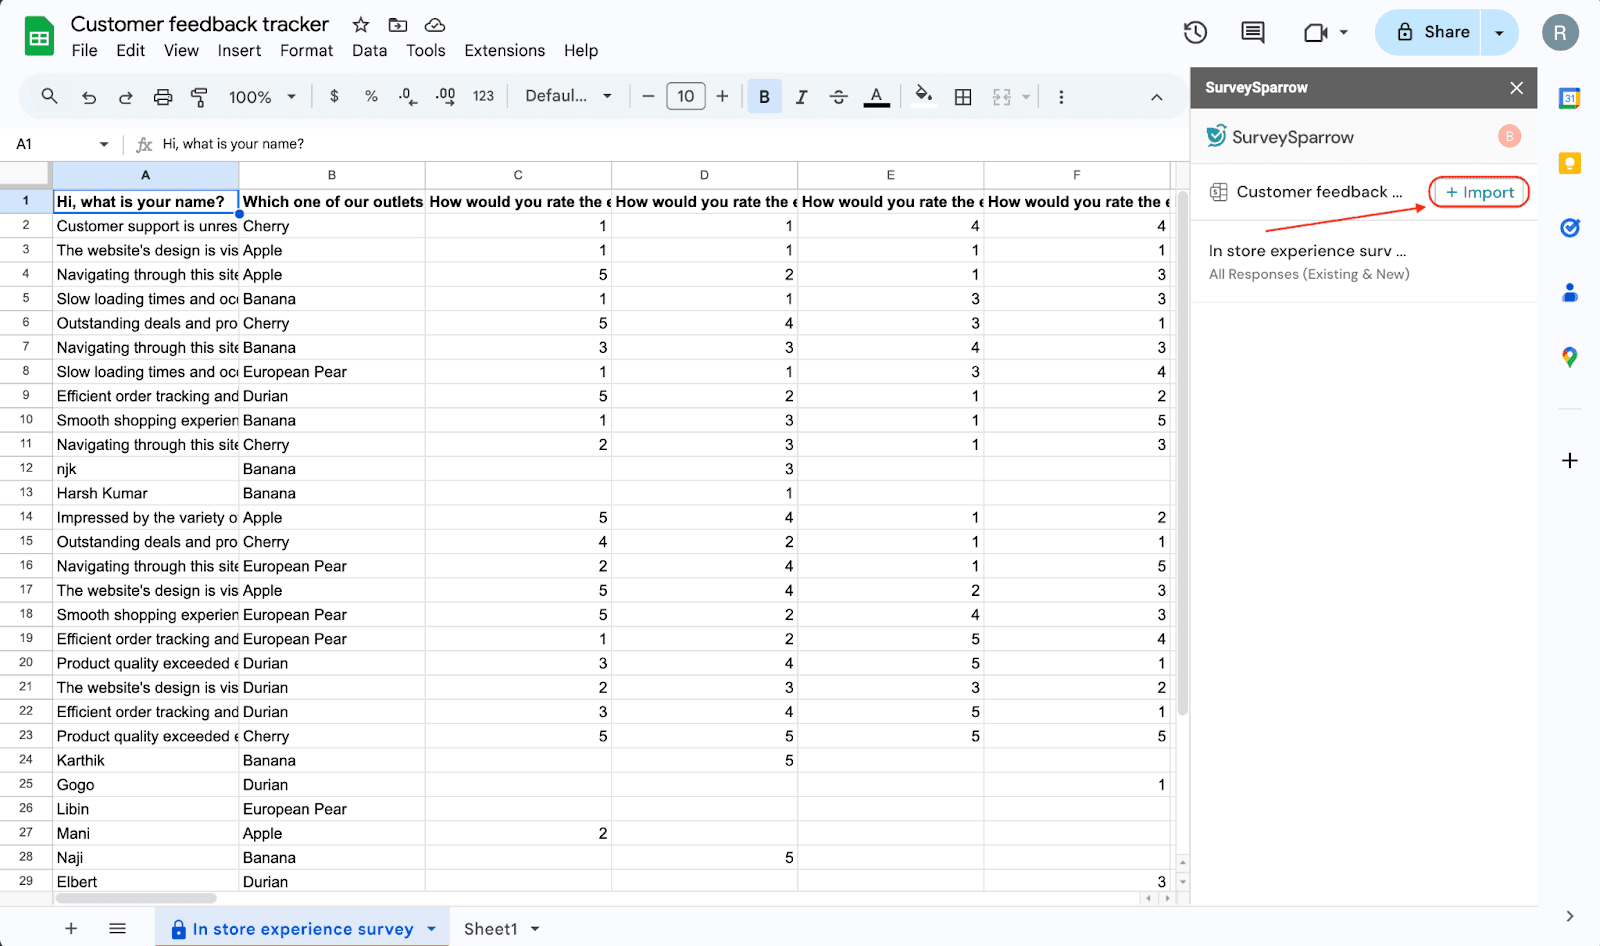
23. Repeat the same actions as before (select survey, customize data types, import type) and import your responses.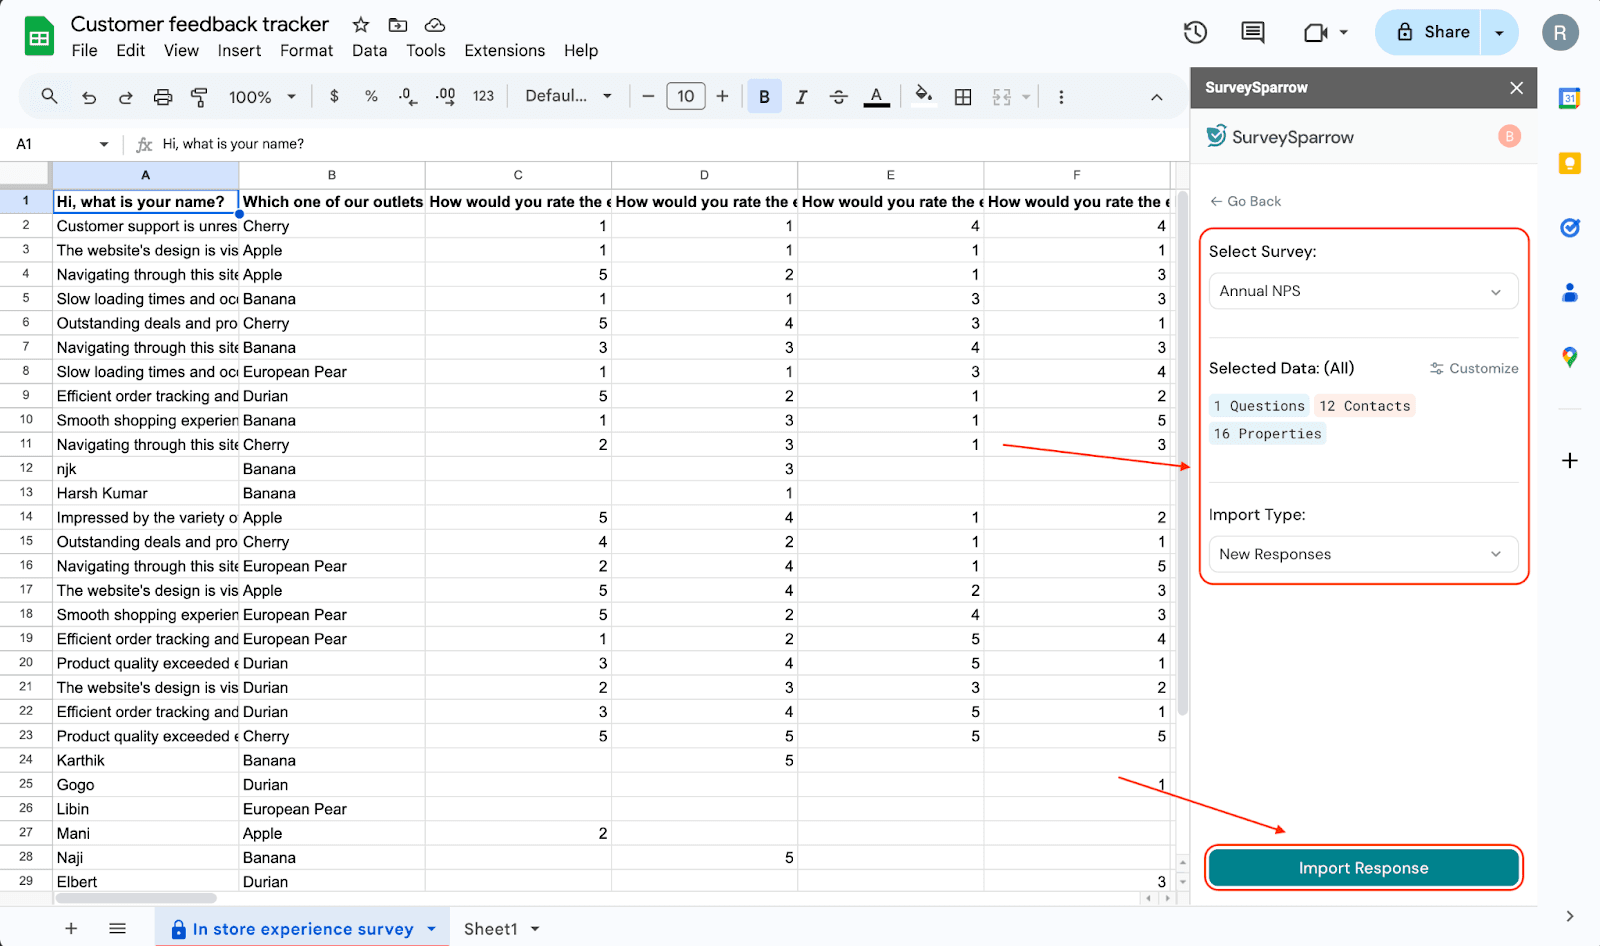
With that, you’re all set to make the most of the SurveySparrow add-on. In just a few clicks, you can automate data importing and make your workflows simple and efficient.
Feel free to reach out to our community if you have any questions.
Powered By SparrowDesk