Search
In this article, we'll walk you through the steps to configure SurveySparrow in OneLogin using the SAML (Security Assertion Markup Language) protocol.
Step 1: Log in to OneLogin
To begin the configuration process, log in to the OneLogin Admin portal using your administrative credentials.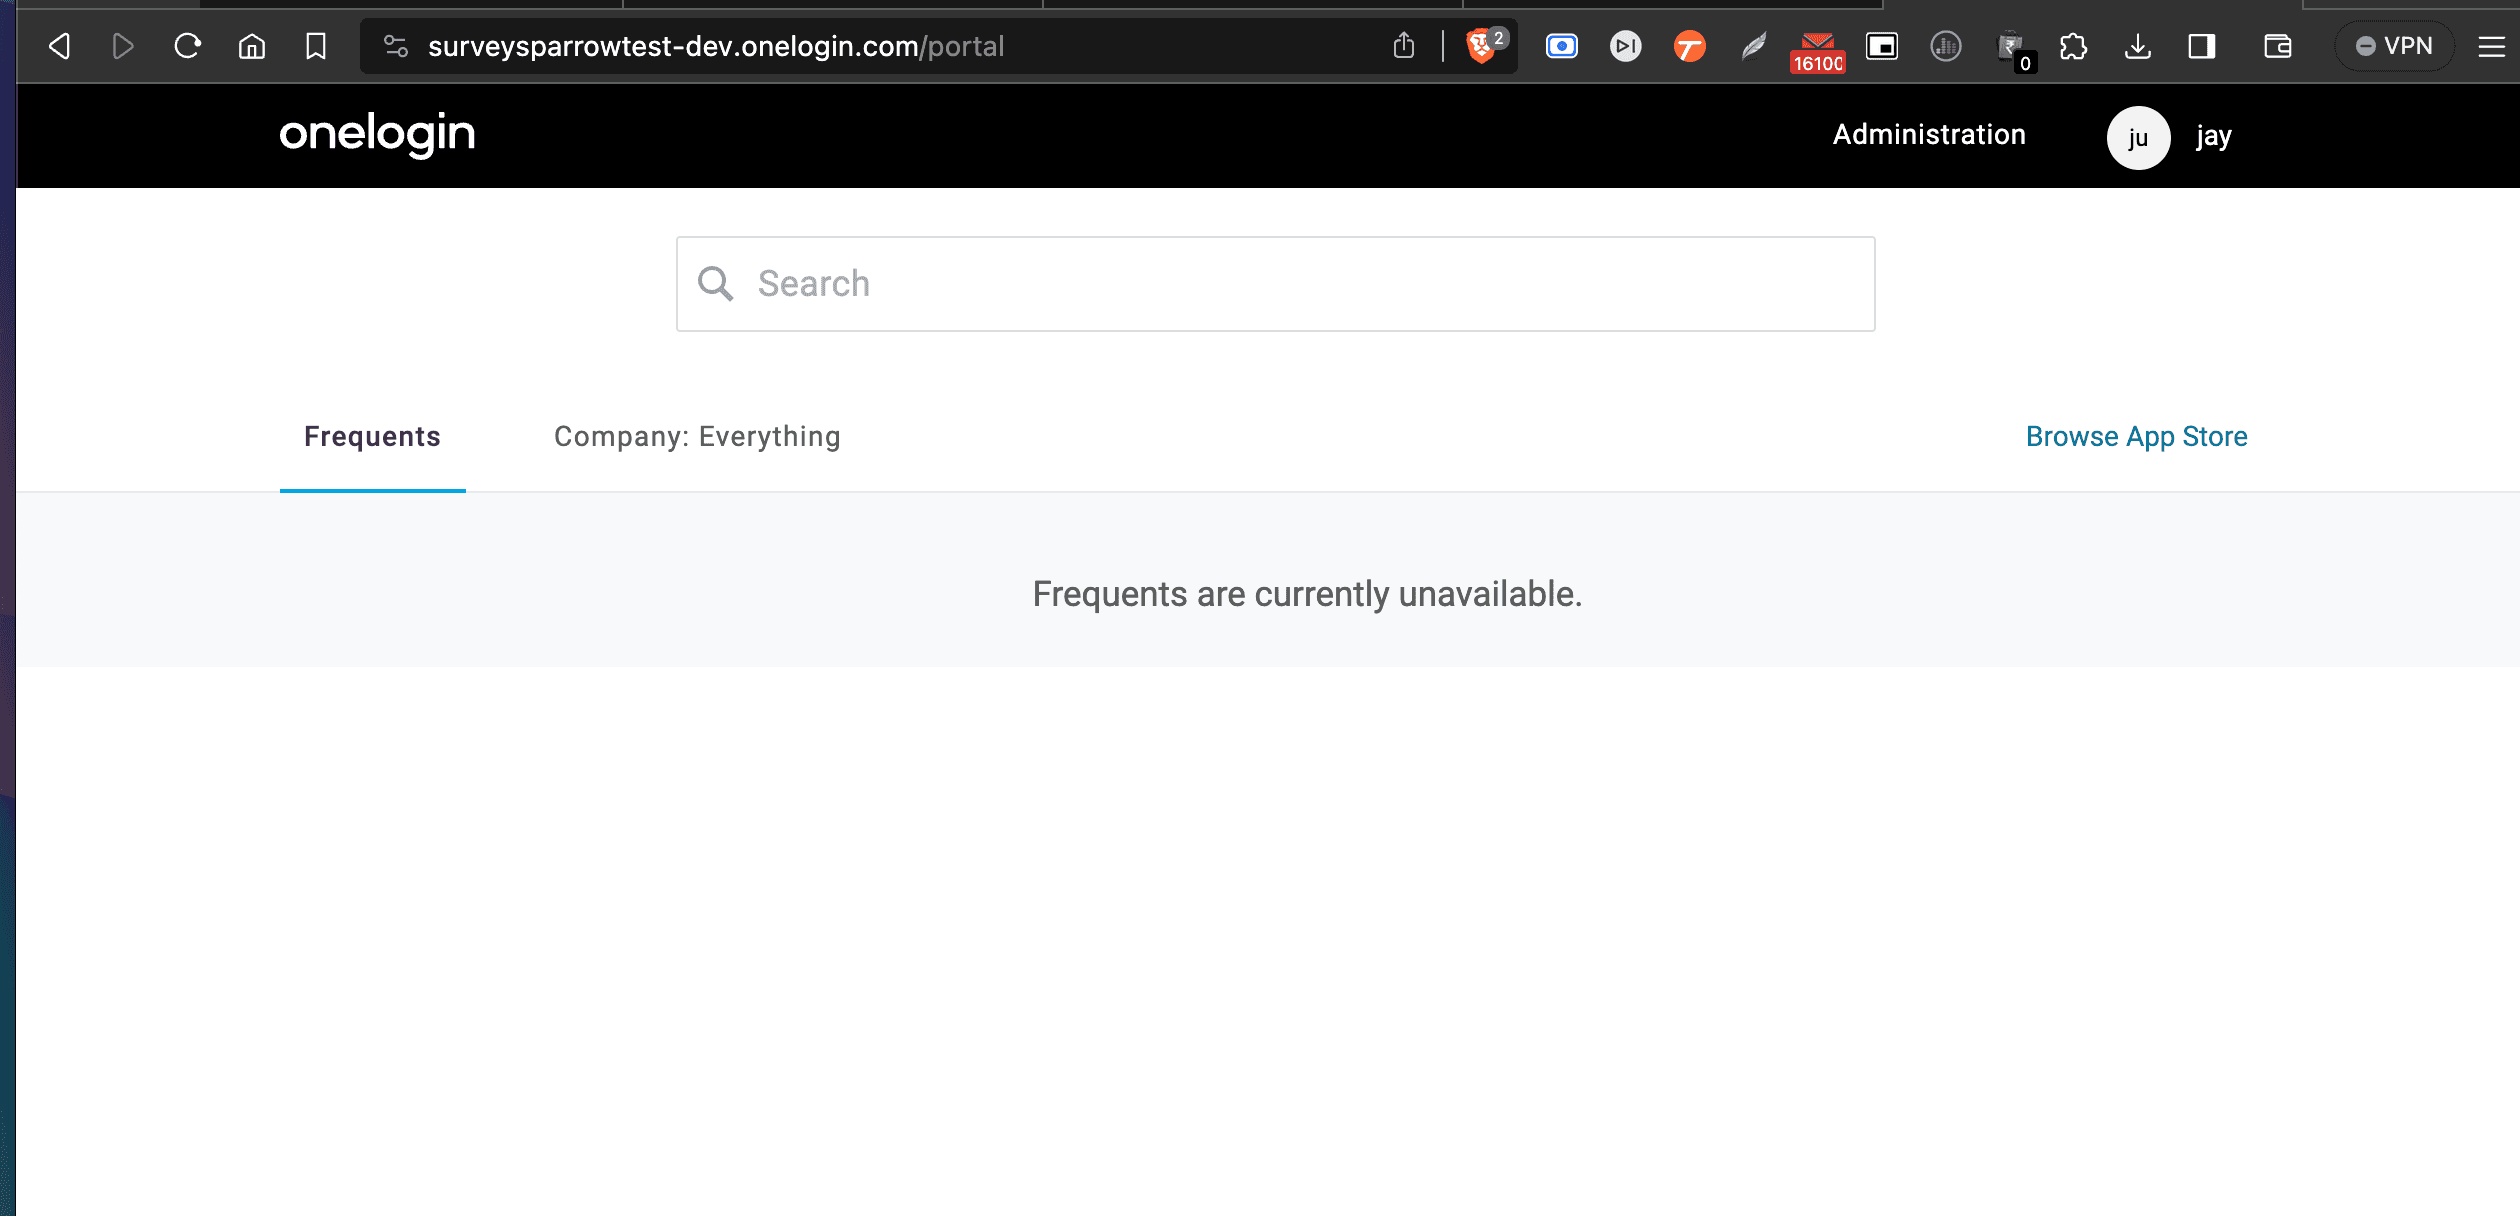
Step 2: Access the Administration Panel
Once logged in, click on the "Administration" option in the top menu to access the administrative settings.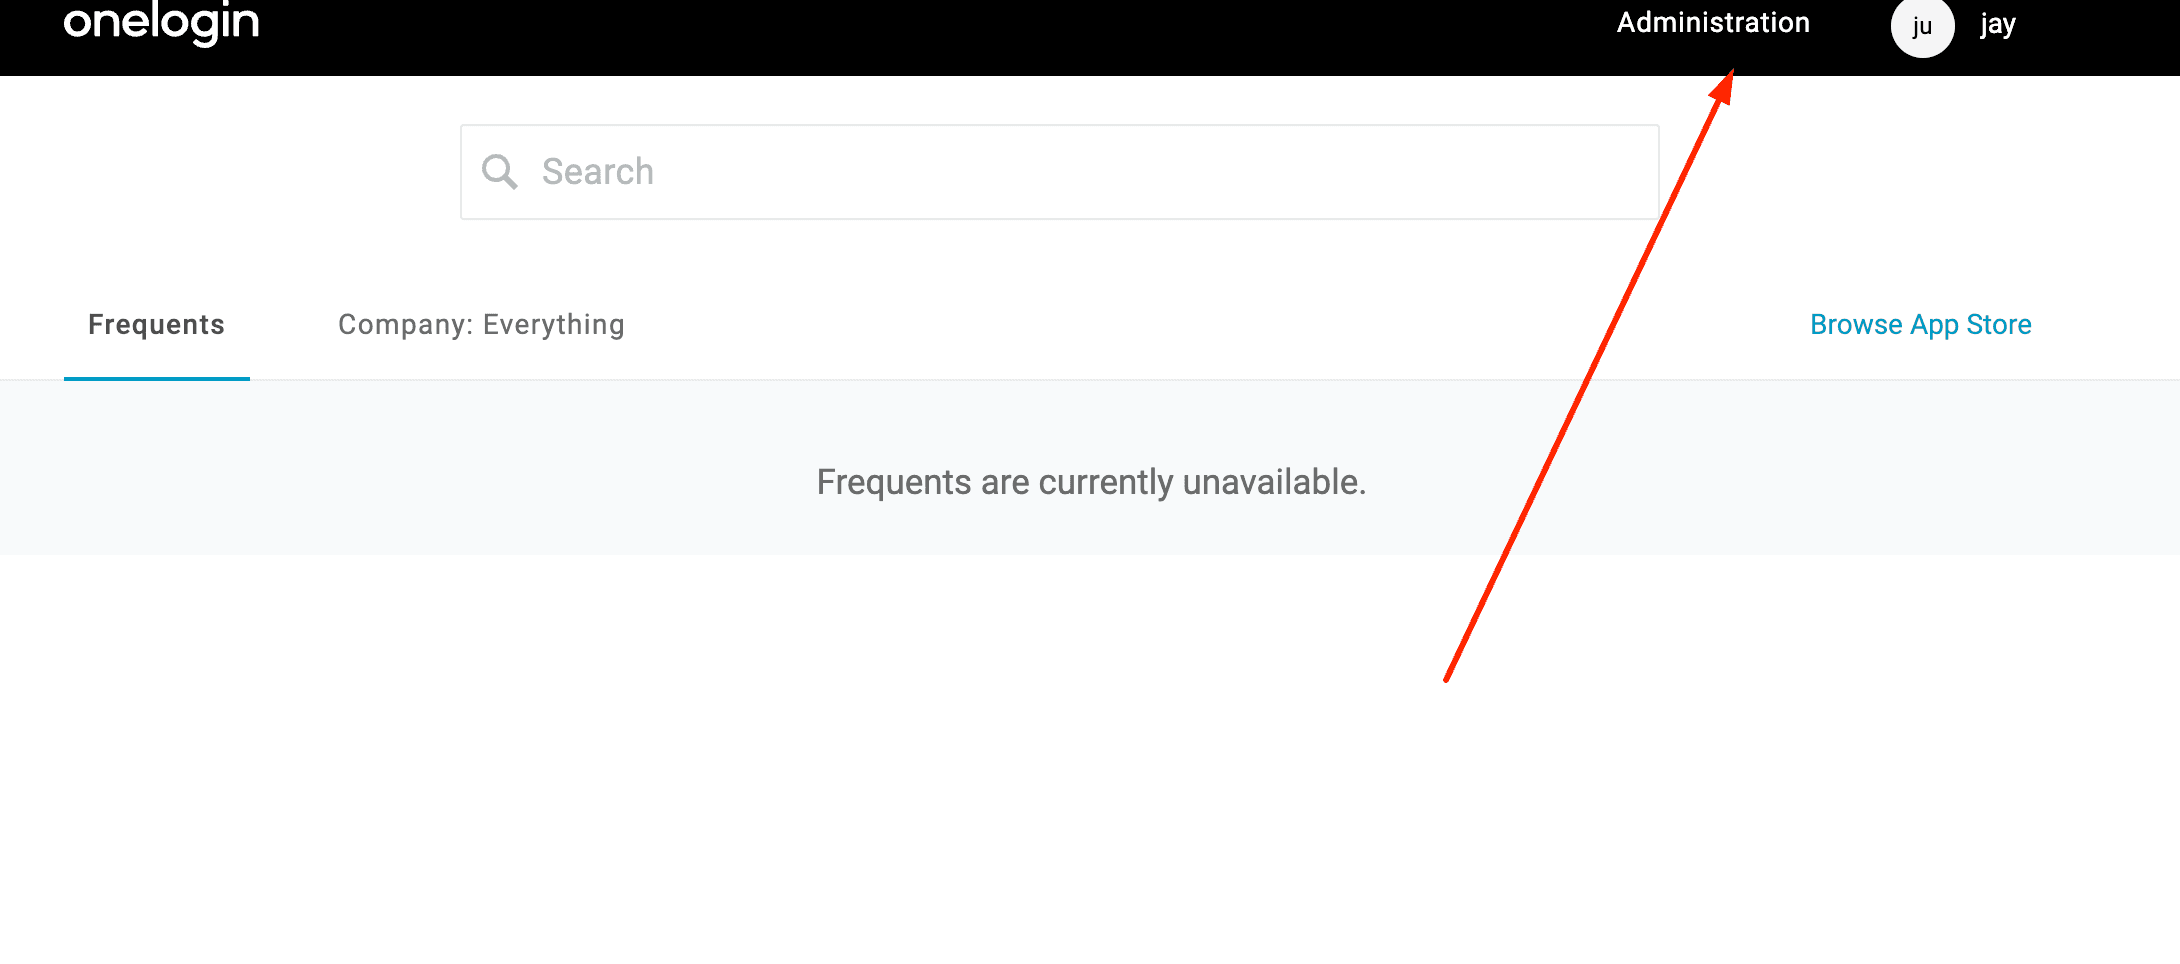
Step 3: Add a New Application
In the Administration panel, navigate to "Applications" and then click on "Applications." Next, click the "Add App" button to add a new application.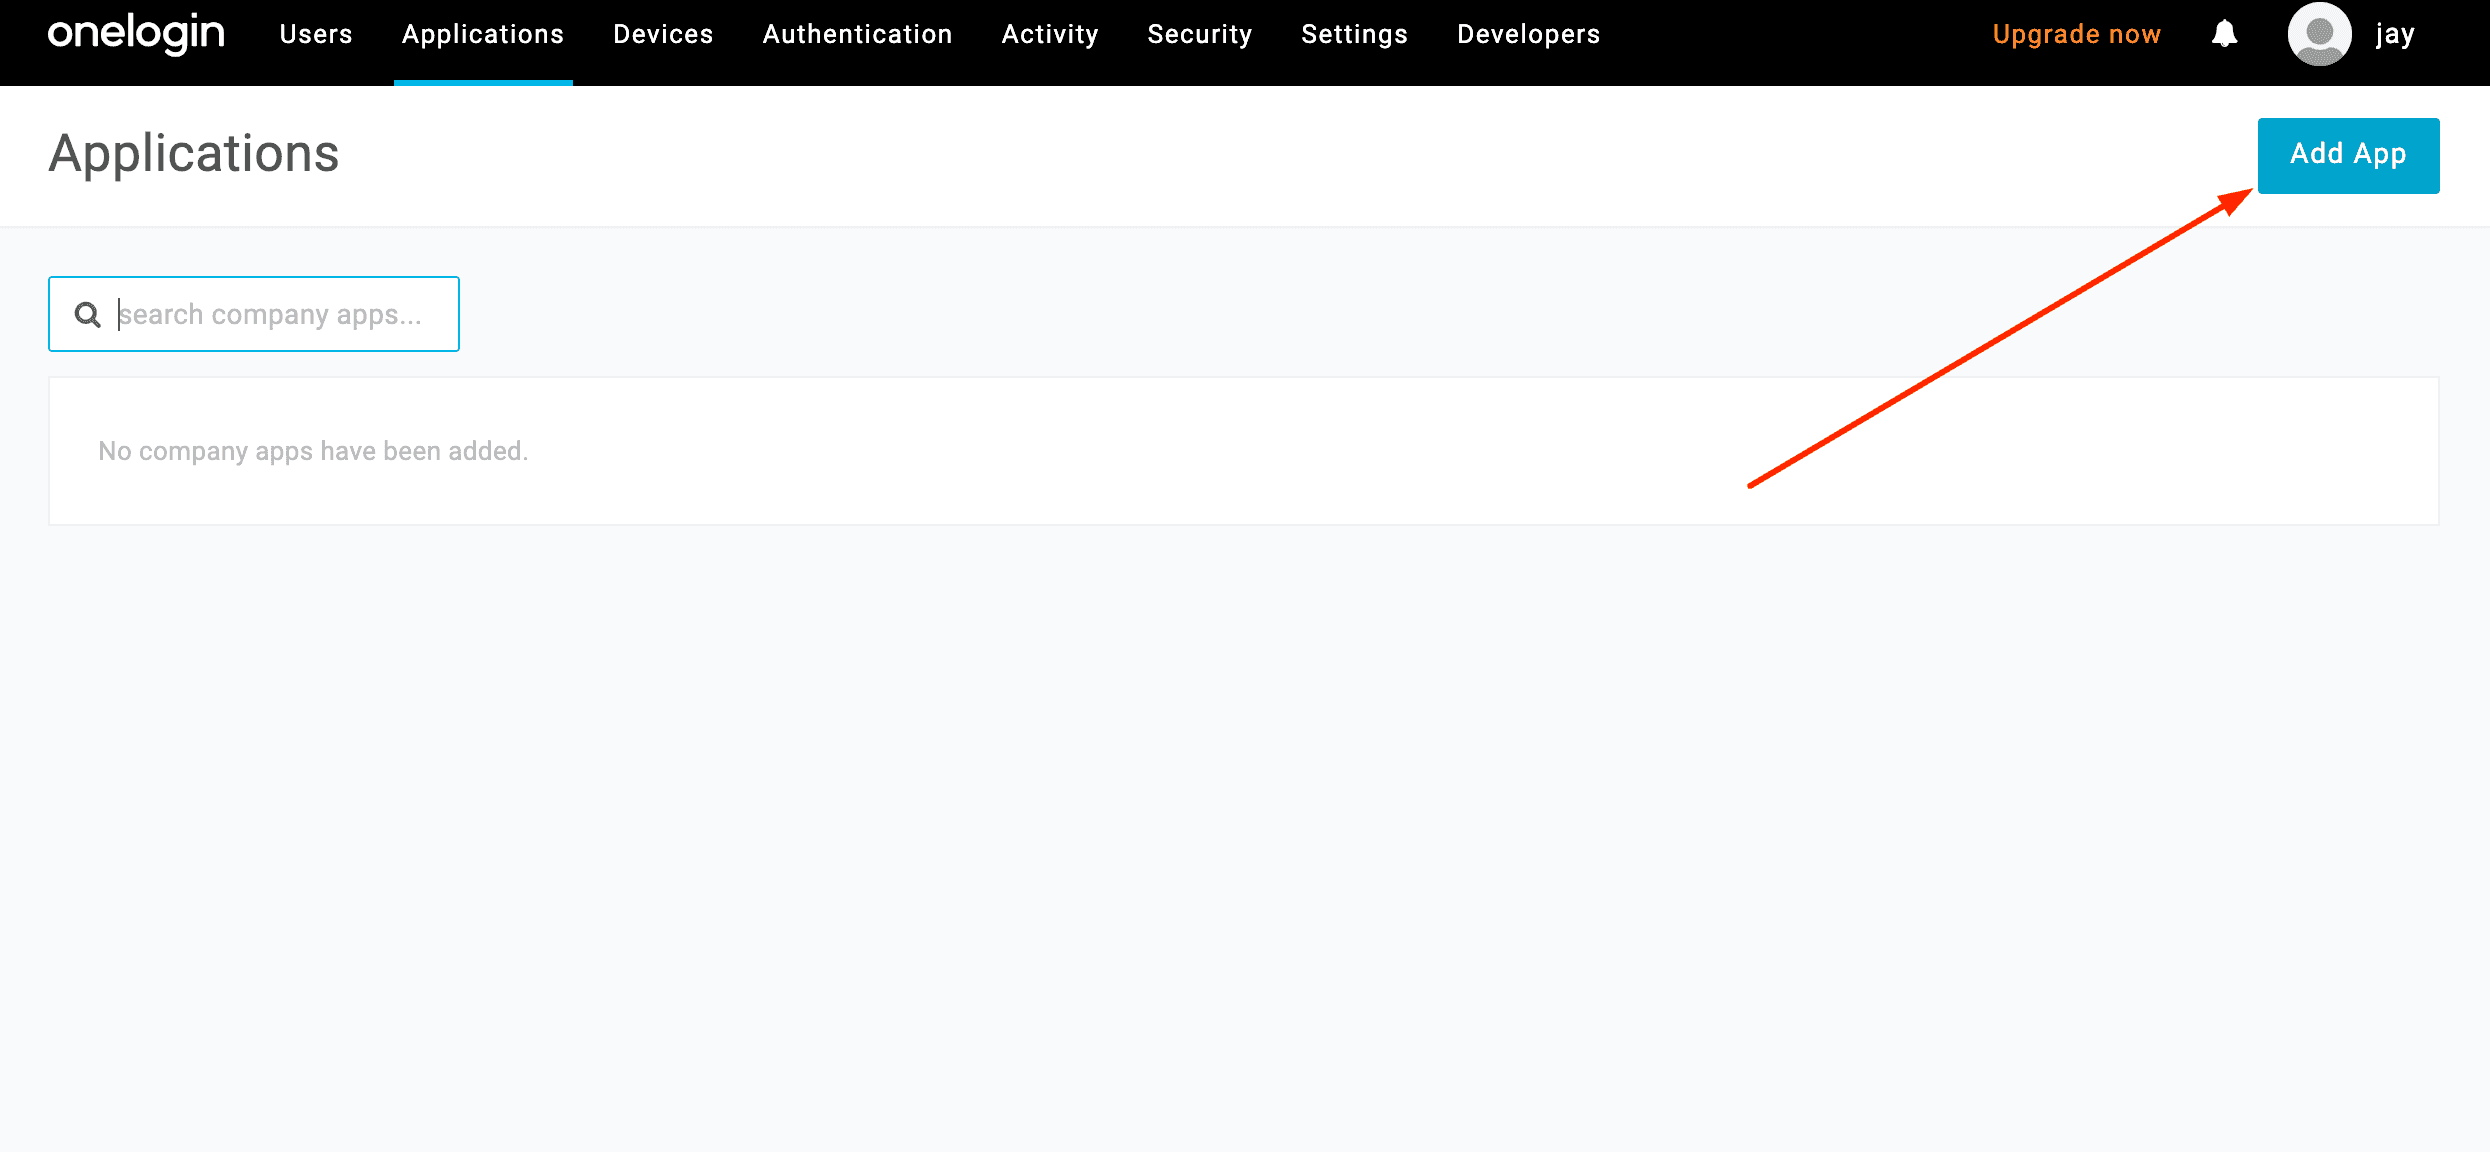
Step 4: Search for SAML Custom Connector (Advanced)
In the application catalog, you can search for the "SAML Custom Connector (Advanced)" by typing "SAML" into the search bar. Select this option to proceed.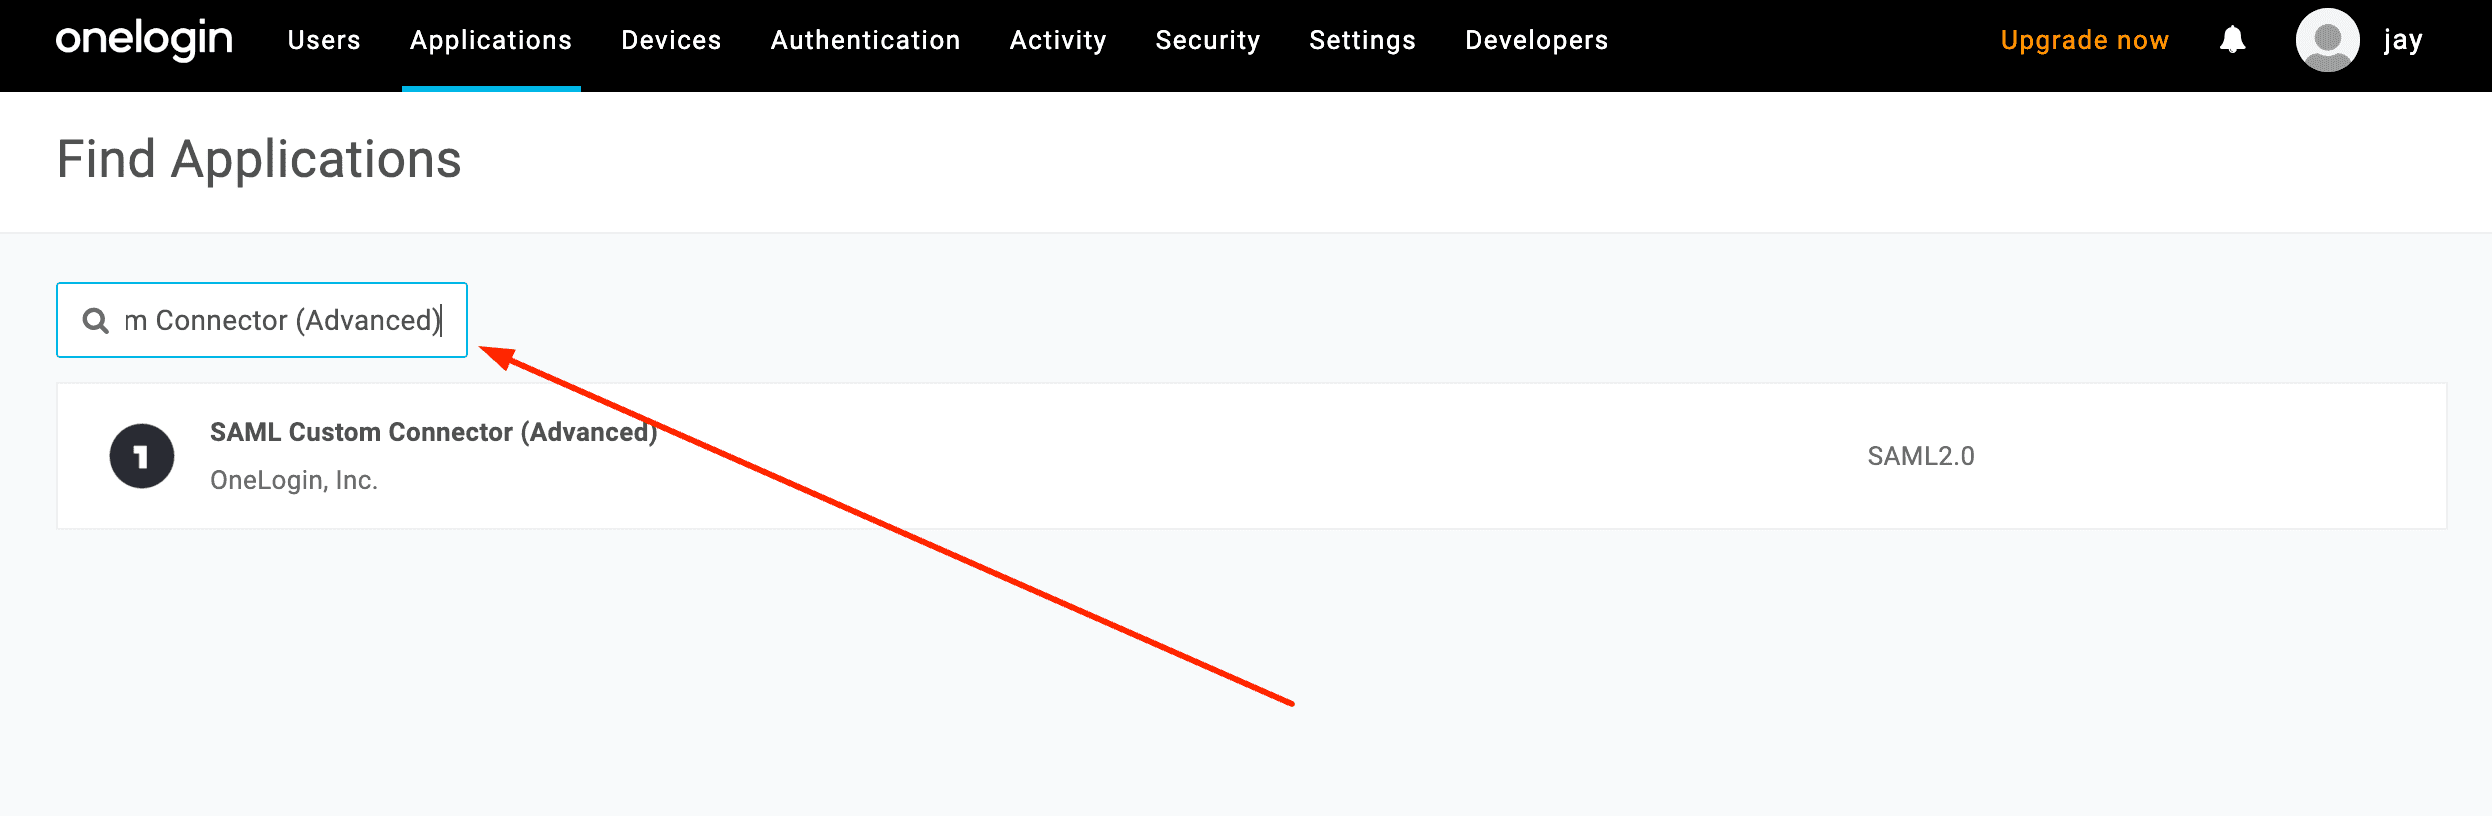
Step 5: Configure Display Name
You will be prompted to configure the application. Change the display name to "SurveySparrow" or a name that your users can easily identify. This will make it easier for them to access the application.
Step 6: Save and Add Icons
After configuring the display name, click "Save." You can also add icons to make it visually identifiable to your users.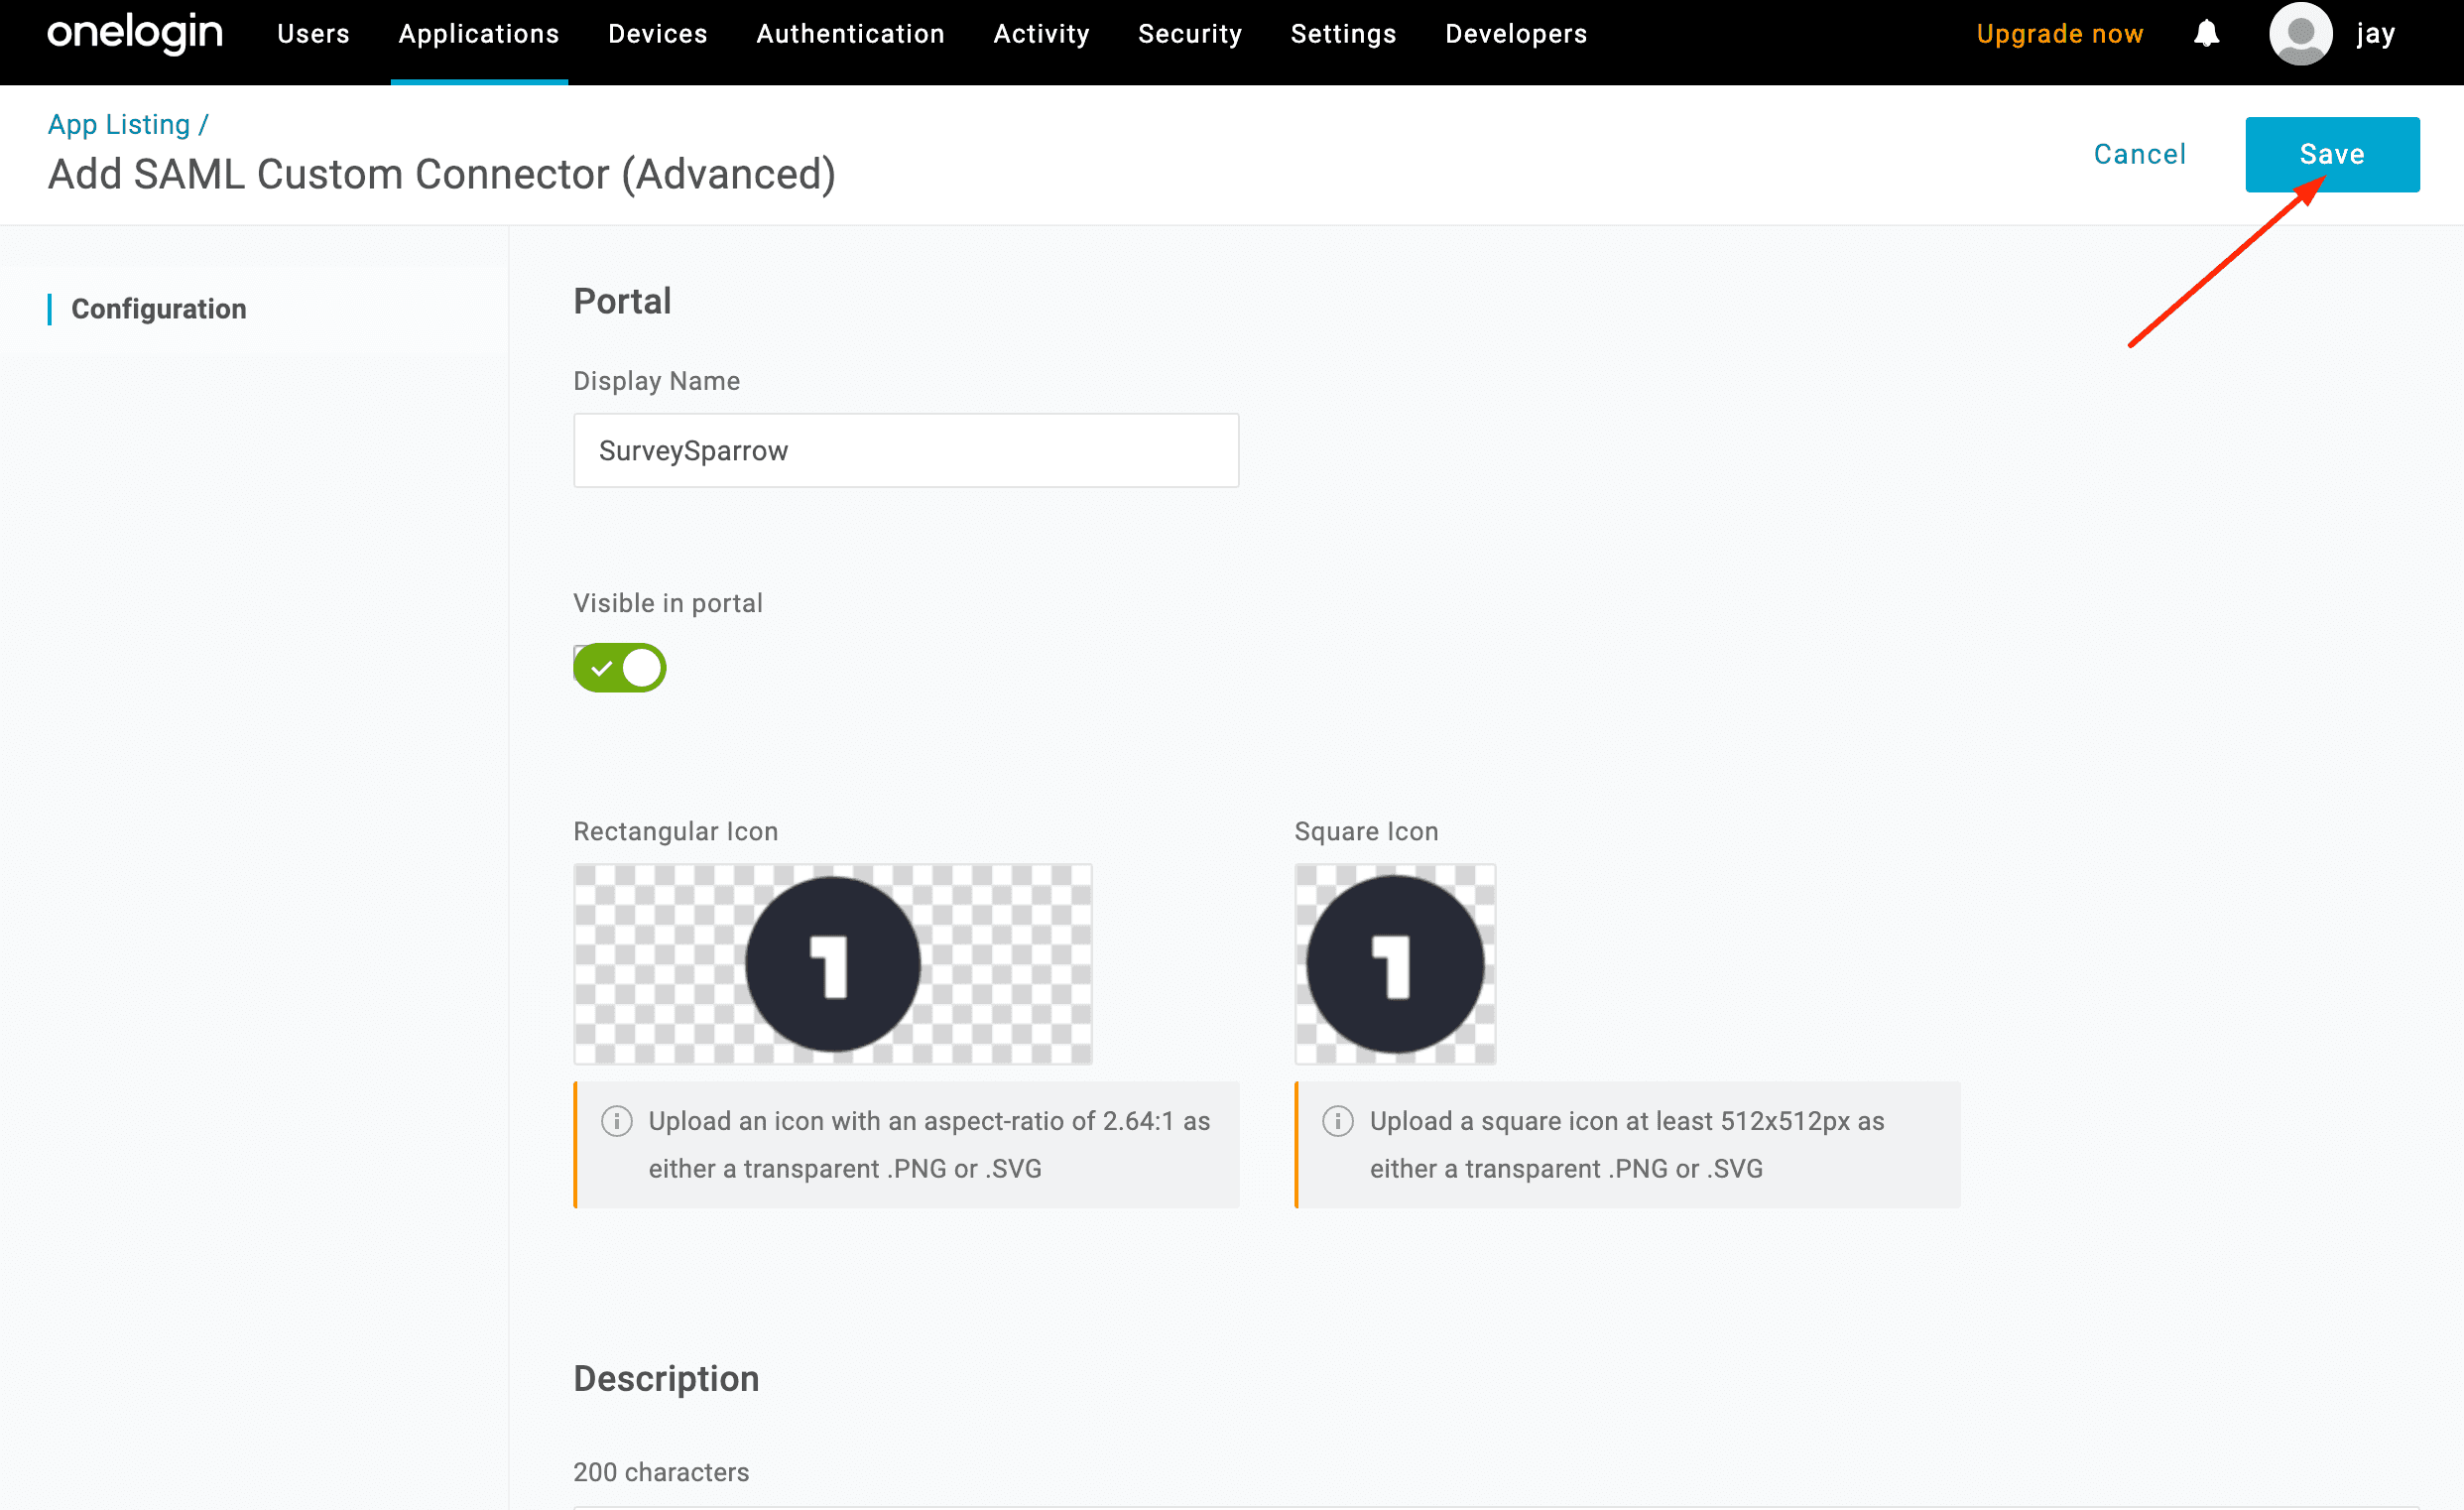
Step 7: Configure SAML Settings
Once the basic information is saved, you'll be presented with SAML configuration settings. Here, you need to input the following information:
- Entity ID: https://<account>.surveysparrow.com/metadata.xml
- ACS (Consumer) URL Validator: https://<account>.surveysparrow.com/sso/saml
- ACS (Consumer) URL: https://<account>.surveysparrow.com/sso/saml
- Login URL: https://<account>.surveysparrow.com/sso/saml
After entering these values, make sure to save the entries.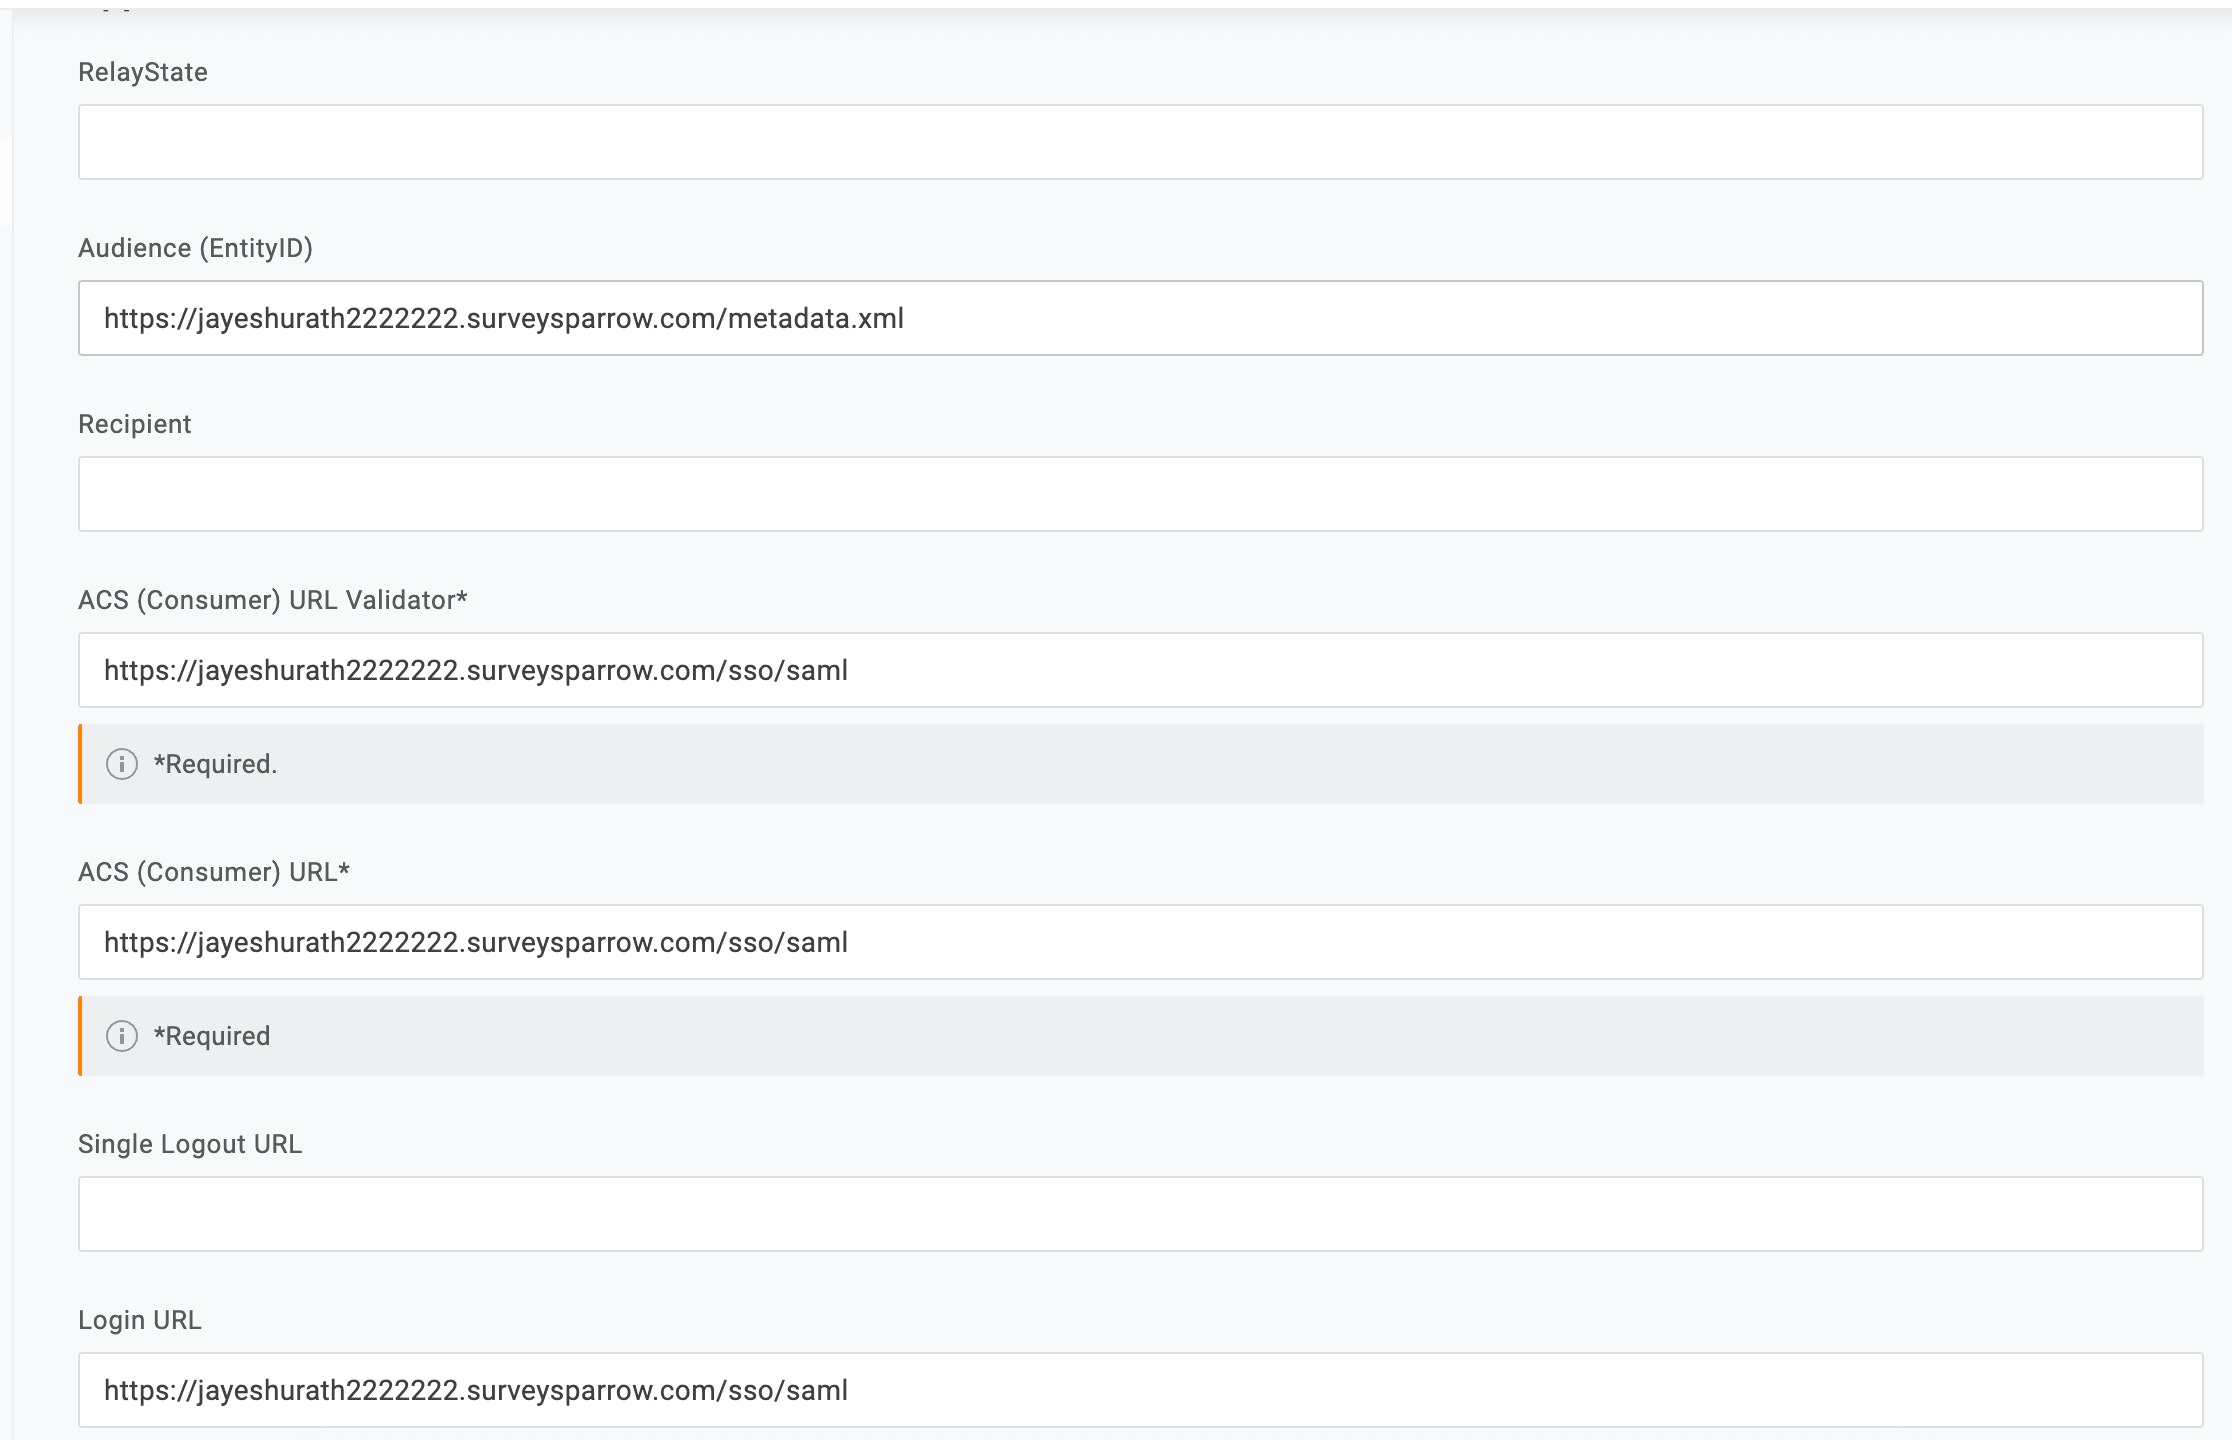
Step 8: Set SAML Signature Algorithm
Now, click on the "SSO" tab. Here, you'll find an option to change the SAML Signature Algorithm. Change it to SHA-256 for enhanced security.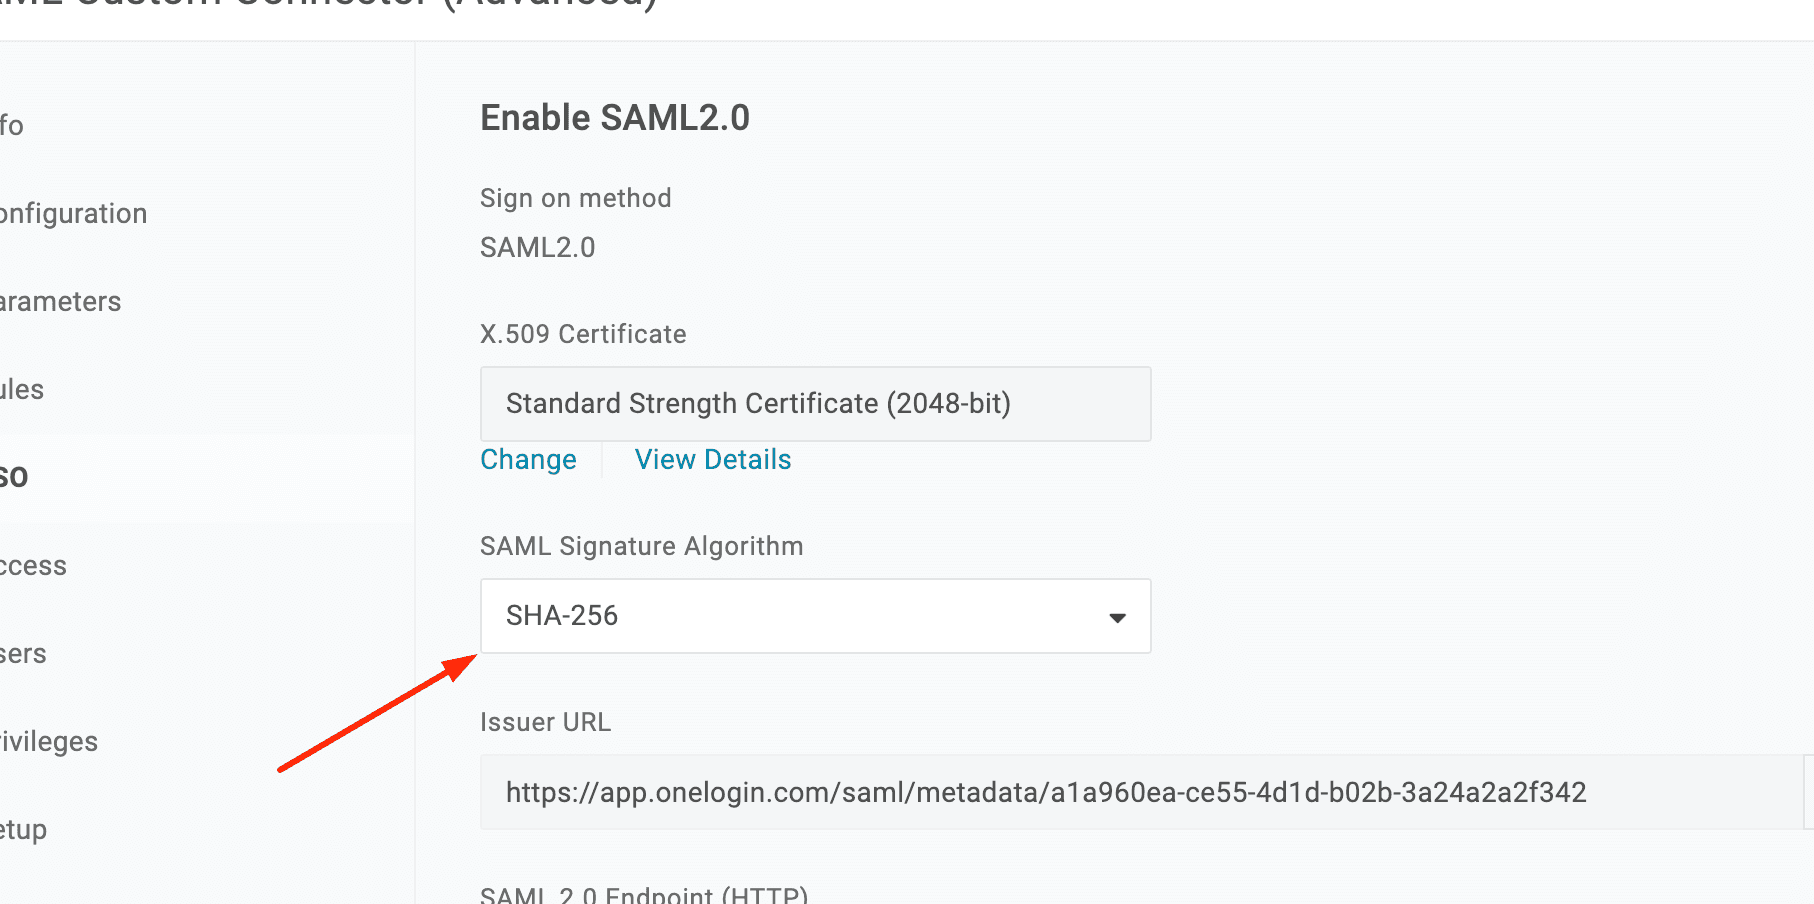
Step 9: Save Configuration
After updating the SAML Signature Algorithm, click "Save" to apply the changes.
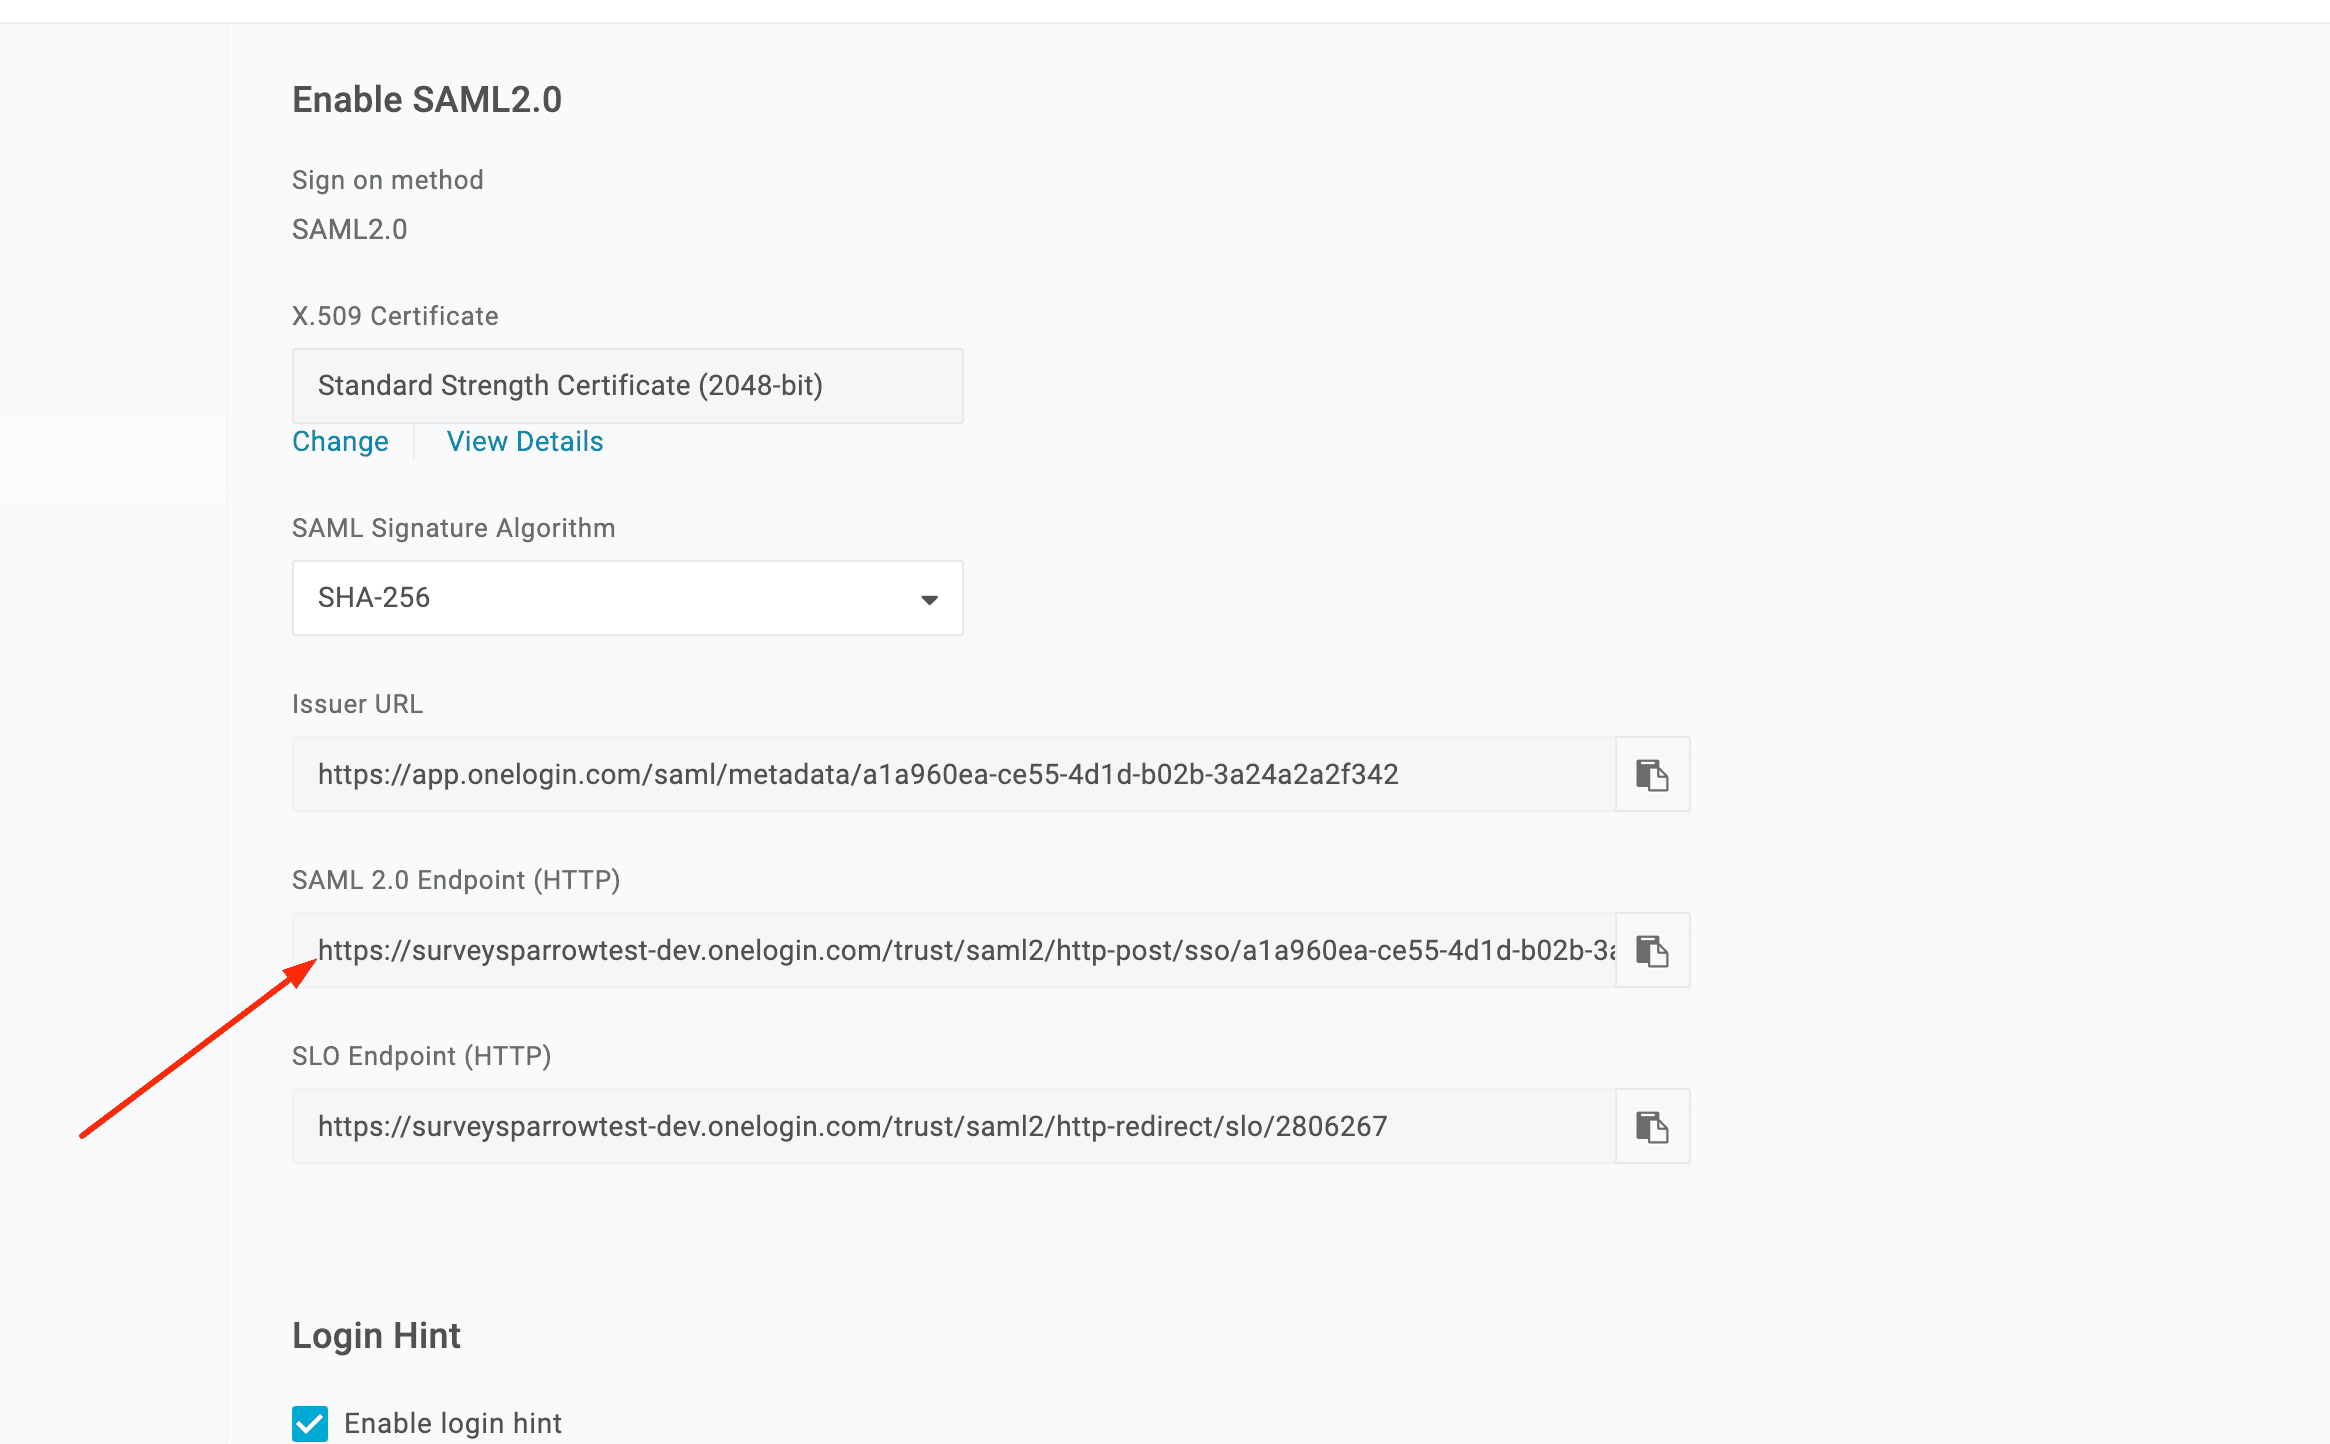
Step 10: View Details and Copy Information
Now, click on "View Details." Here, you will find the X.509 Certificate. Copy this certificate as you will need it for SurveySparrow. Additionally, copy the SAML 2.0 Endpoint (HTTP) where it asks for the Identity Provider Login URL. You will use this information in the next steps.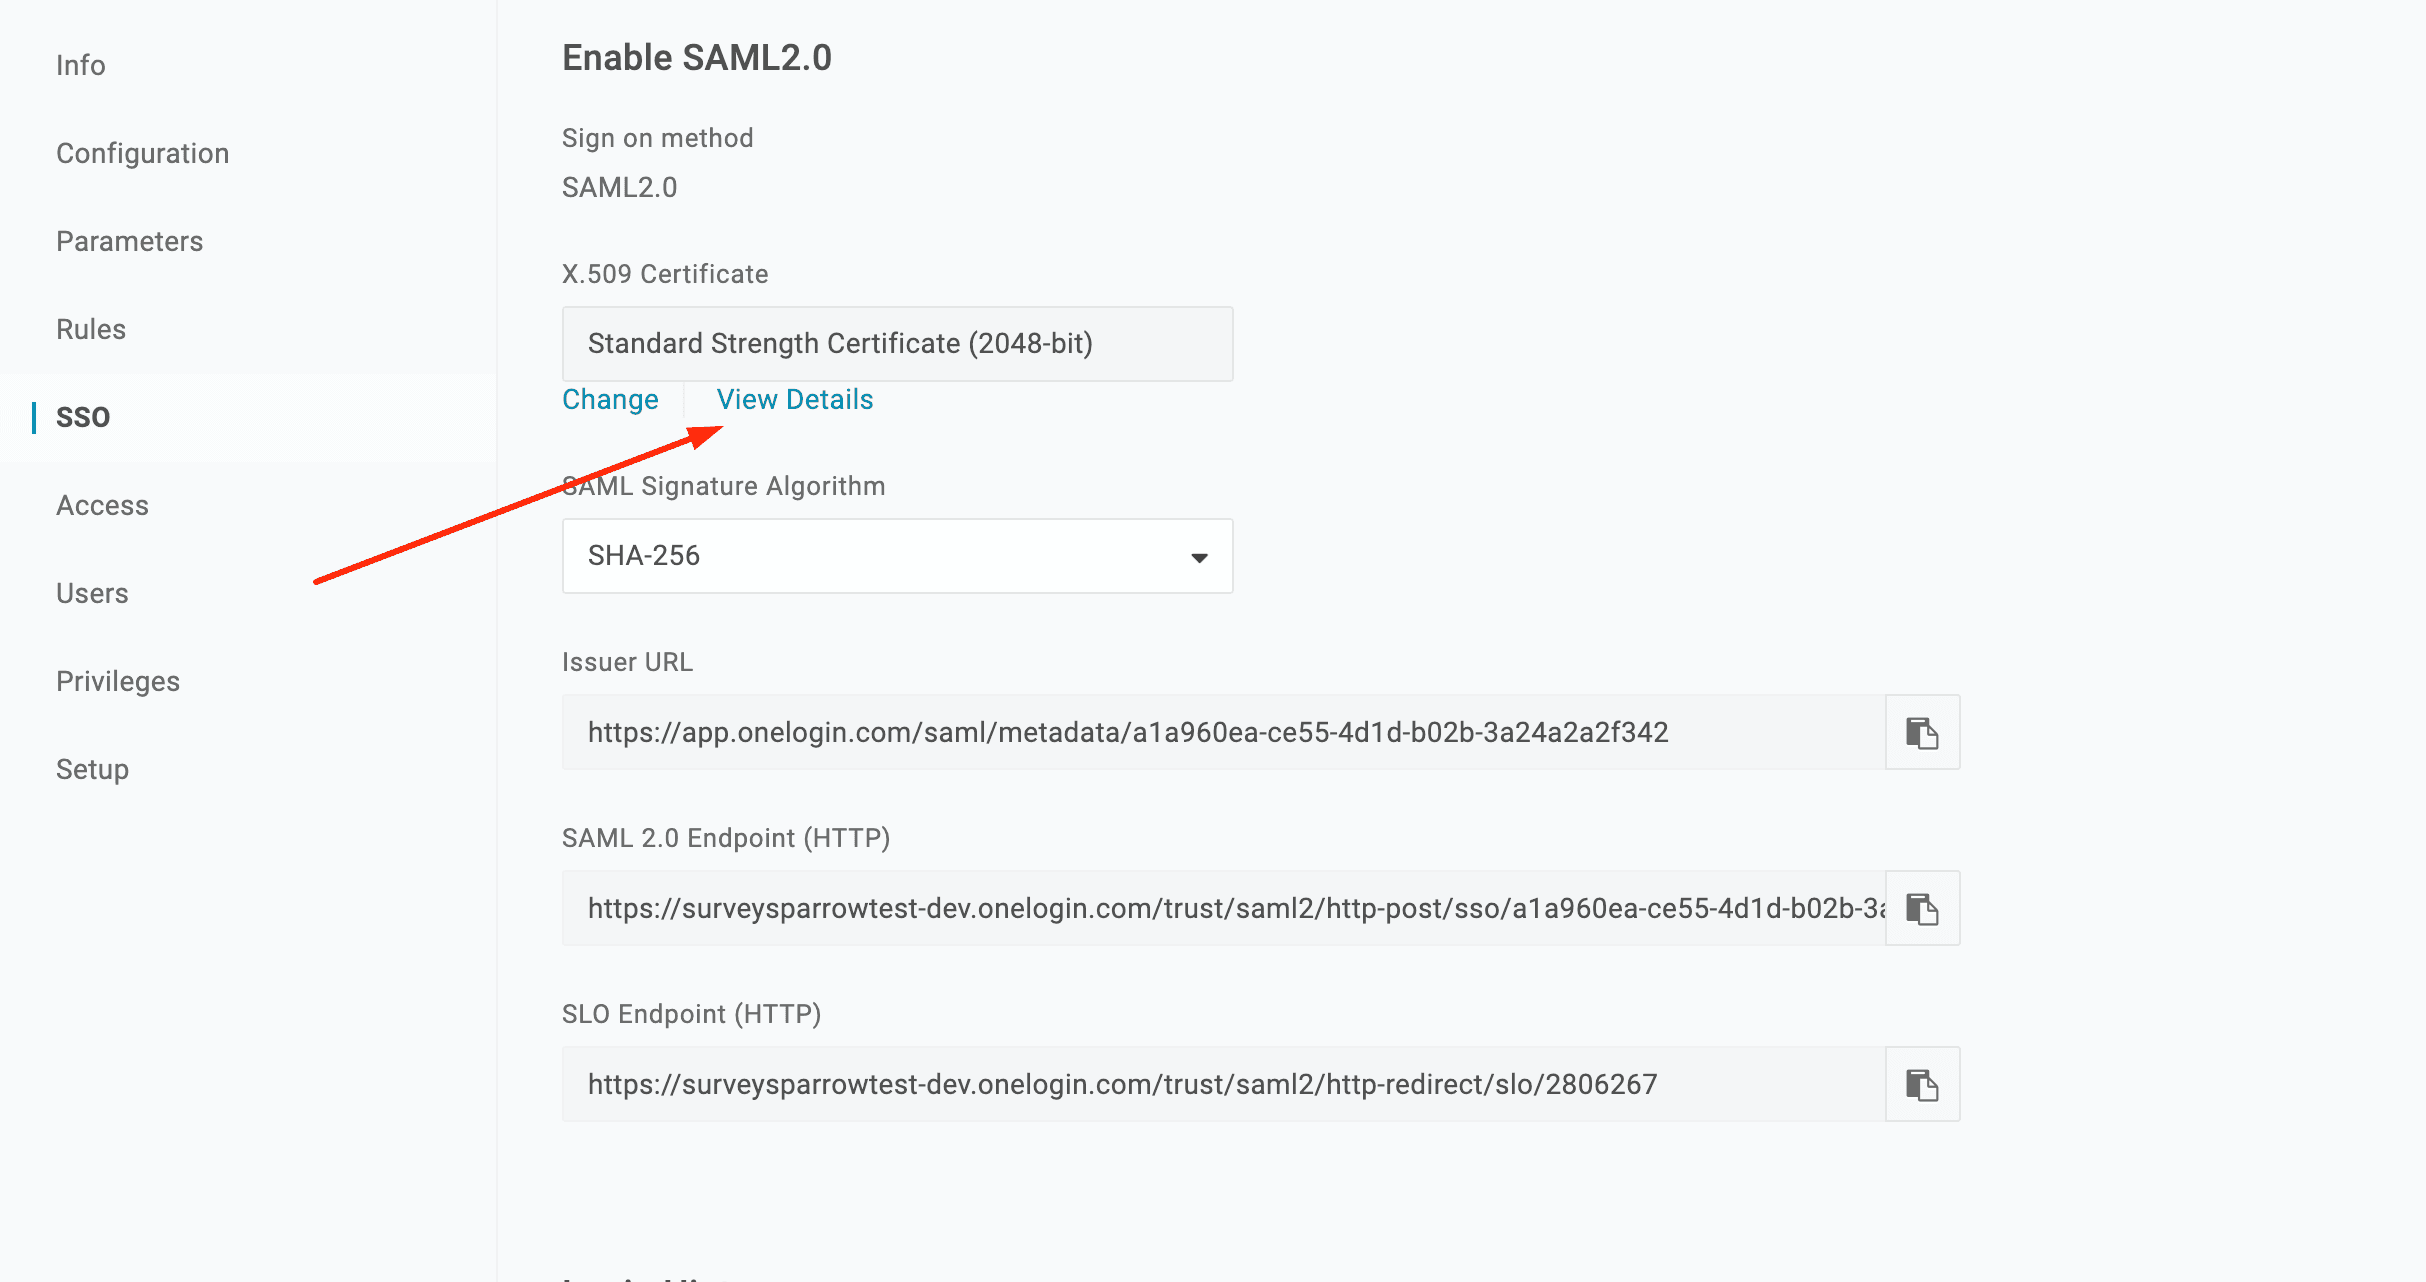
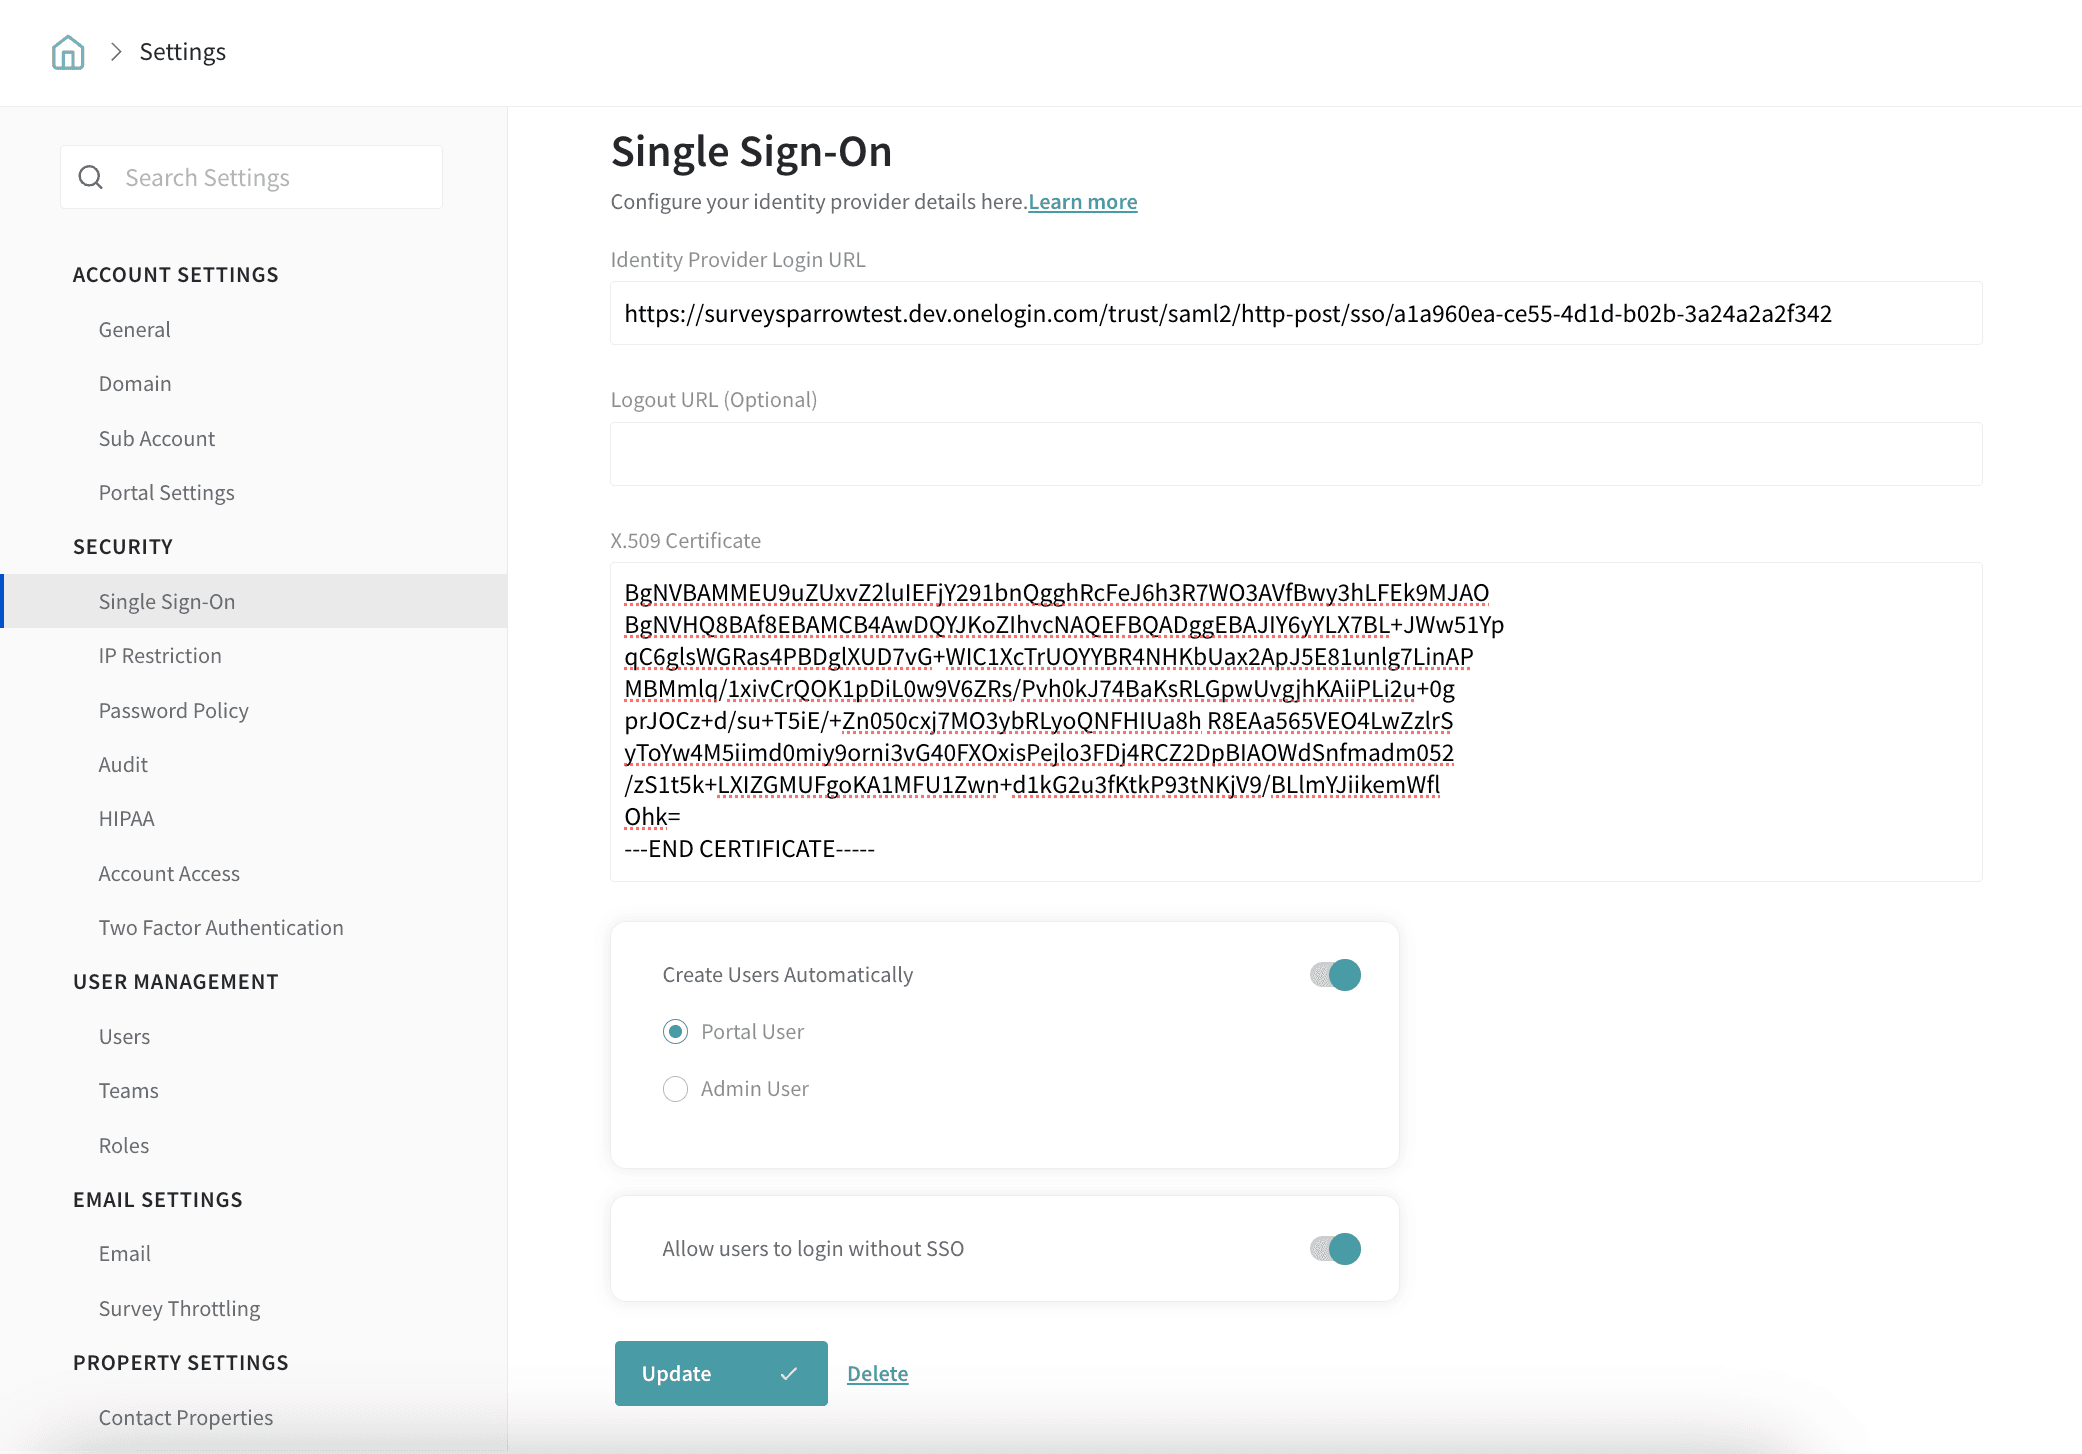
Step 11: Configure SurveySparrow
Log in to your SurveySparrow account and navigate to the settings or configuration area for SSO (Single Sign-On). Here, you will need to paste the X.509 Certificate and the SAML 2.0 Endpoint (HTTP) that you copied from OneLogin. This step establishes the connection between SurveySparrow and OneLogin.
Step 12: Test the Configuration
After pasting the required information in SurveySparrow, it's a good practice to test the configuration to ensure everything is set up correctly. This will help identify and resolve any potential issues before rolling out the integration to your users.
P.S: To maintain the ability to bypass single sign-on in case of unexpected issues, kindly ensure that "Allow users to log in without SSO" is activated.
Please reach out to us if you have any questions. We are just a chat away!
Powered By SparrowDesk