Search
Adding a CNAME record in AWS allows you to connect your domain to SurveySparrow or any other service by redirecting traffic from your domain to the desired destination.
Now let's get this started:
1) Log in to your AWS account by visiting https://aws.amazon.com/ and log in to your account by entering your username and password.
2)Once logged in, navigate to "Route 53" under the Recently visited, or type in "Route 53" in search bar on top of the screen .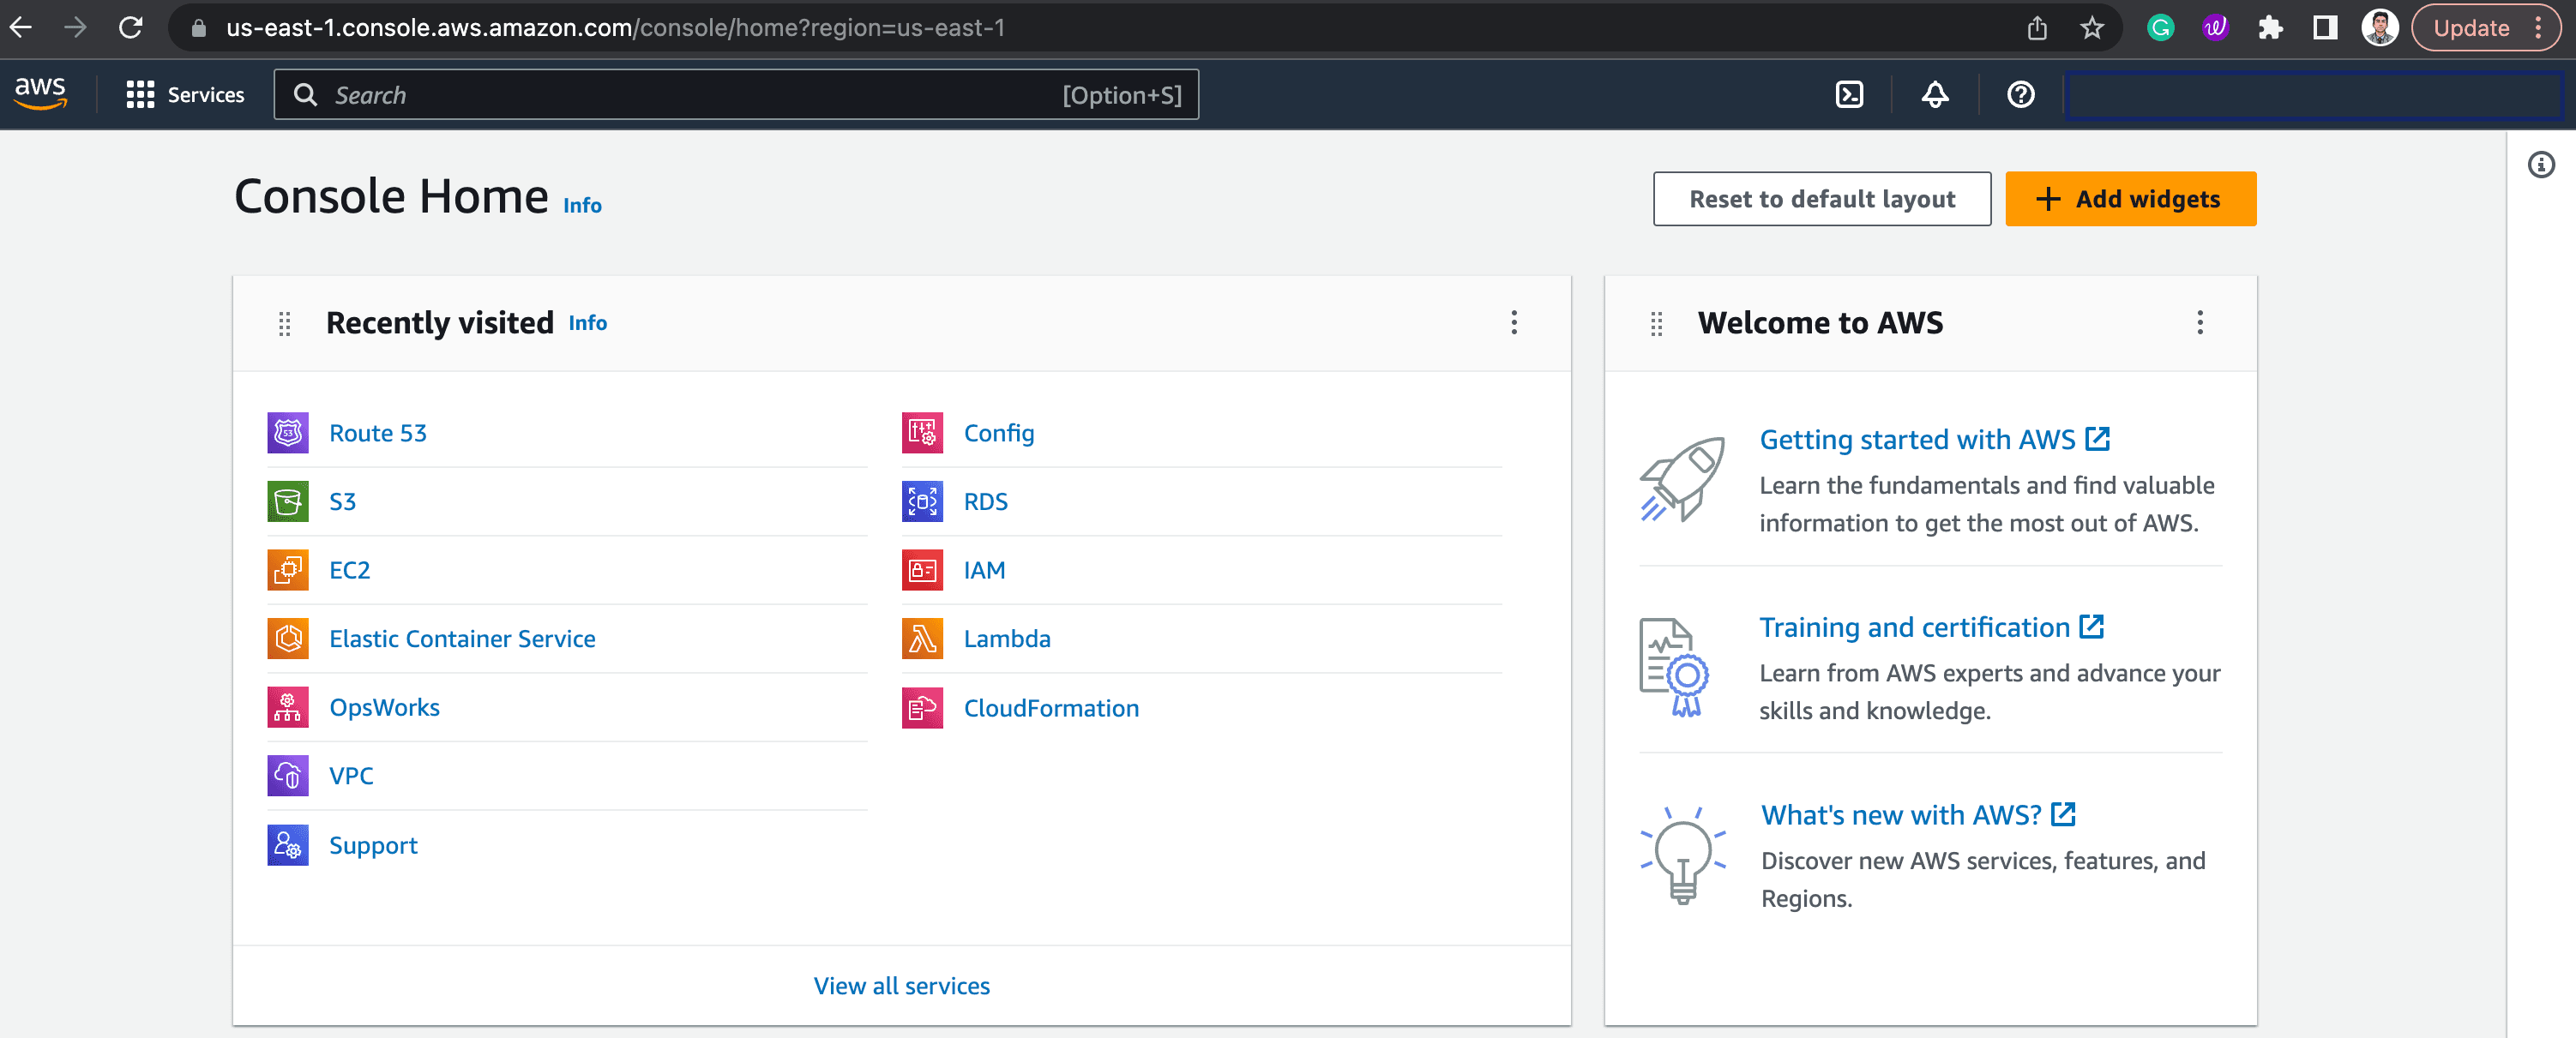
3) Now, Click on the "Hosted Zones" under DNS management and you will be navigated to the below 2 screens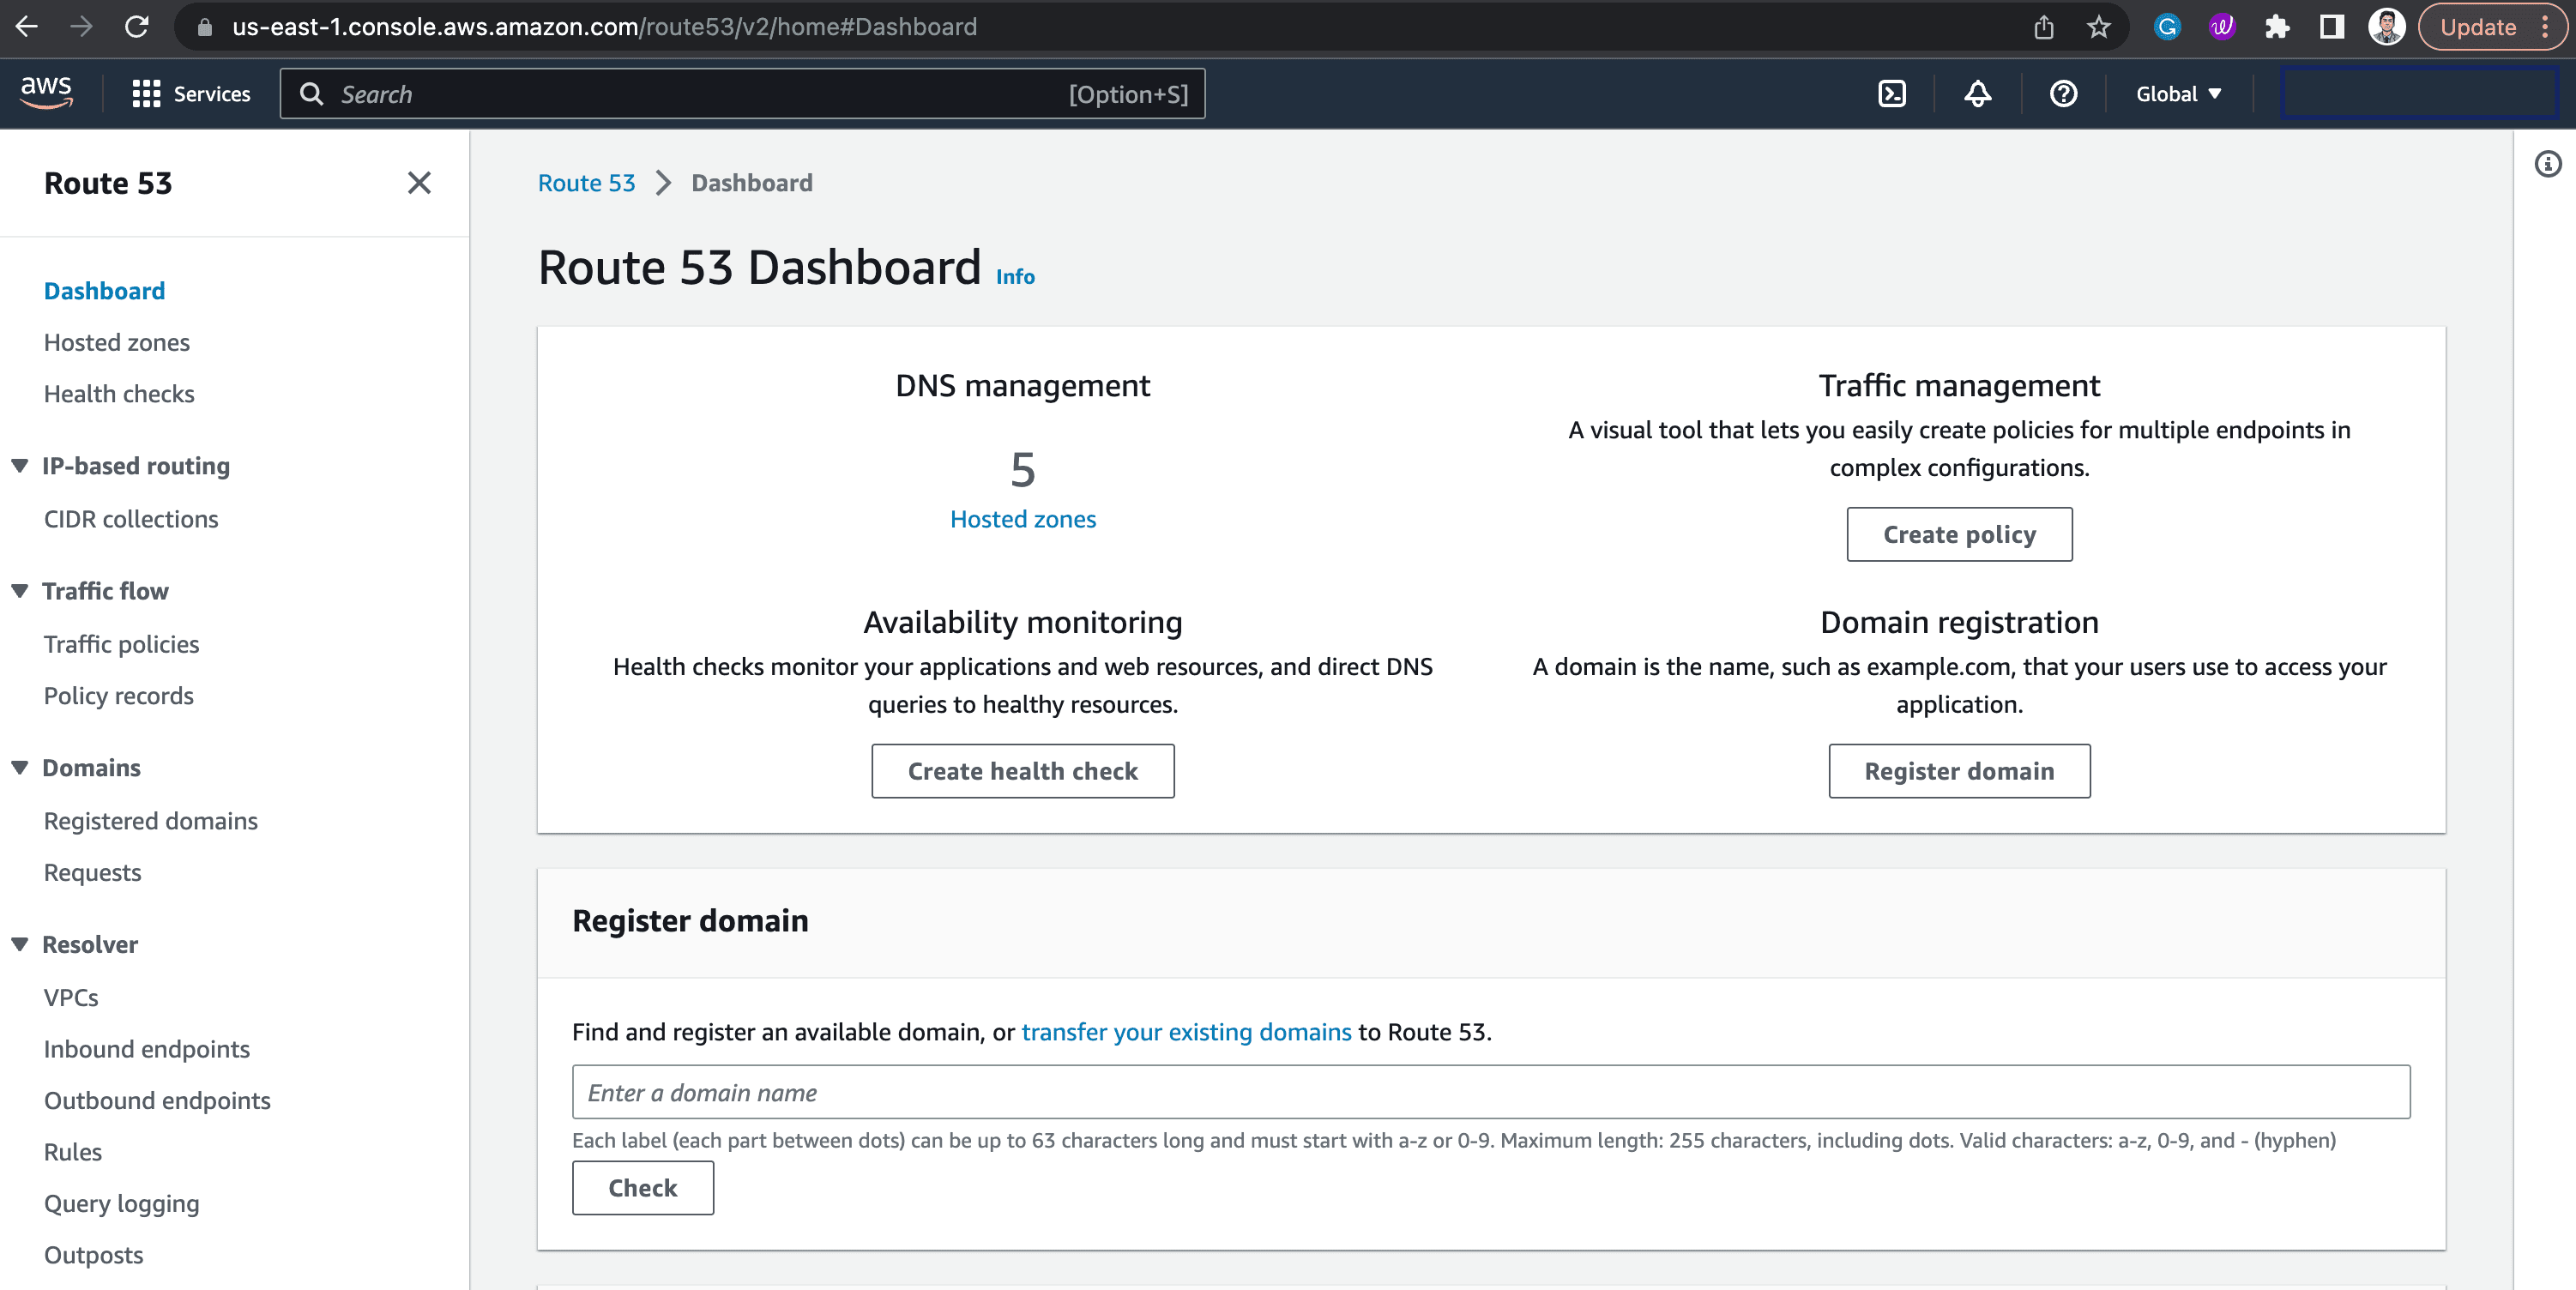
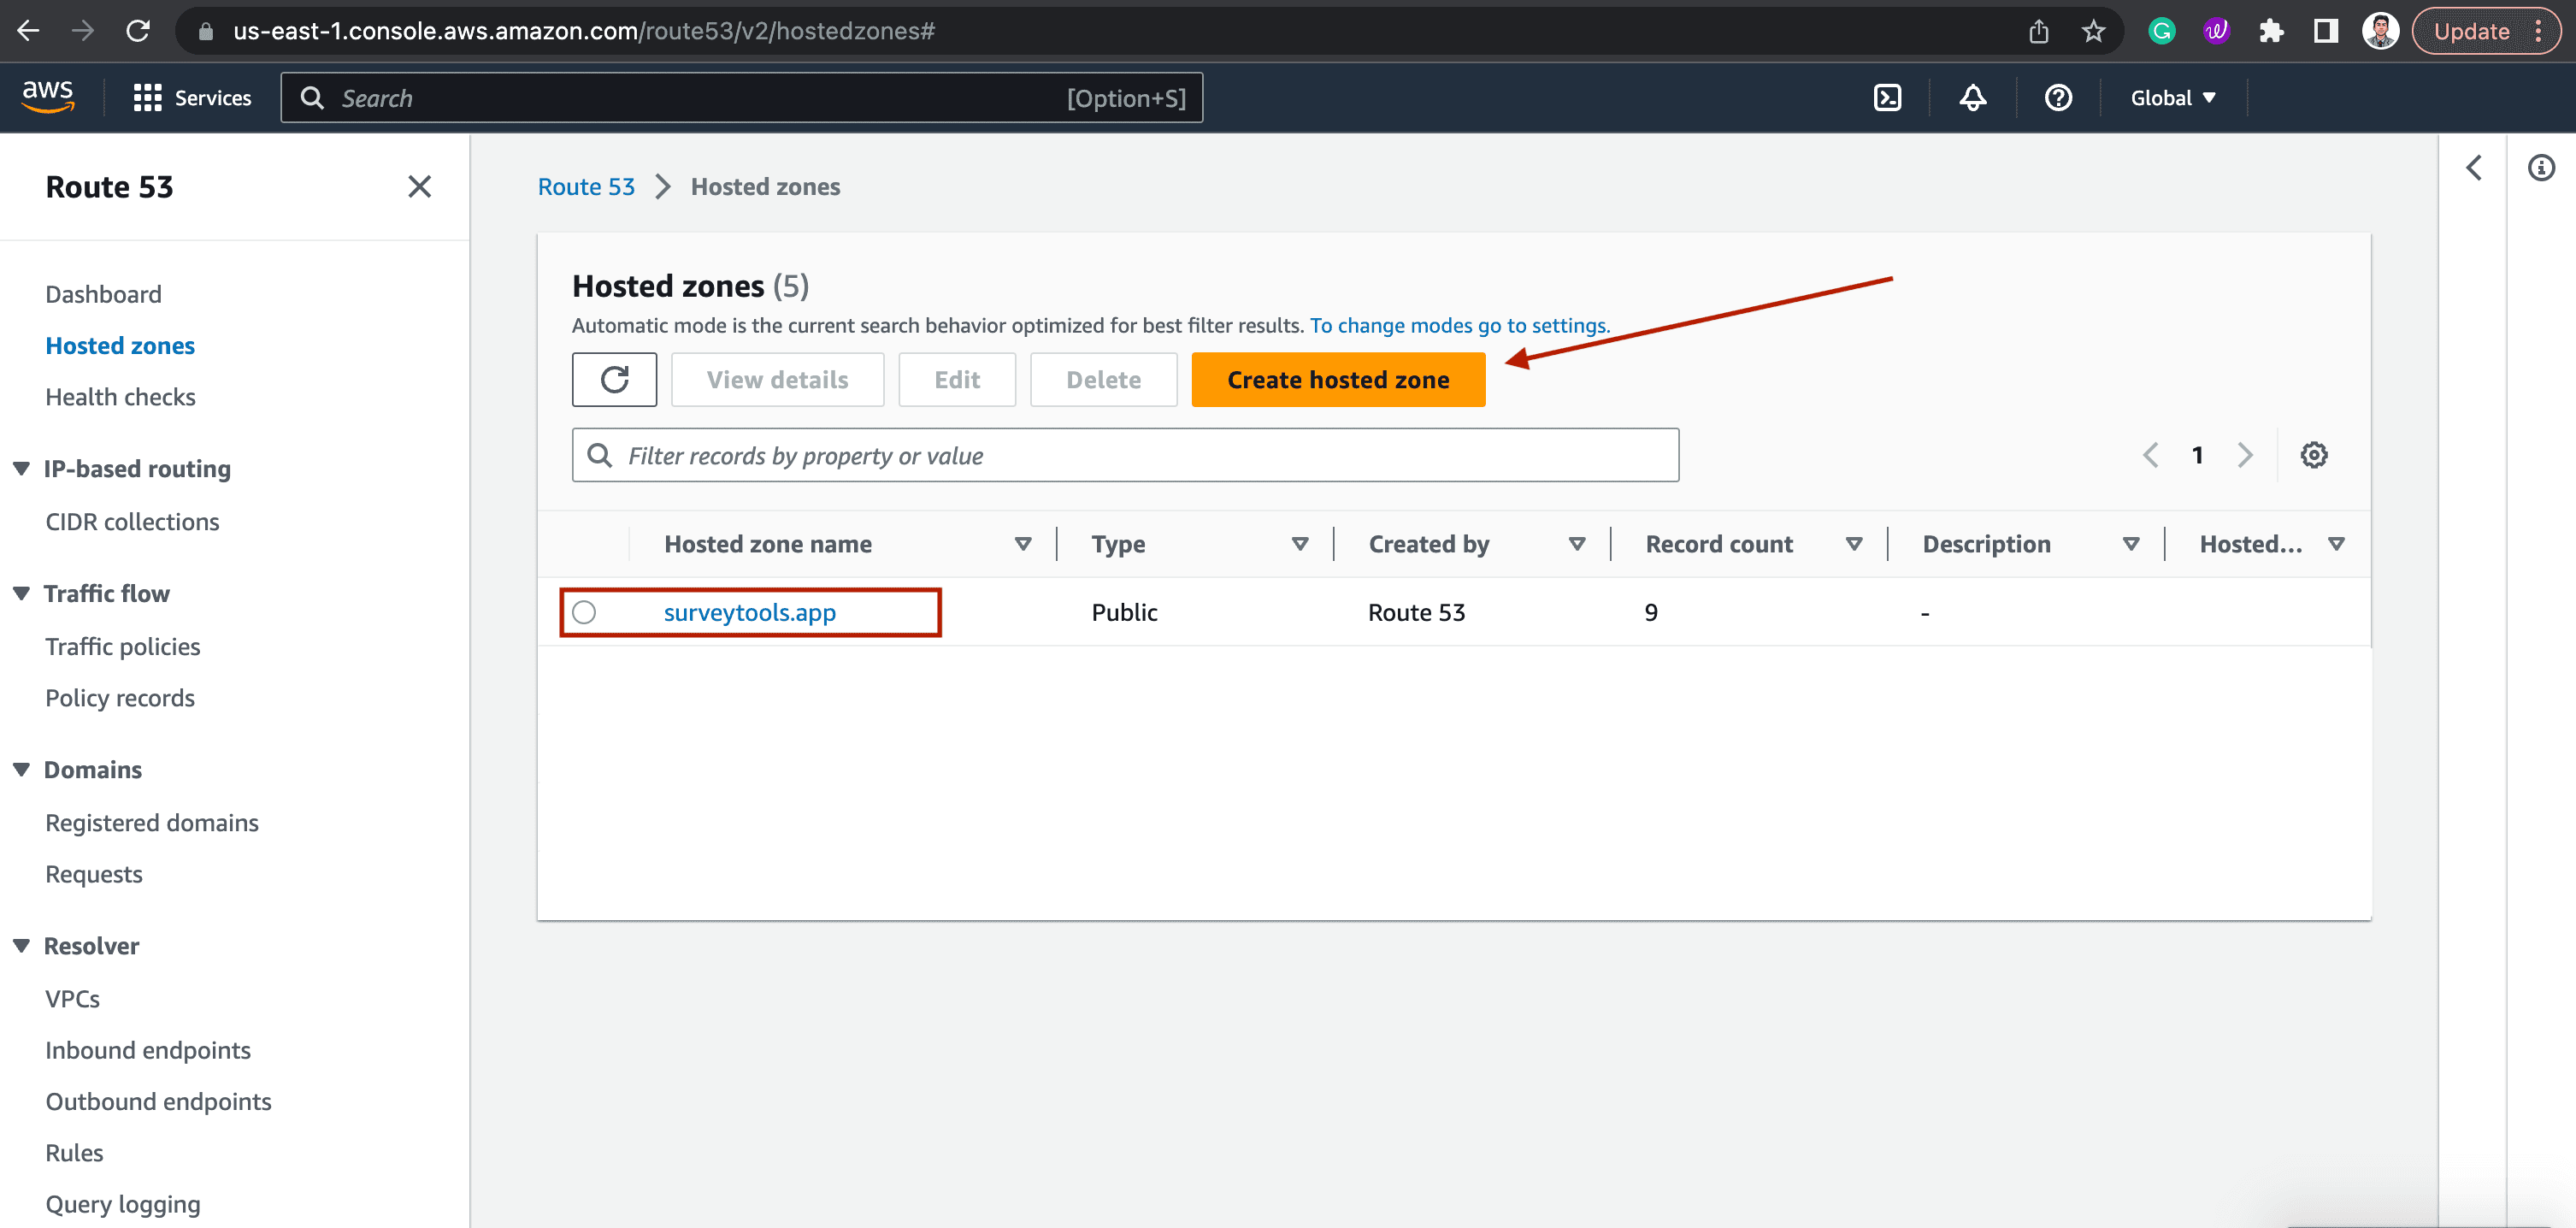
4) If you are looking to modify an already existing record, click on the "Hosted Zone Name" or if you are looking to create a new zone, click on the "Create Hosted Zone"
5) Once the required option is chosen from the above step, you will be navigated to "Records" page where the required record can be created. 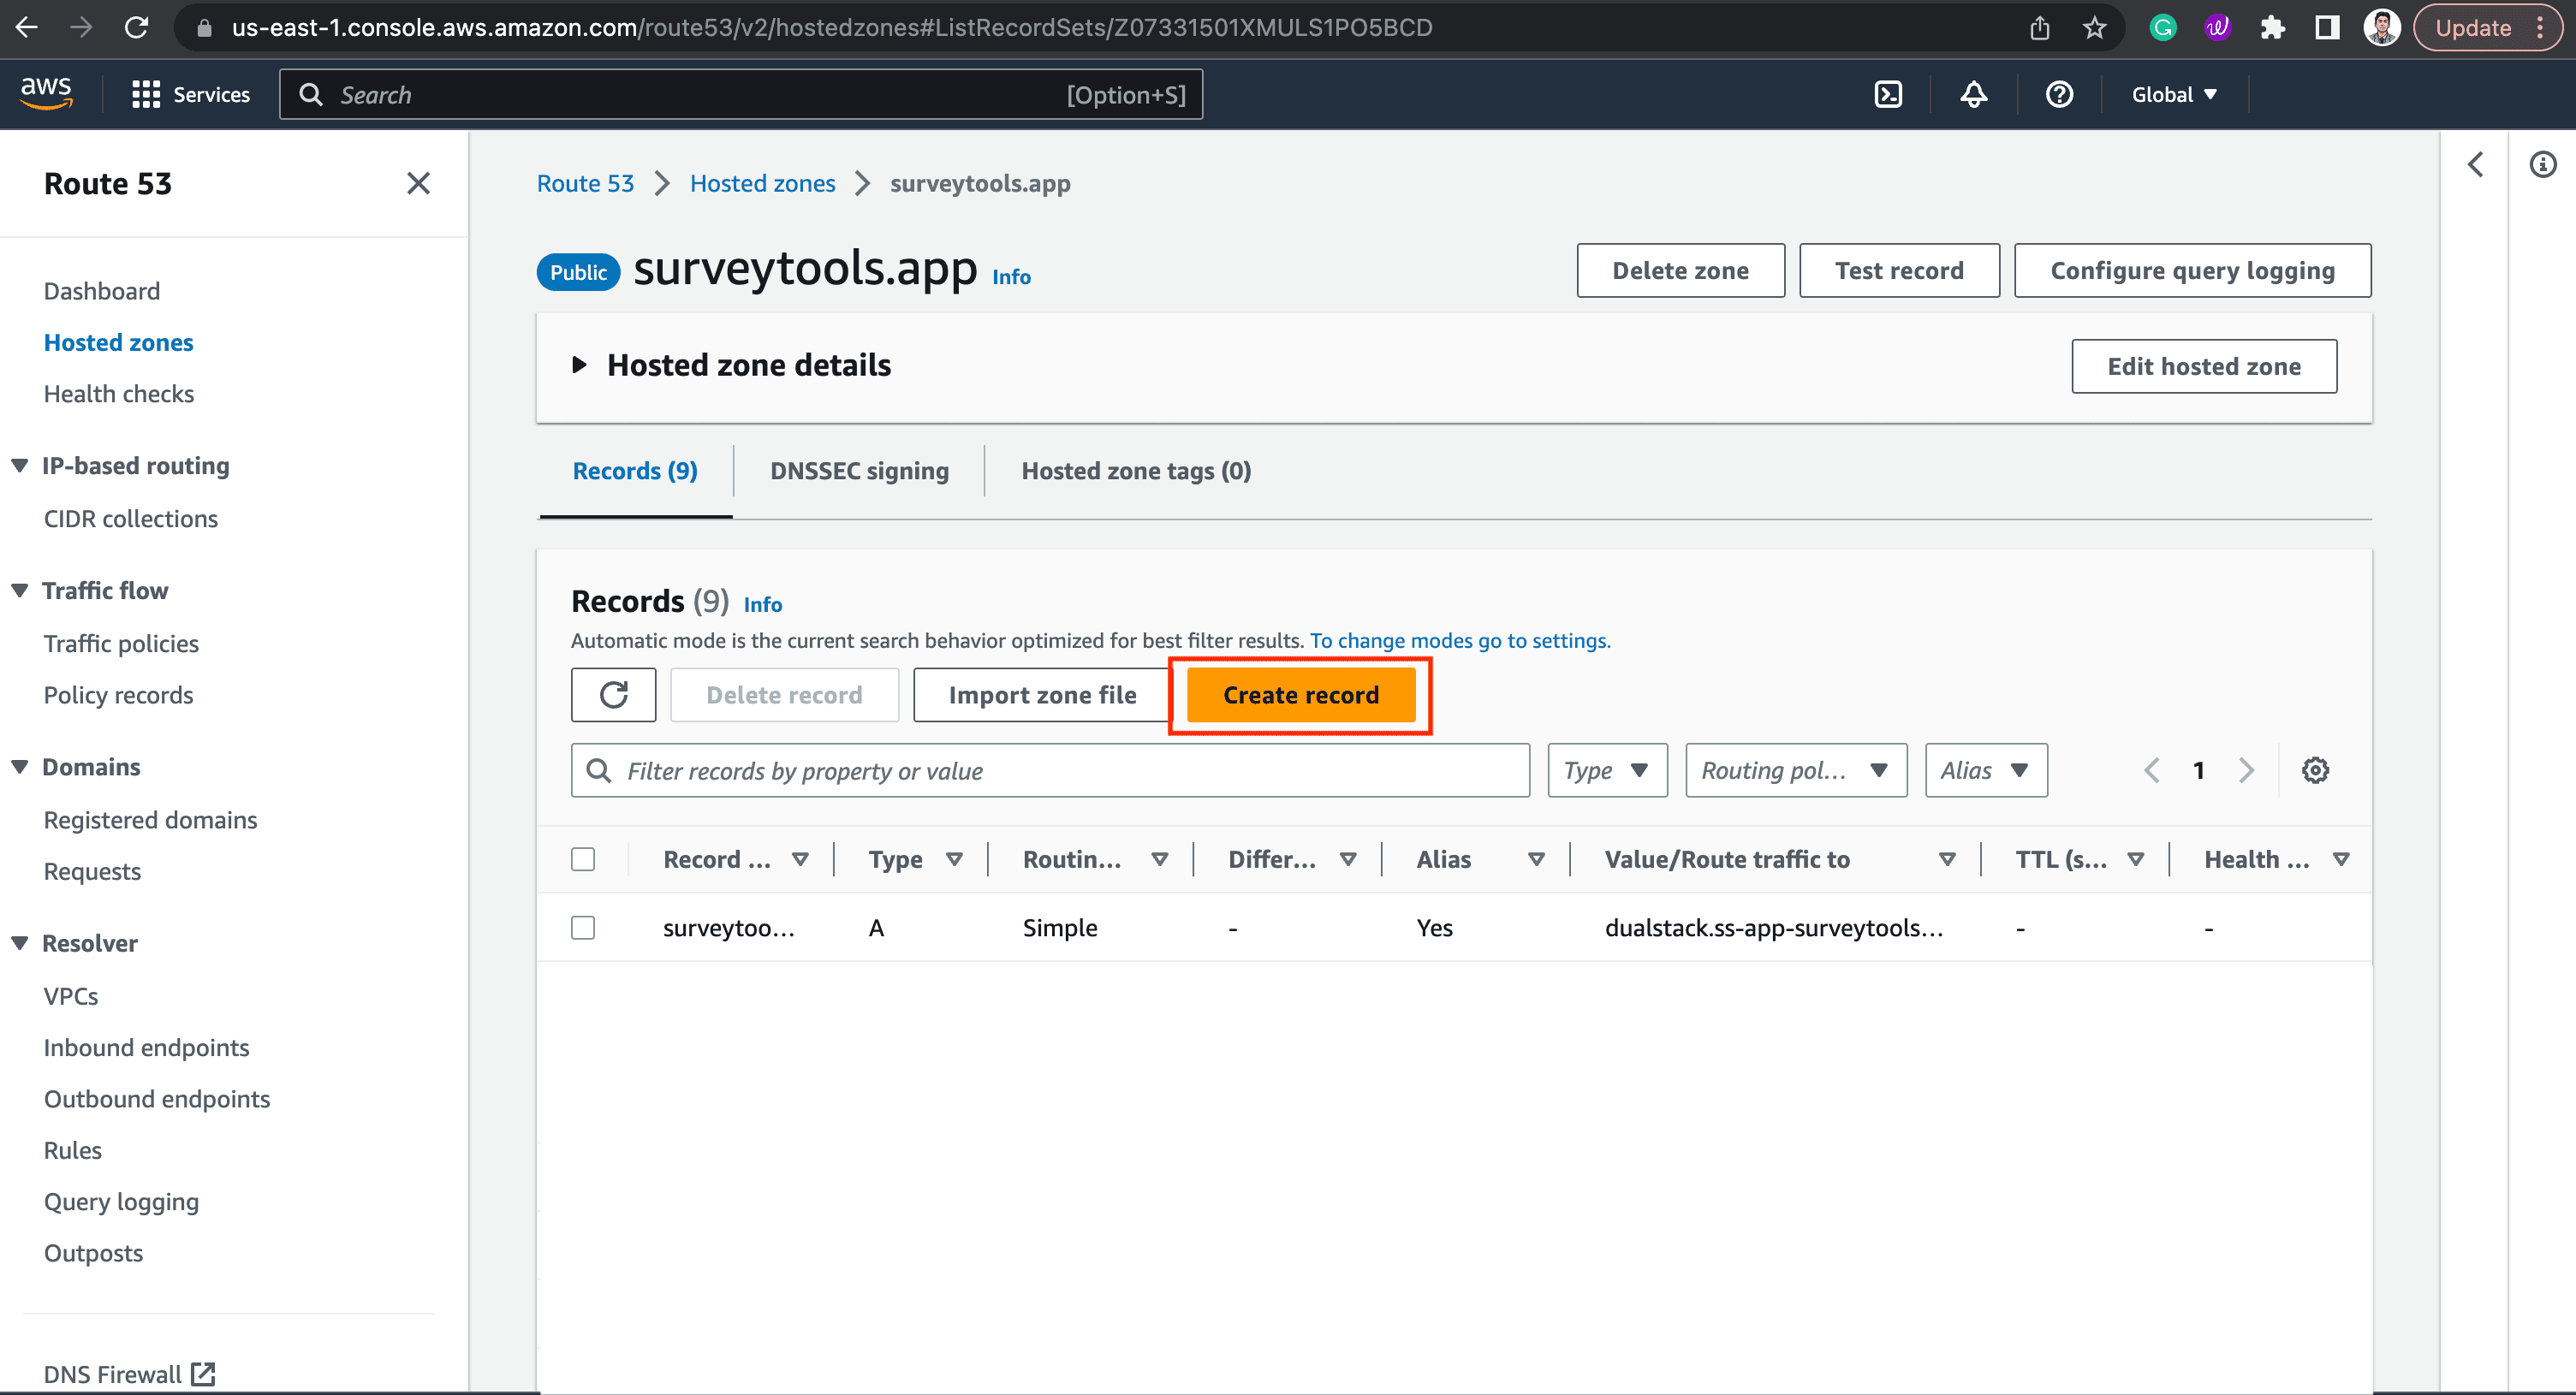
6) Add the Record name, Value and TTL as required and choose the "Record Type" if you are trying to add CNAME or TXT record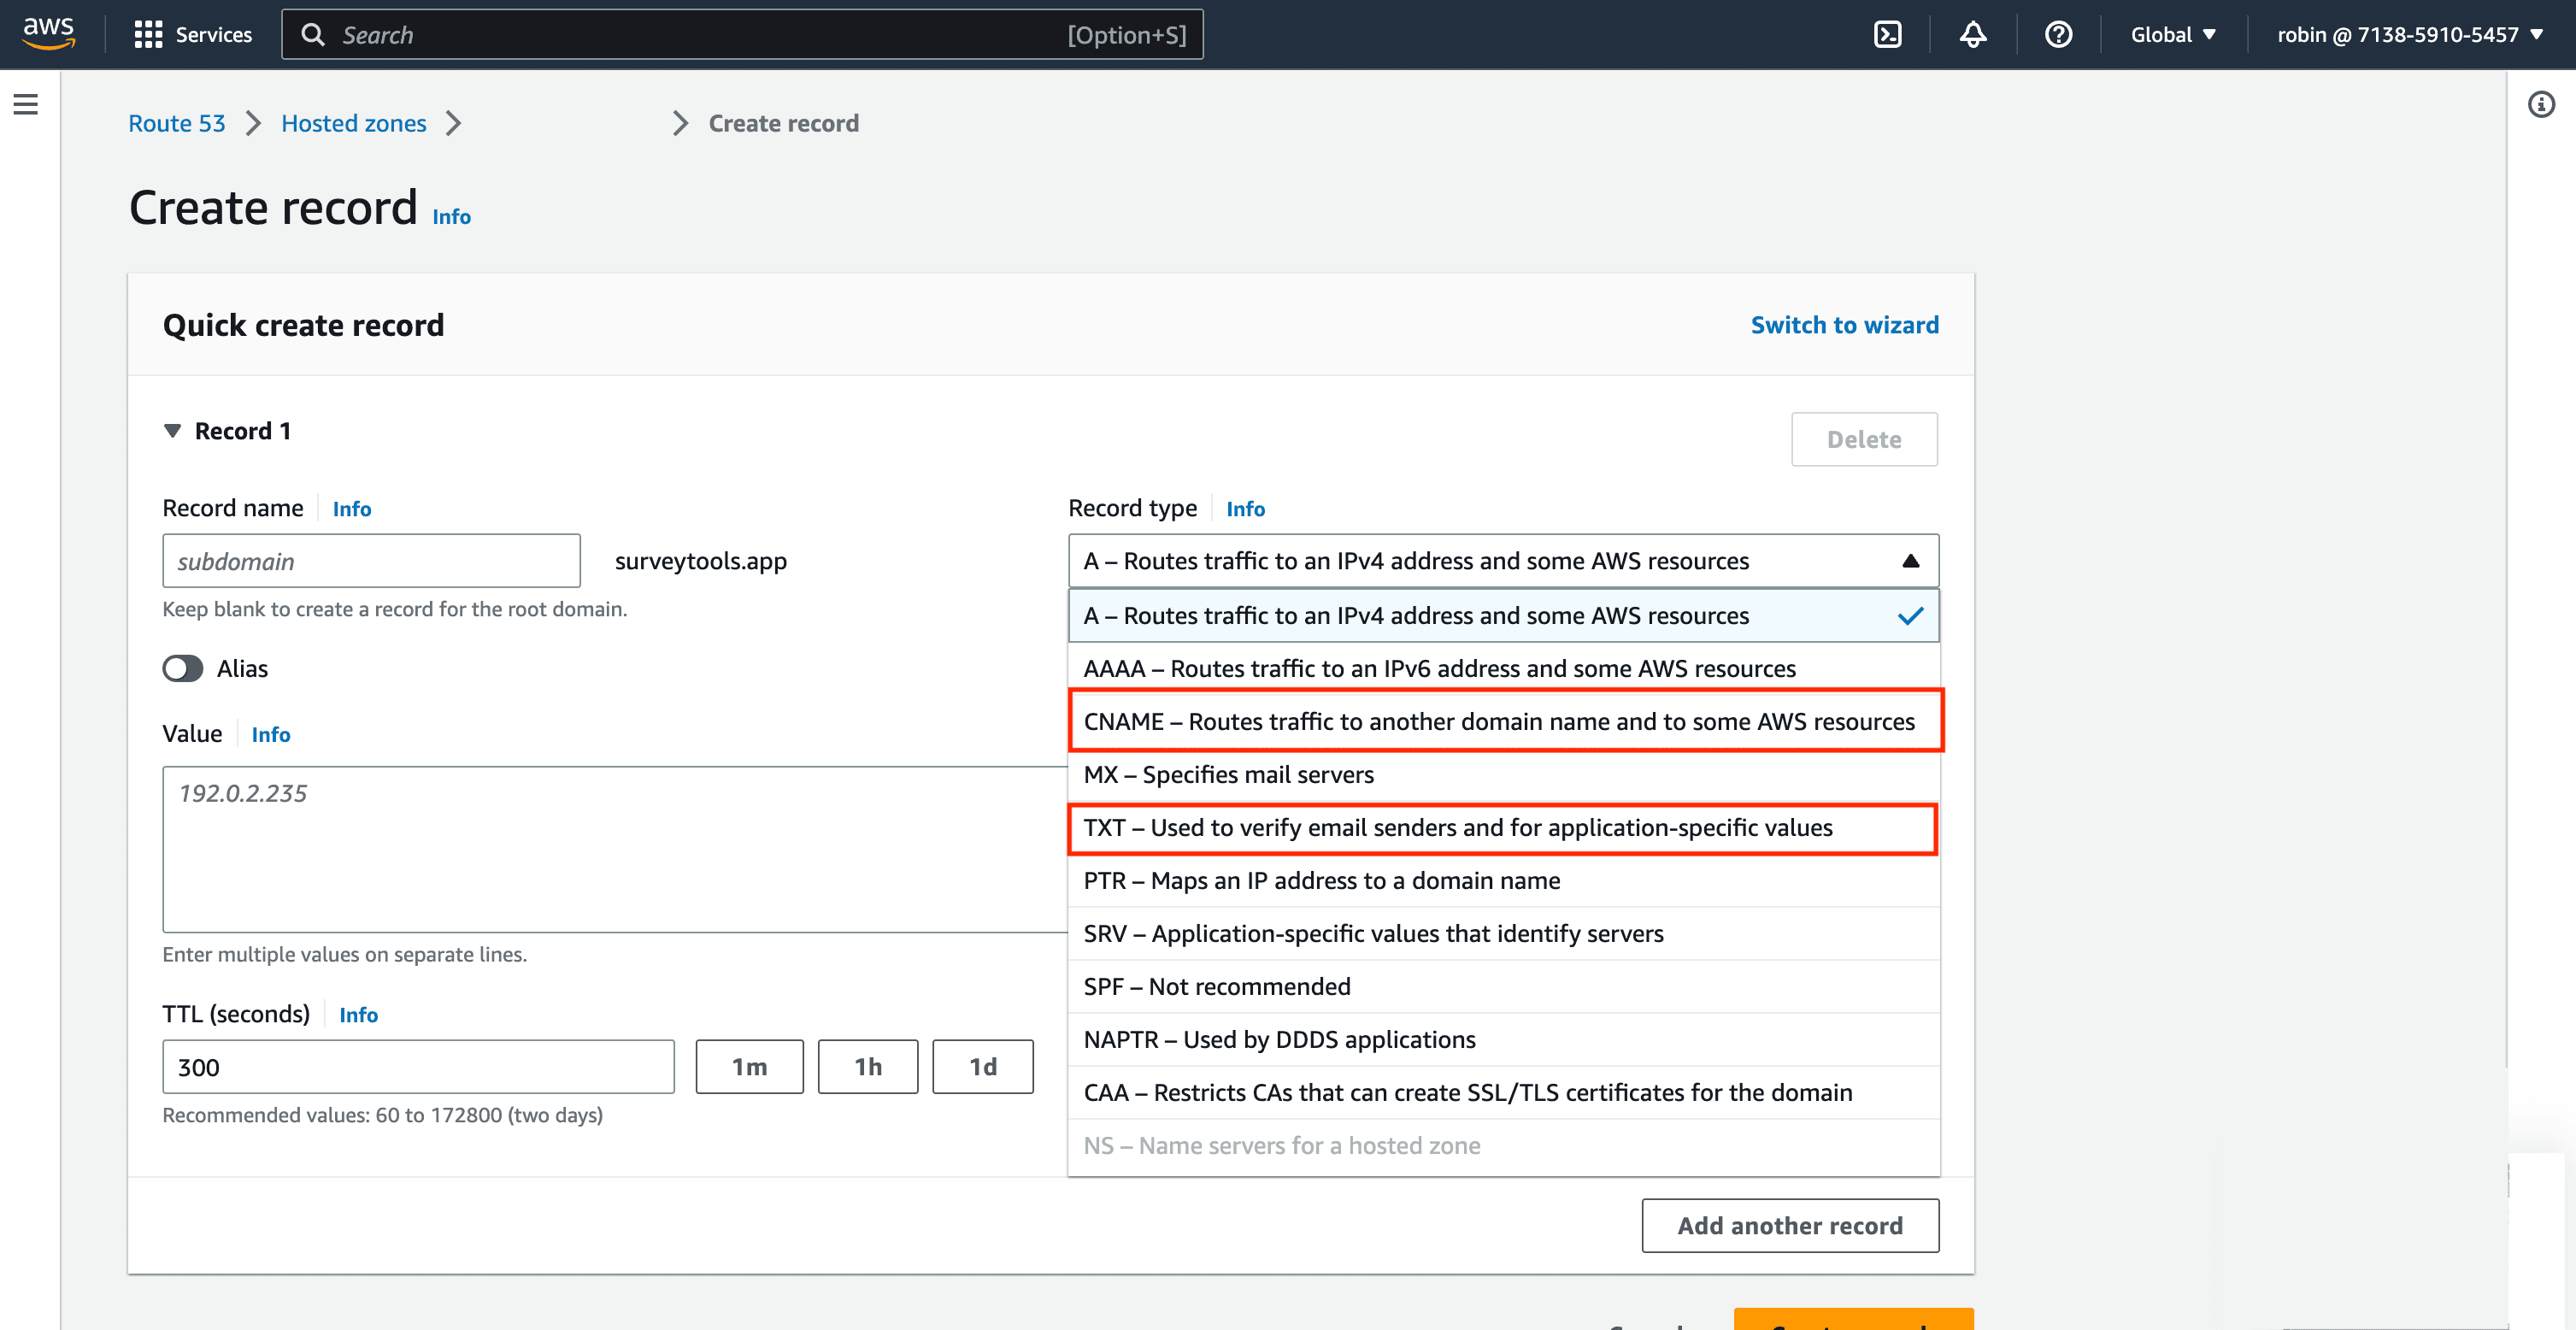
7) Save the changes.
Note: The same process applies for TXT file too, in the "Type" drop-down, choose TXT to add a TXT file and follow the same instructions 8) Wait for DNS propagation. It is important to note that it may take some time for the changes to take effect due to DNS propagation. This process can take anywhere from a few minutes to 48 hours, depending on when the DNS servers update their records.
Please reach out to us if you have any questions. We are just a chat away!
Powered By SparrowDesk