Search
The article provides step-by-step instructions for configuring a custom SAML application, including how to create the application in the Google Workspace Admin console.
In the Admin console, go to Menu![]()
![]()
![]() Apps
Apps![]() Web and mobile apps.
Web and mobile apps.
Click Add App![]() Add custom SAML app.
Add custom SAML app.![]()
On the App Details page:
Enter the name of the custom app.
(Optional) Upload an app icon. The app icon appears on the Web and mobile apps list, on the app settings page, and in the app launcher. If you don't upload an icon, an icon is created using the first two letters of the app name.
Click Continue.
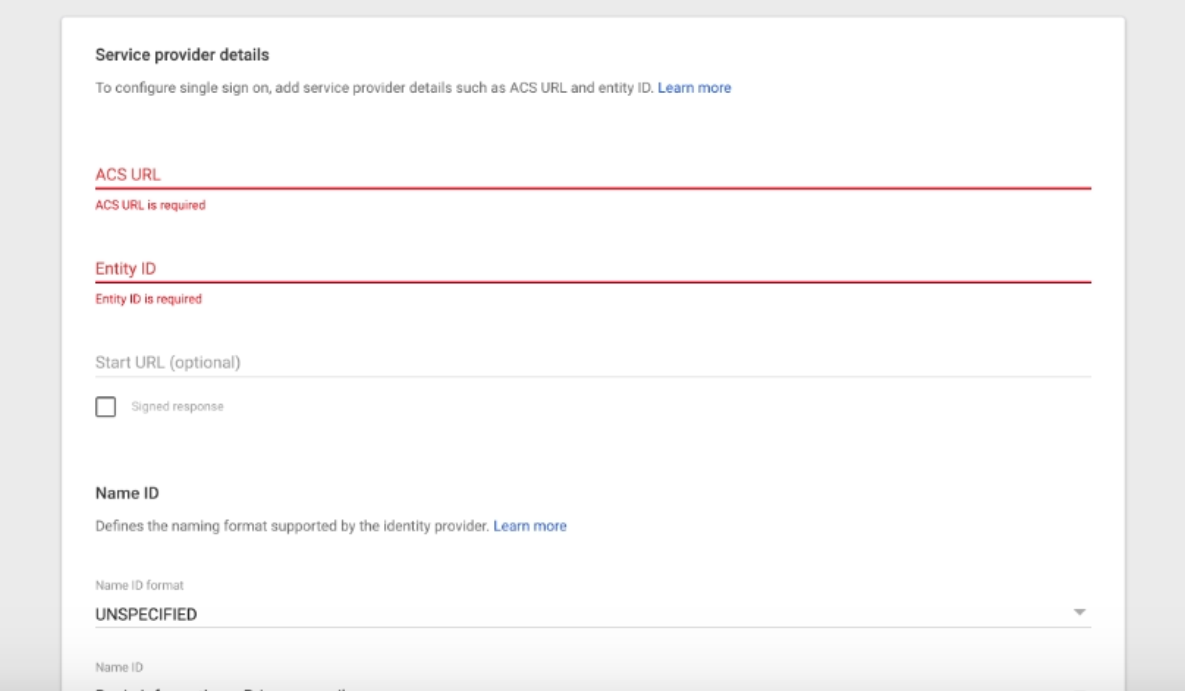
On the Google Identity Provider details page, get the setup information needed by the service provider using one of these options:
Download the IDP metadata.
Copy the SSO URL and Entity ID and download the Certificate (or SHA-256 fingerprint, if needed).
Ref: https://support.google.com/a/answer/6087519?hl=en![]()
Now, log in to your SurveySparrow account and click the Settings icon on the top menu.
Under Security, select Single Sign-on and paste all the details which you copied from the Setup SSO page. Once done, click Update to set up the SSO.![]()

By following these steps, you can easily configure a custom SAML application in your Google Workspace domain and provide your users with a secure and streamlined access experience.
If you need more information, feel free to contact us. We are always happy to help and provide any assistance you require.
Powered By SparrowDesk