
Search
You can use Outgoing Emails to set up custom emails to manage emails to be sent from your account. It enables you to set up your own email with a custom domain or an SMTP server for email.
Incoming Emails enable you to forward all your recipient replies on Support emails to a forwarding email ID. This will help your users to get an instant solution to all their Support queries or complaints.
Let’s see how it works.
1. On your Survey dashboard, click on Settings at the top Menu bar.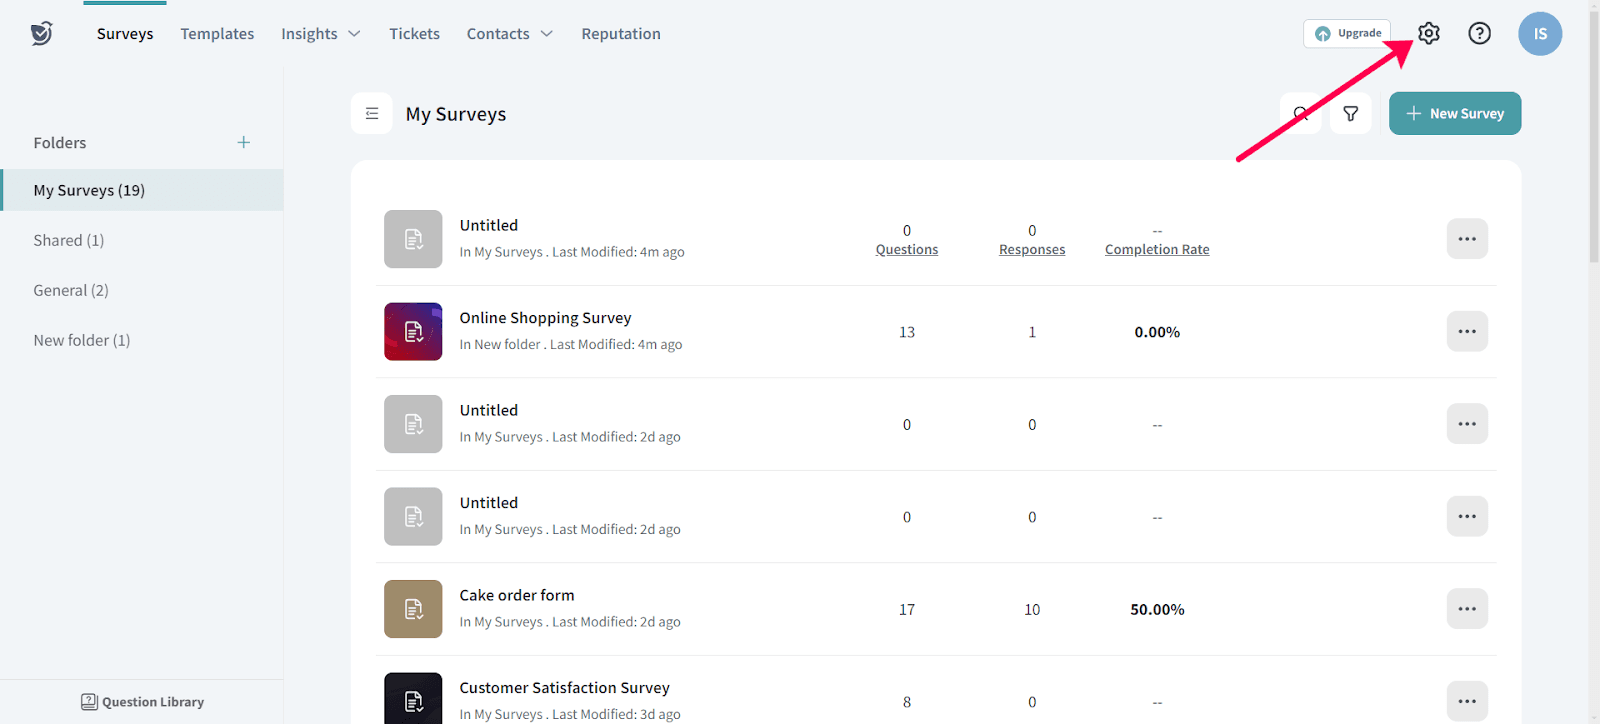
2. Navigate to Email under Email Settings, where you can configure your email address for surveys and tickets.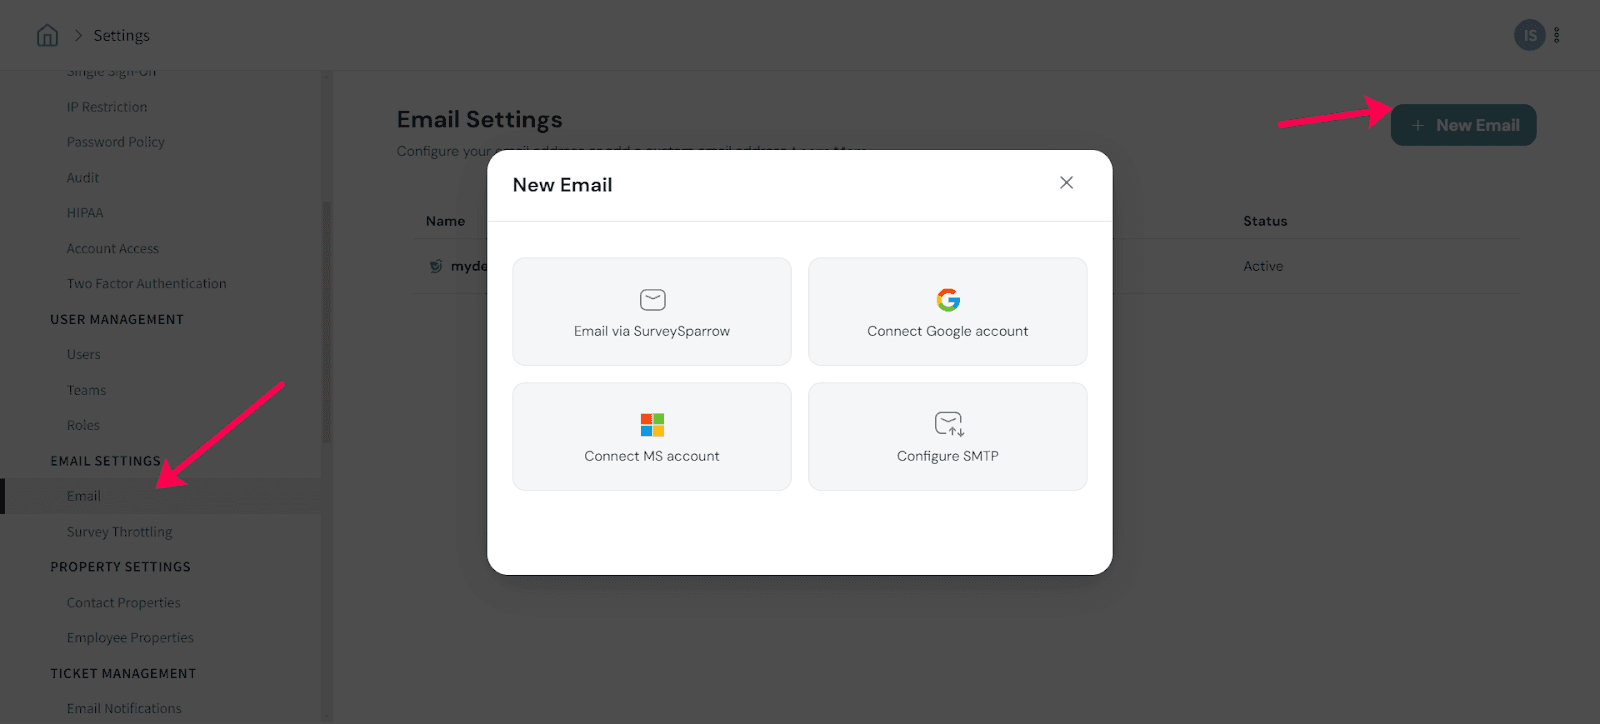
3. Any emails going out from your account will be sent from the outgoing email address. You can also use your own email via SurveySparrow or SMTP server to choose an email address of your own.
Once you set up the email, ensure that you choose the “Make default” option for the email.
Similar to surveys, you can set the email to be used for ticket management. You can configure the from address and the reply-to address. It can be an email with a custom domain or configure an SMTP server.
1. Under Ticket Management, follow the screenshot below to customize the email for ticket management.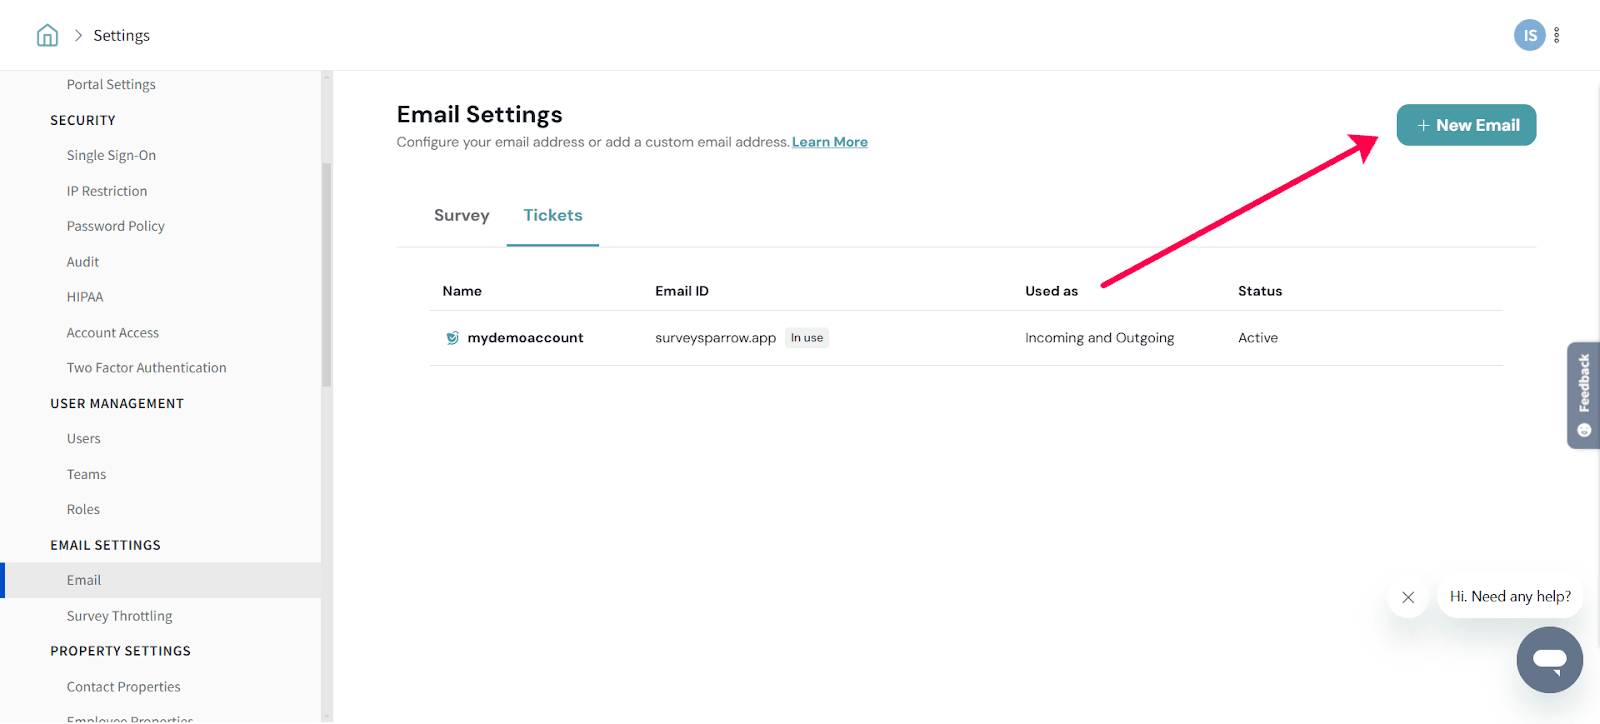
The outgoing mail will be used to send email notifications related to Ticket management. The reporter, assignee, and customer will be receiving the configured emails.
1. To set your own email address with a custom domain, choose the Own mail via SurveySparrow option under OUTGOING EMAIL.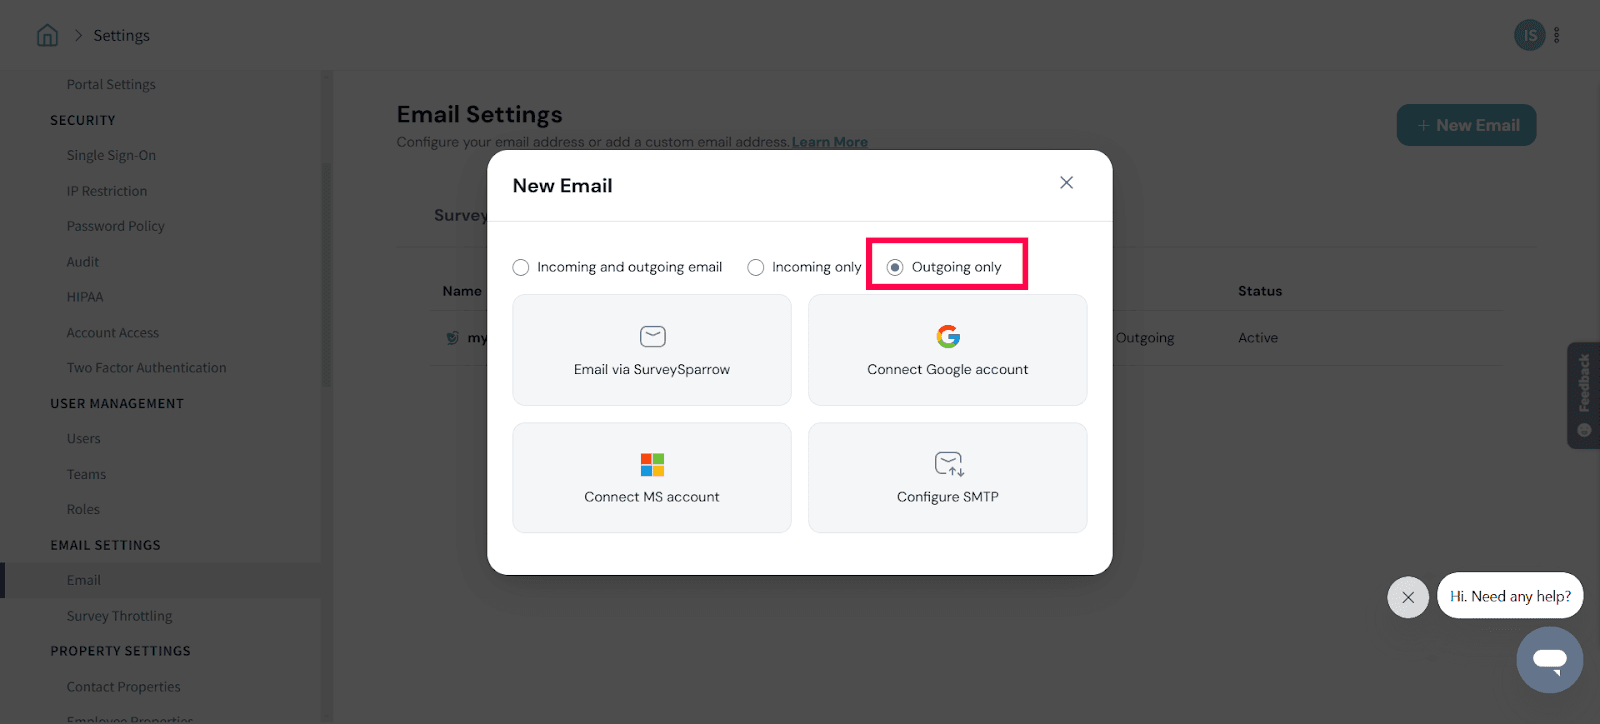
You can set up a custom email for Ticket management by following similar corresponding steps for Survey level email configuration.
Once you add your email, ensure that you choose the Make default option. Now, all the outgoing emails will be sent from the configured custom email address.
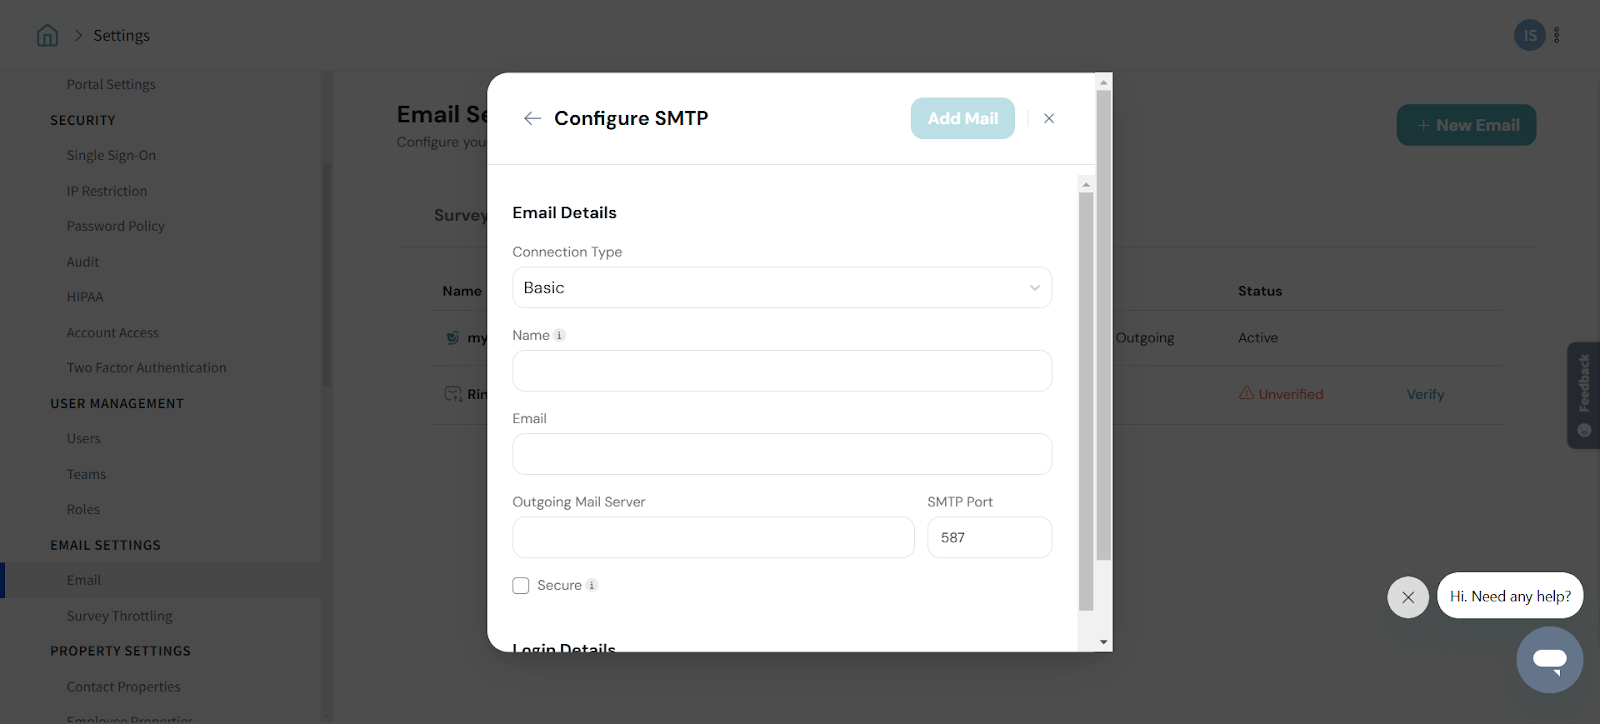
2. To set up an SMTP server to send the emails, choose the SMTP option.You have 2 types of configurations- Basic and OAuth.
2.1. For Basic you can setup using a username and password.
2.2. Custom OAuth lets you connect email services to your apps using your own secure OAuth credentials. It replaces basic login credentials with token-based access, giving you better security, control, and compliance with modern authentication standards.
Here’s how we can configure Custom OAuth.
2.2.1. Under connection type, choose OAuth.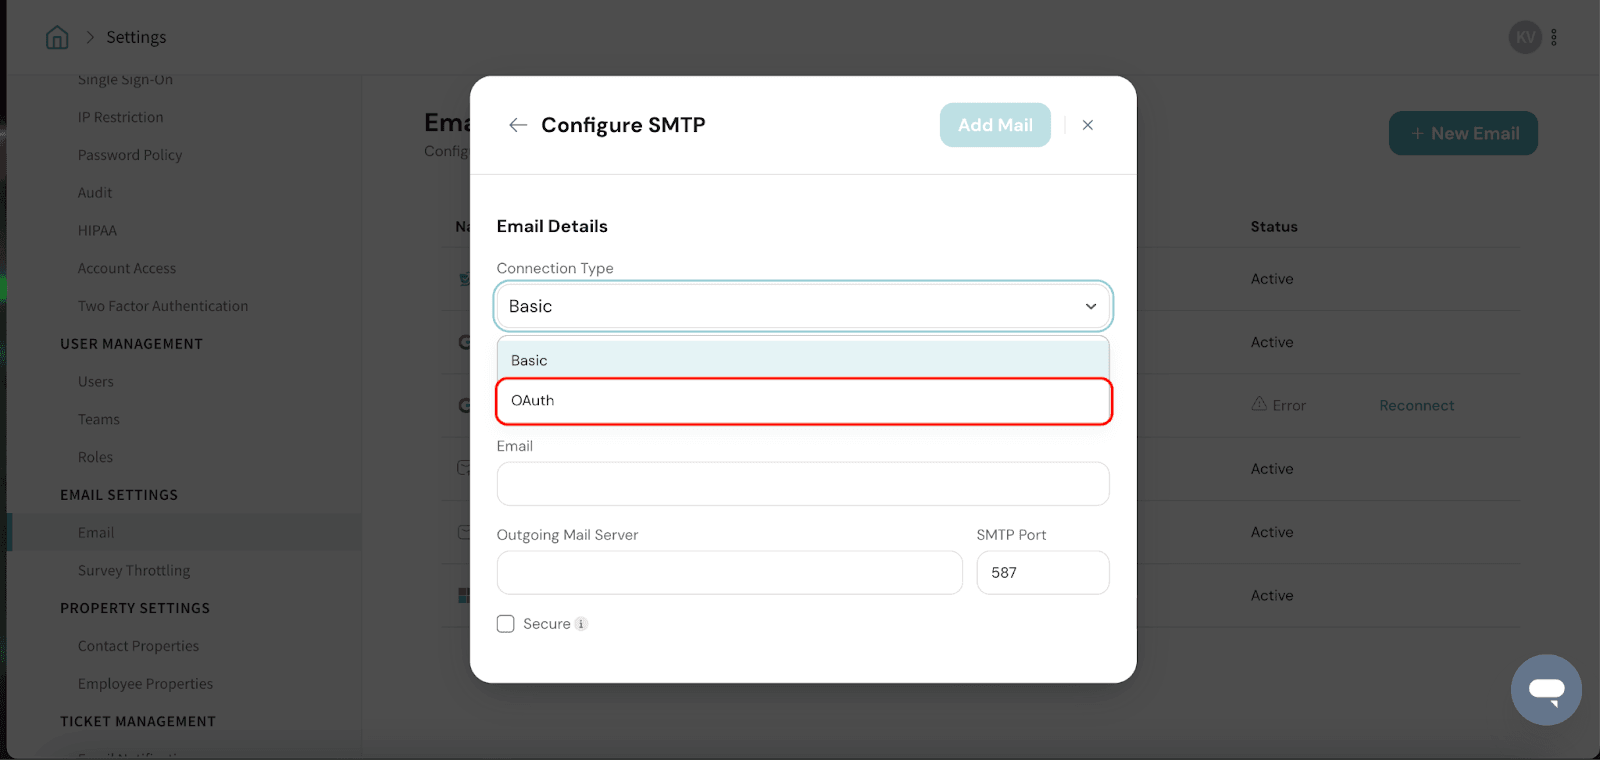
2.2.2. Fill the following credentials.
Outgoing Mail Server: This is the SMTP server address provided by your email service (e.g., smtp.gmail.com for Gmail). It’s used to send emails from your account through the configured connection.
Note: You can find all of these details in your email service provider’s developer portal, where you set up your OAuth2 application.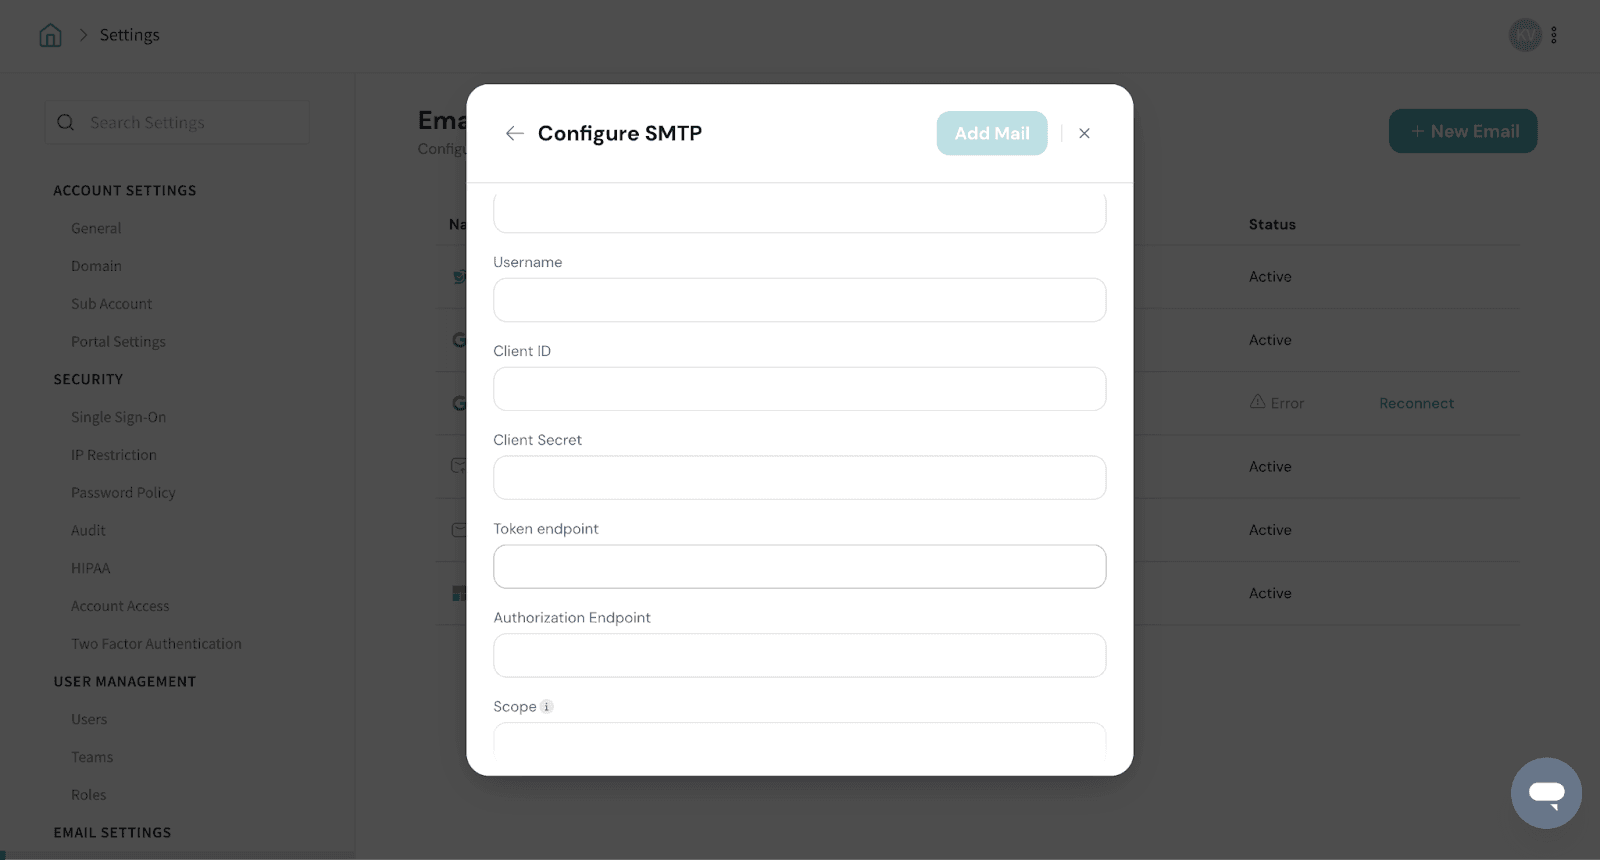 2.2.3. Click on ‘Add Mail’ to save the configuration.
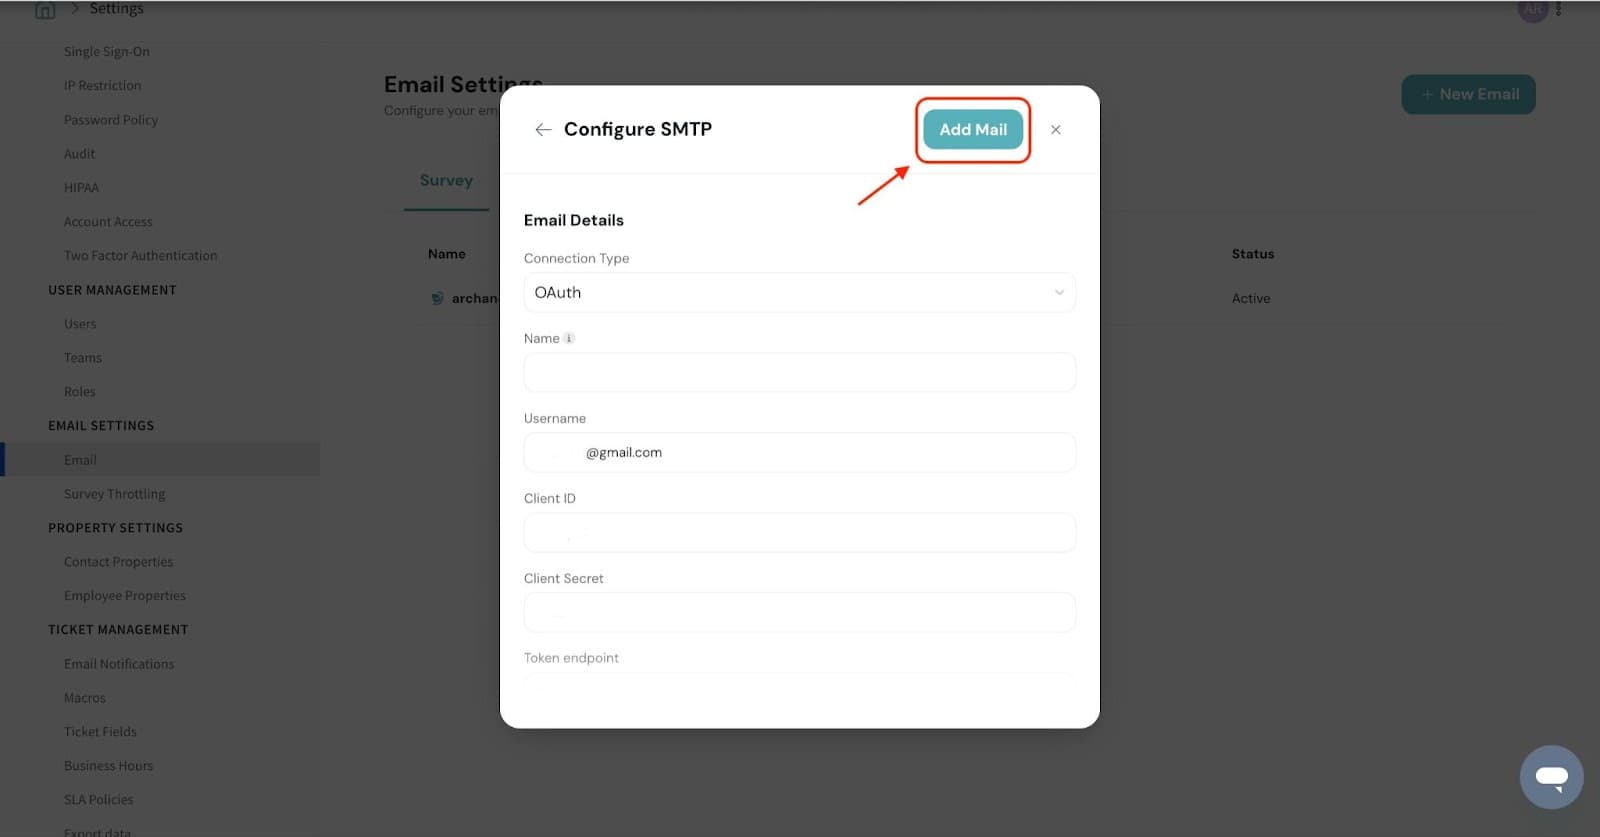
You can follow the survey-level mail configuration steps to set up SMTP server for ticket management.
Once you set up the SMTP server, ensure that you choose the Make default option. Now, all the outgoing emails will be sent from the configured SMTP server.
Configuring incoming emails enable you to set the “Reply-to” address of emails sent for ticket management. In this way, you can streamline the replies you receive from your customer or team member and manage the ticketing thread. Let’s see how to configure it.
1. To set your own email address with a custom domain, choose the Own mail via SurveySparrow option under INCOMING EMAIL.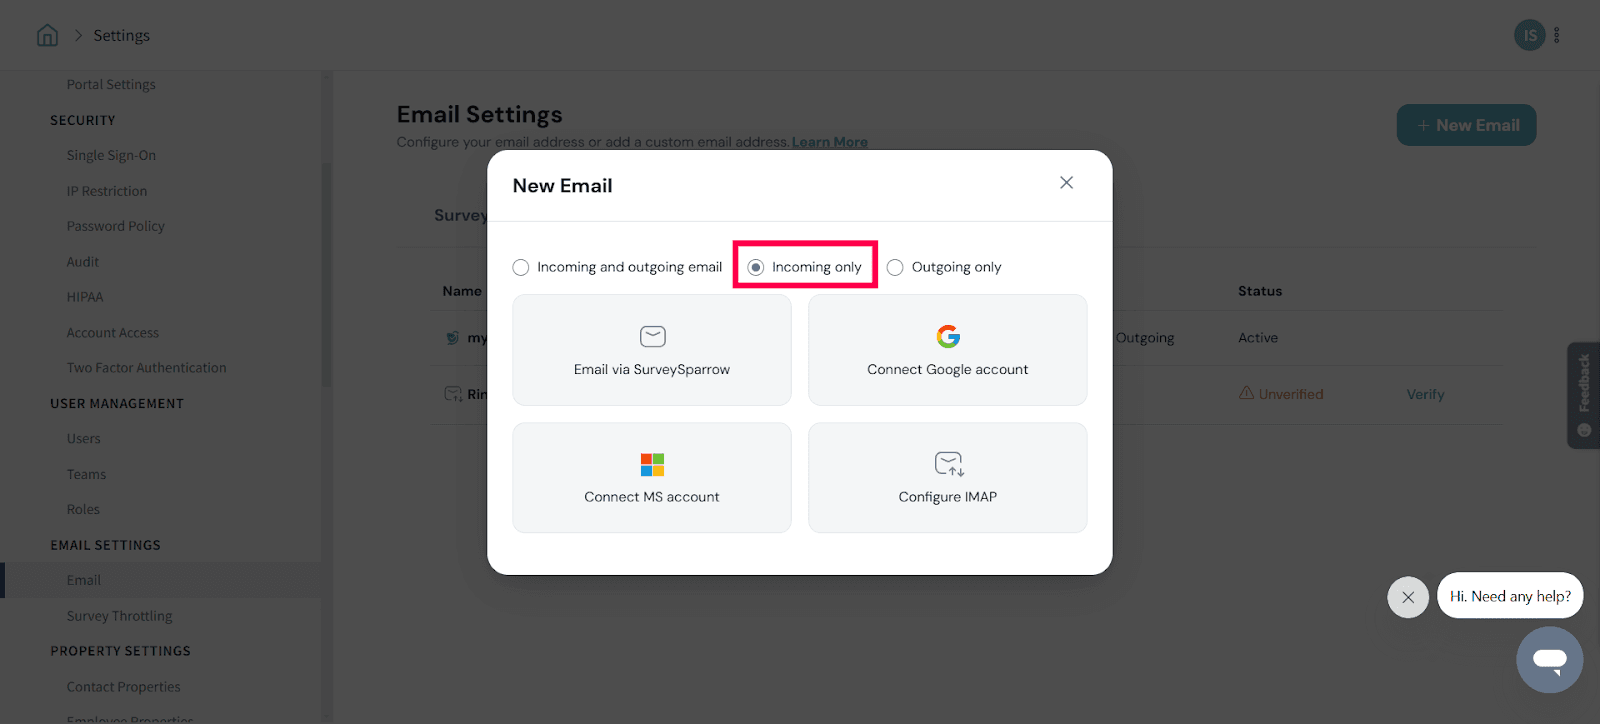
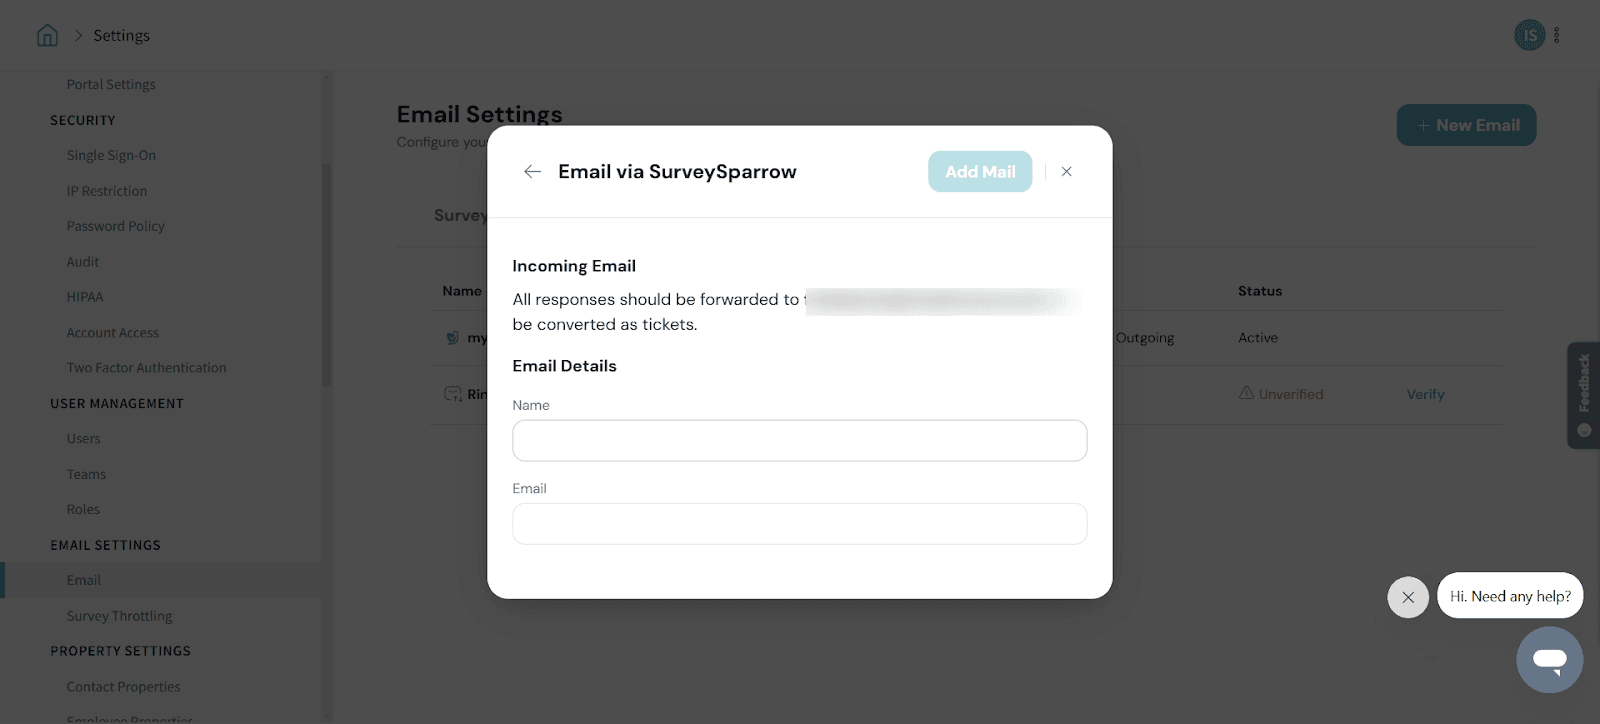
You can follow the Survey level mail configuration’s steps to set up a custom While using your own email via SurveySparrow, you need to forward the received email to the default incoming email id. Only then will the reply be added as a note under the ticket’s thread.
2. To set up an IMAP to receive emails, choose the IMAP option.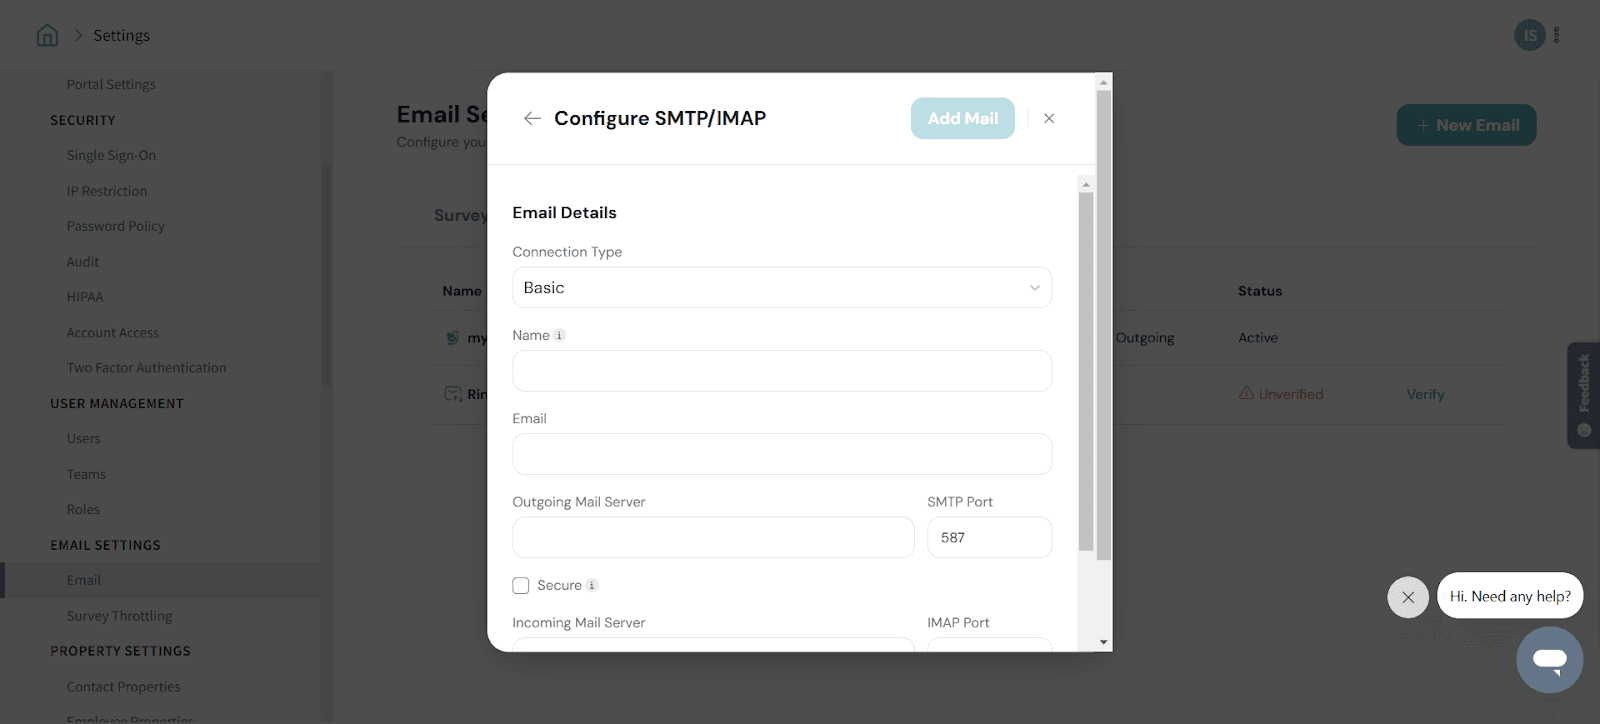
You can follow the survey-level mail configuration steps to set up an SMTP server for ticket management. Except for SMTP, you need to add your IMAP details.
Under Ticket Management, select “Same email for outgoing and incoming” to send and receive emails related to ticket management from the same email.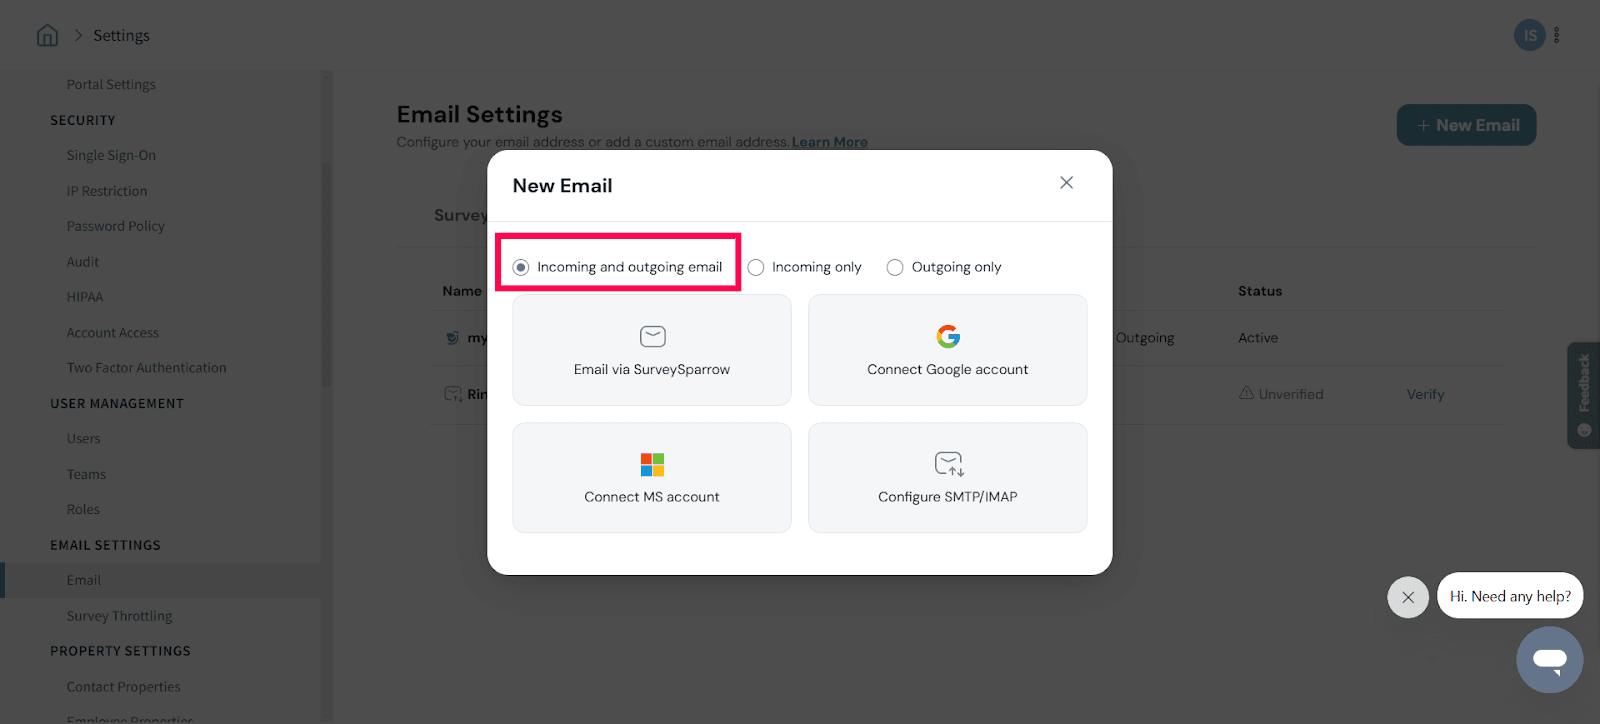
And that’s it! Hope you found this article useful.
Please reach out to us if you have any questions. We are just a chat away!
Related to
Have more questions? Submit a request
Powered By SparrowDesk