
Exporting Survey Responses
Once your survey is live and the responses start rolling in, the next step is getting that data out of SurveySparrow so you can analyze, present, or archive it. Whether you want to slice and dice the numbers in a tool like Tableau, Excel, or SPSS, or simply keep a copy on your drive, it only takes a few clicks.
SurveySparrow gives you a single hub where you can export a high-level overview, a formatted report, or the raw response data — in the format that suits your workflow. You can also fine-tune exactly which columns and fields are included, push data straight to a connected destination, share a live report link, and even schedule recurring exports to land in your inbox automatically. In this article, we'll cover everything you need to know.
Exporting responses
1. Open your survey and head to the Results section in the top navigation.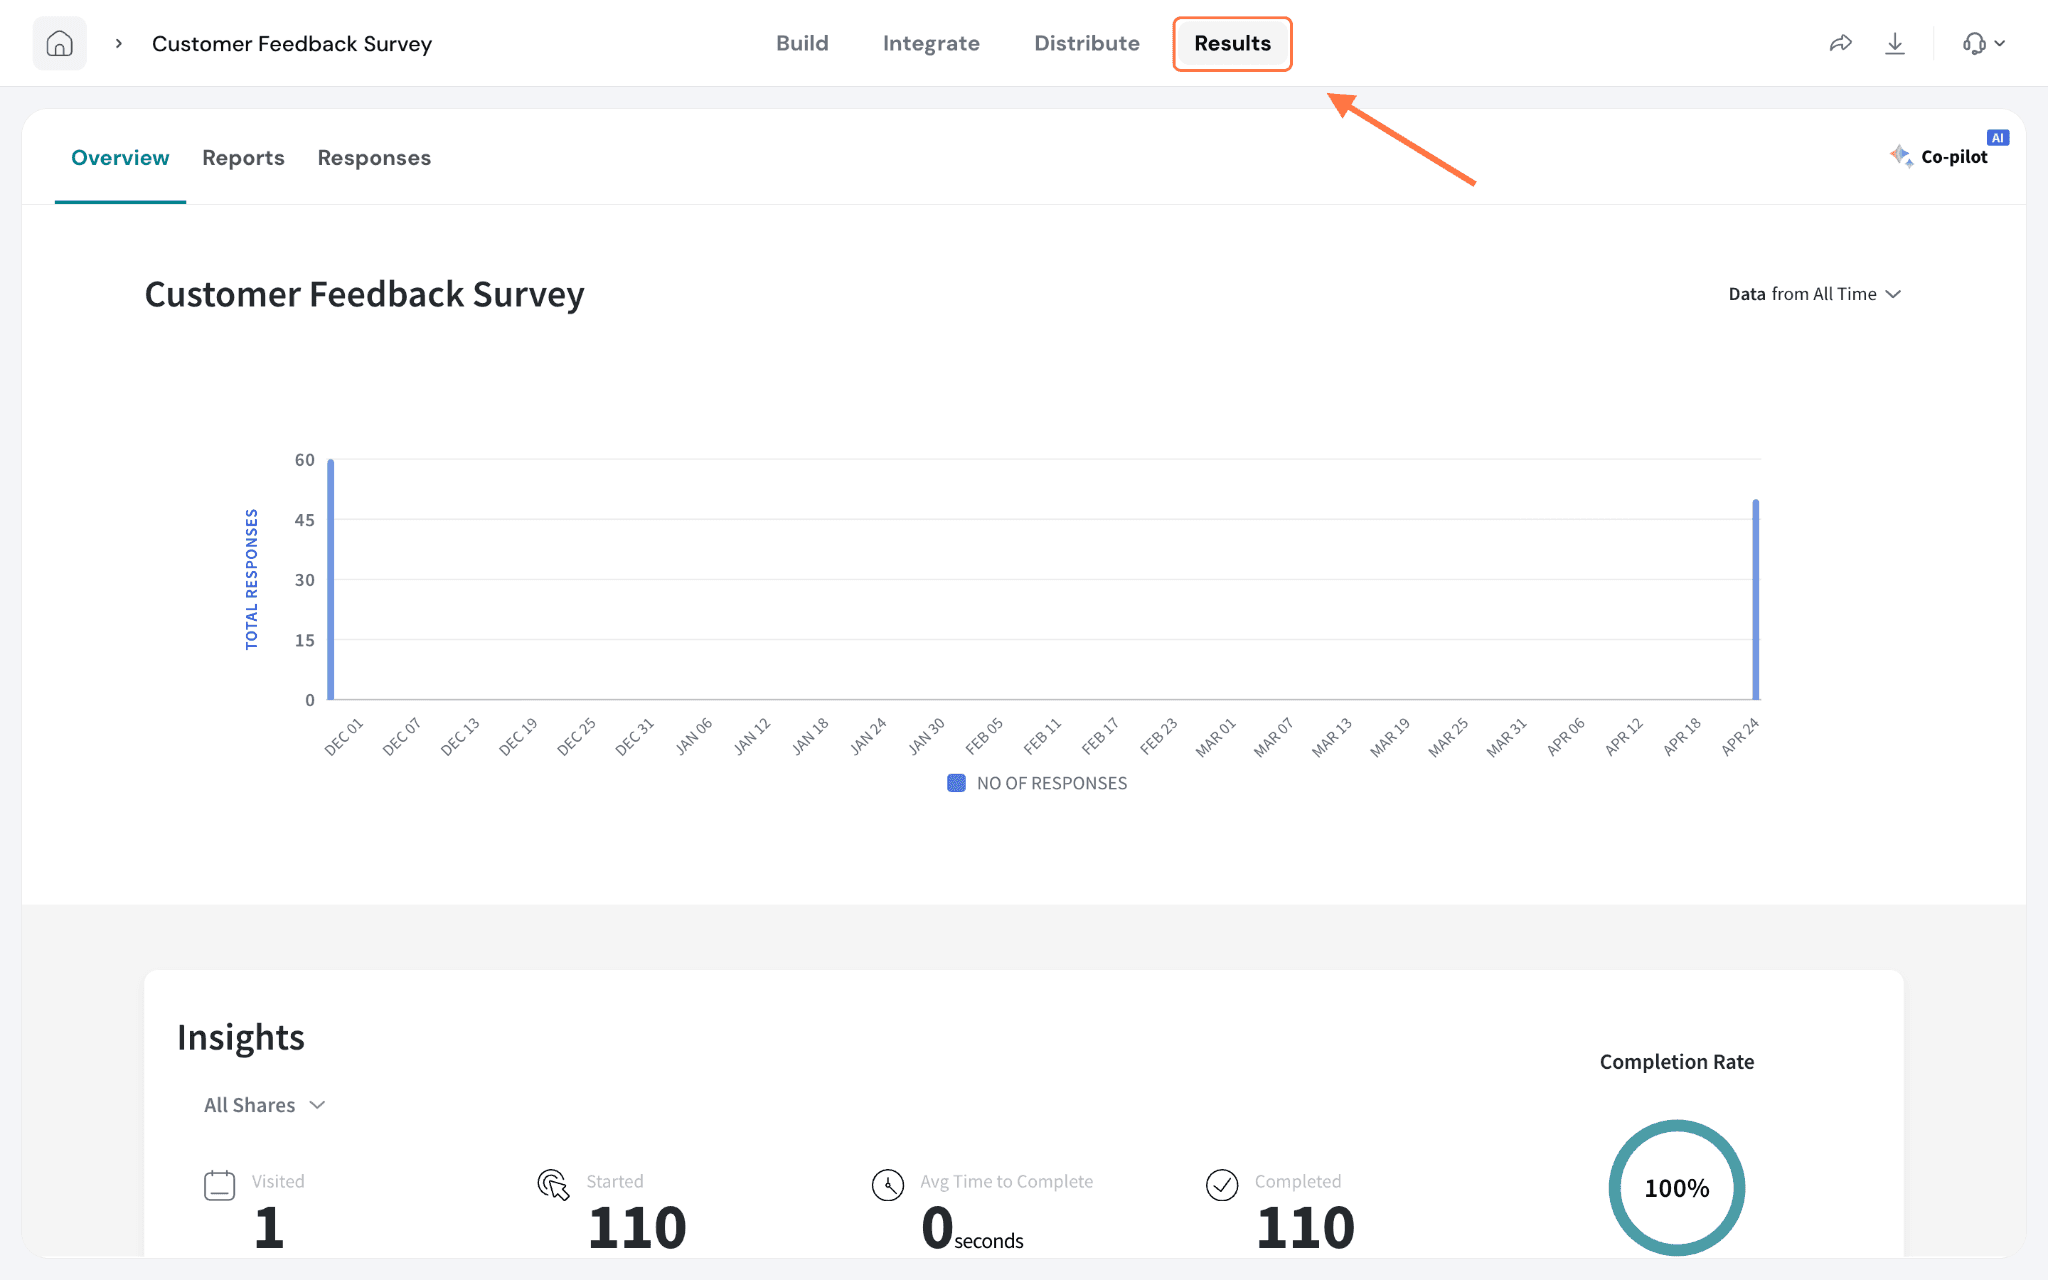
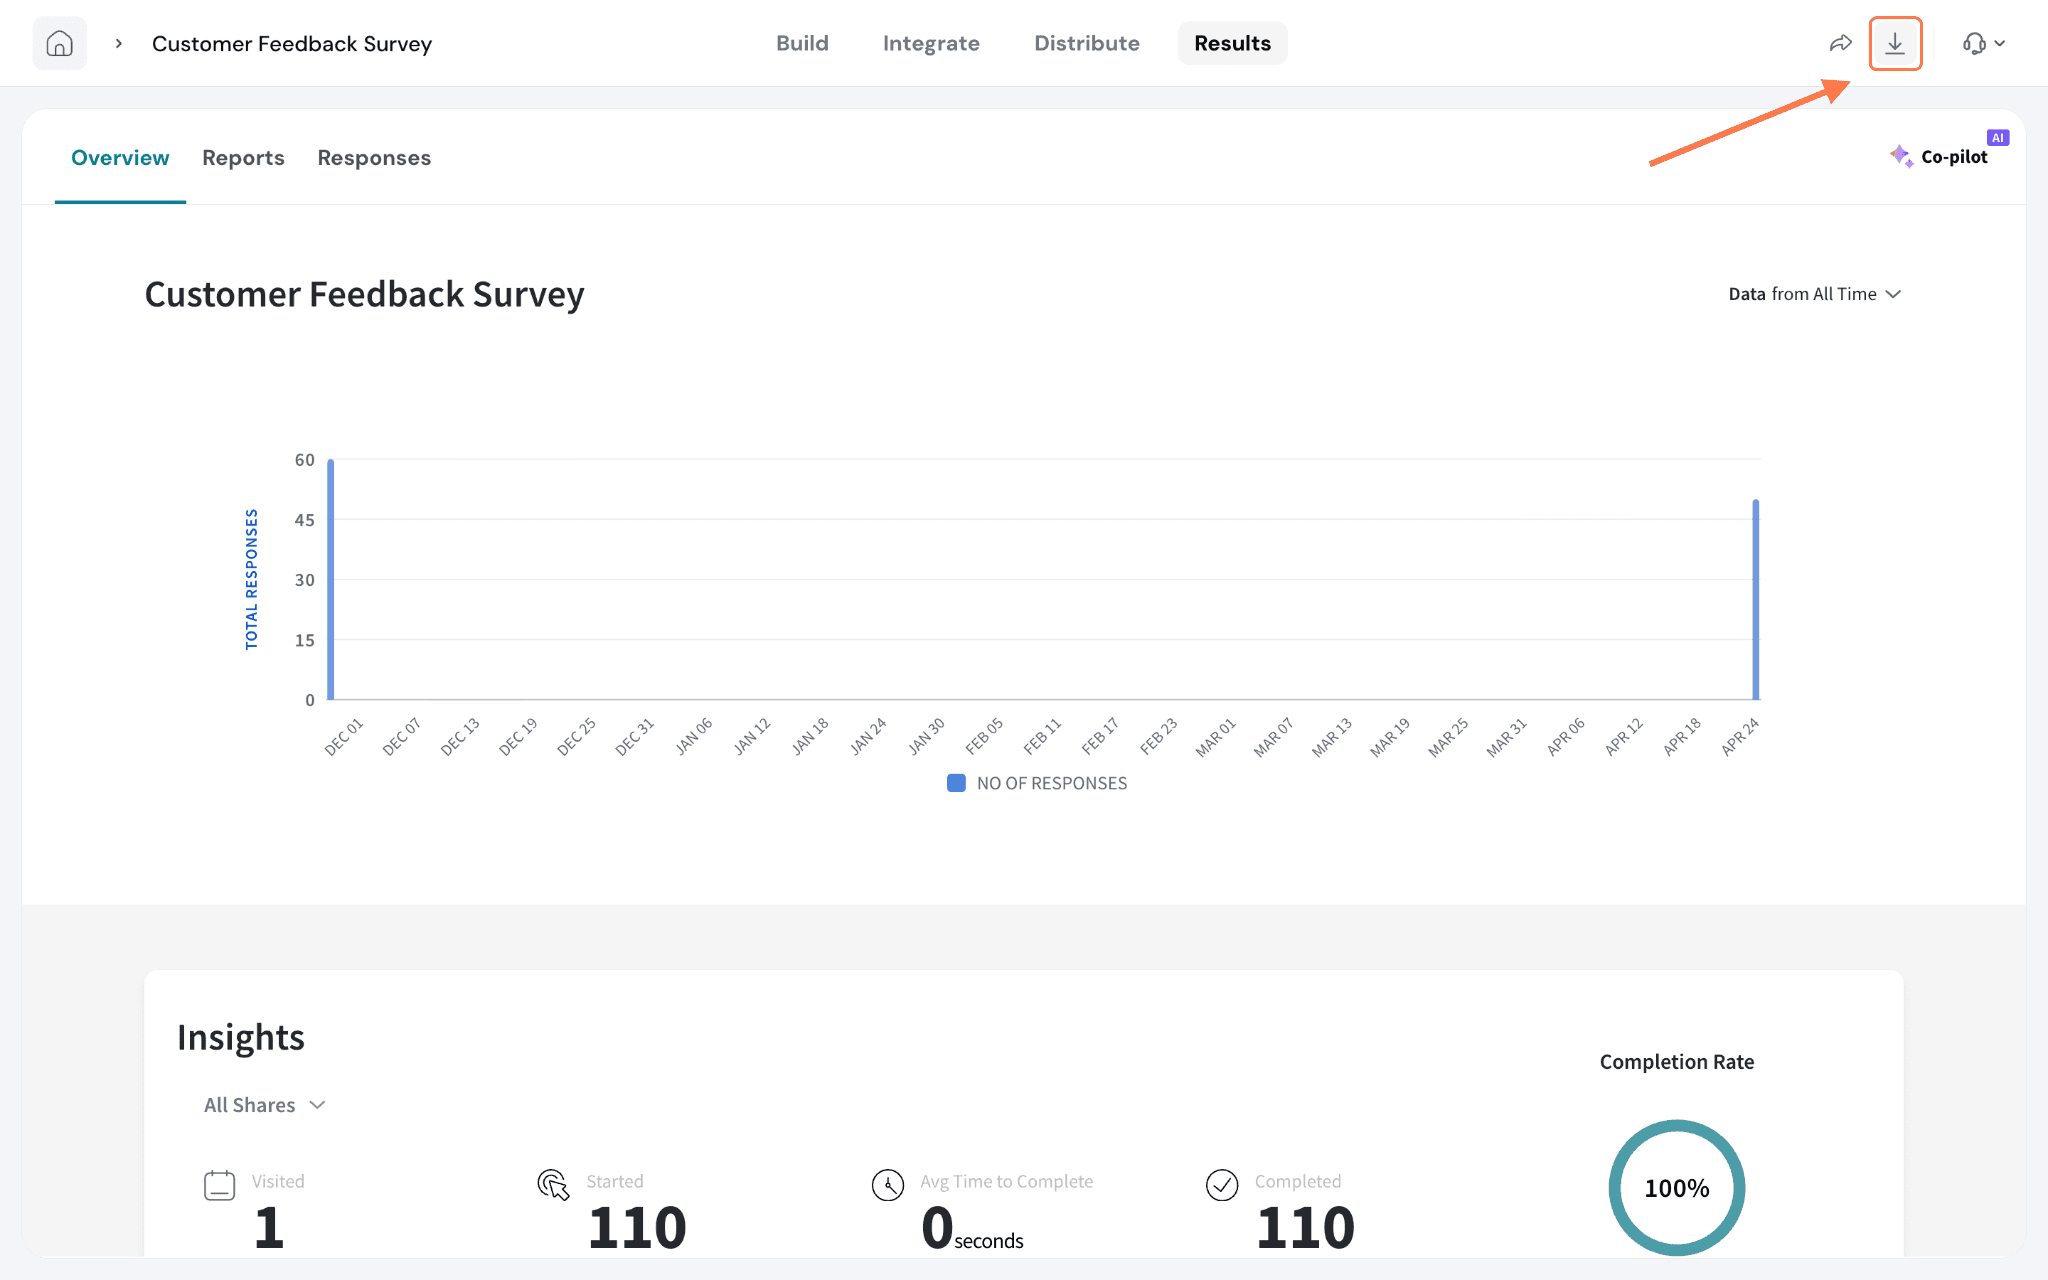
The Overview tab lets you download a summary of your results as a PDF or a PPTX (PowerPoint) file. The Report tab works the same way for your formatted report. Just click the download icon next to the format you want.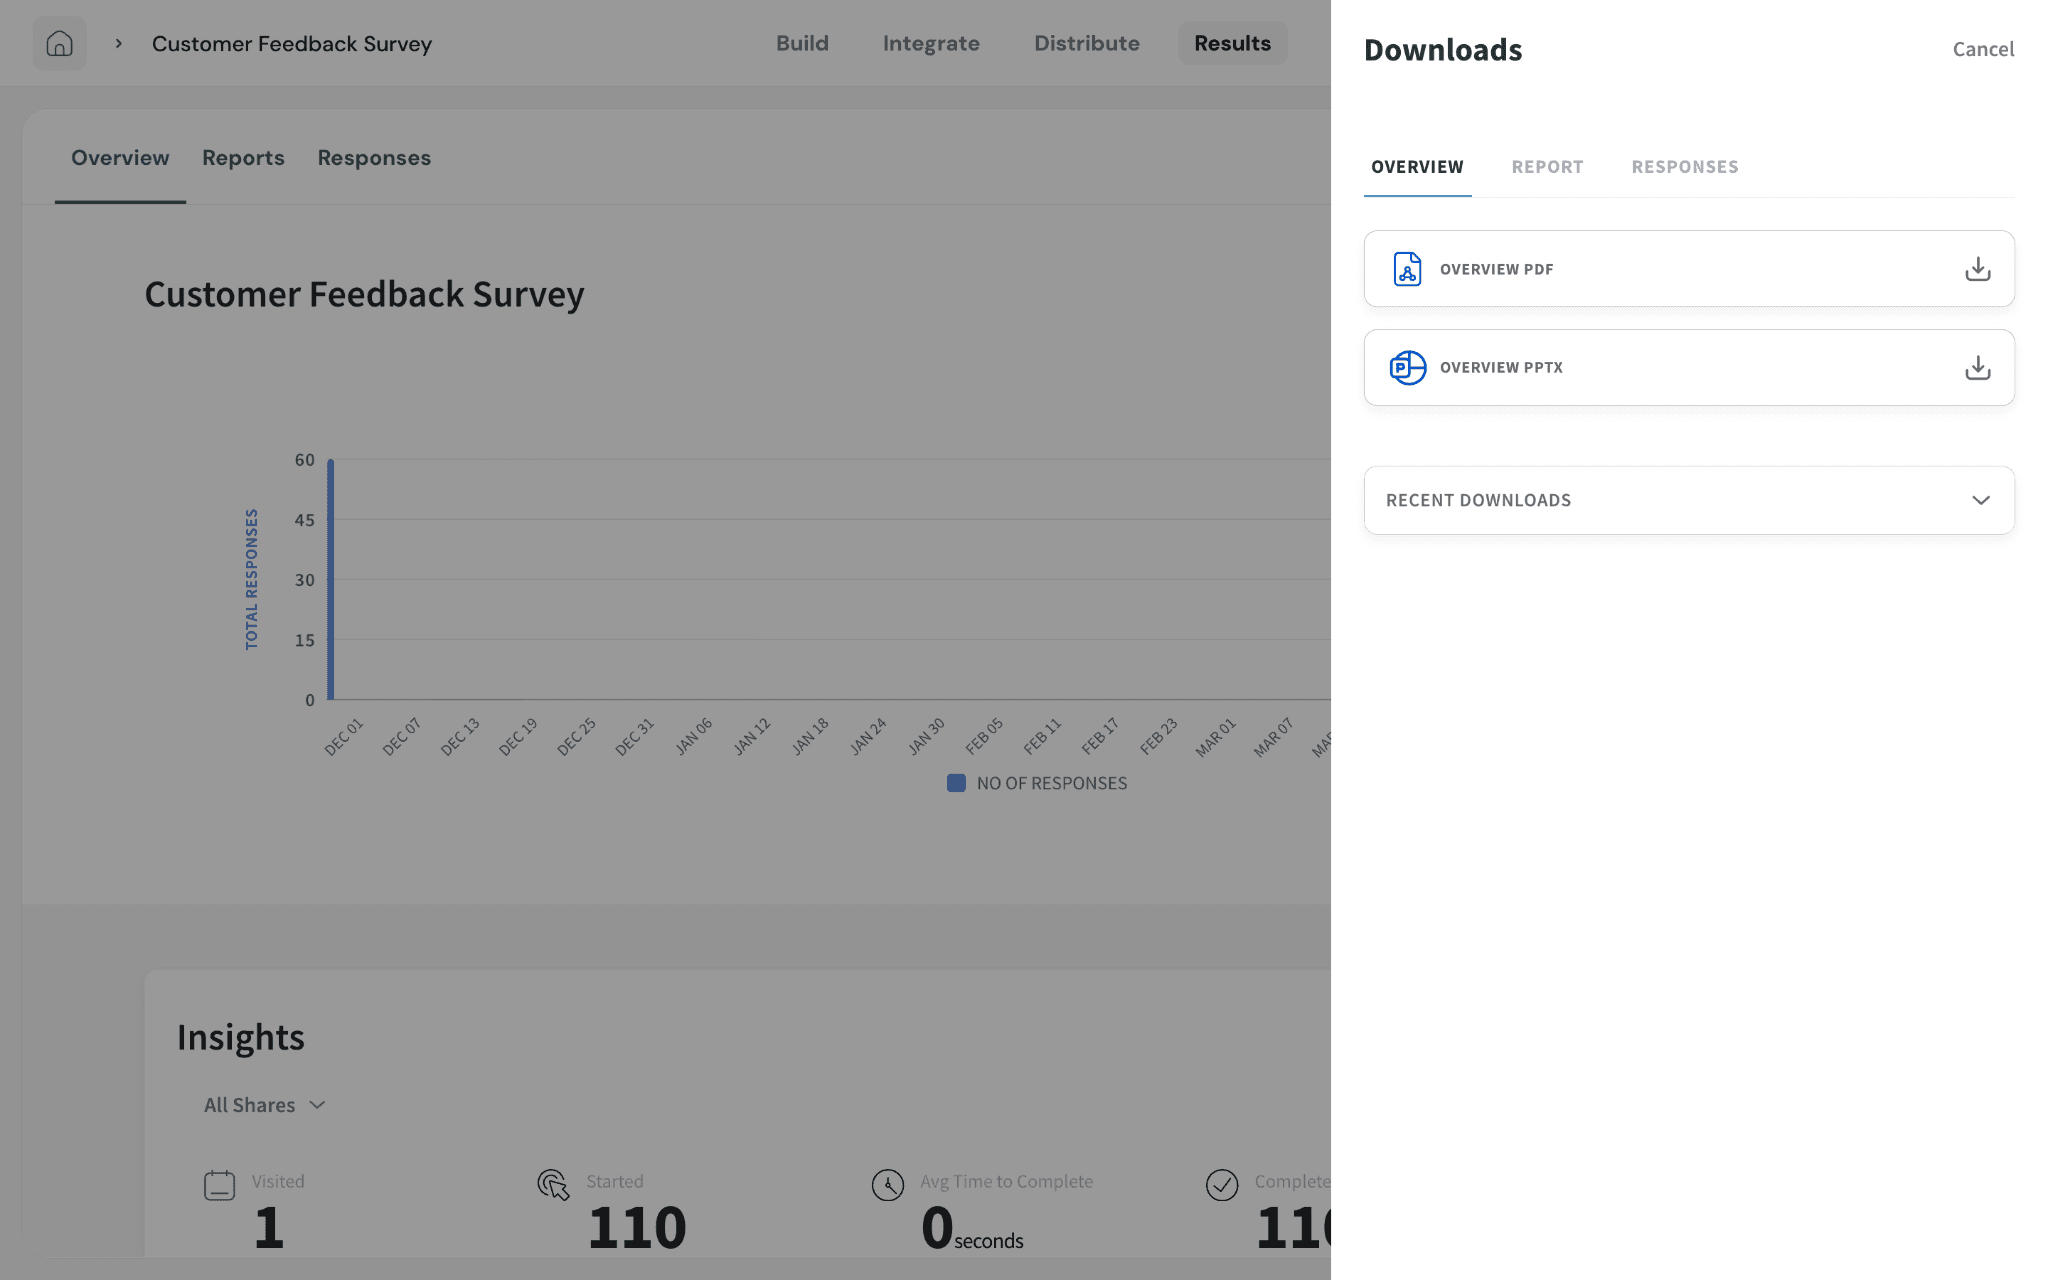
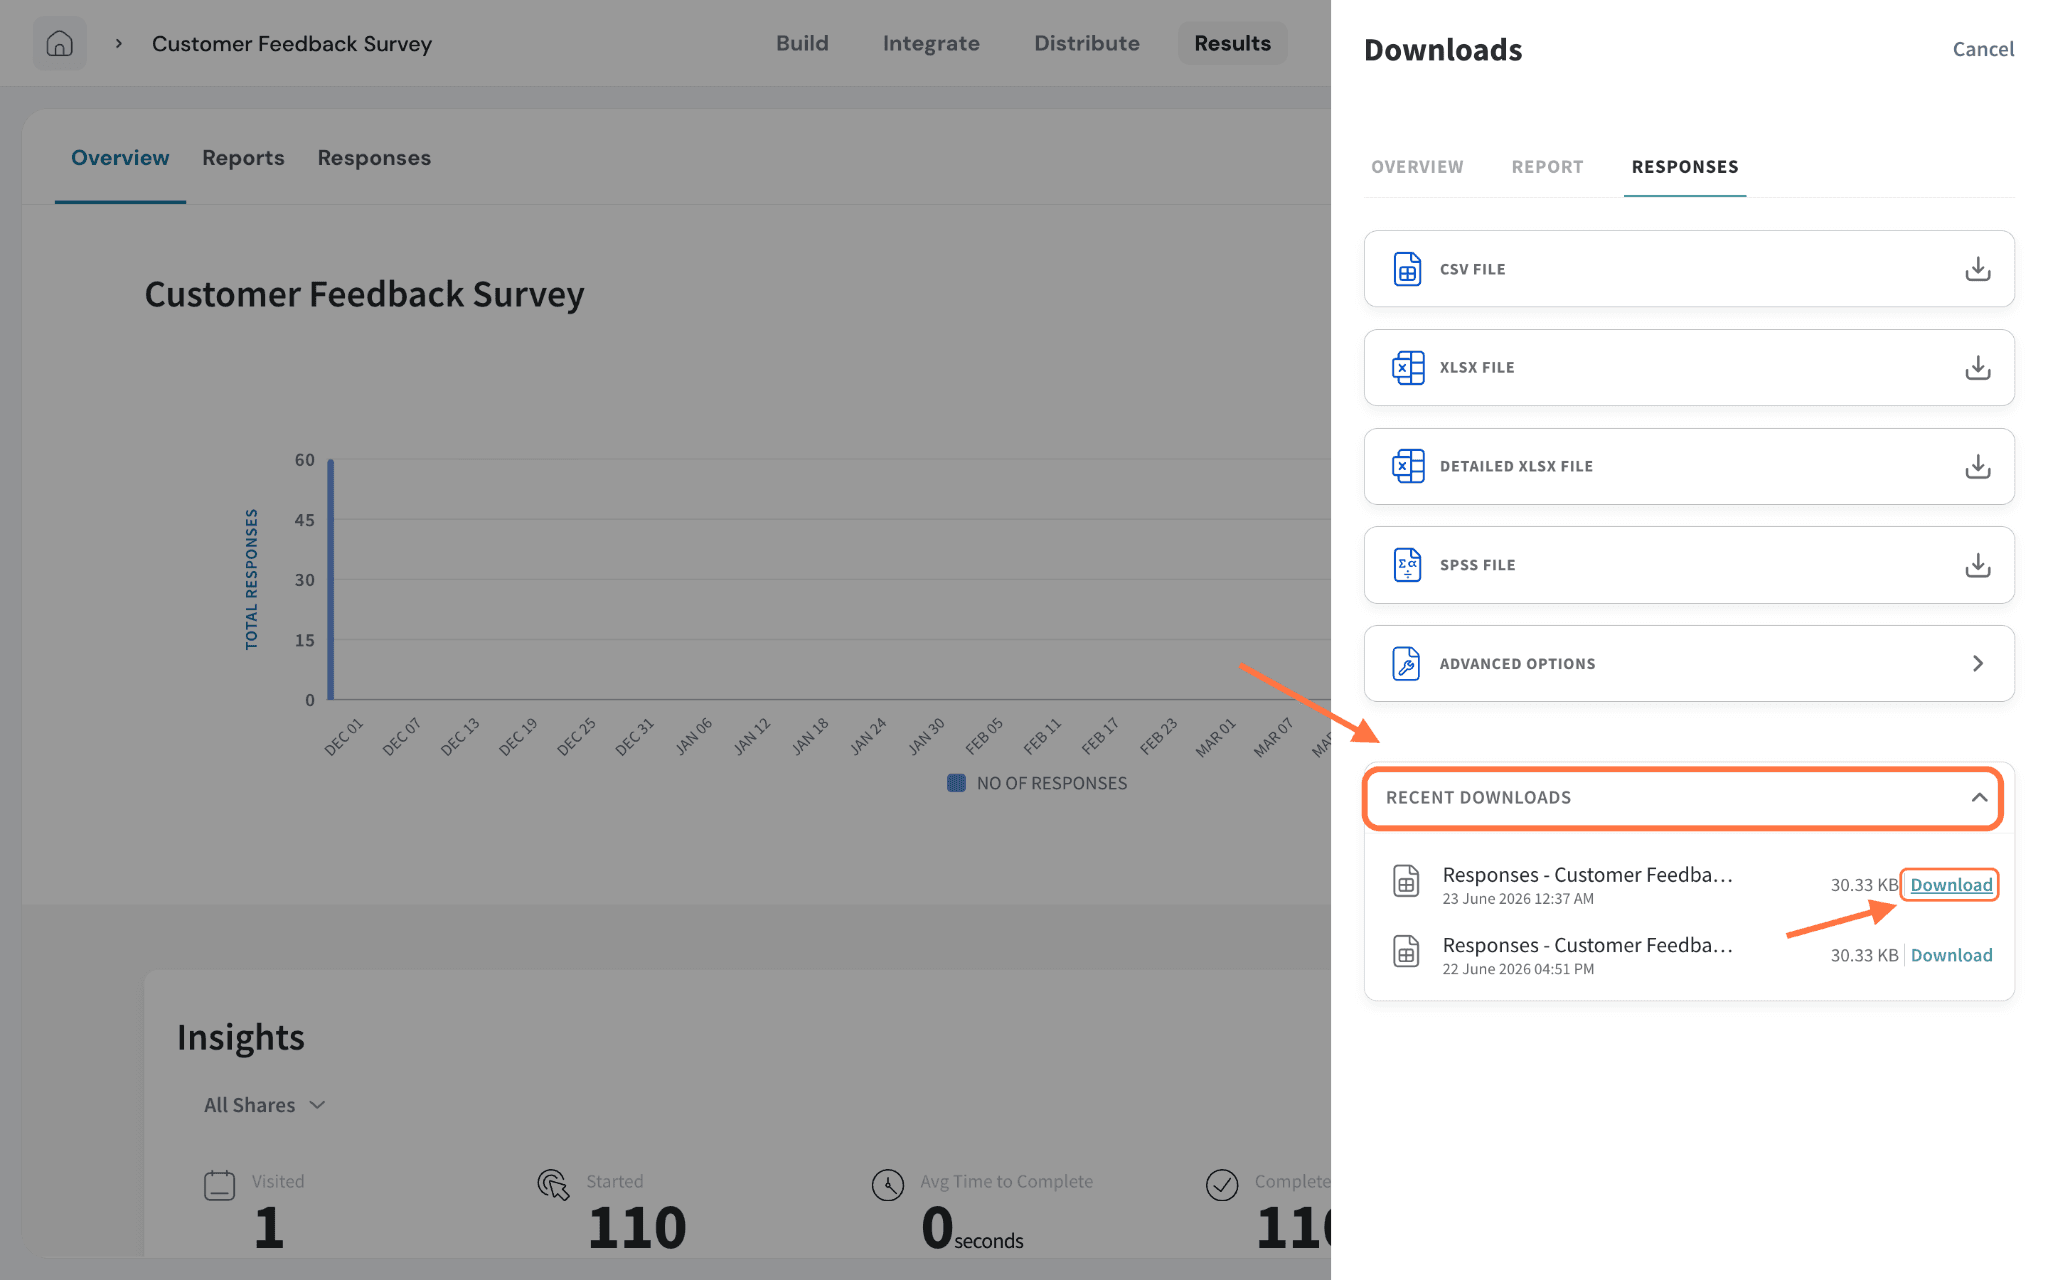
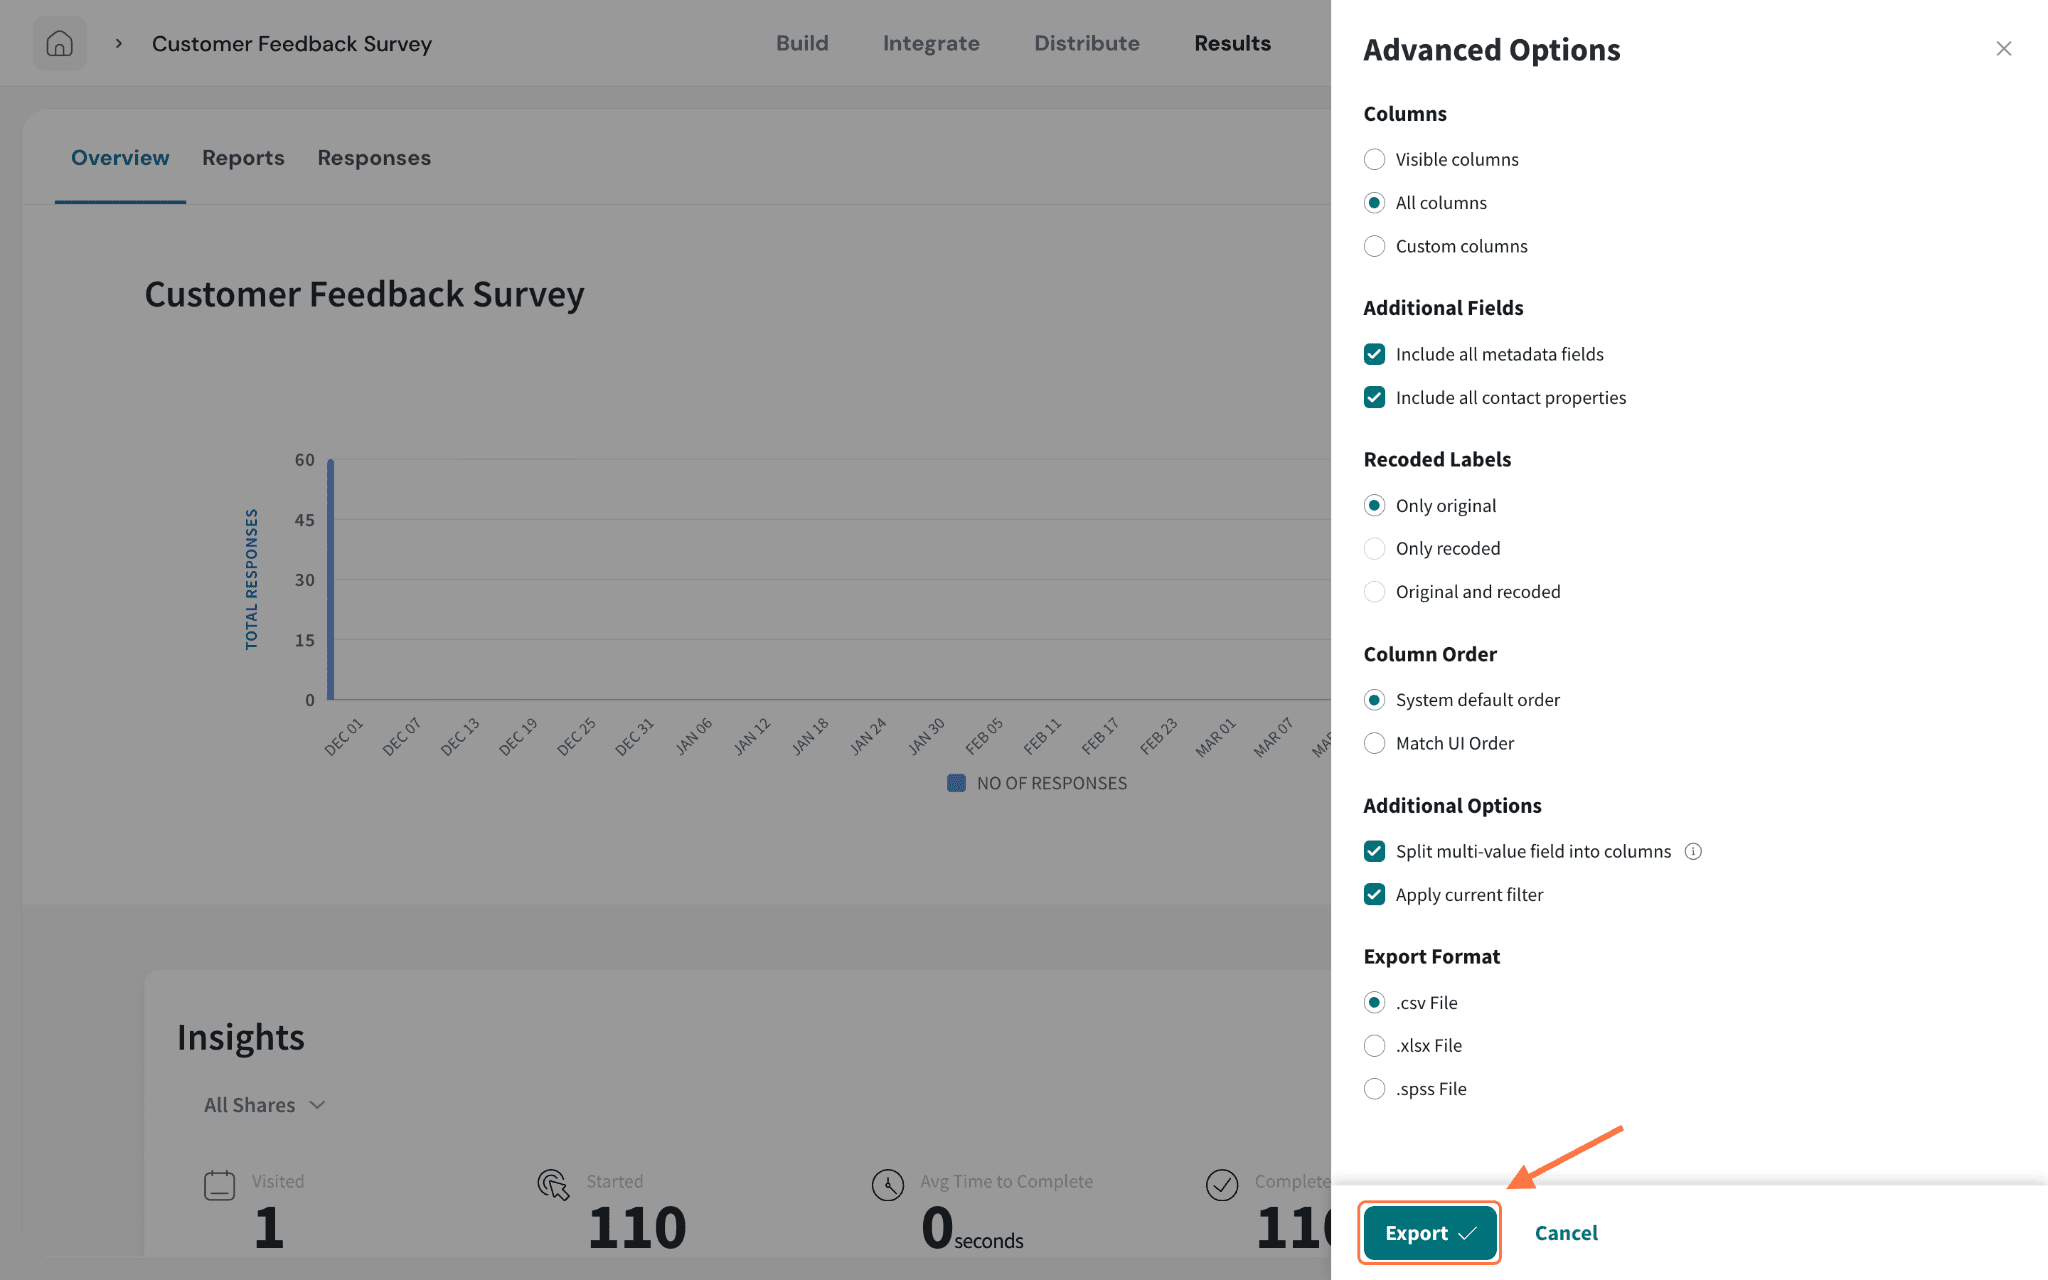
- CSV File
- XLSX File
- Detailed XLSX File
- SPSS File
Click any format and your file is generated within seconds.

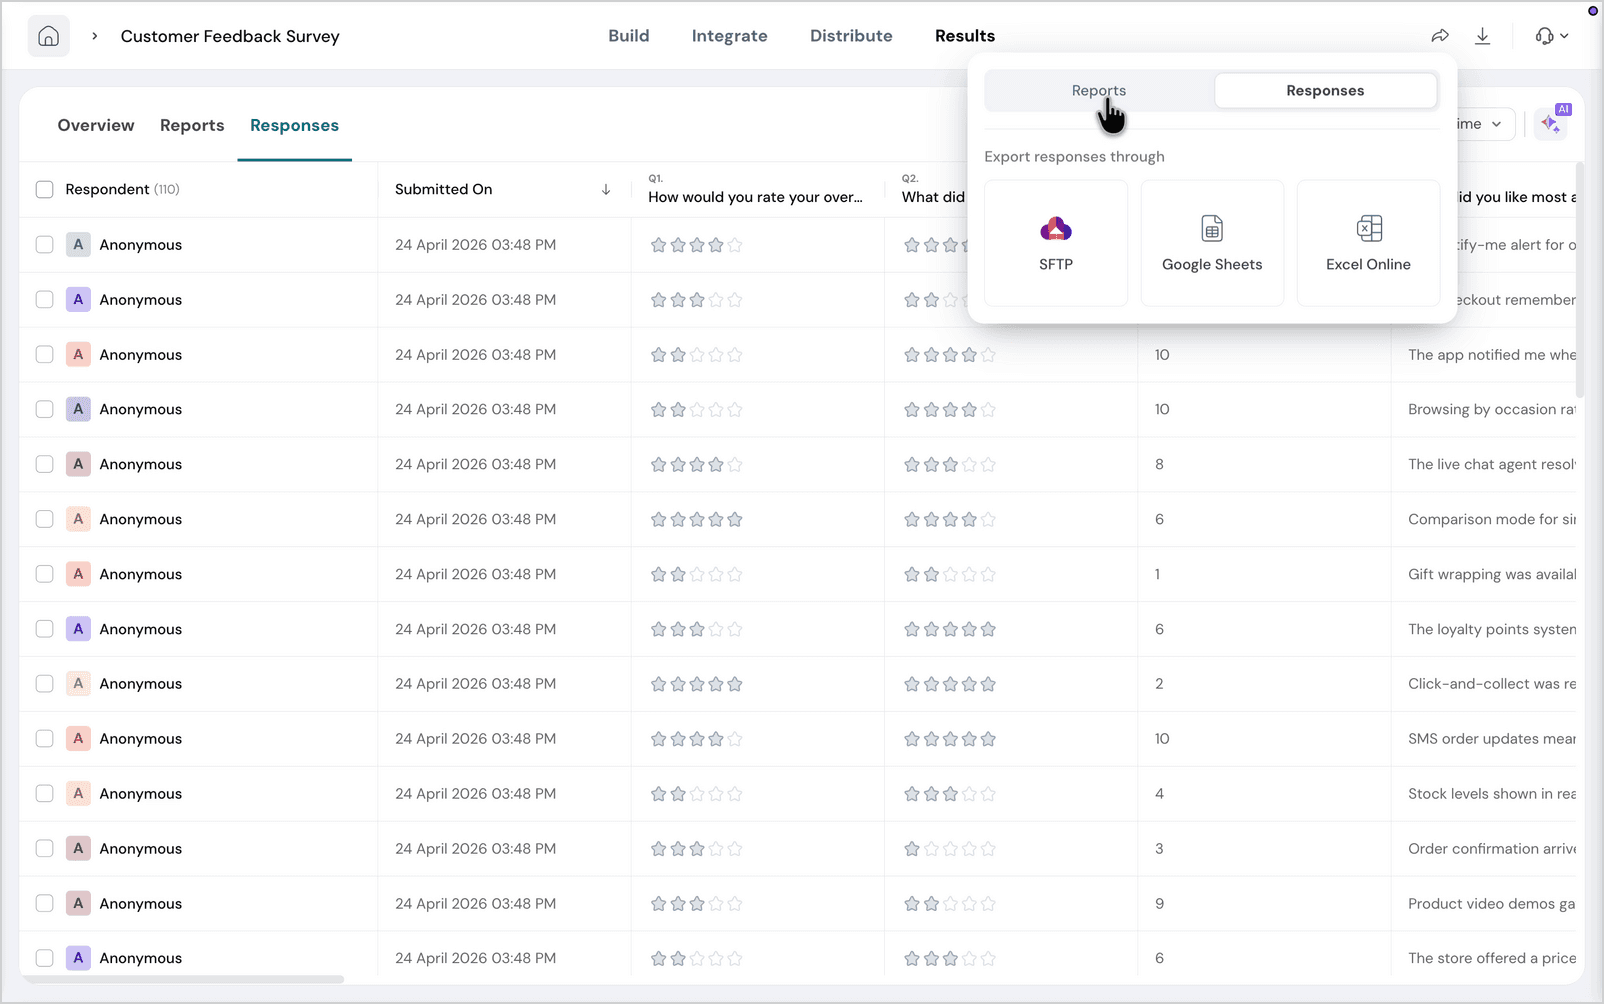
- SFTP
- Google Sheets
- Excel Online
Sharing reports
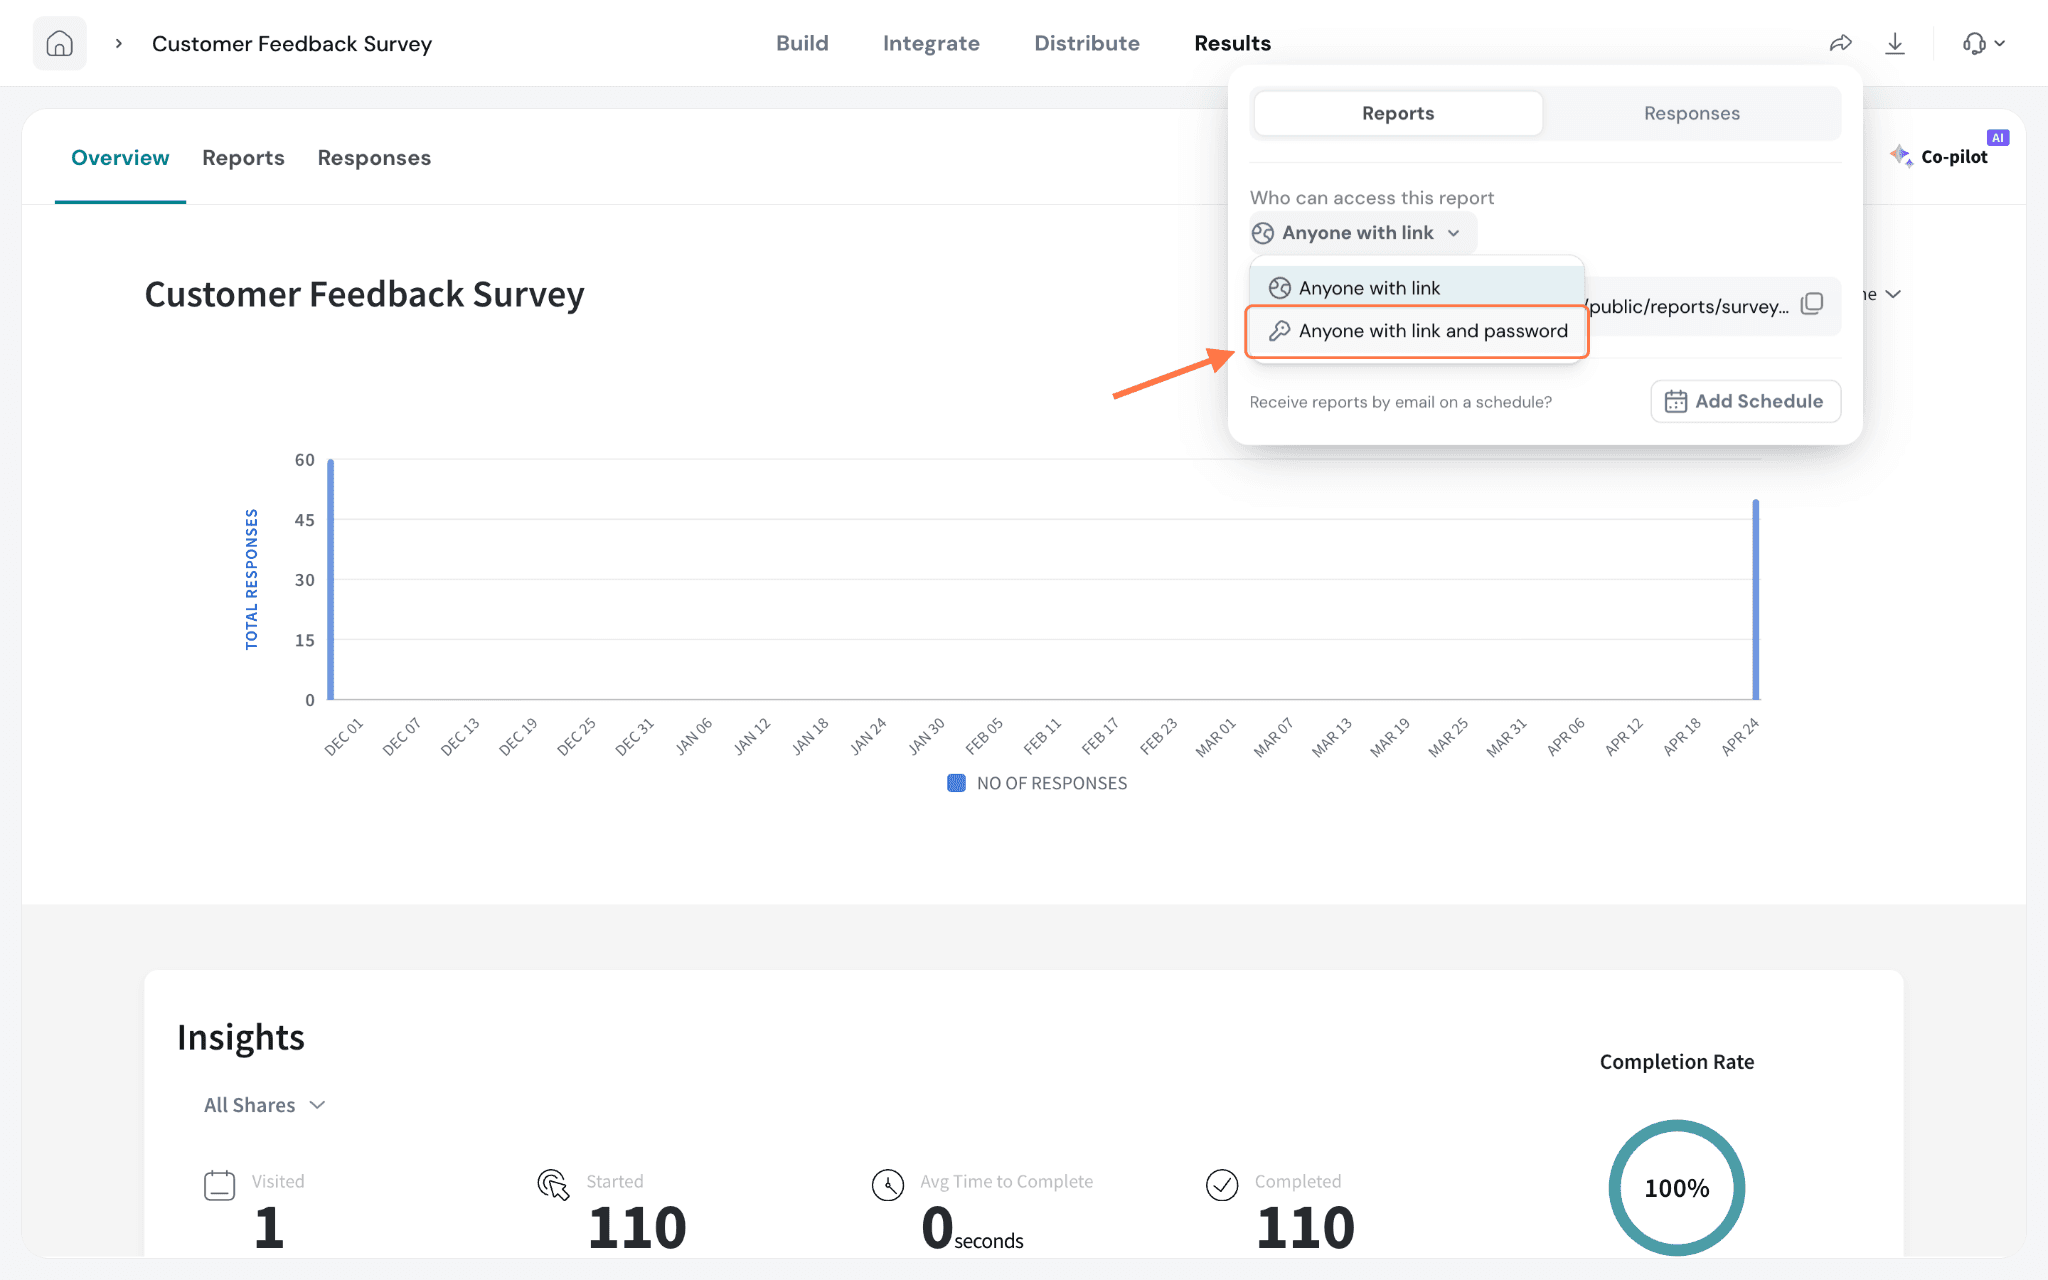
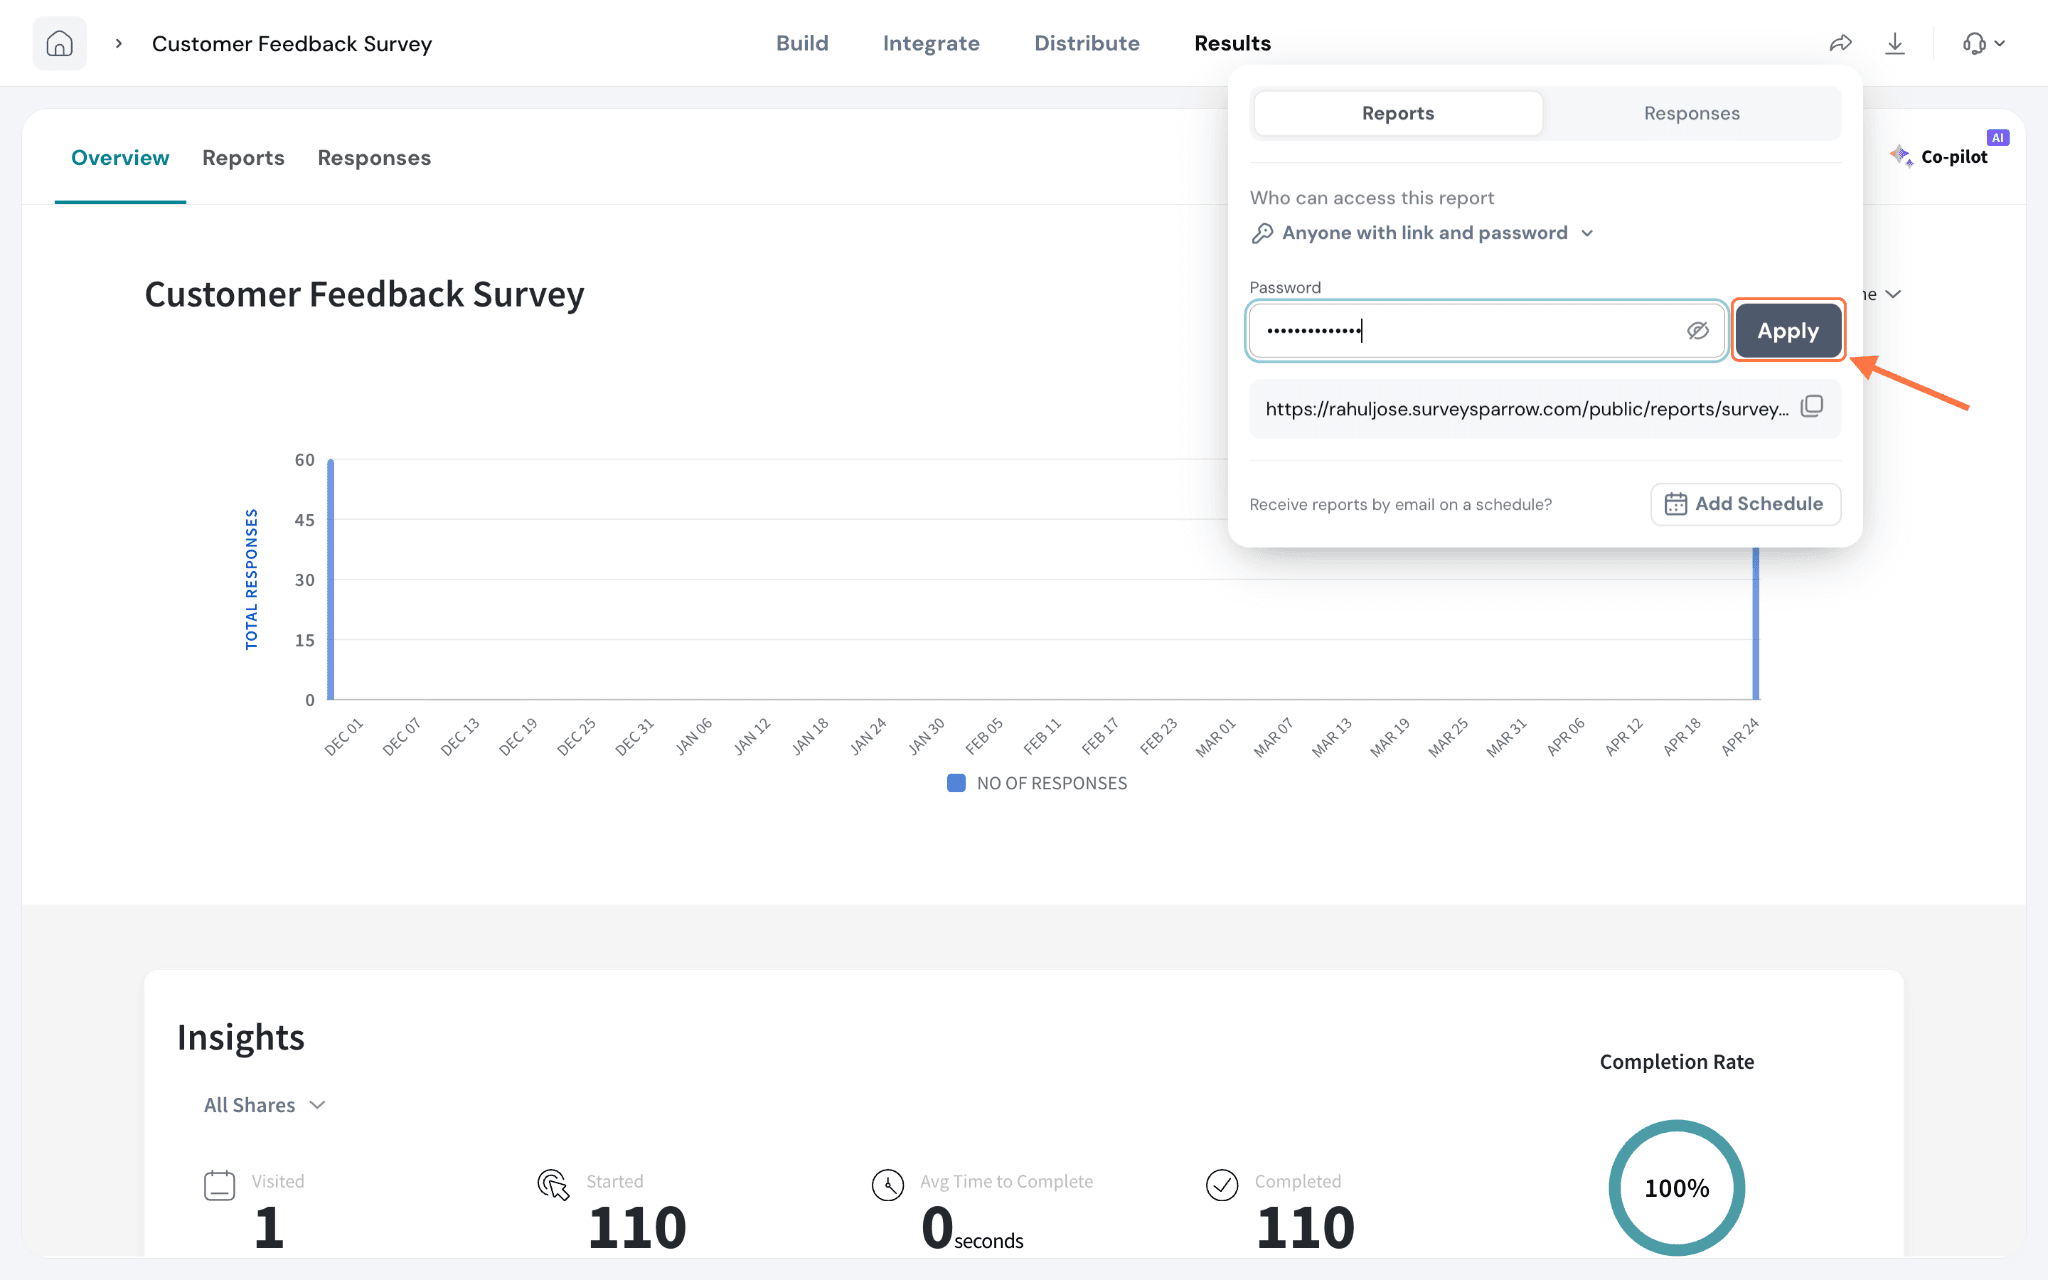
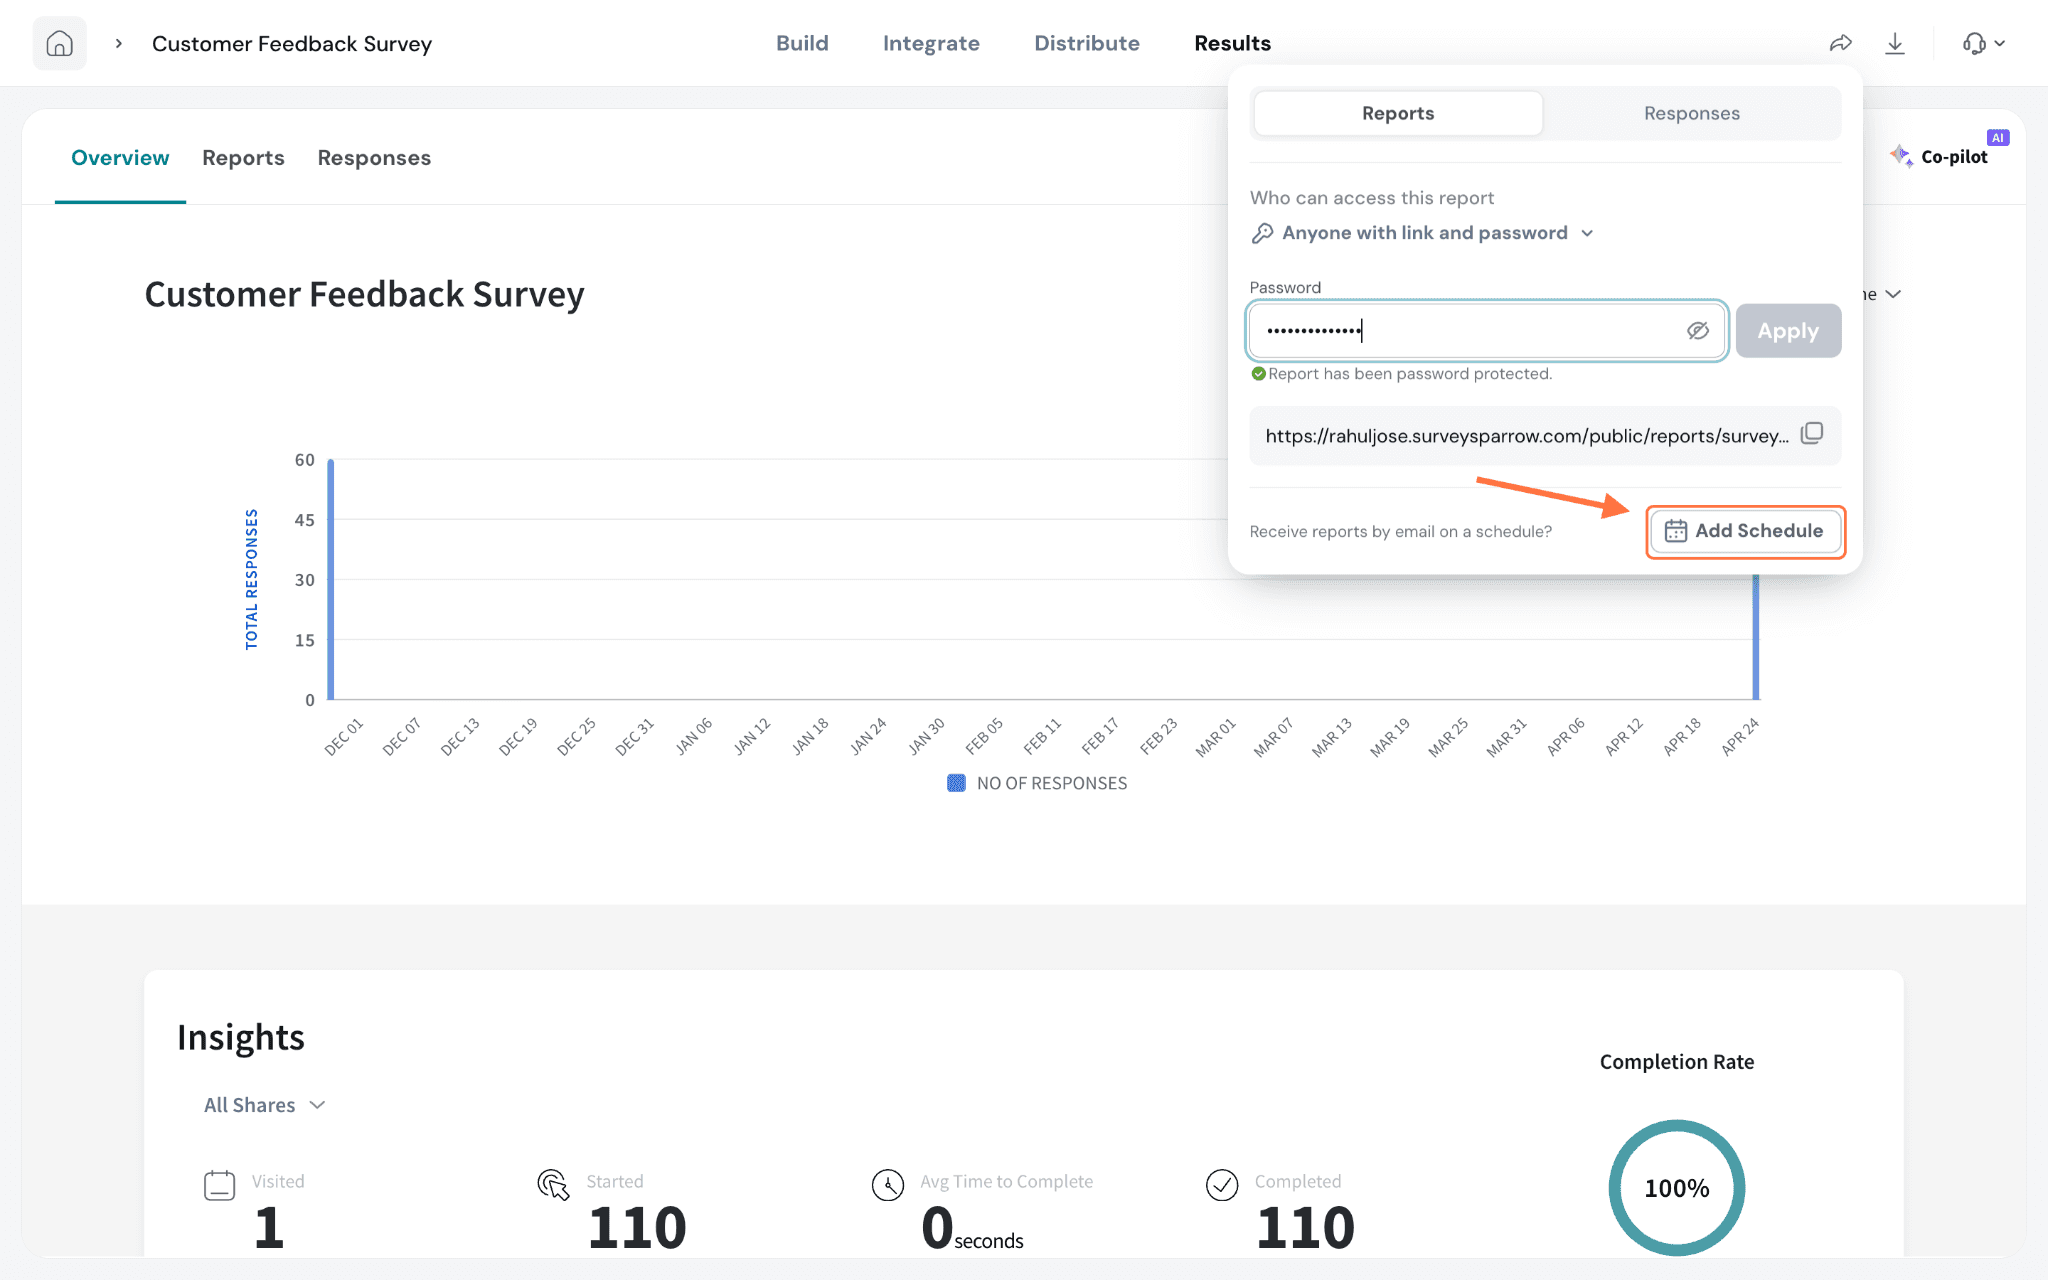
1. You can share a live overview of your report with as many people as you like. Click the share icon in the top-right of the Results page, then choose Reports.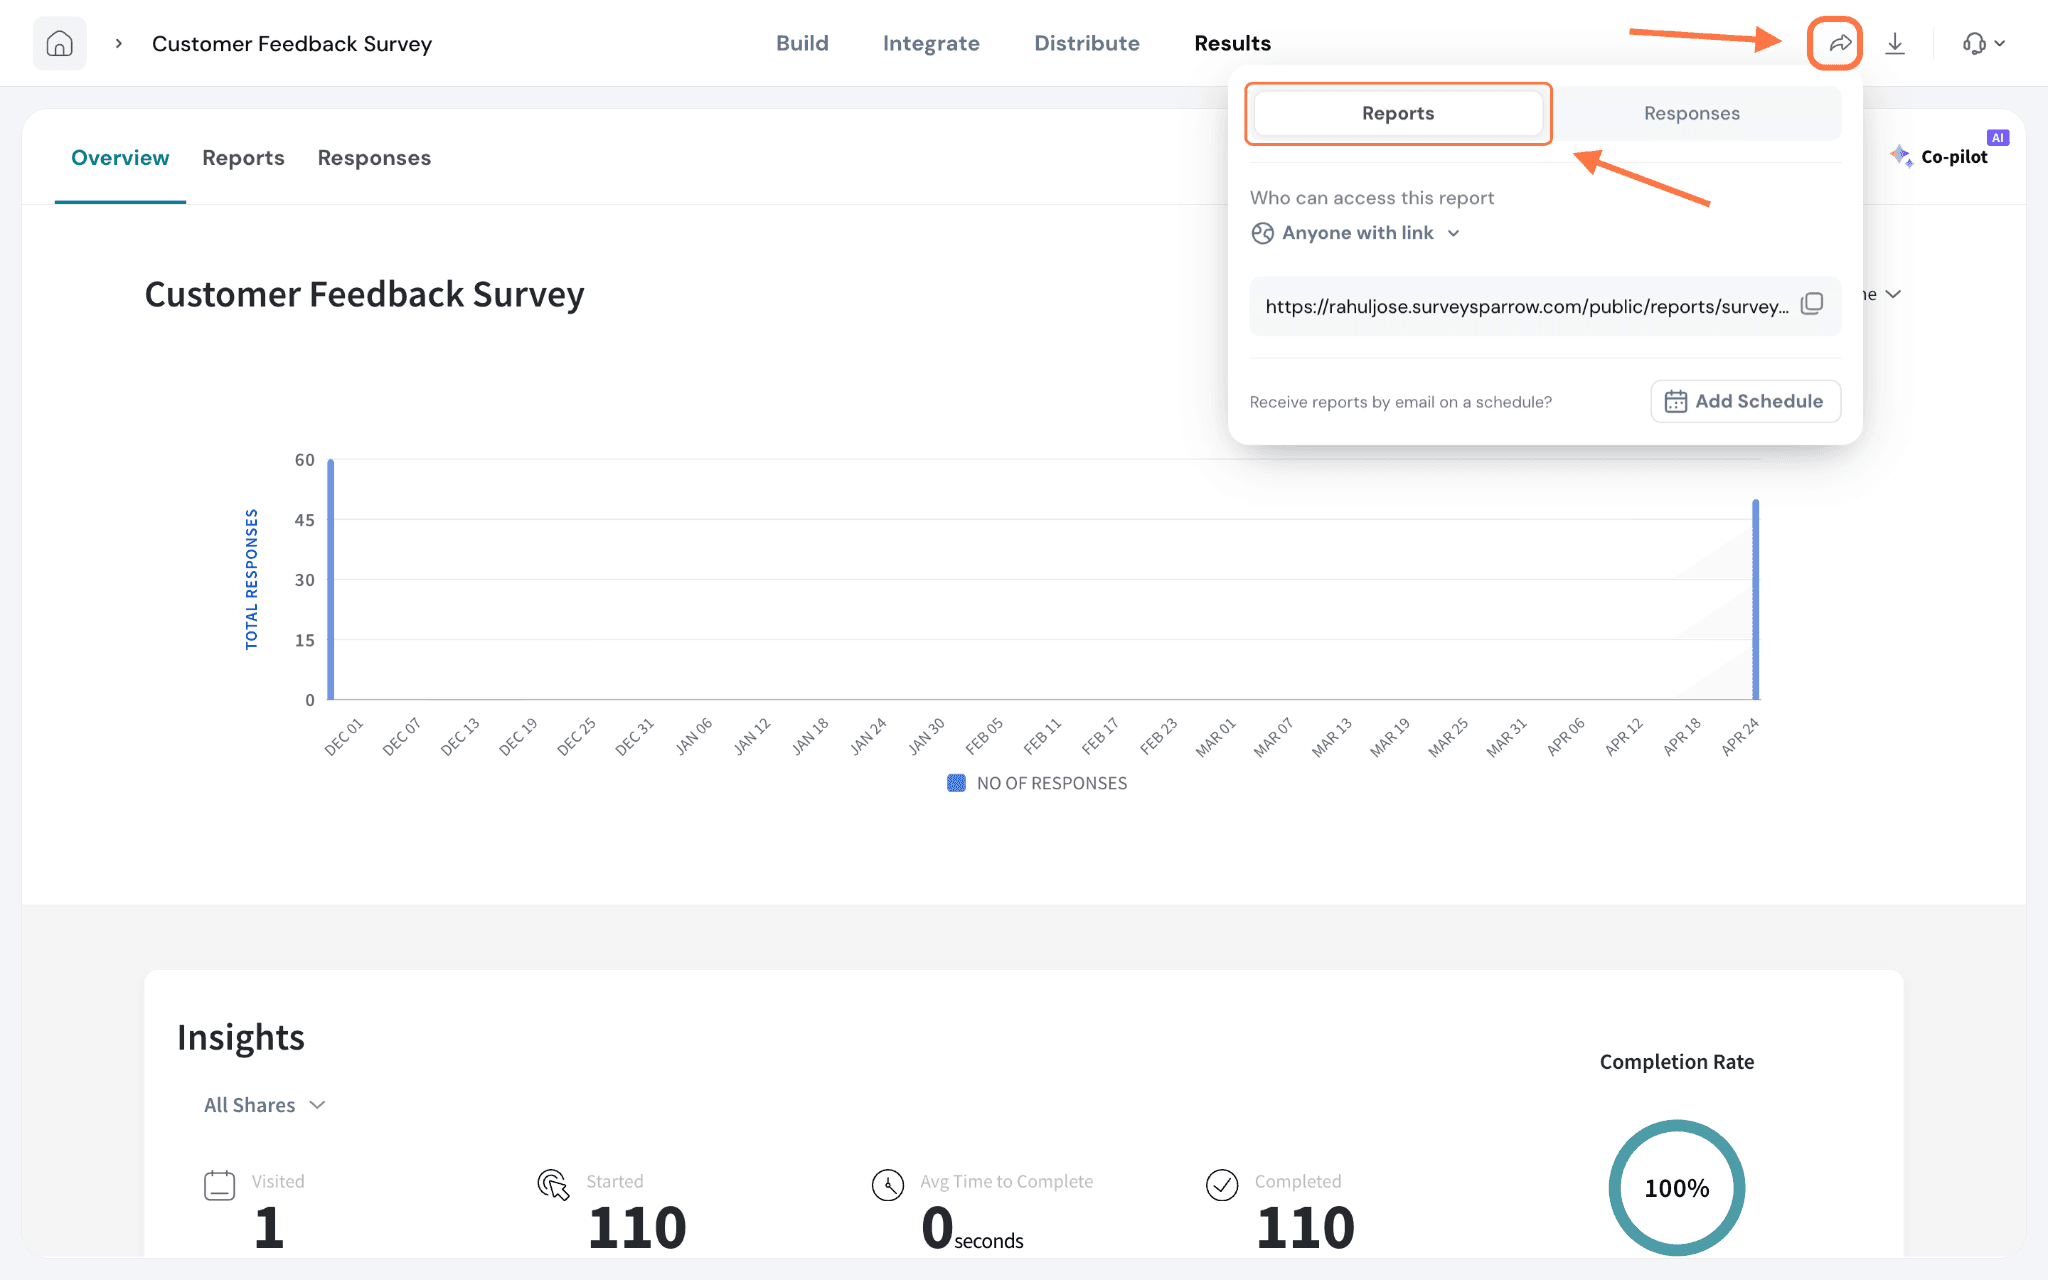
- Schedule Name — a label so you can find it later.
- Schedule Frequency — every week, month, or year, with the specific day and time it should run.
- Response Collected — the time window of responses to include (for example, up to the scheduled day).
- Reports — include the Overview and/or the Default Report.
- Responses Format — choose which responses to send and in which format (.csv, .xlsx, or .spss).
- Additional Options — such as splitting multi-value fields into columns.
- Add Emails — the recipients who should receive each scheduled report.
Click Save and your reports will be delivered automatically on the cadence you set.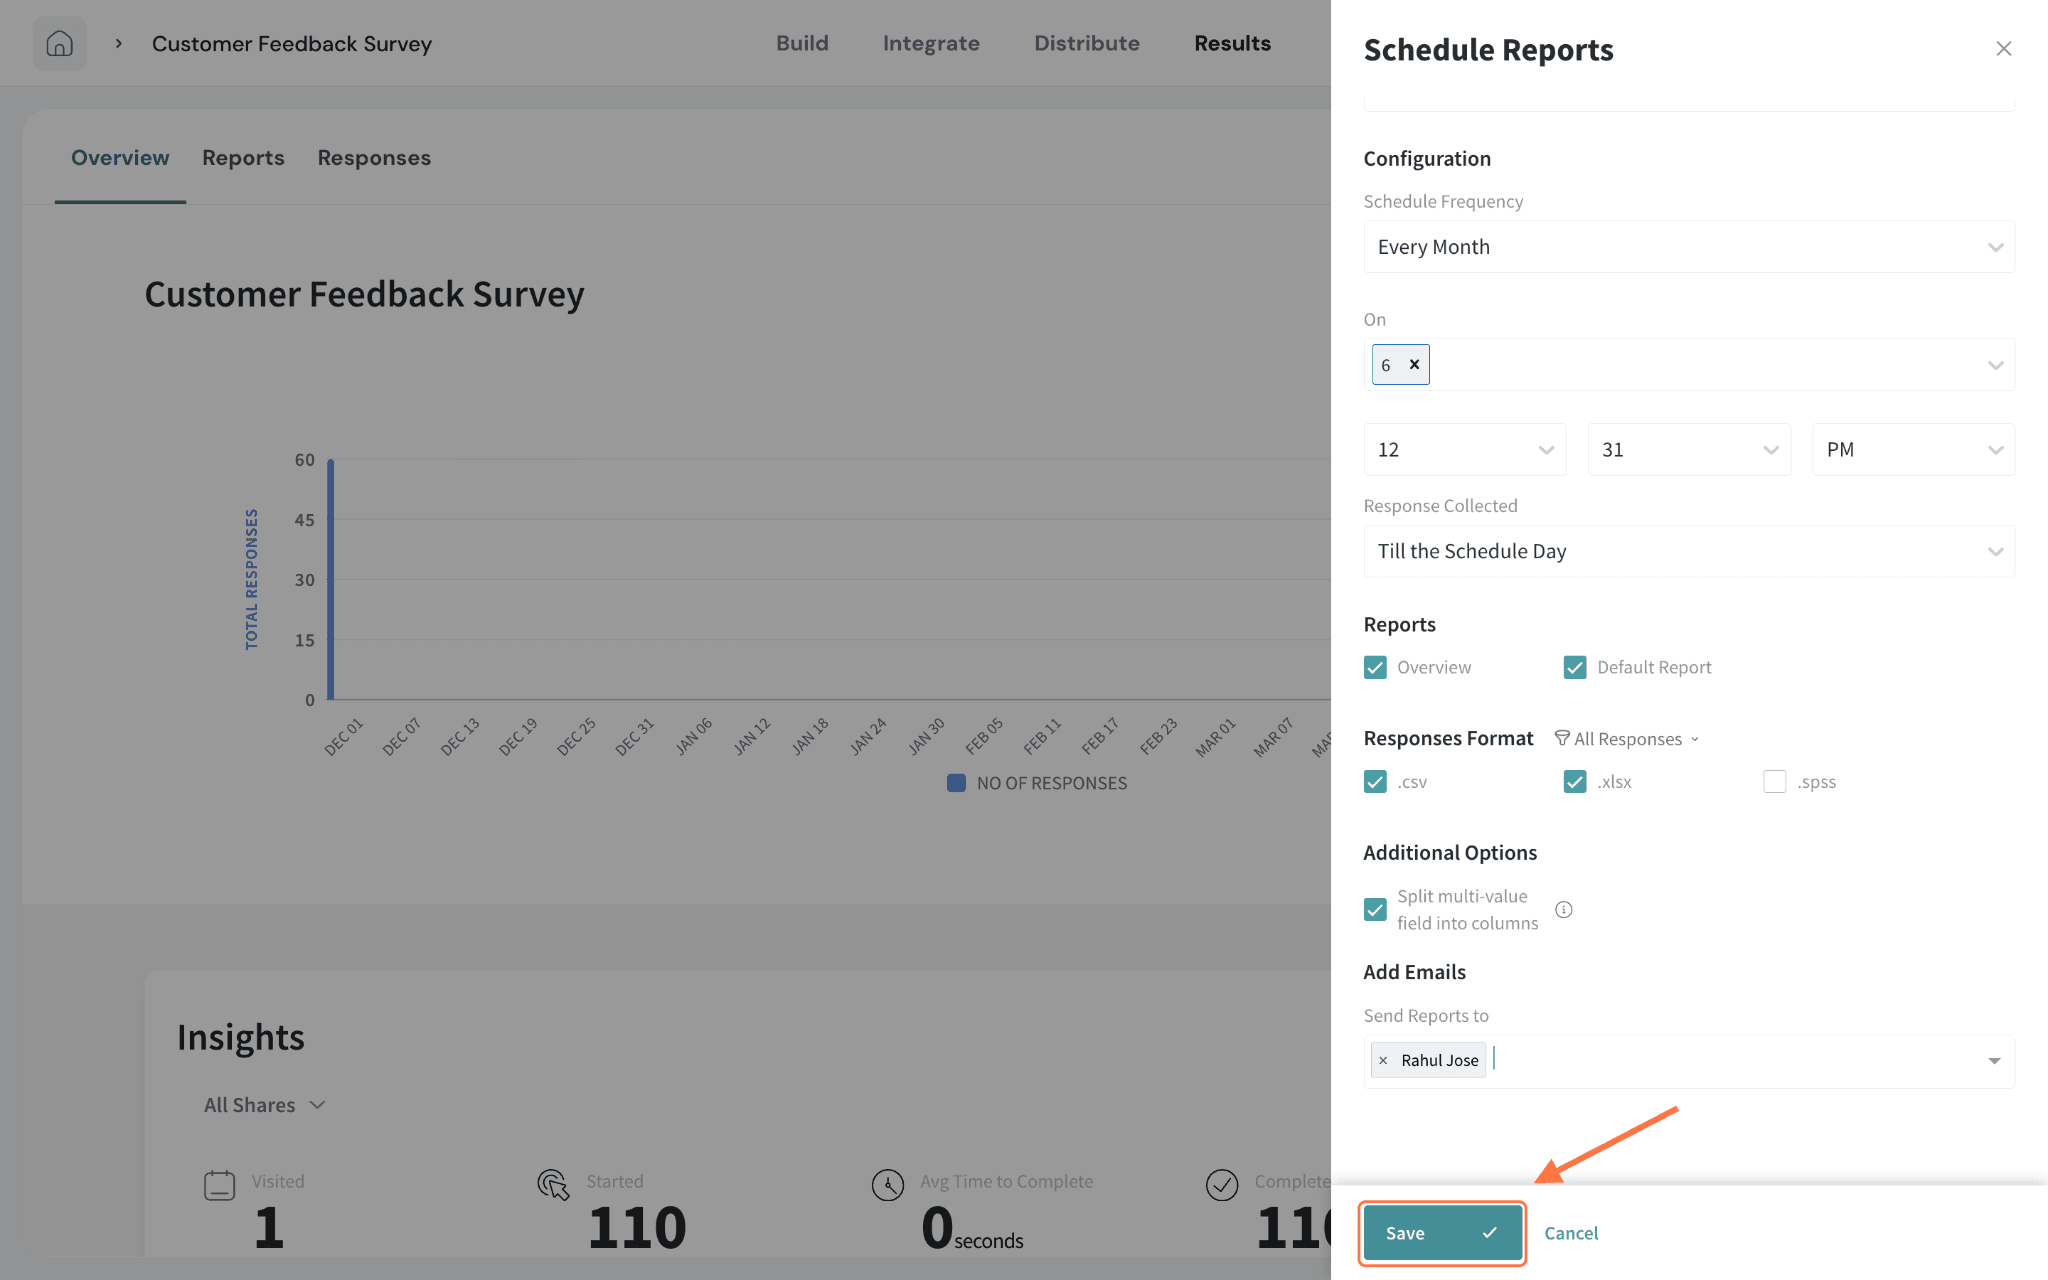
Tips
- Export a specific date range. Use the All Time dropdown at the top of the Responses table to narrow your data to the period you need, then turn on Apply current filter in Advanced Options so only those responses are exported.
- Schedule instead of repeating yourself. If you pull the same export regularly, set up a schedule once and let it land in your inbox on time, every time.
- Pick the right format for the tool. Use CSV or XLSX for spreadsheets and BI tools, SPSS for statistical analysis, and PDF/PPTX when you need a presentation-ready summary.
Note
- When you download a survey with more than 1000 responses, an email will be sent to the user's email address upon completion
- From the day of download, the file will be available for instant download under “Recent downloads” for 14 days
- If your export file is not populating the “status” field for all entries (and this is affecting multiple surveys), please refresh your system and try exporting again. If the issue persists, contact support so the issue can be escalated to the engineering team for investigation.
Please reach out to us if you have any questions. We are just a chat away!