
Search
If you use the monday.com platform, recipes are a game-changer. Simply put, a recipe is a pre-configured automation, consisting of a trigger (and an optional condition), which leads to an action. For example, when a survey receives a new response, you can have the response added as an item to the board. Here the new response is the trigger, and the item creation is the action.
To learn how to integrate monday.com with SurveySparrow and create recipes, click here.
SurveySparrow offers 8 recipes that you can use, mainly:
In this article, we’ll explore each of them and understand the specifics of their setup, so you can get the most out of the platform.
This is an easy way to map survey responses to your boards.
Let’s check the setup, which has 2 parts.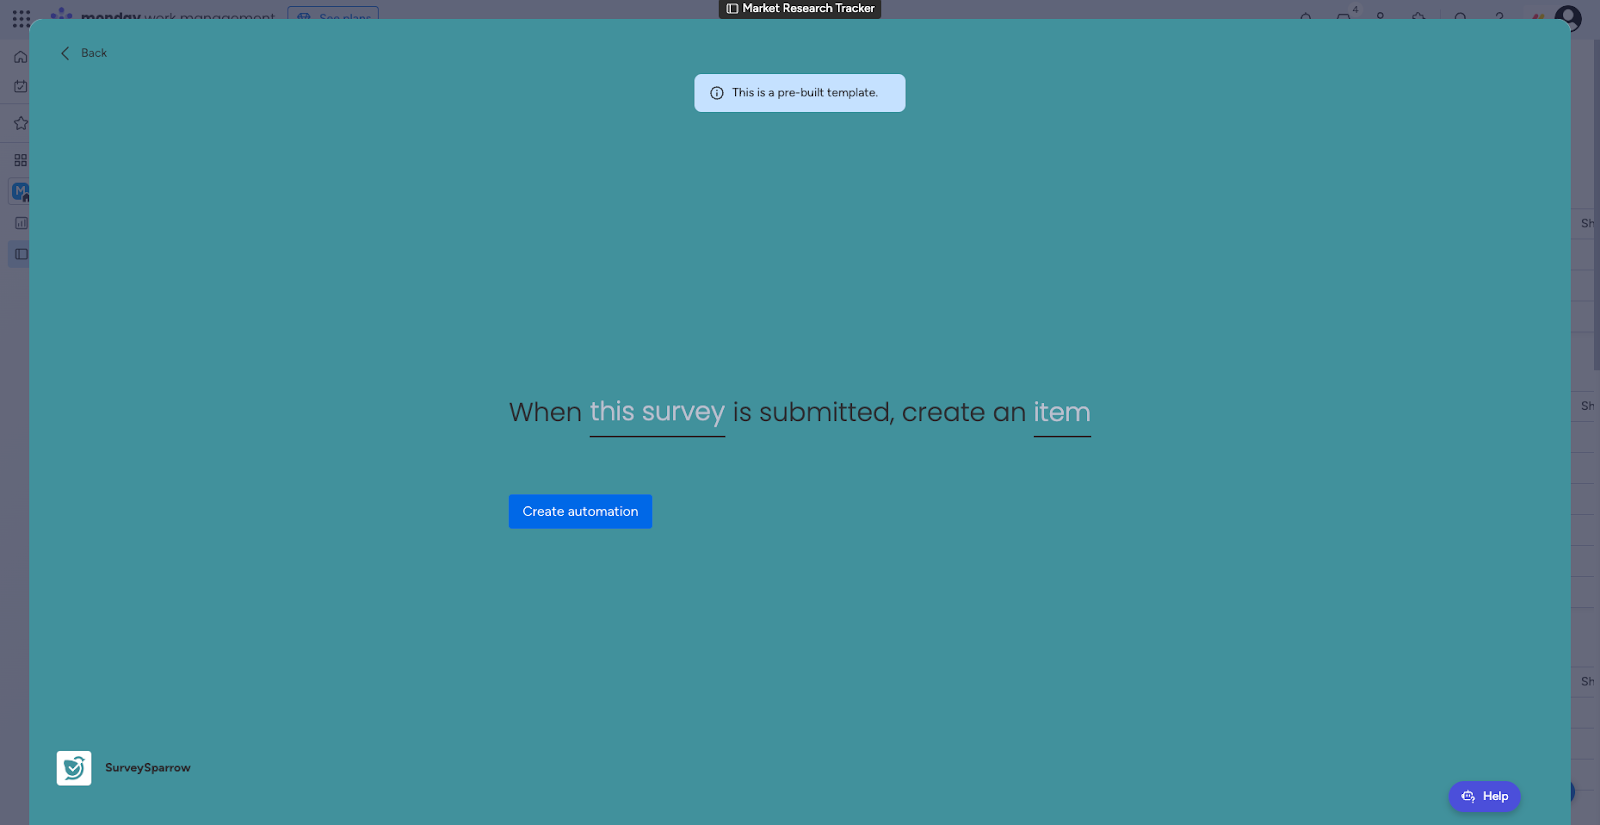
1. The first part is the survey selection. Choose the survey whose responses have to be mapped.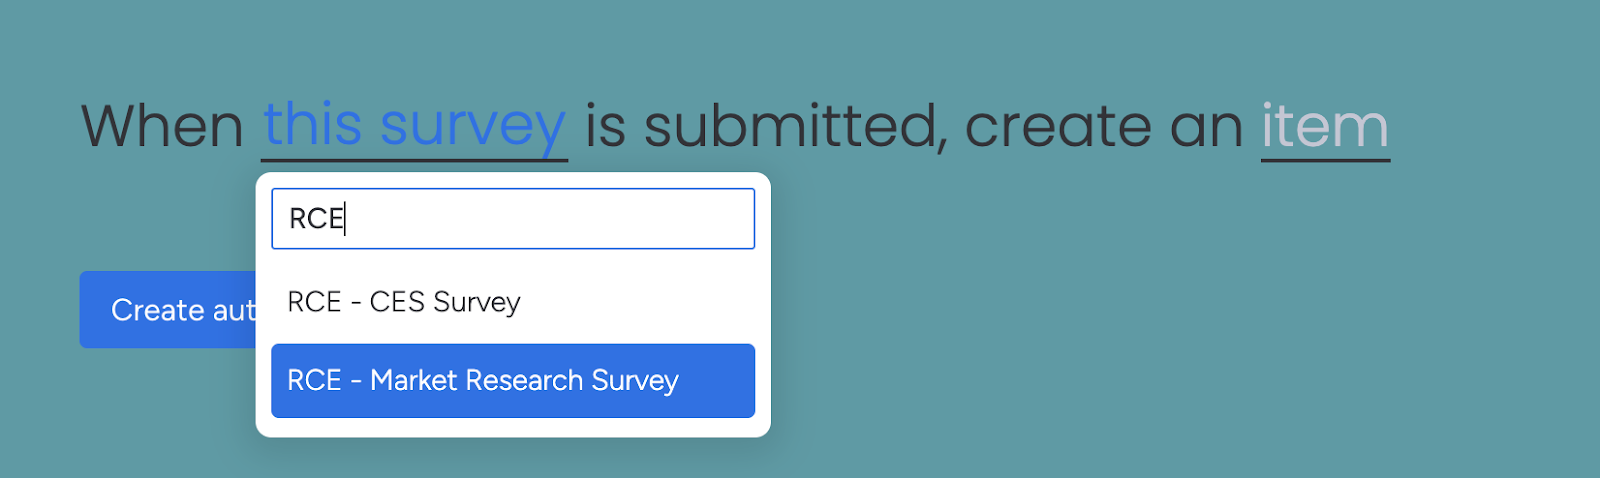
2. The second part is the response mapping. Choose the survey properties/questions that should be mapped to the respective board columns.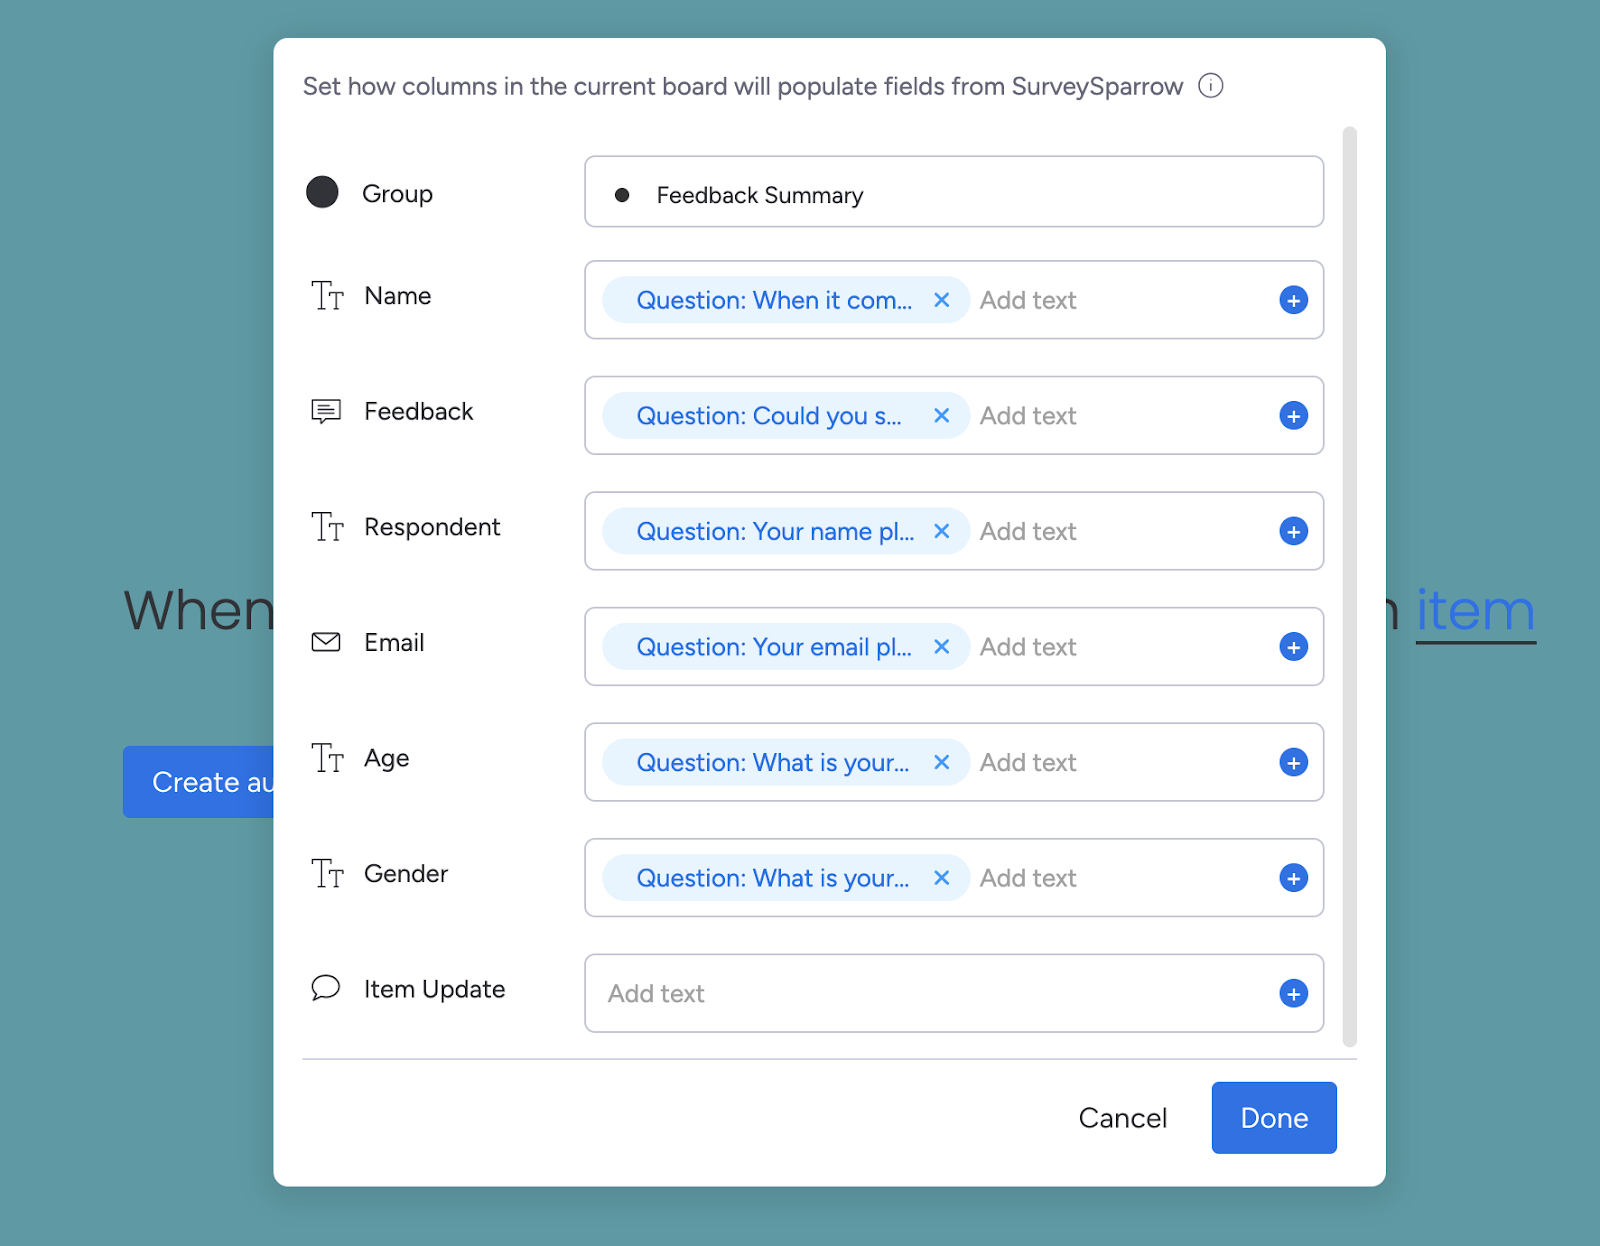
Note: You can also add text in most of these fields, but it will appear with each new item.
If you’re tracking the status of something, and you want to send surveys based on changes in status (eg: event registrants who showed up), you can use this.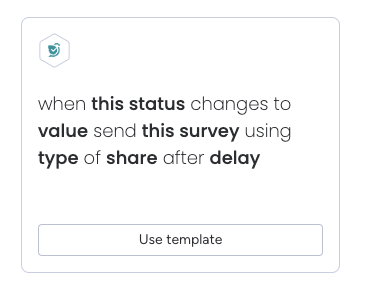
Let’s look at the setup, which has 6 parts.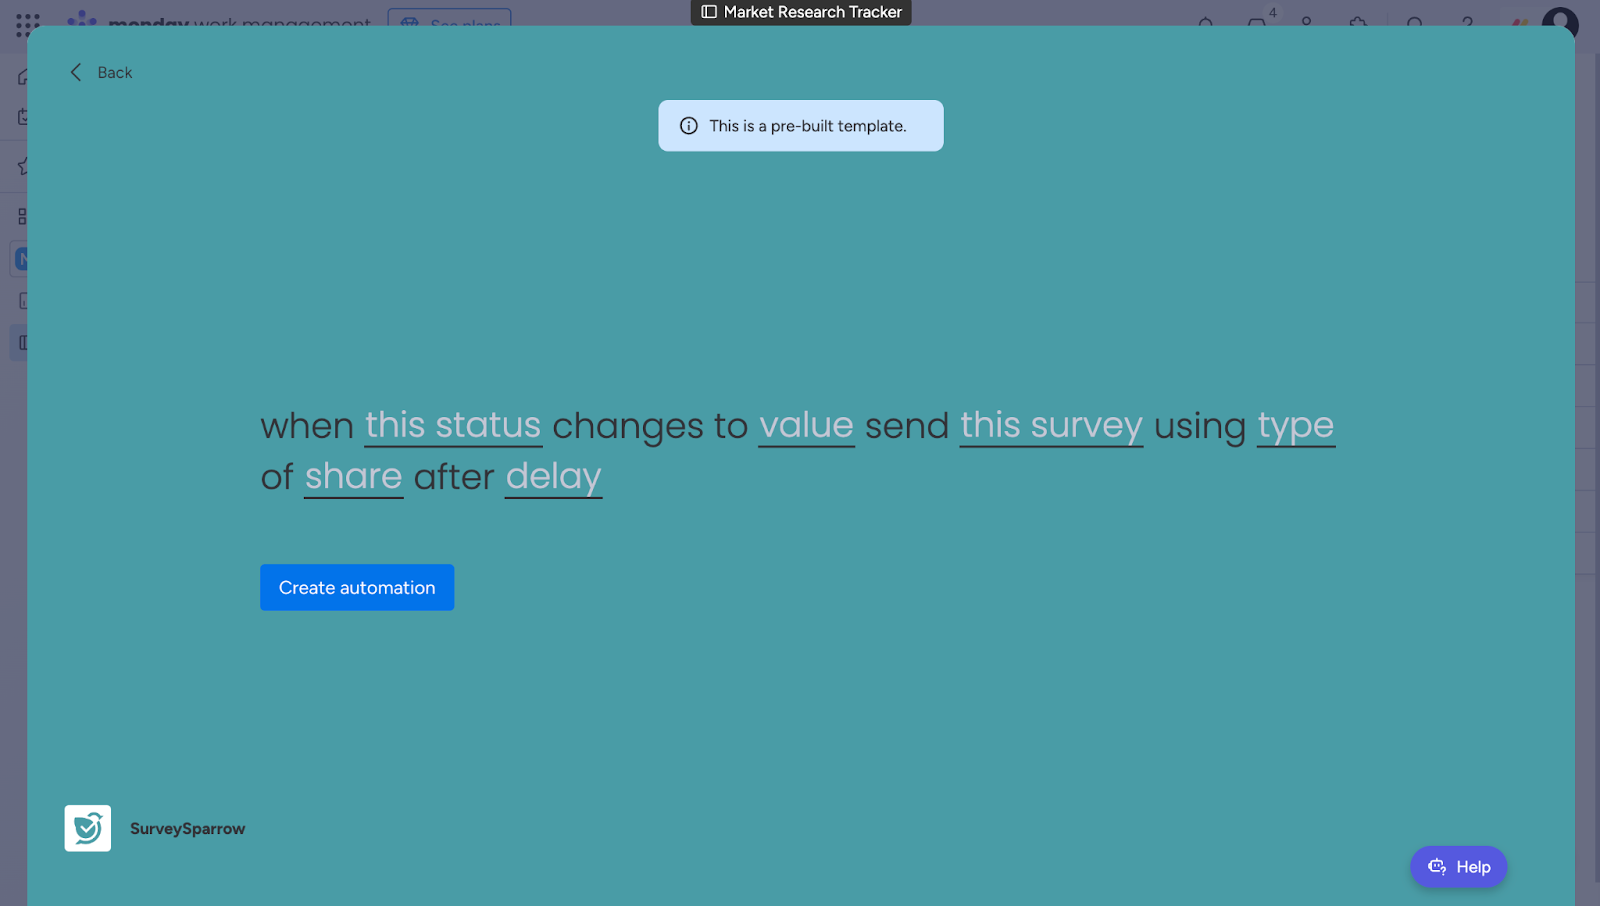
1. The first part is the status. You must have at least 1 status column.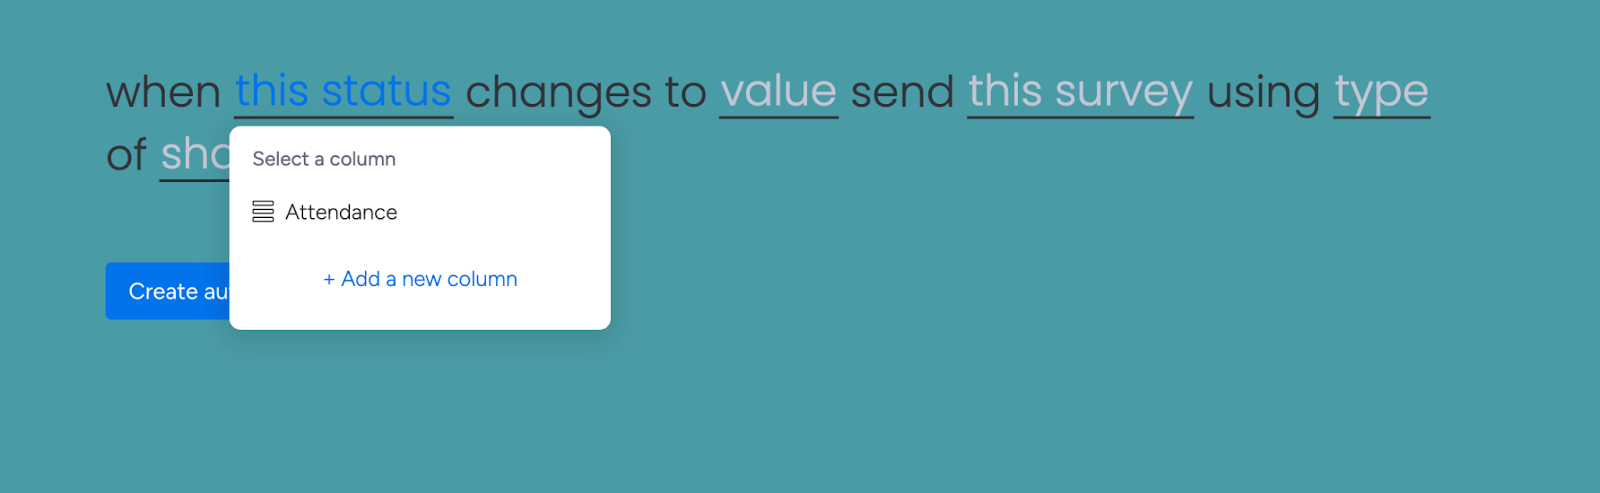
Note: If you don’t have a status column, click Add a new column.
2. The second part is the value. Here you can choose the value from the selected status column.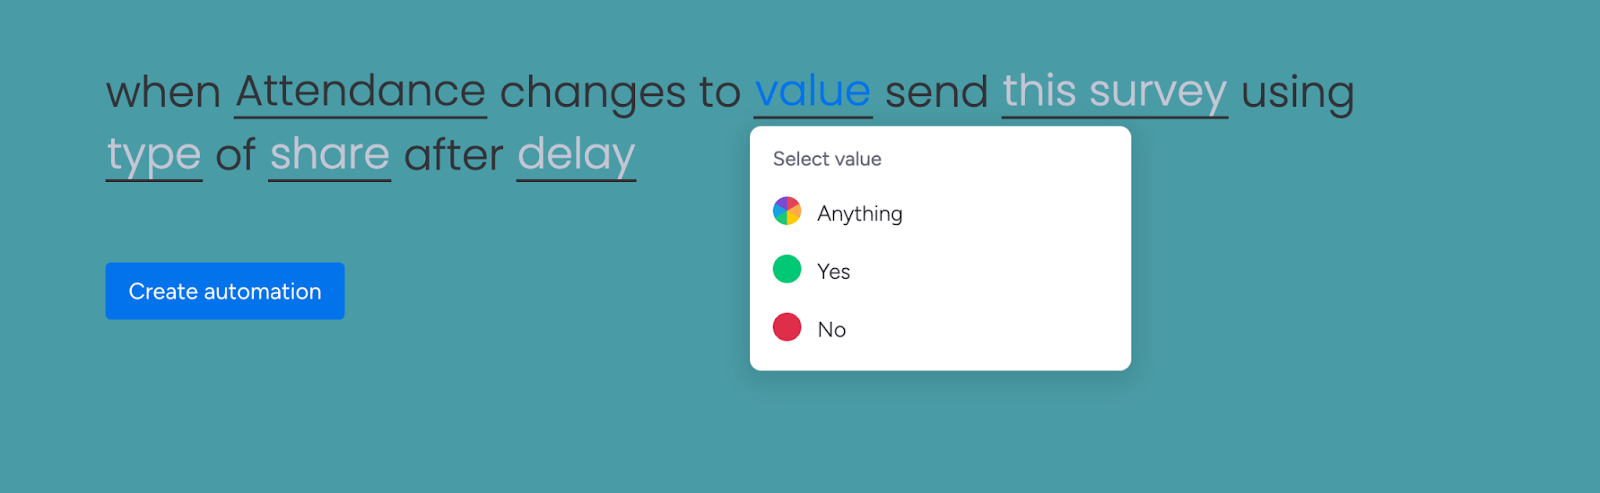
3. The third part is the survey selection. Choose the survey whose responses have to be mapped.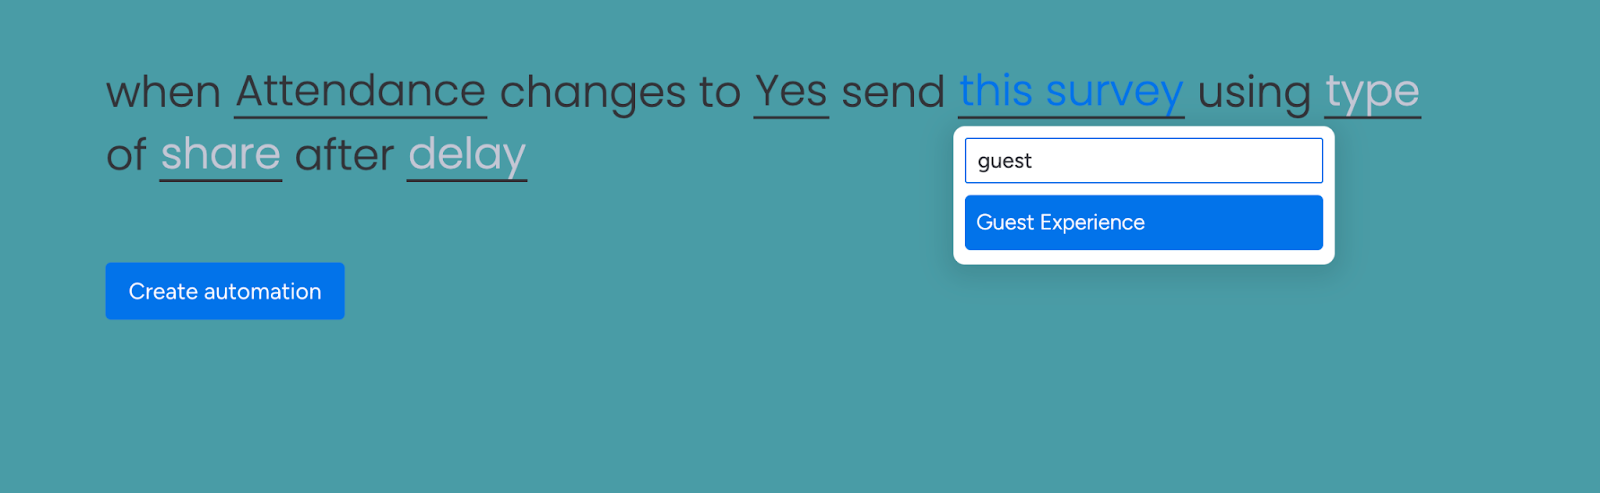
4. The fourth part is the share type. Here you can choose between email, SMS and WhatsApp.
5. The fifth part is the exact share. Ensure that you have created at least 1 of the selected share type in your SurveySparrow account.
6. The sixth part is the delay period. You can either send the survey immediately or select a delay period anywhere between 1 to 365 days.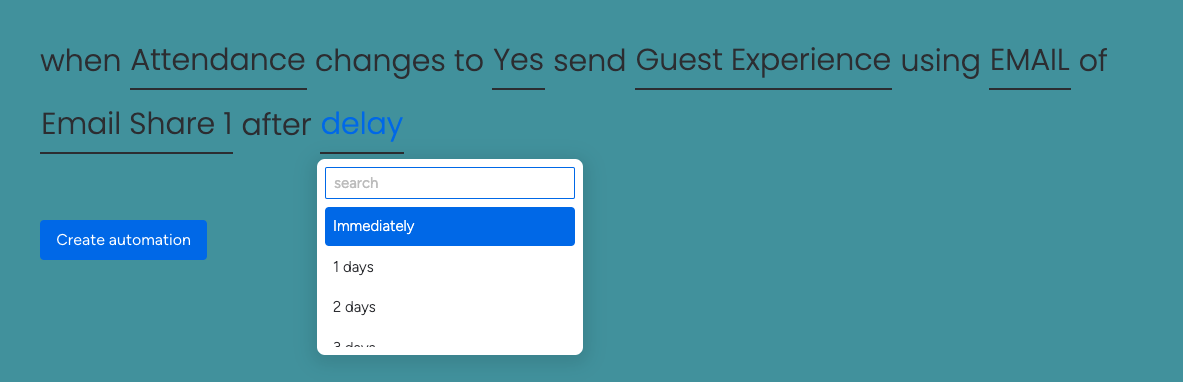
This is similar to the recipe above, but it includes value (text) changes in the column.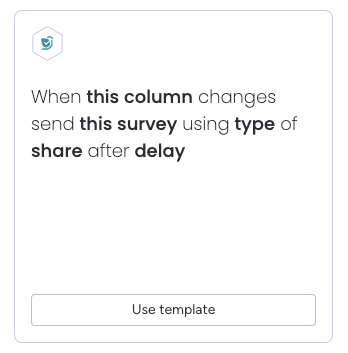
Let’s assume a situation where you have a list of people to send email surveys, but you don’t have everybody’s email. Whenever you find someone’s email, add it in, and this recipe takes care of the survey deployment!
Let’s inspect the setup, which has 5 parts.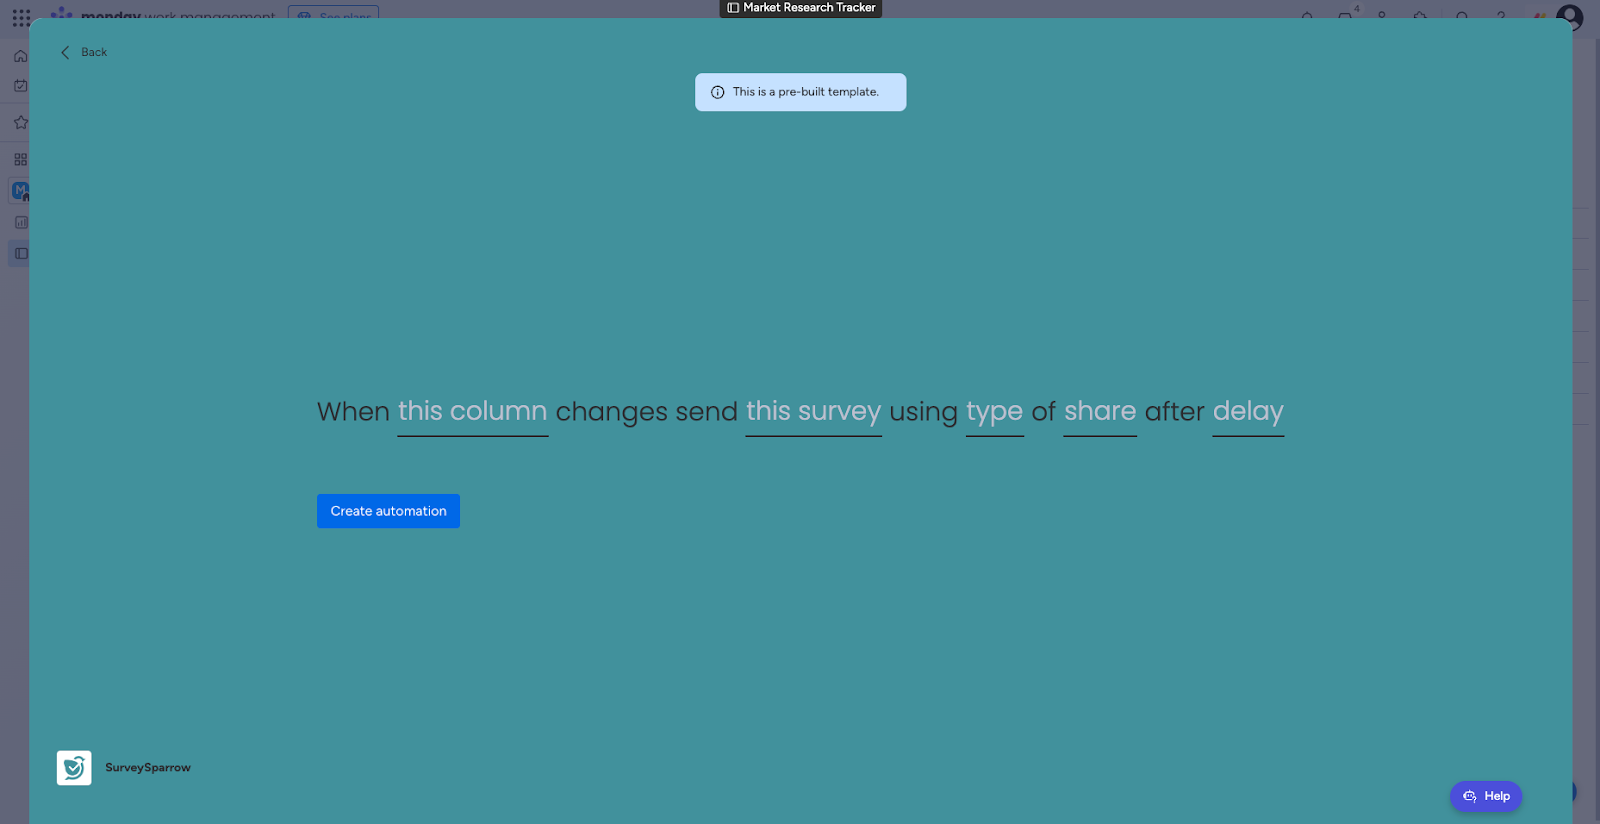
1. The first part is the column, which can be of any type.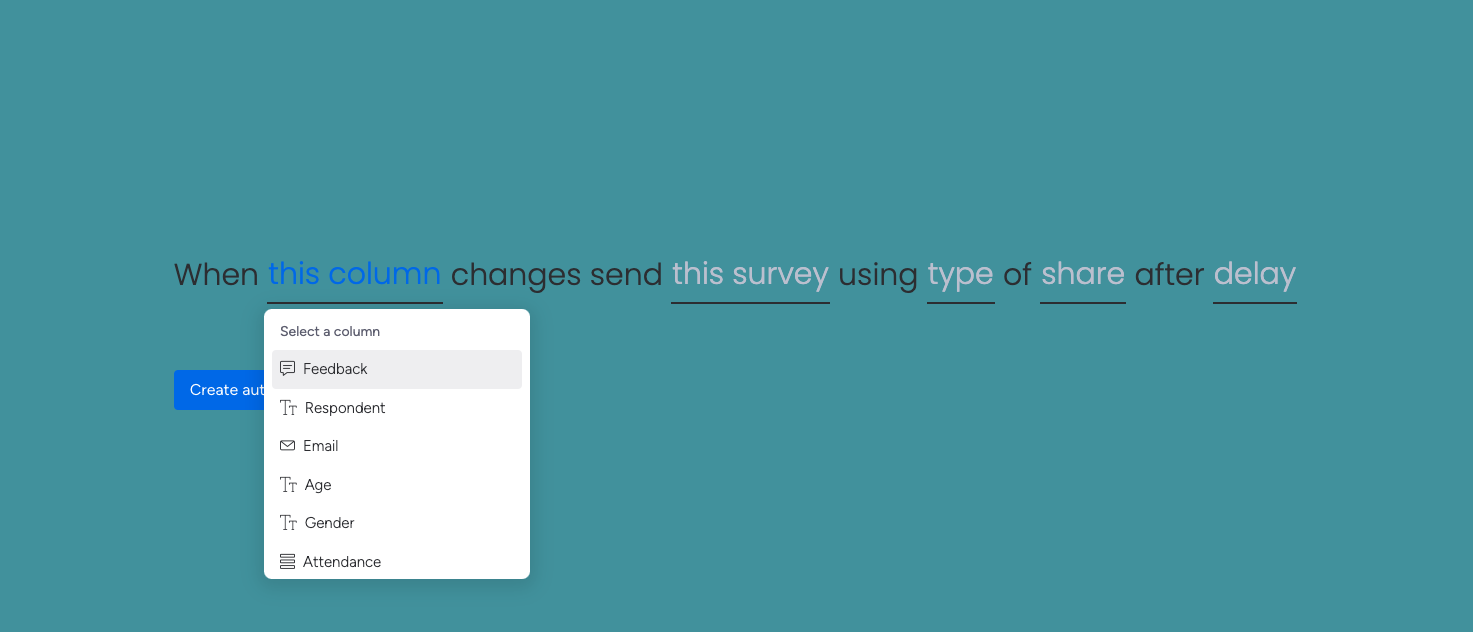
2. The second part is the survey selection.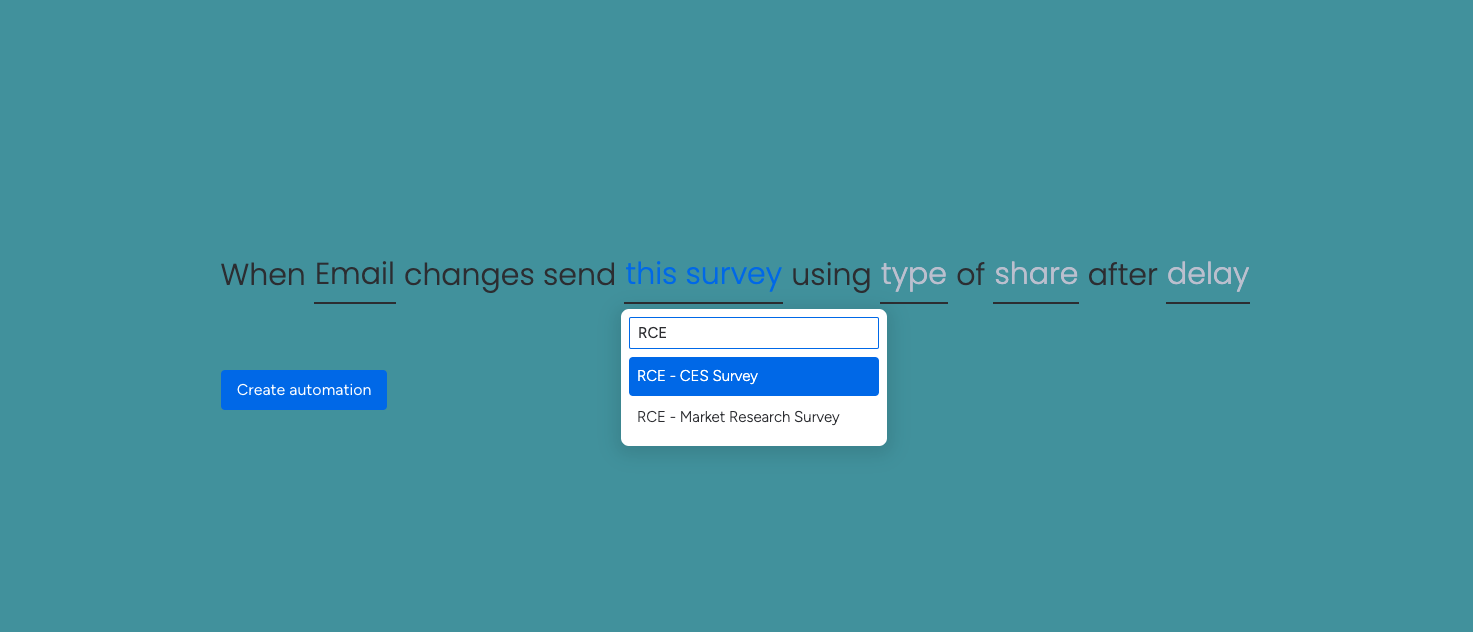
3. The third part is the share type.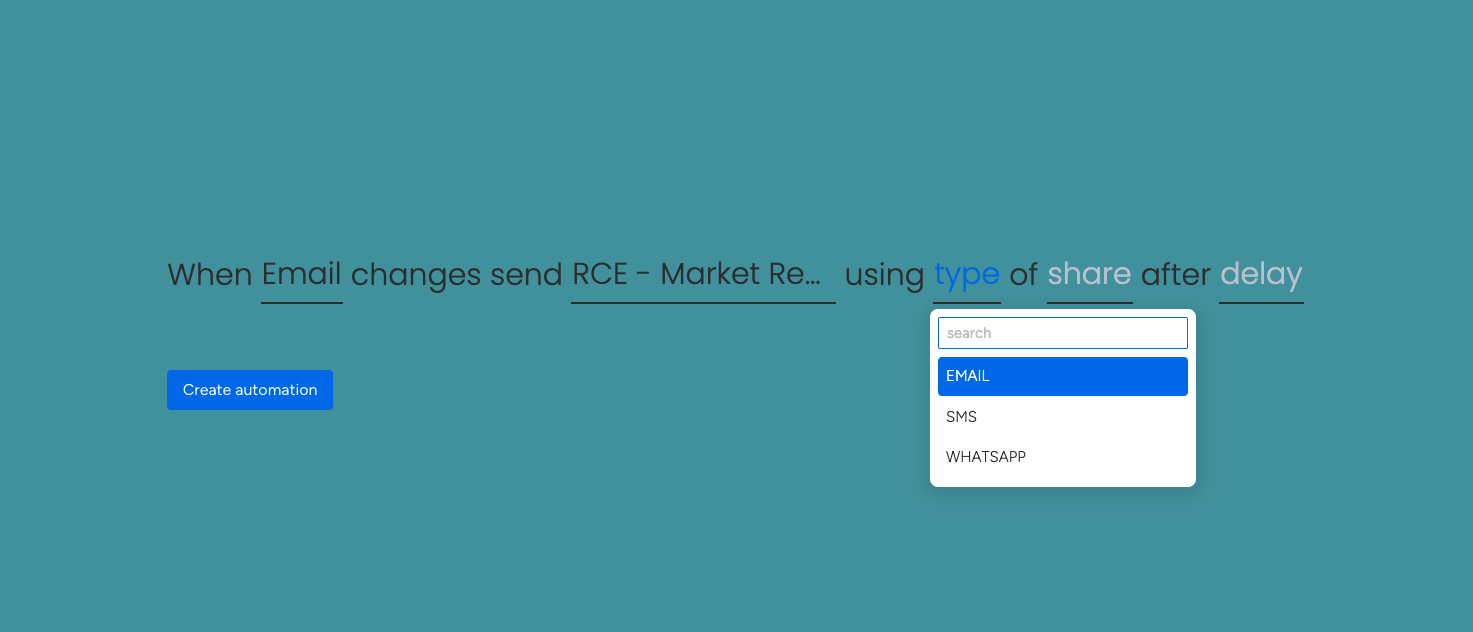
4. The fourth part is the exact share. You should have at least 1 of the selected share type in your SurveySparrow account.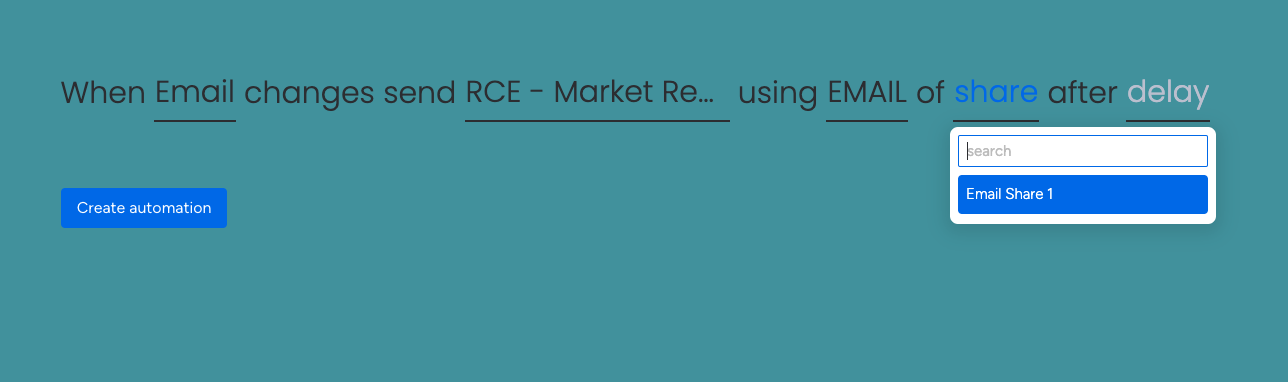
5. The fifth part is the delay period. You can either send the survey immediately or set a delay period between 1 to 365 days.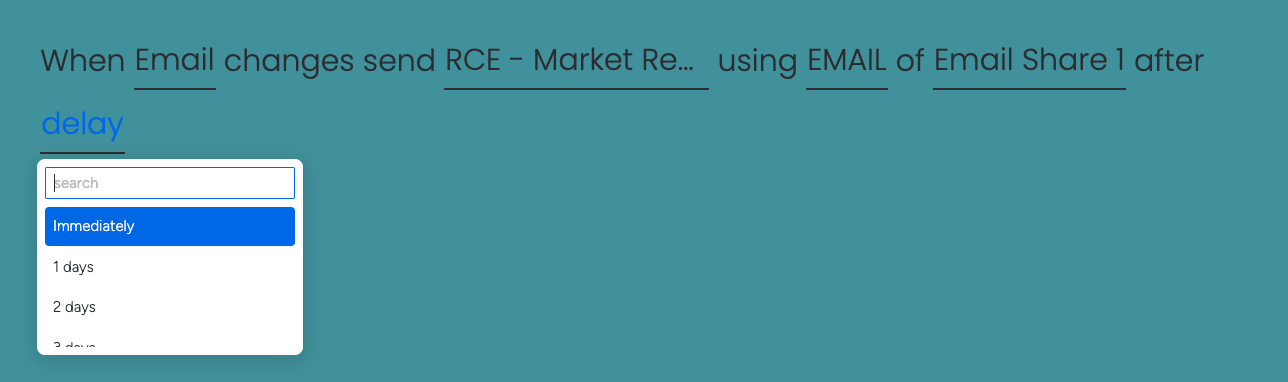
Suppose you have a list of individuals that you must send surveys to. When you add new individuals to the list, this recipe can automate the survey deployment.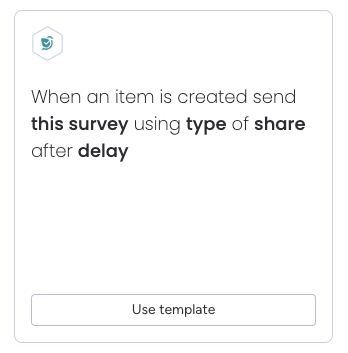
The setup has 4 parts.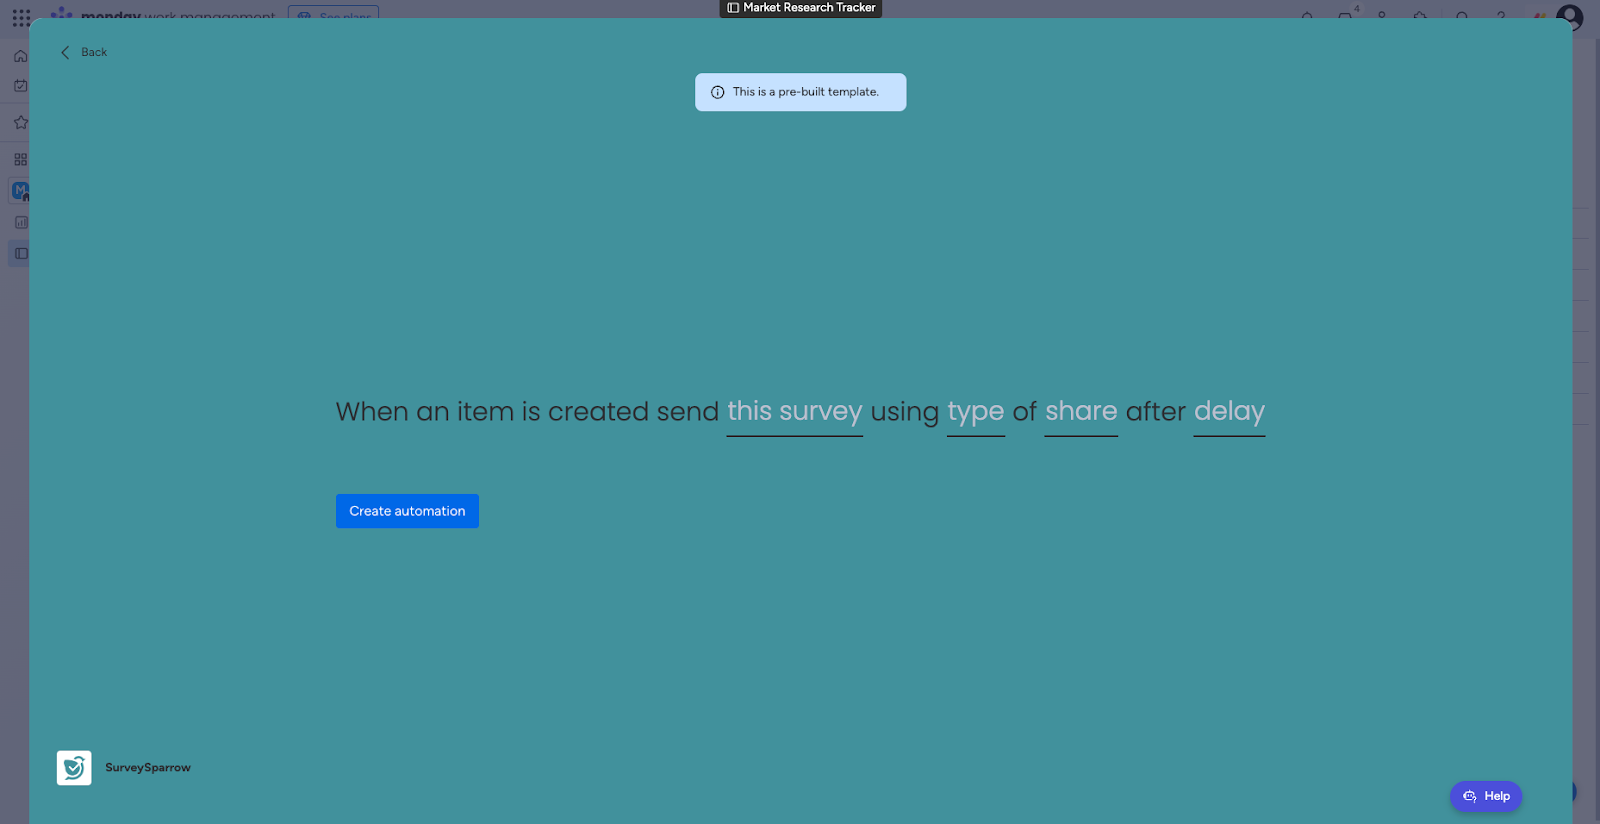
1. The first part is the survey selection.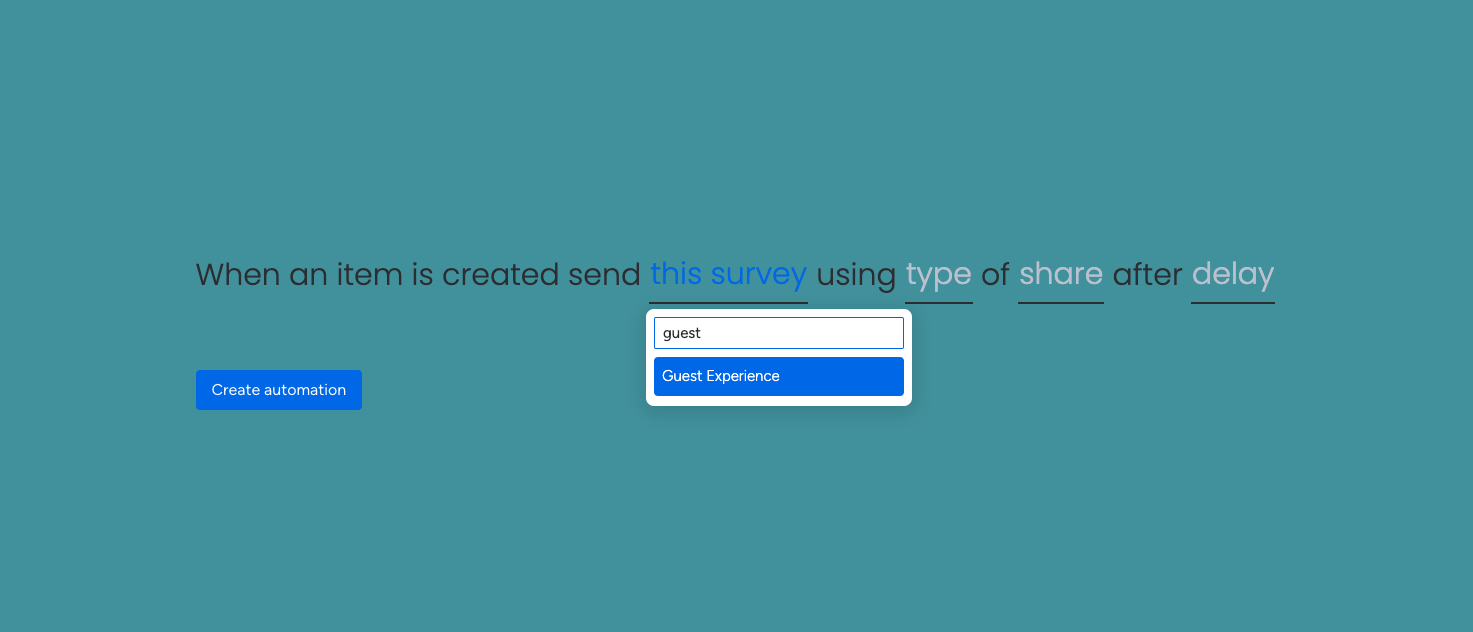
2. The second part is the share type.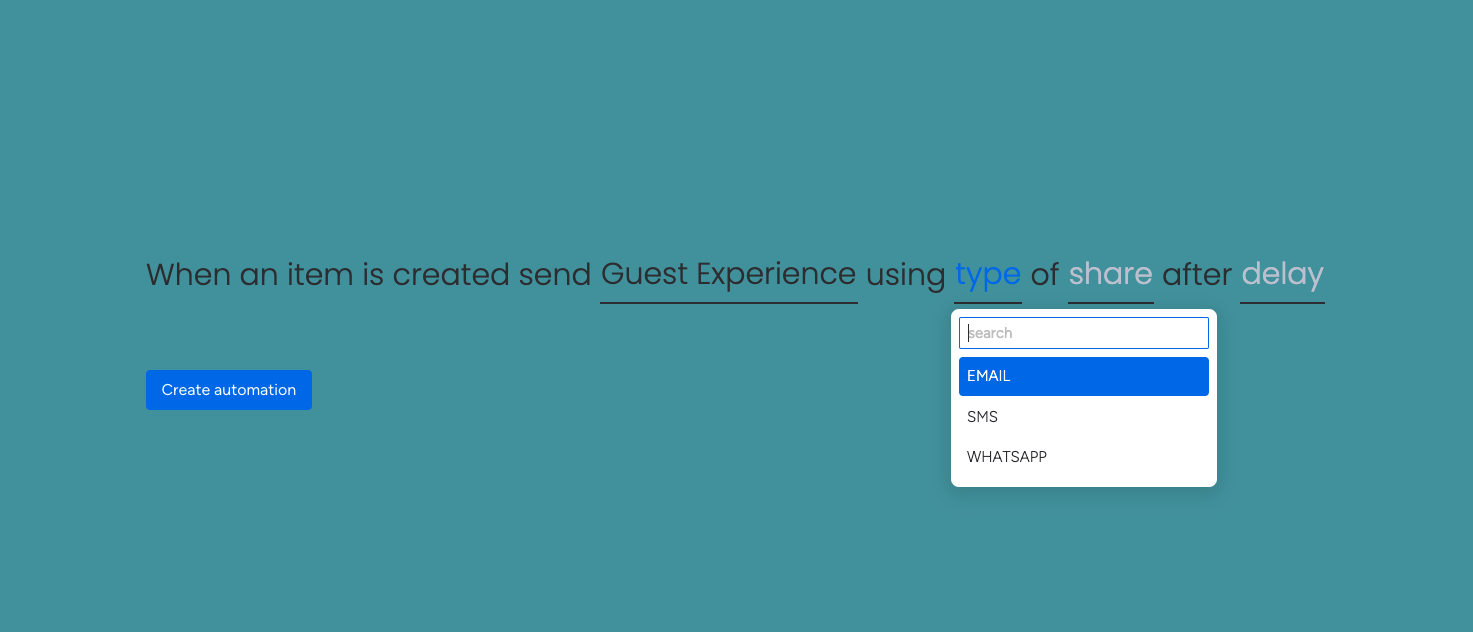
3. The third part is the exact share.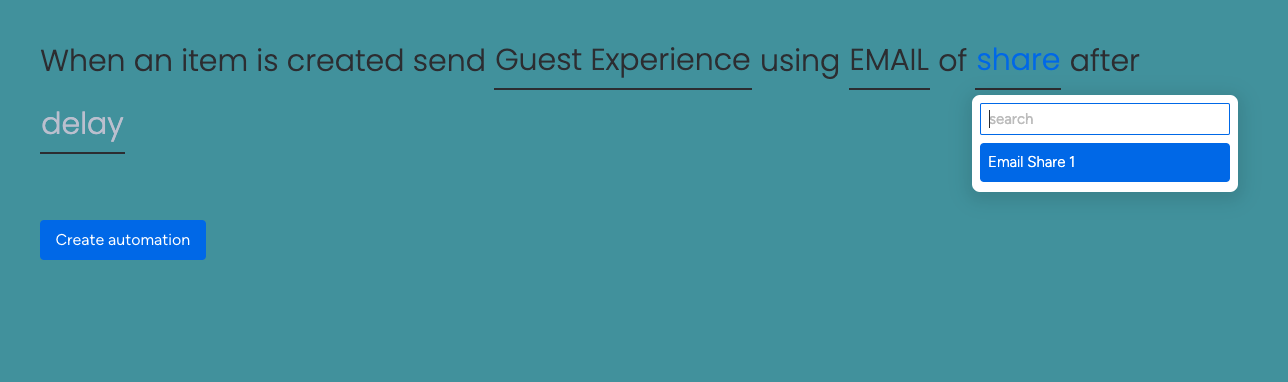
4. The fourth part is the delay period.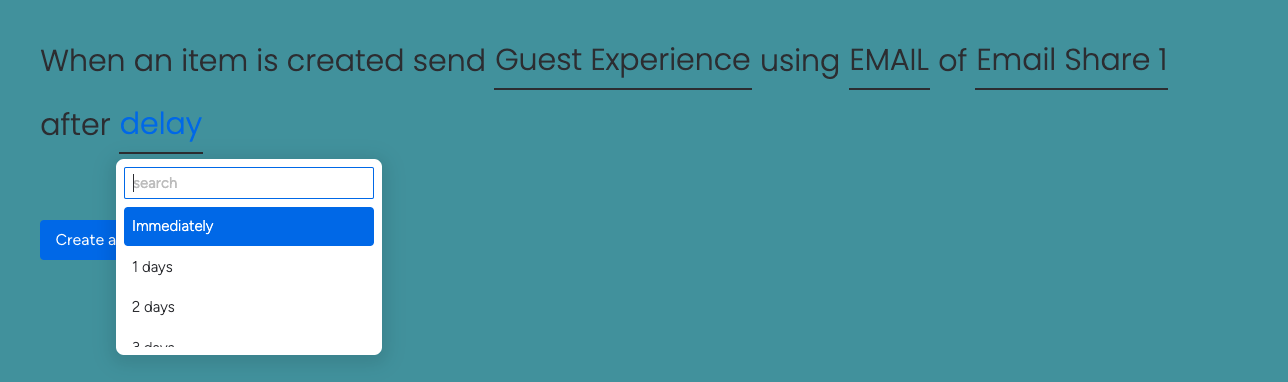
This recipe helps you sync contacts in your list with SurveySparrow. However, if a contact already exists on SurveySparrow, it gets updated with other details from the item. This prevents redundant data entry. You can also see the status of the contact sync.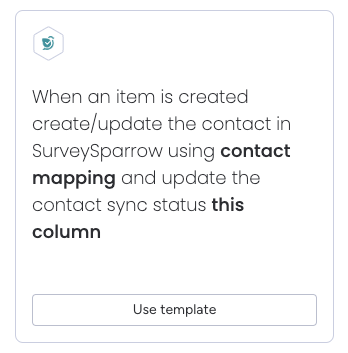
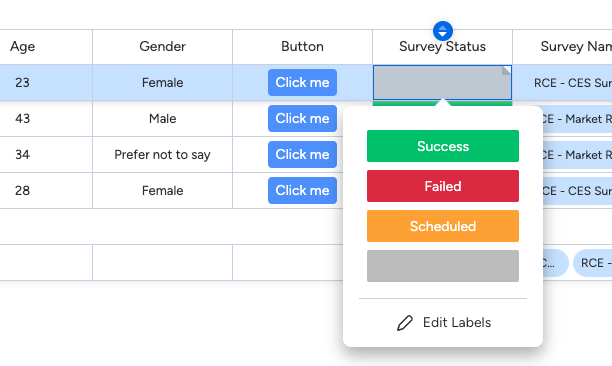
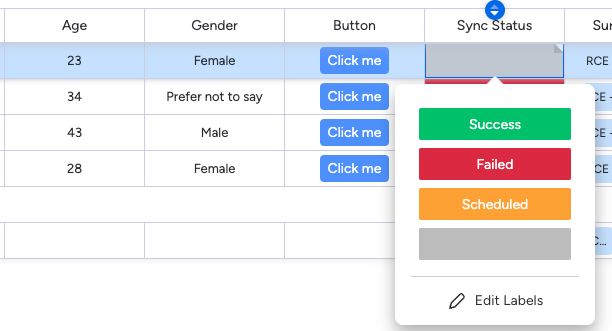
Here you will need a column to capture the sync status of the contact. It should contain two options: Success, Failed (please use the exact spelling).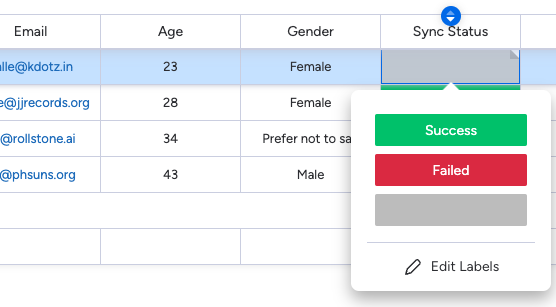
The setup has 2 parts.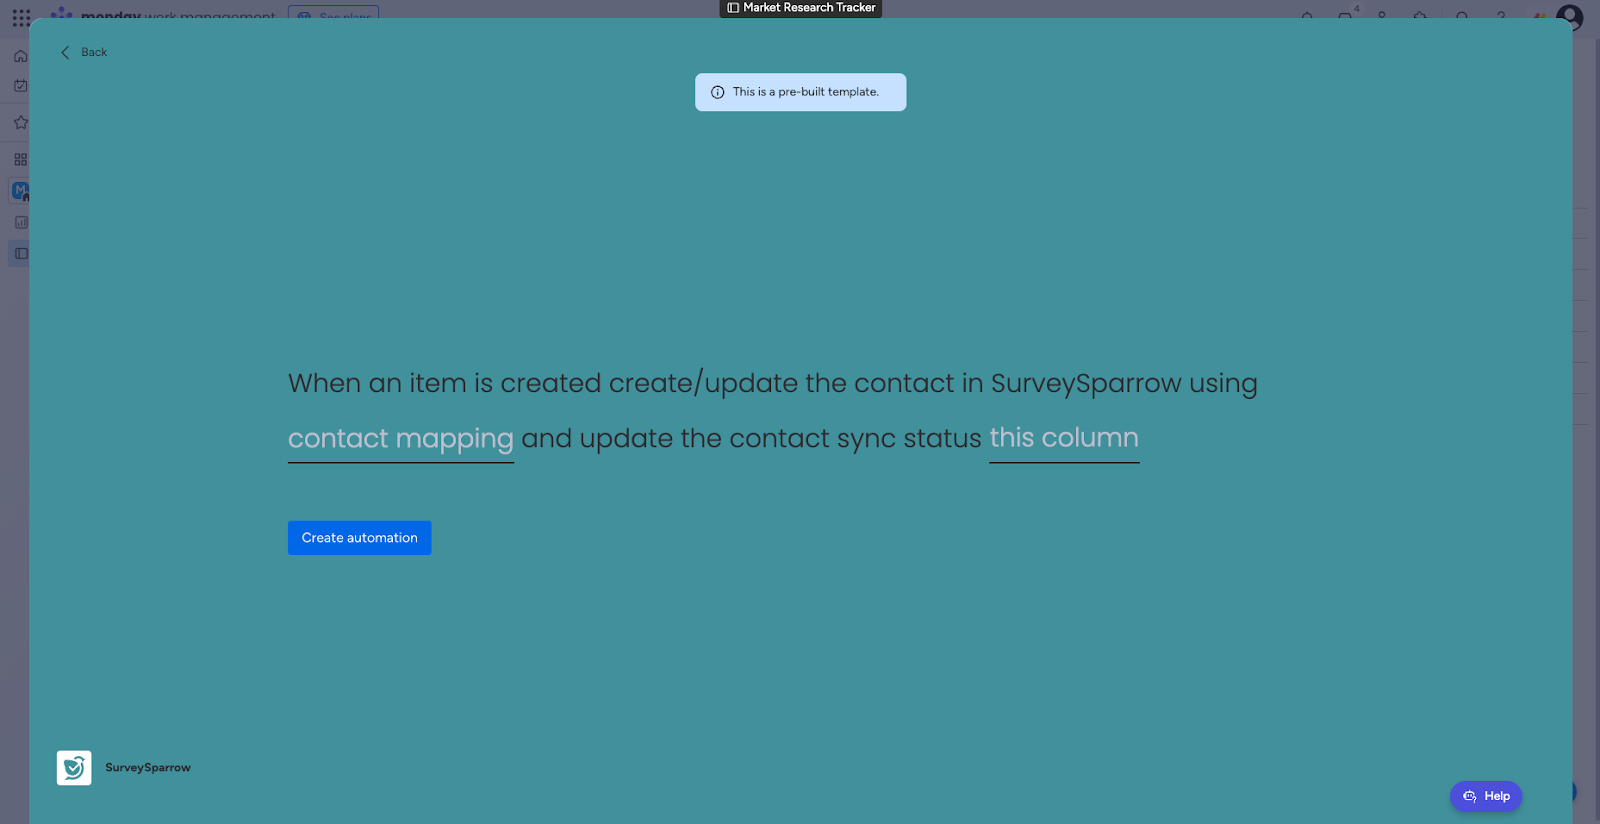
1. The first part is the contact mapping. Here you will have to decide which columns from the board will populate the different contact fields inside SurveySparrow. You can also add text in the fields.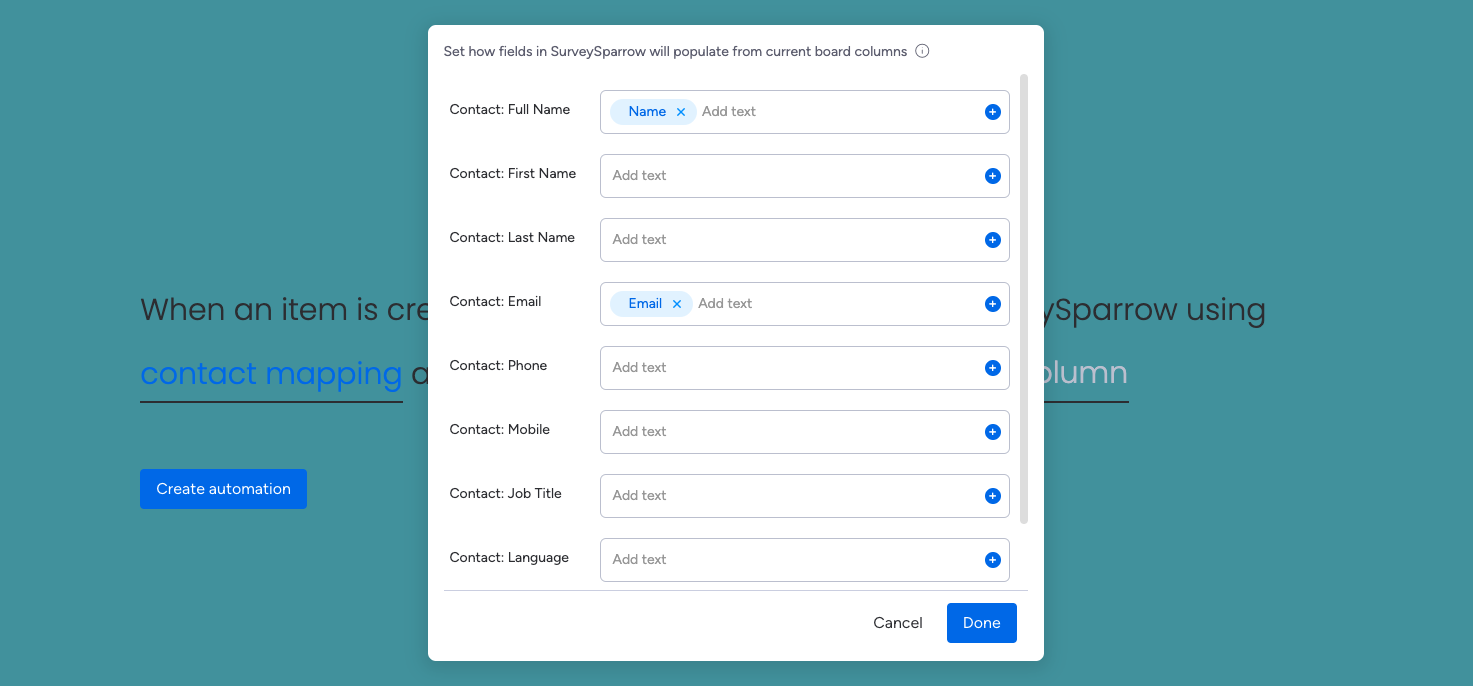
2. The second part is the status.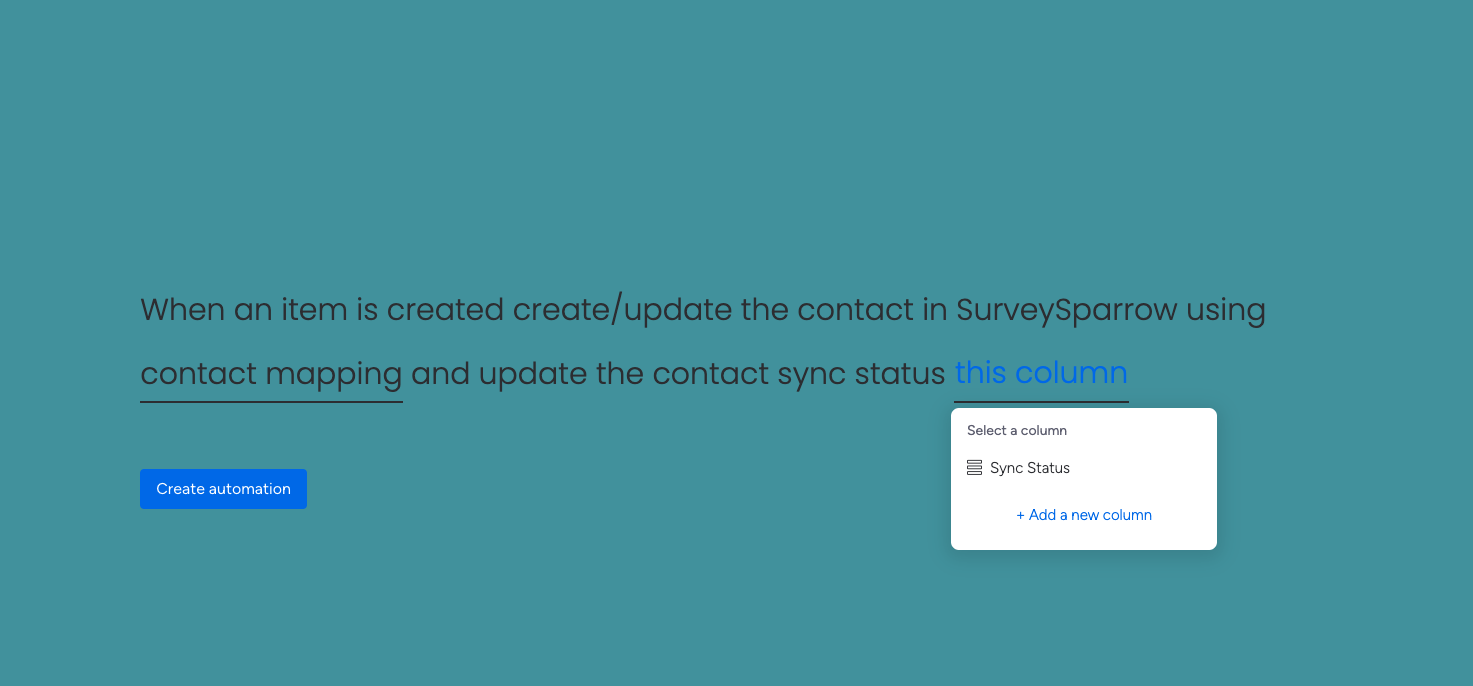
In previous recipes, the survey deployment is instant for a new item or status/value change. This recipe requires you to manually deploy surveys, with the click of a button.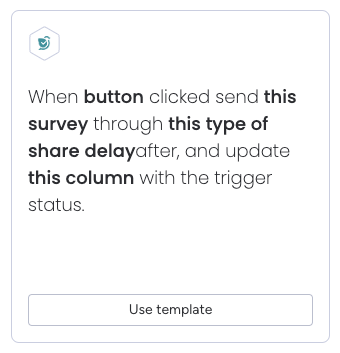 This offers you flexibility and control. You can also configure the exact share channel and share ID for each item, giving you even more flexibility. Plus you’ll also get to see the status of the survey deployment, so that you can catch failed deployments.
You have to create the following inside the board, before (or while) setting up the recipe:


There are 6 parts to the setup, let’s have a look.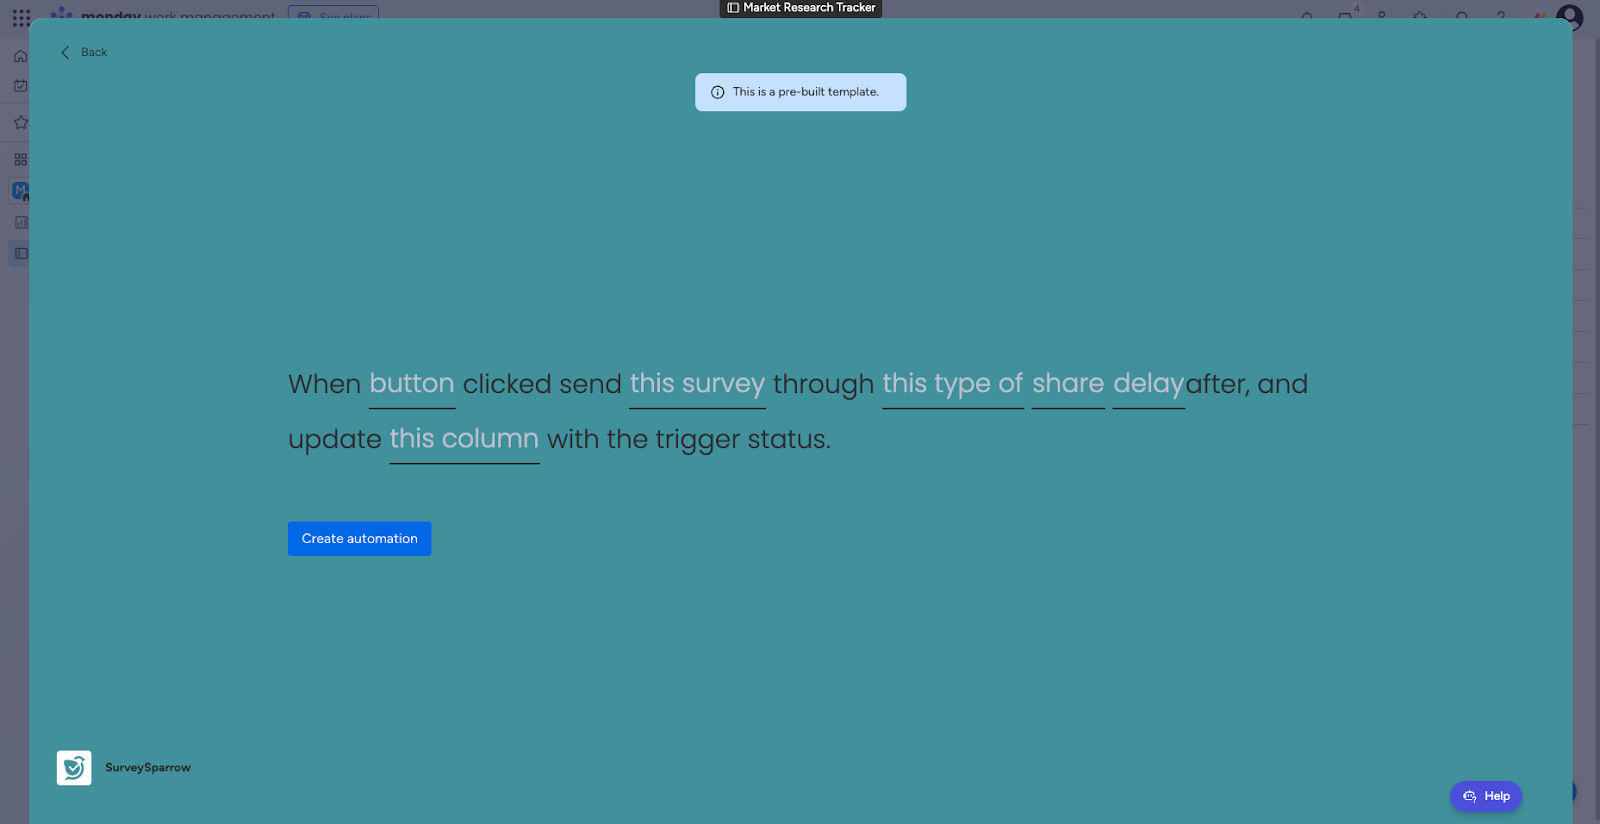
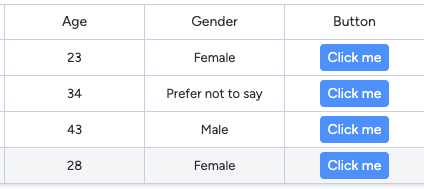
1. The first part is the button column.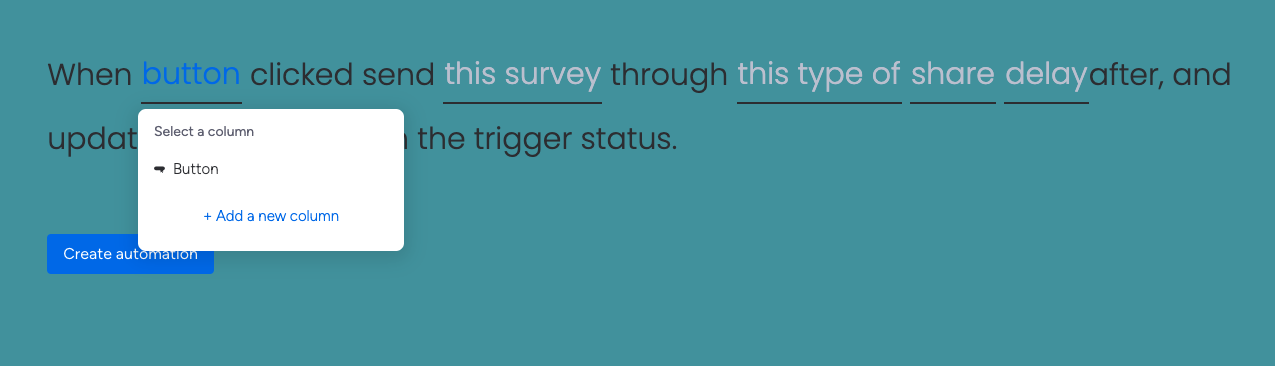
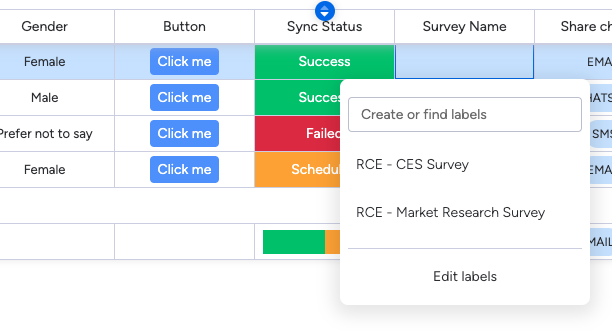
2. The second part is the survey selection. Please select the column where you have entered survey names.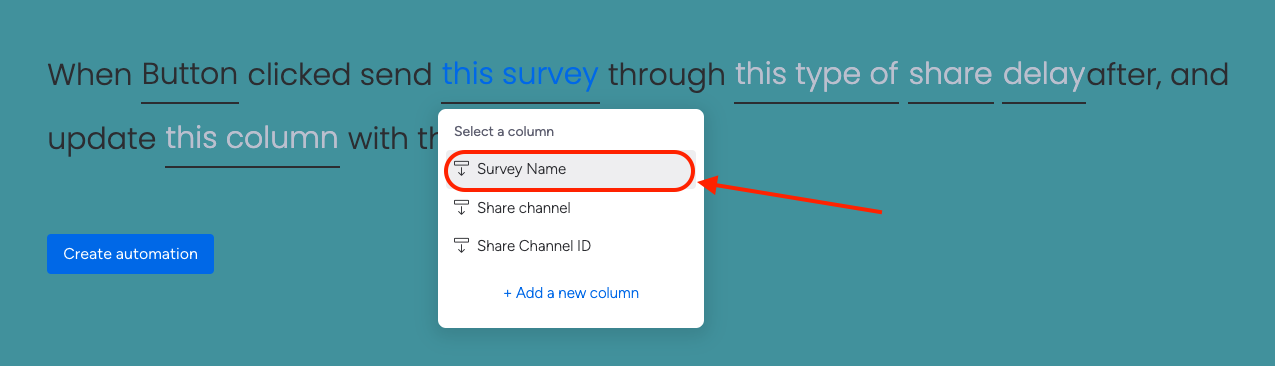
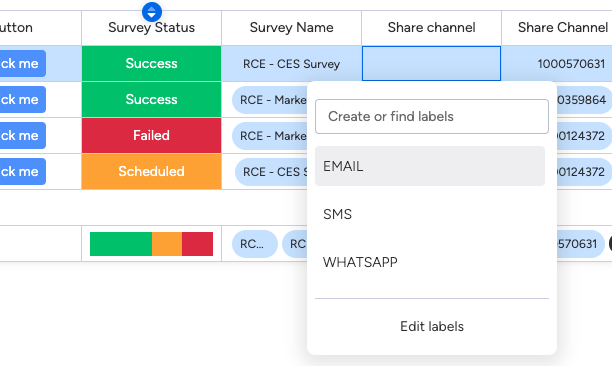
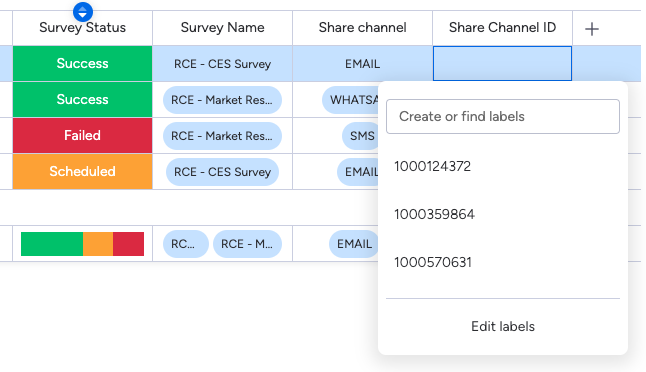
3. The third part is the share type. Please select the column where you have added the 3 share channel labels.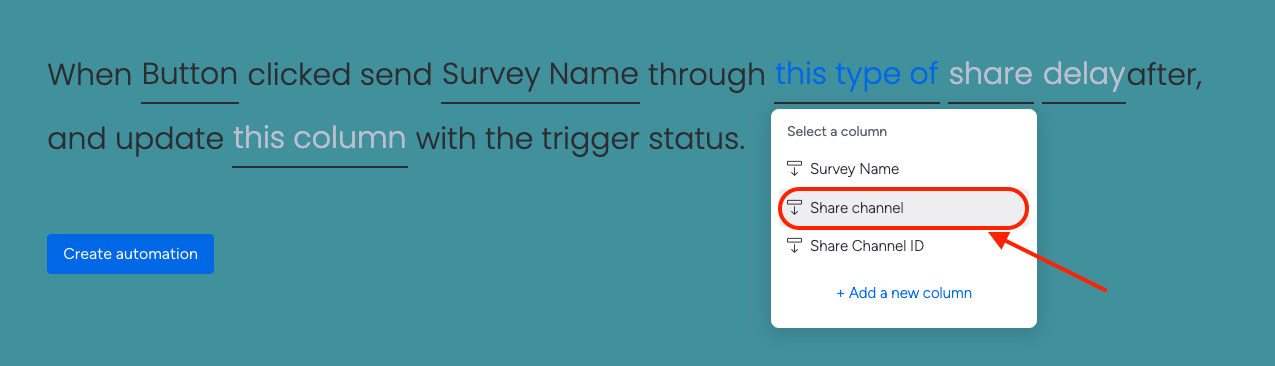
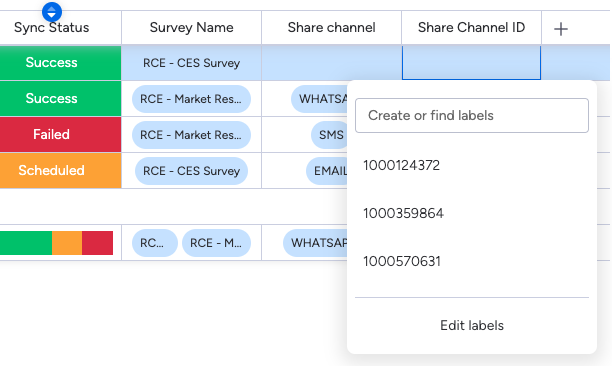
4. The fourth part is the exact share. Please select the column where you have entered the share channel IDs.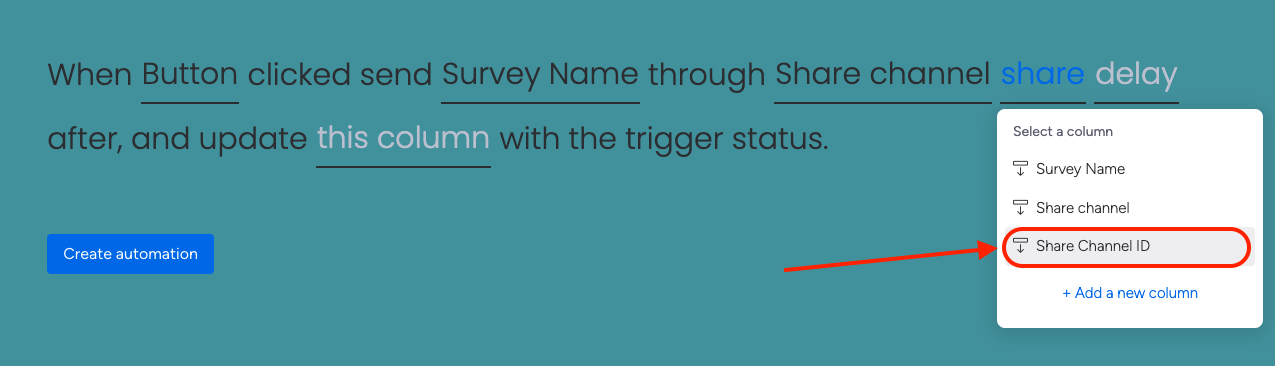
5. The fifth part is the delay period. You can set it to be a recurring survey, send it immediately or send it after a period between 1 to 365 days.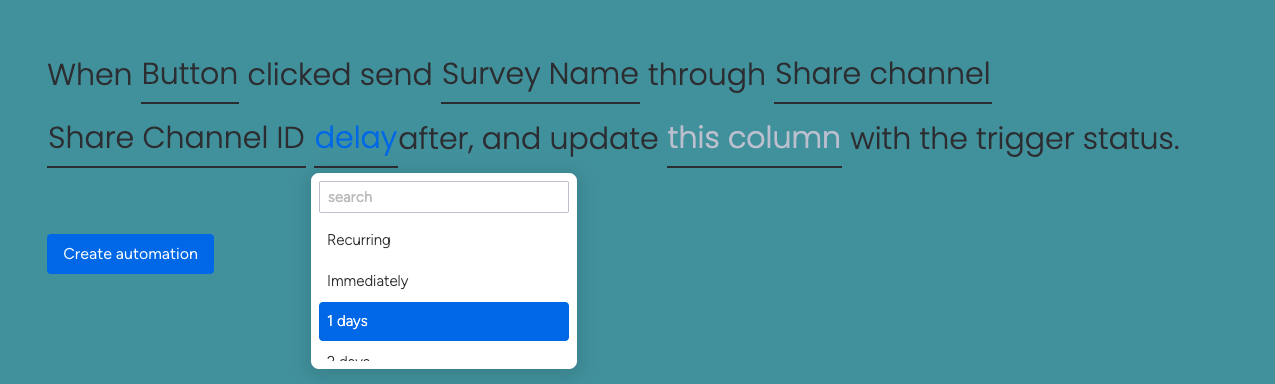
6. The sixth part is the status. Please select the column which has the sync status labels.
This recipe is similar to the 4th recipe, but you get to decide the survey and share channel when entering an item, instead of a blanket configuration for every new item.
Just like the previous recipe, you get more flexibility and manual control. You’ll also see the status of survey deployment, so that you can take care of failed deployments.
Before (or while) setting up the recipe, you will have to create the following items:

Here’s what the setup looks like.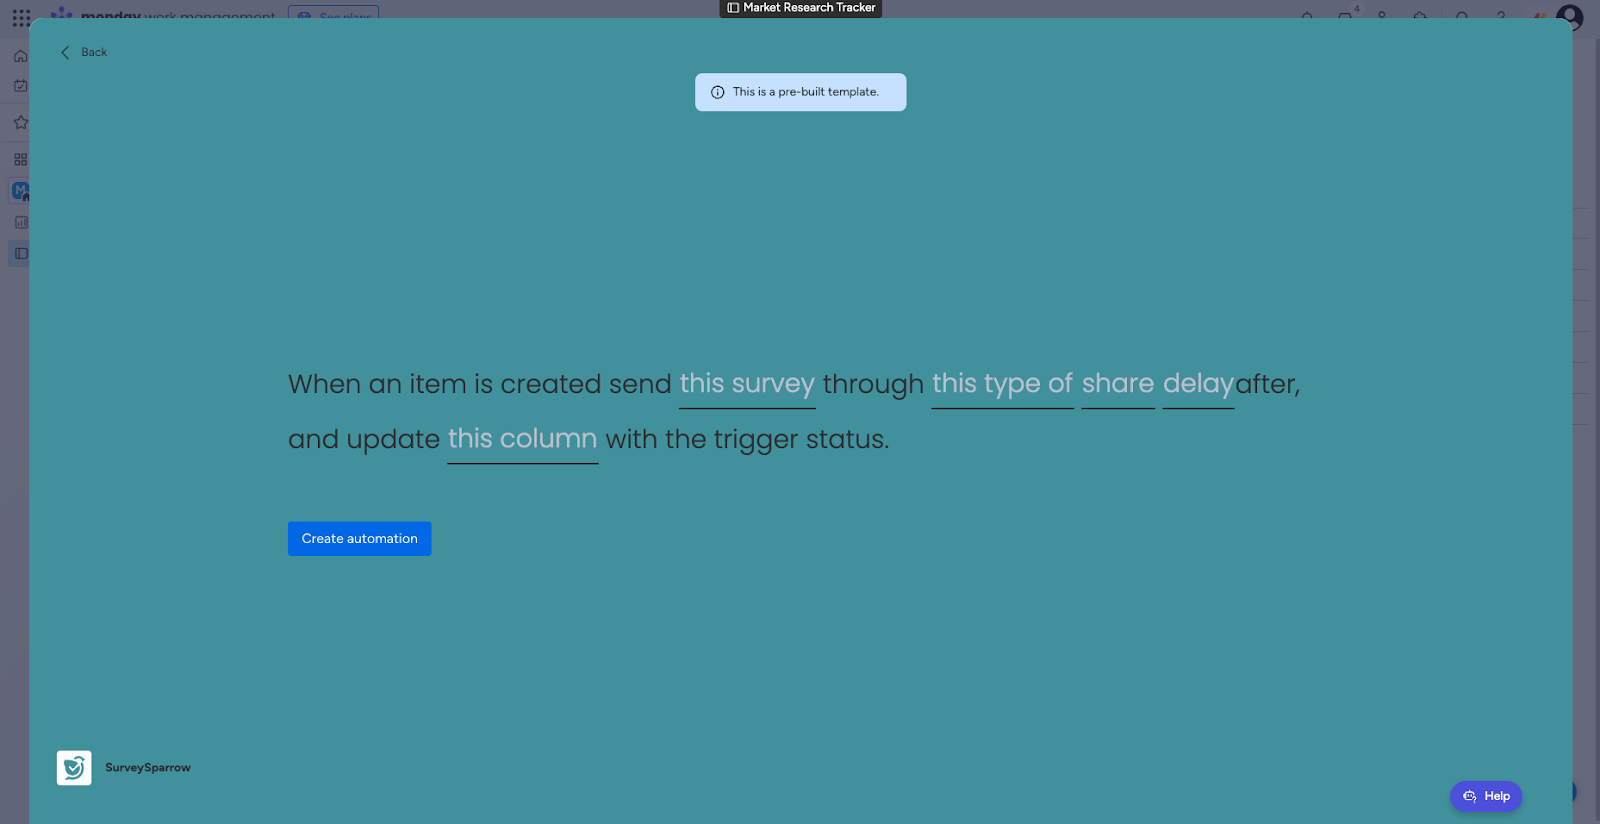
1. The first part is the survey selection. Please select the column where you have entered the survey names.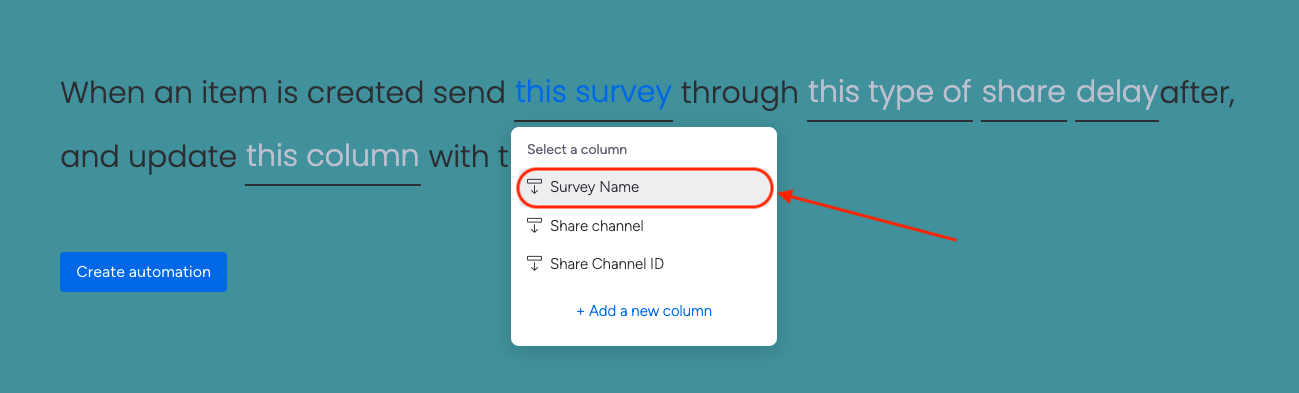
2. The second part is the share type. Please select the column where you have added the 3 share channel labels.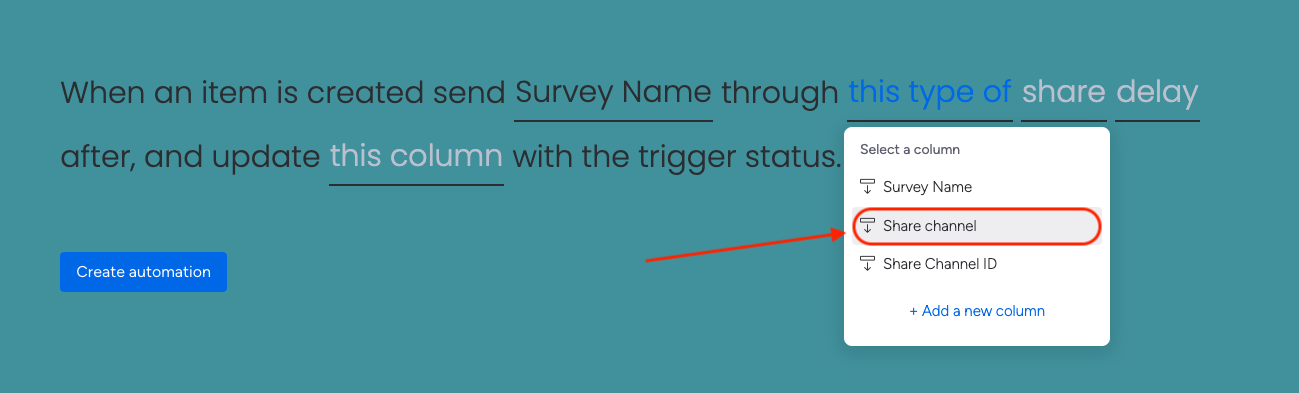
3. The third part is the exact share. Please select the column where you have entered the share channel IDs.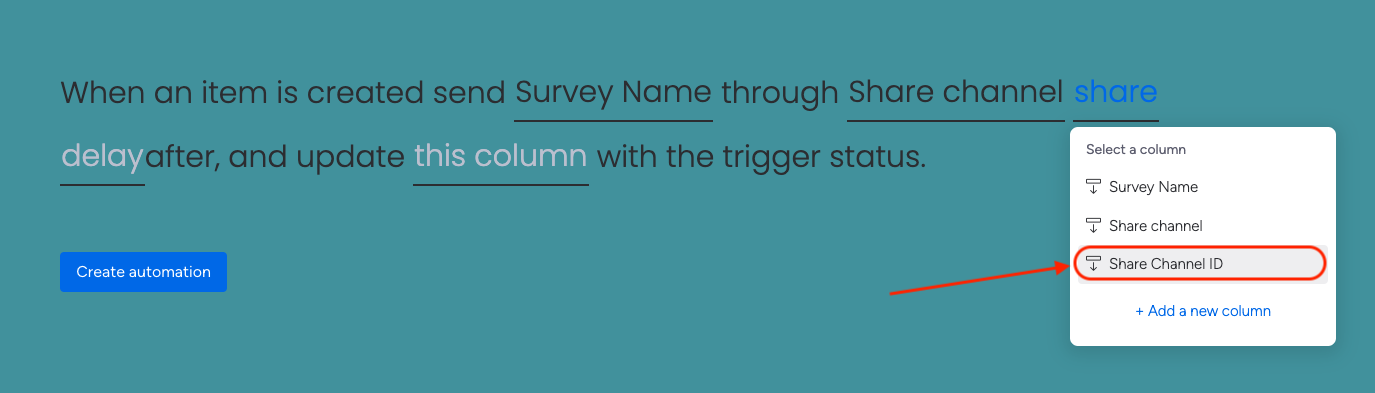
4. The fourth part is the delay period.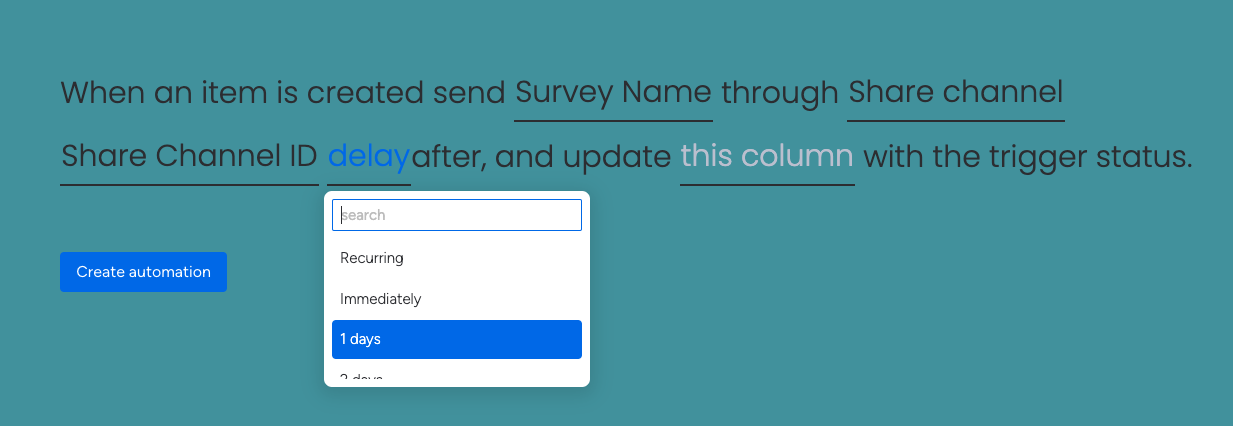
5. The fifth part is the status.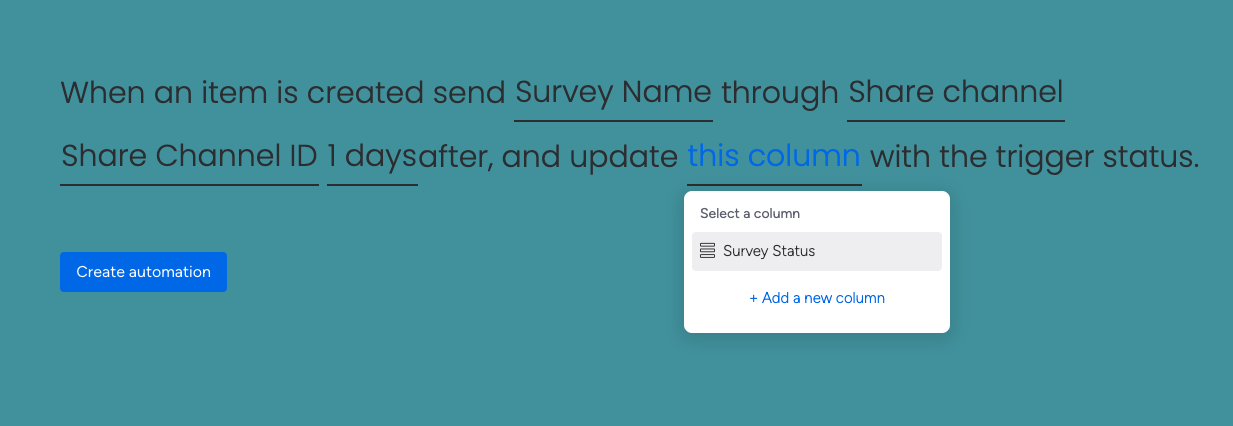
The regular contact sync recipe performs a blanket sync of all new items. But if you want to selectively sync contacts from specific items, this recipe can help.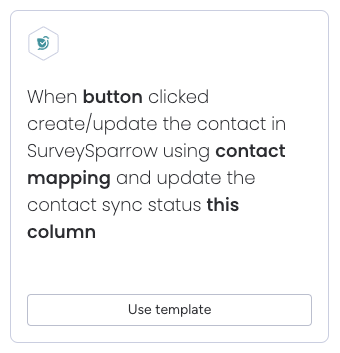
With just a click of a button, you can sync the exact contact that you have in mind. You’ll also see the status of the contact sync, so that you can fix failed sync attempts.
Prior to (or during) the recipe setup, you must create the following:

Let’s look at the setup, which has 3 parts.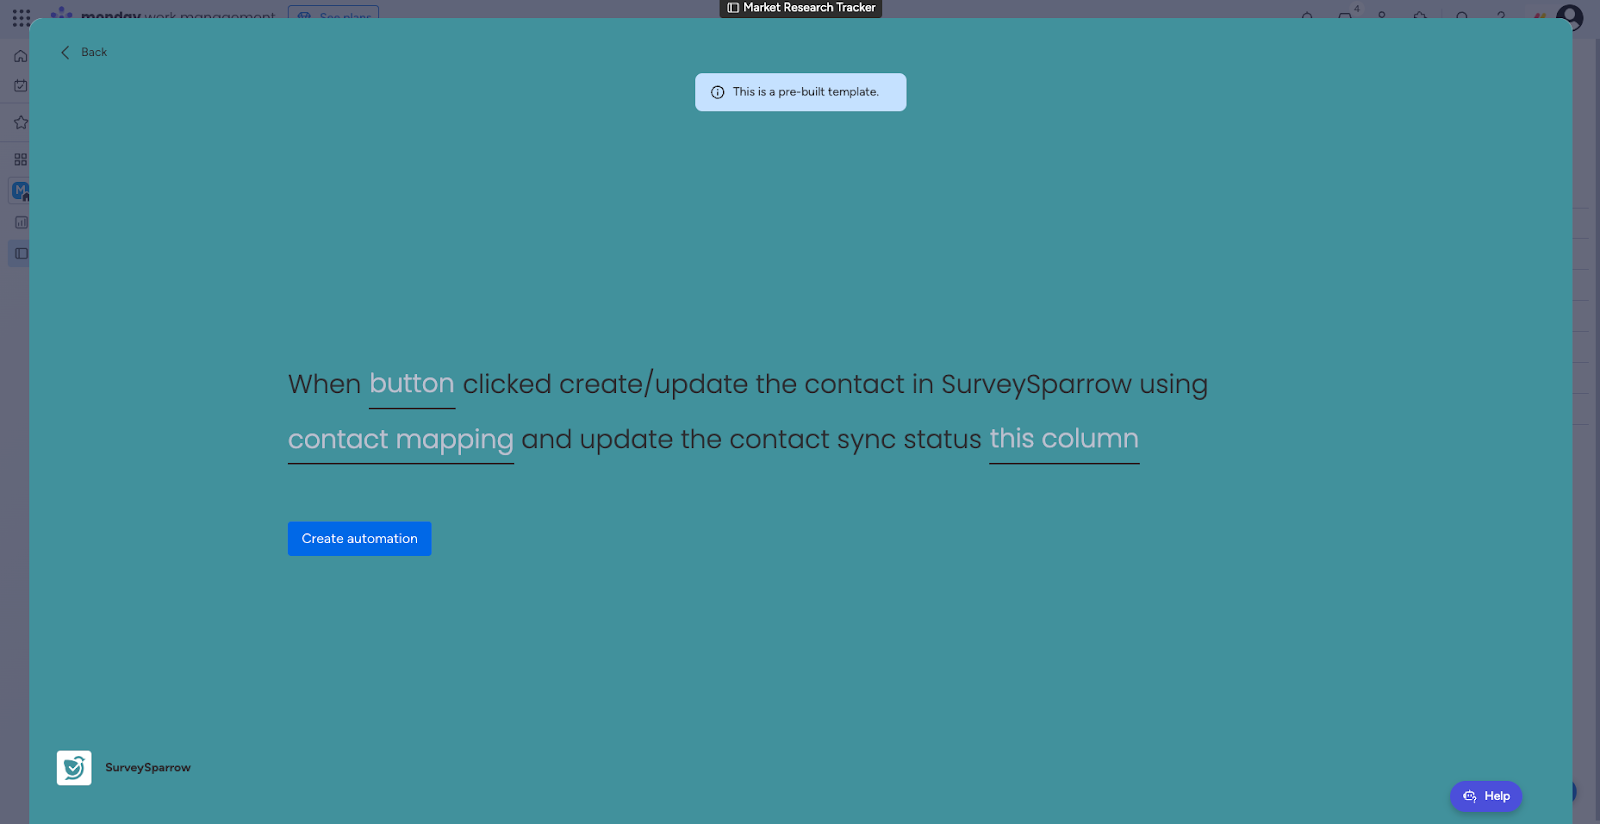
1. The first part is the button.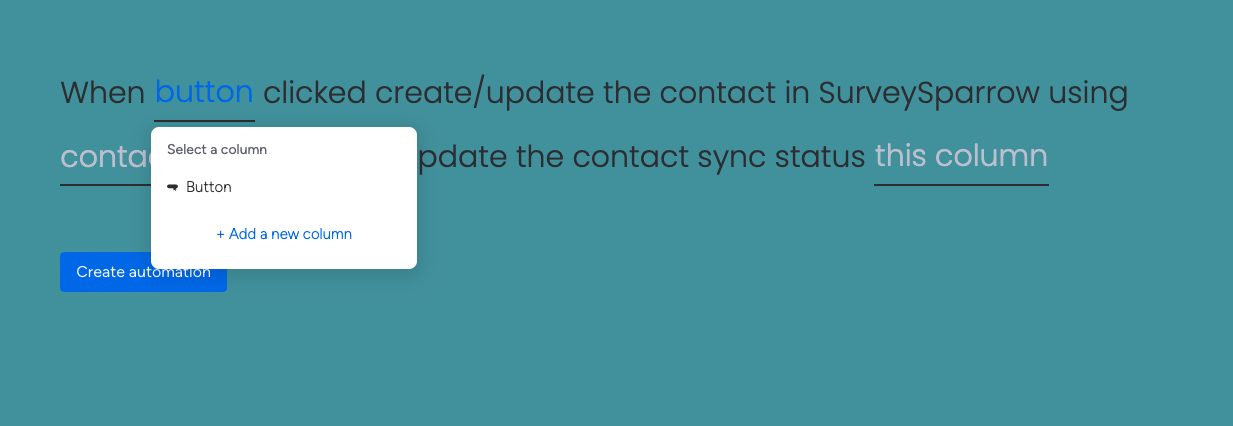
2. The second part is the contact mapping.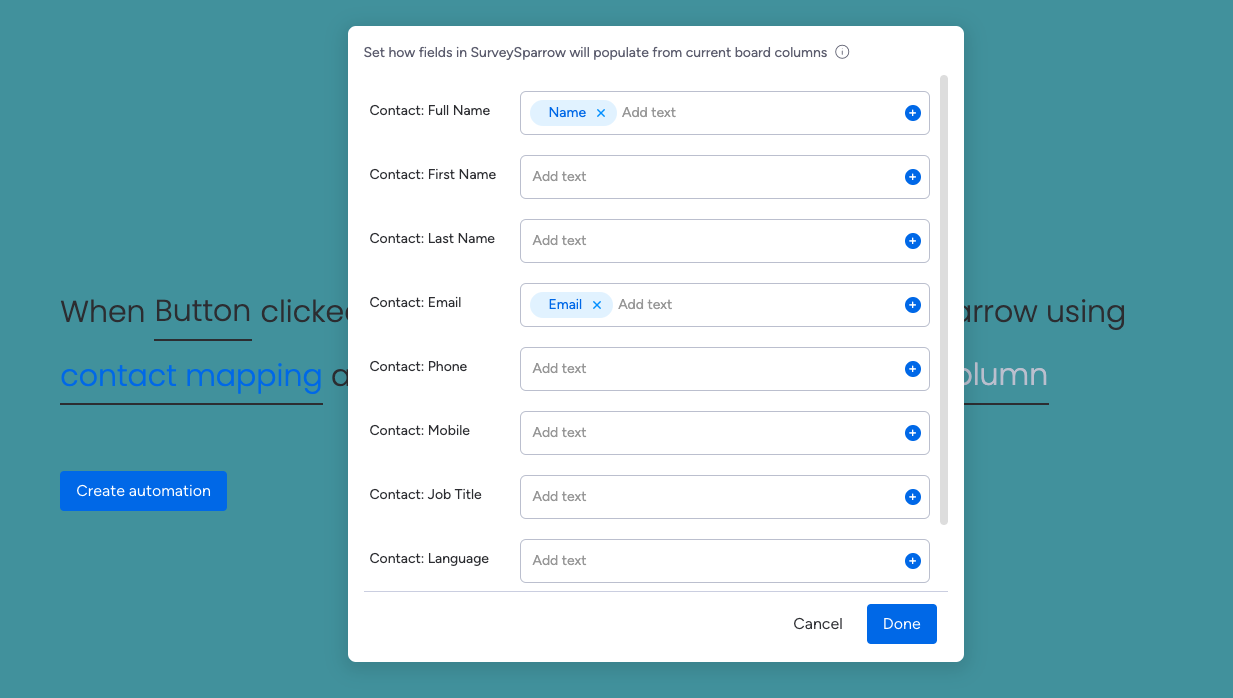
3. The third part is the status. Please select the column with the contact sync status.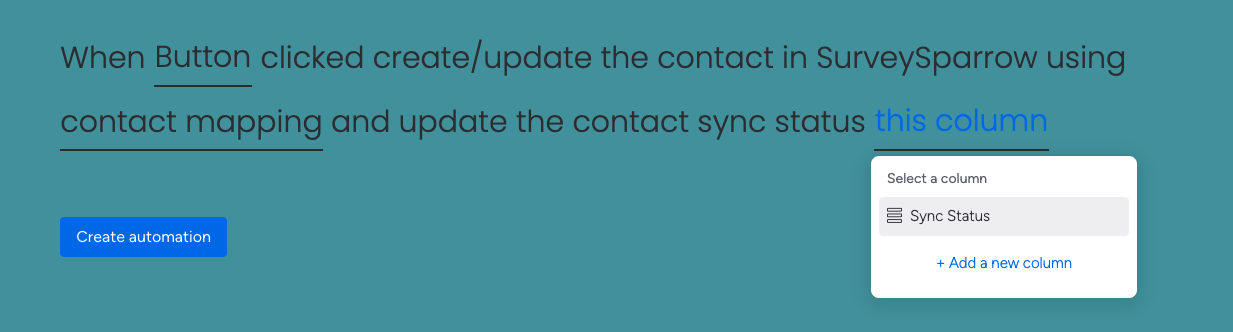
With all these recipes individually or in combination, you can automate a huge part of your data management and survey deployment workflows. This guide will help you make the best use of monday.com and SurveySparrow.
Feel free to reach out to our community, if you have any questions.
Powered By SparrowDesk