
Search
In today’s fast-paced digital world, capturing real-time feedback from your mobile app users is crucial. SpotChecks, or Microsurveys, offer a powerful solution that makes it intuitive for users.
You can gain invaluable insights into user satisfaction, preferences, and pain points by strategically placing brief, targeted questions at key moments in your mobile app screens.
This immediate feedback empowers you to quickly address issues and enhance the overall user experience. These non-intrusive micro-surveys often lead to higher response rates, giving you a clear picture of your users’ needs and expectations.
This article includes the following:
Now, let’s proceed with setting up a SpotCheck for your mobile app!
1. Navigate to the Share section of your survey and click SpotChecks.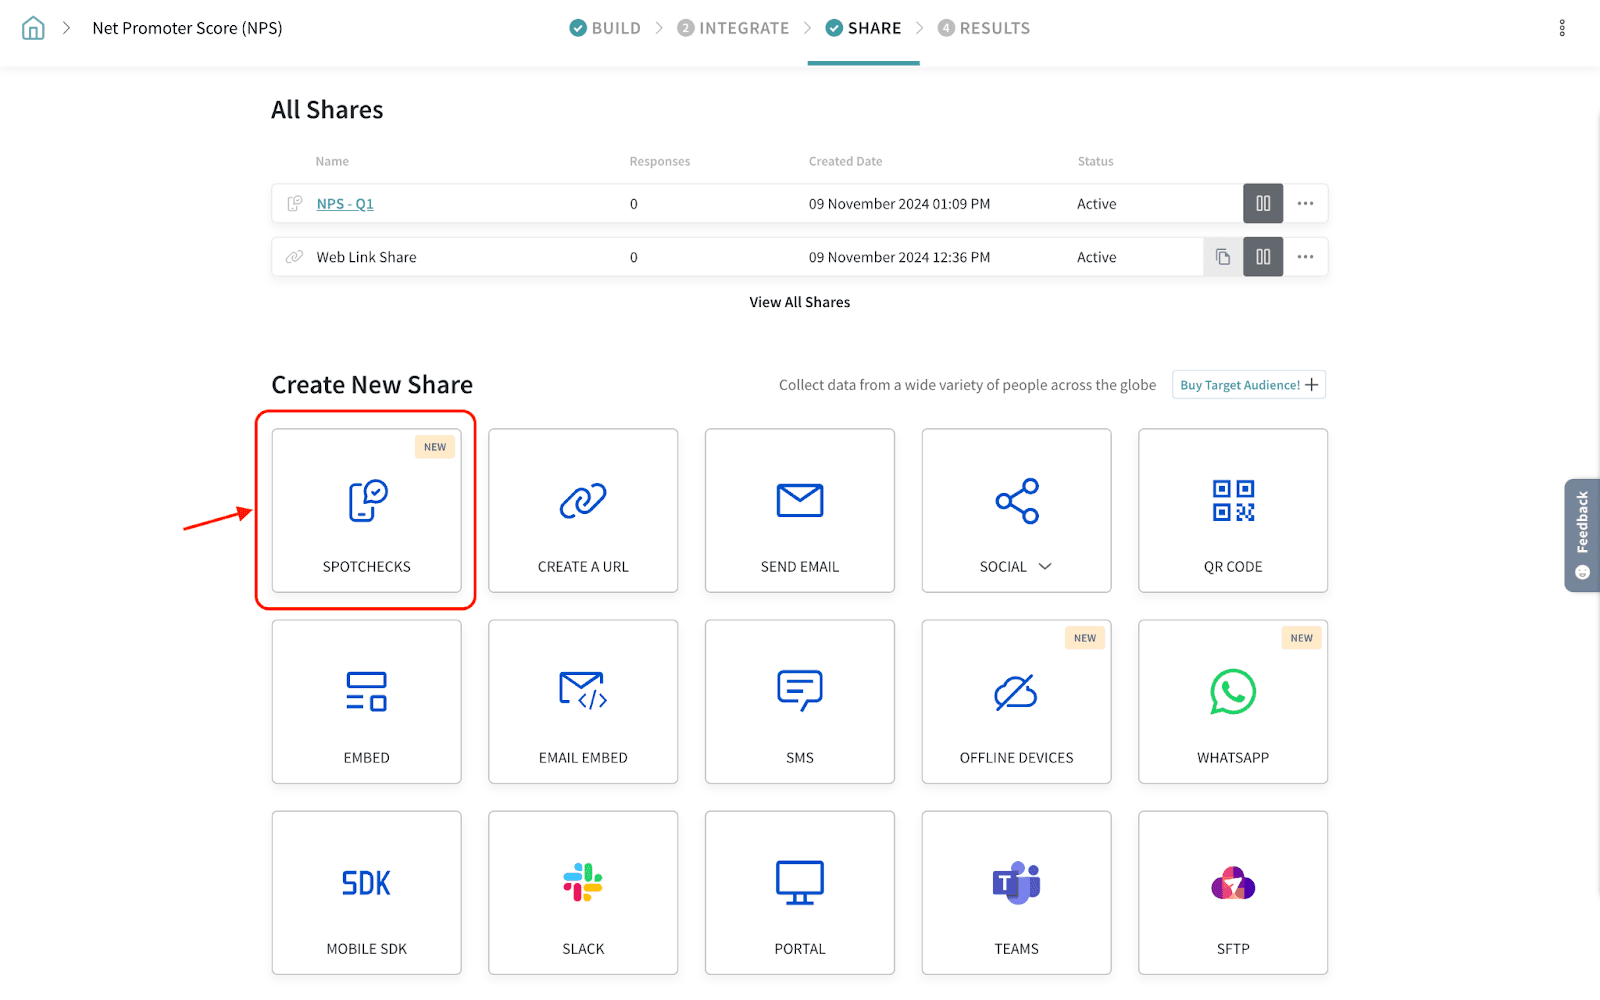
2. Enter the SpotCheck name for your reference.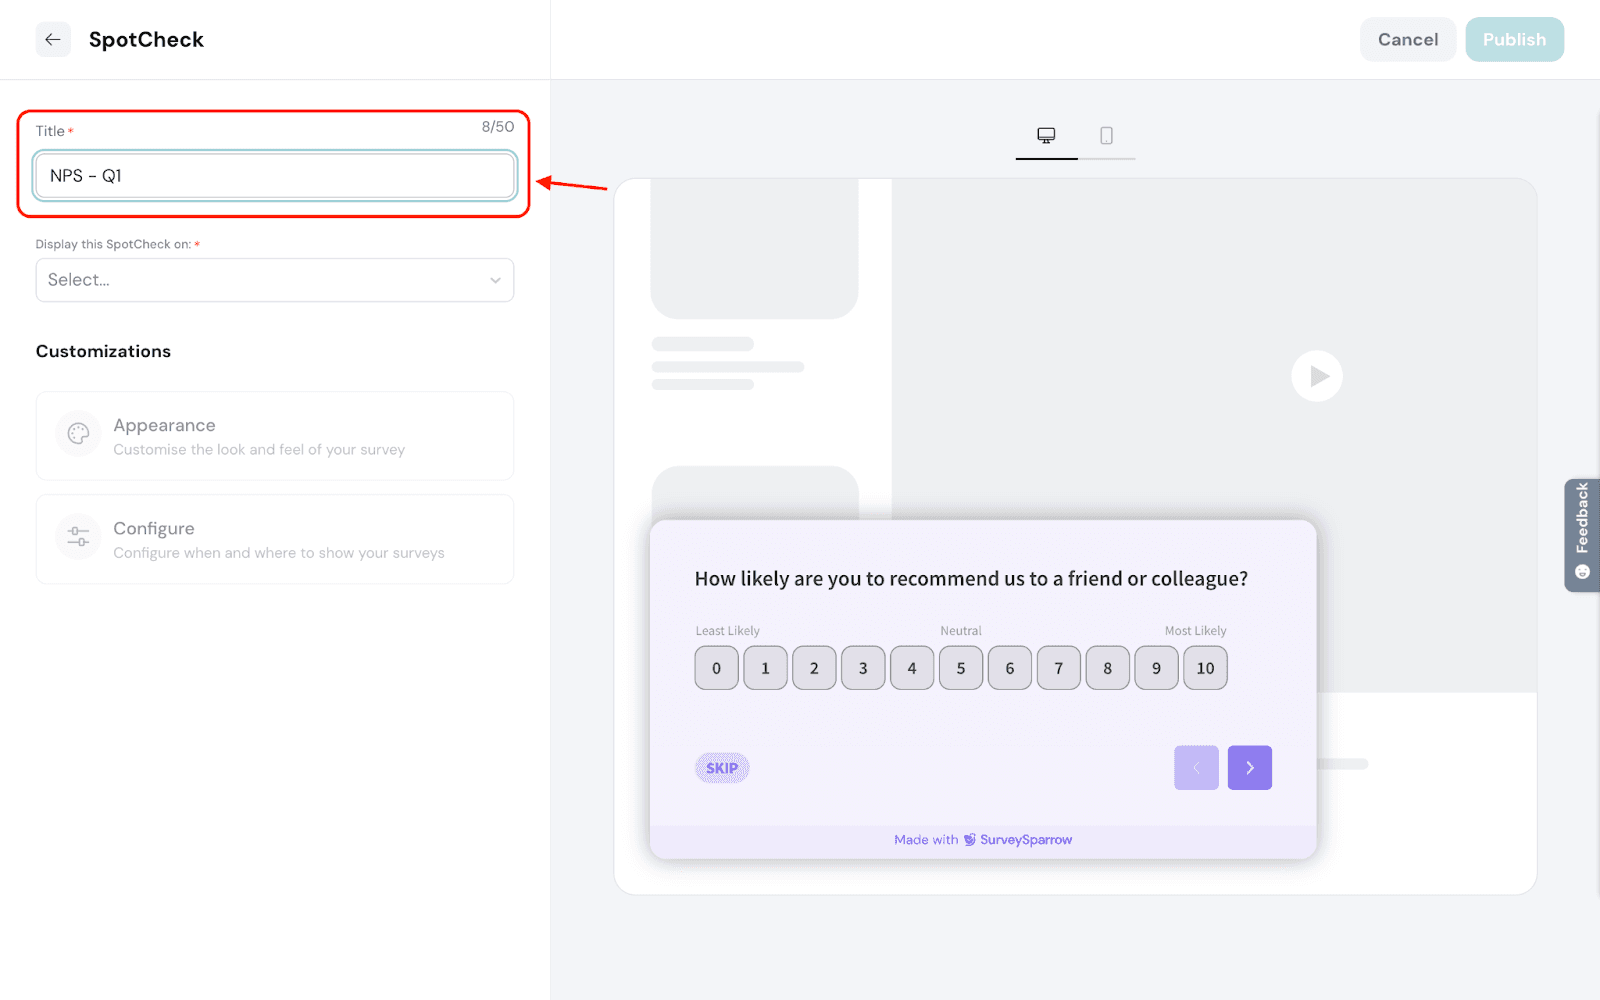
1. Click Add new target.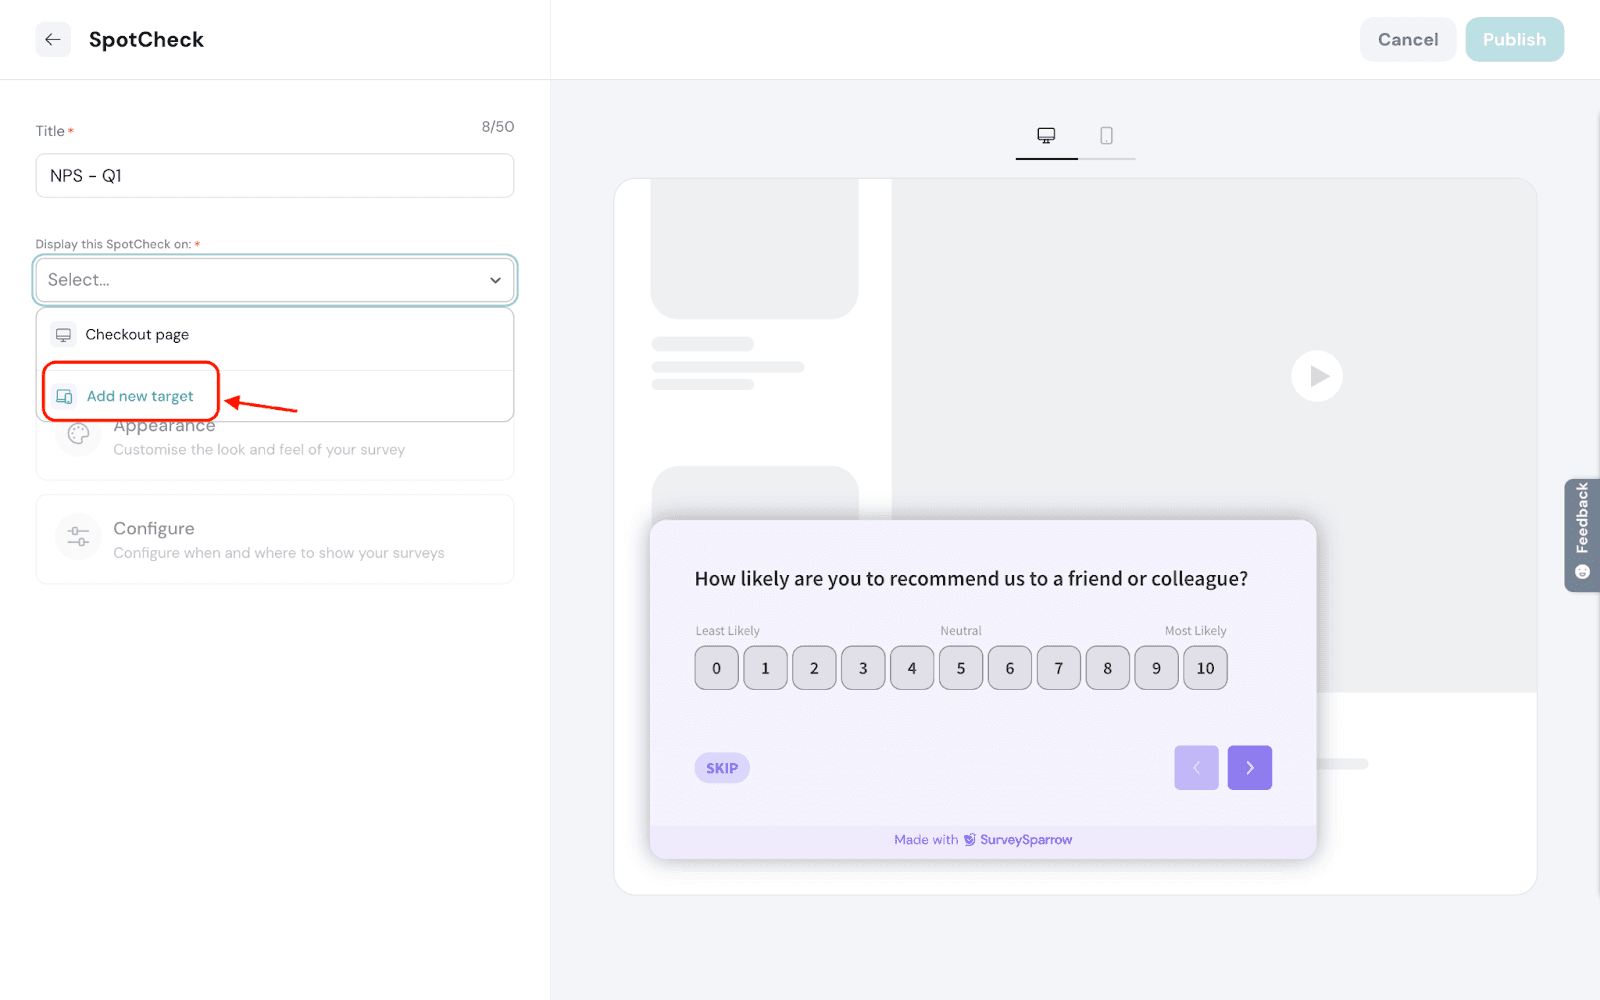
2. Select Mobile App as the target.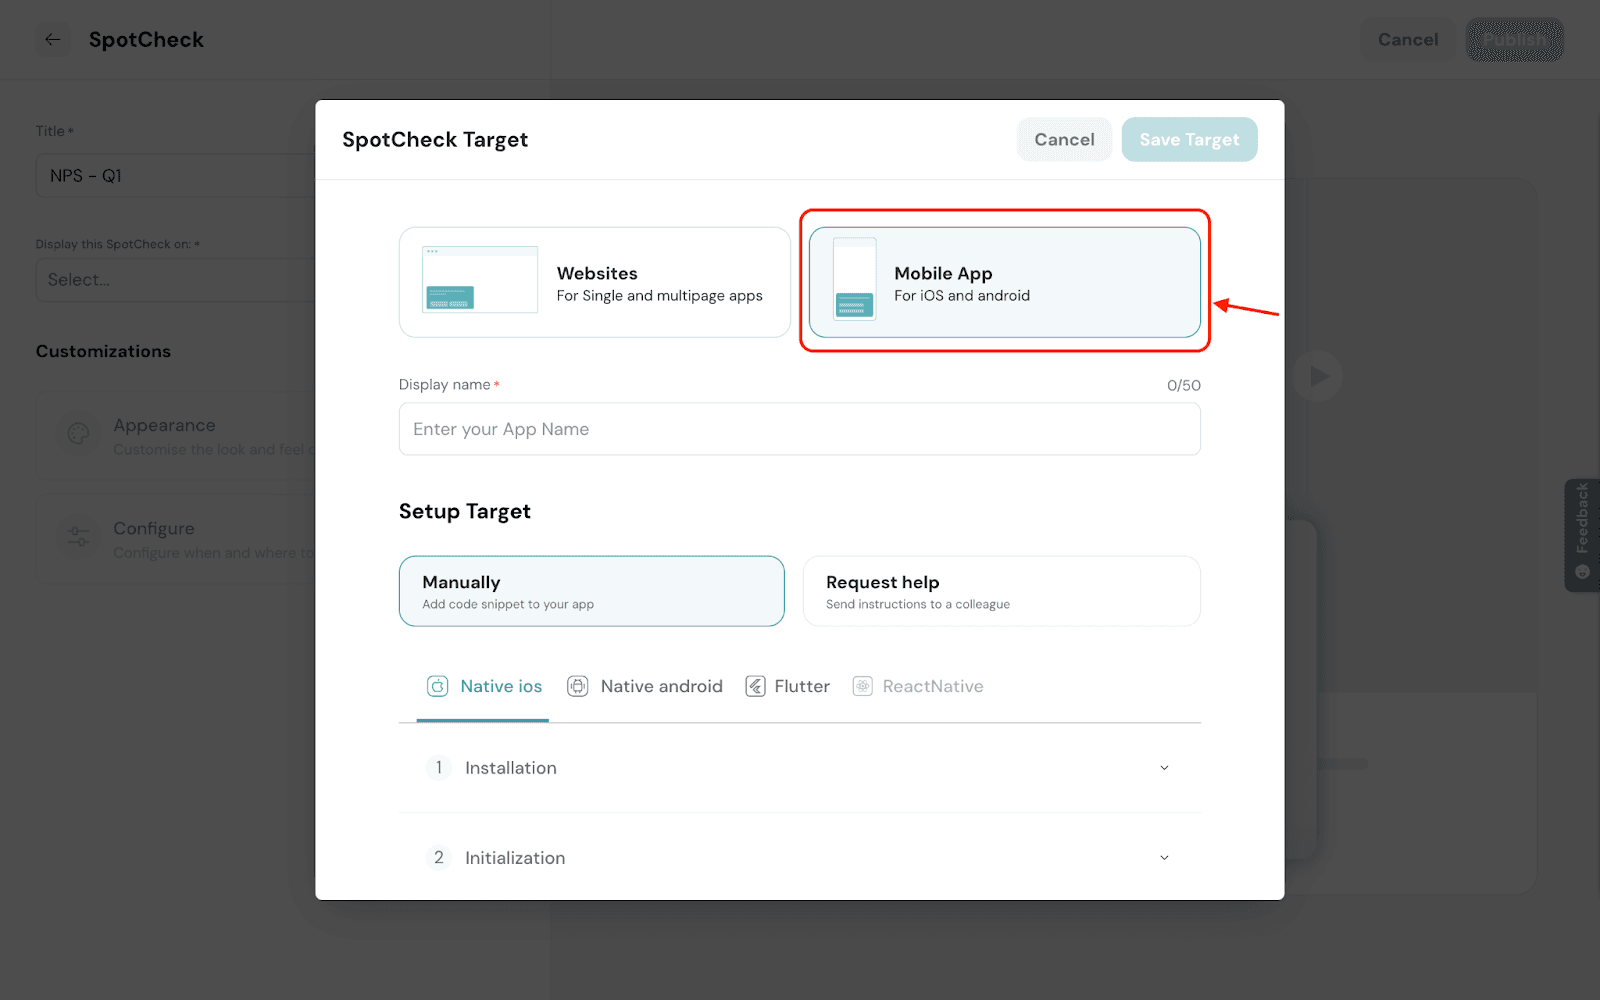
3. Enter the target’s display name for your reference.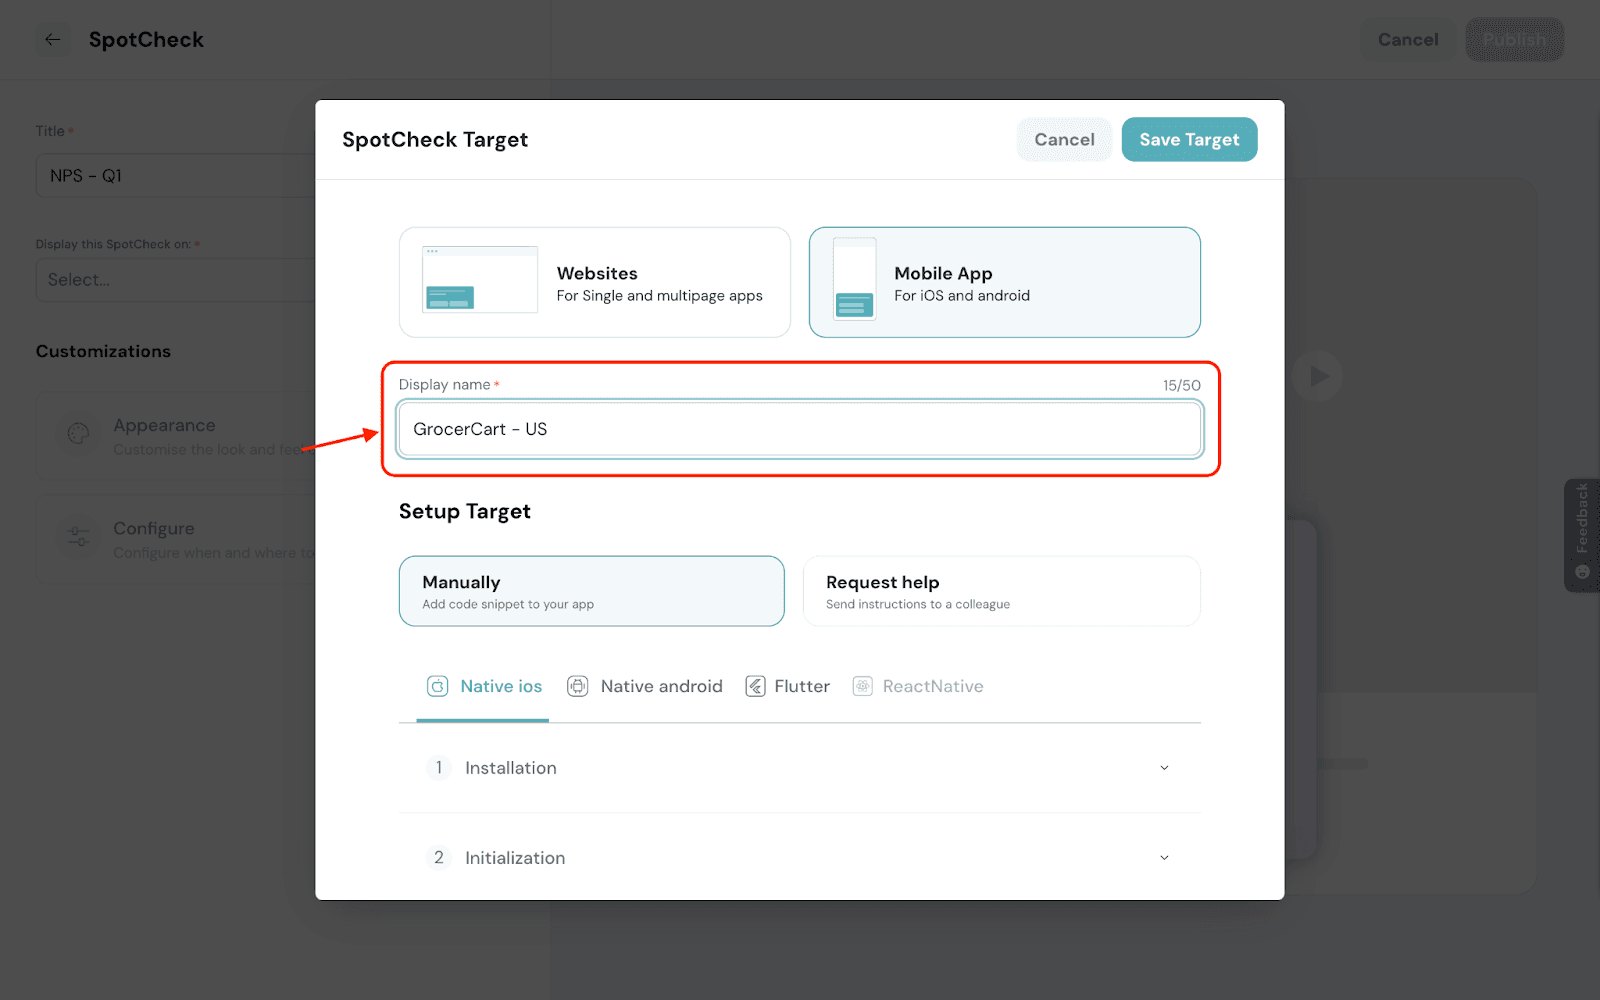
4. Based on the platform on which your mobile app is developed, you can choose from the following options to add the code manually:
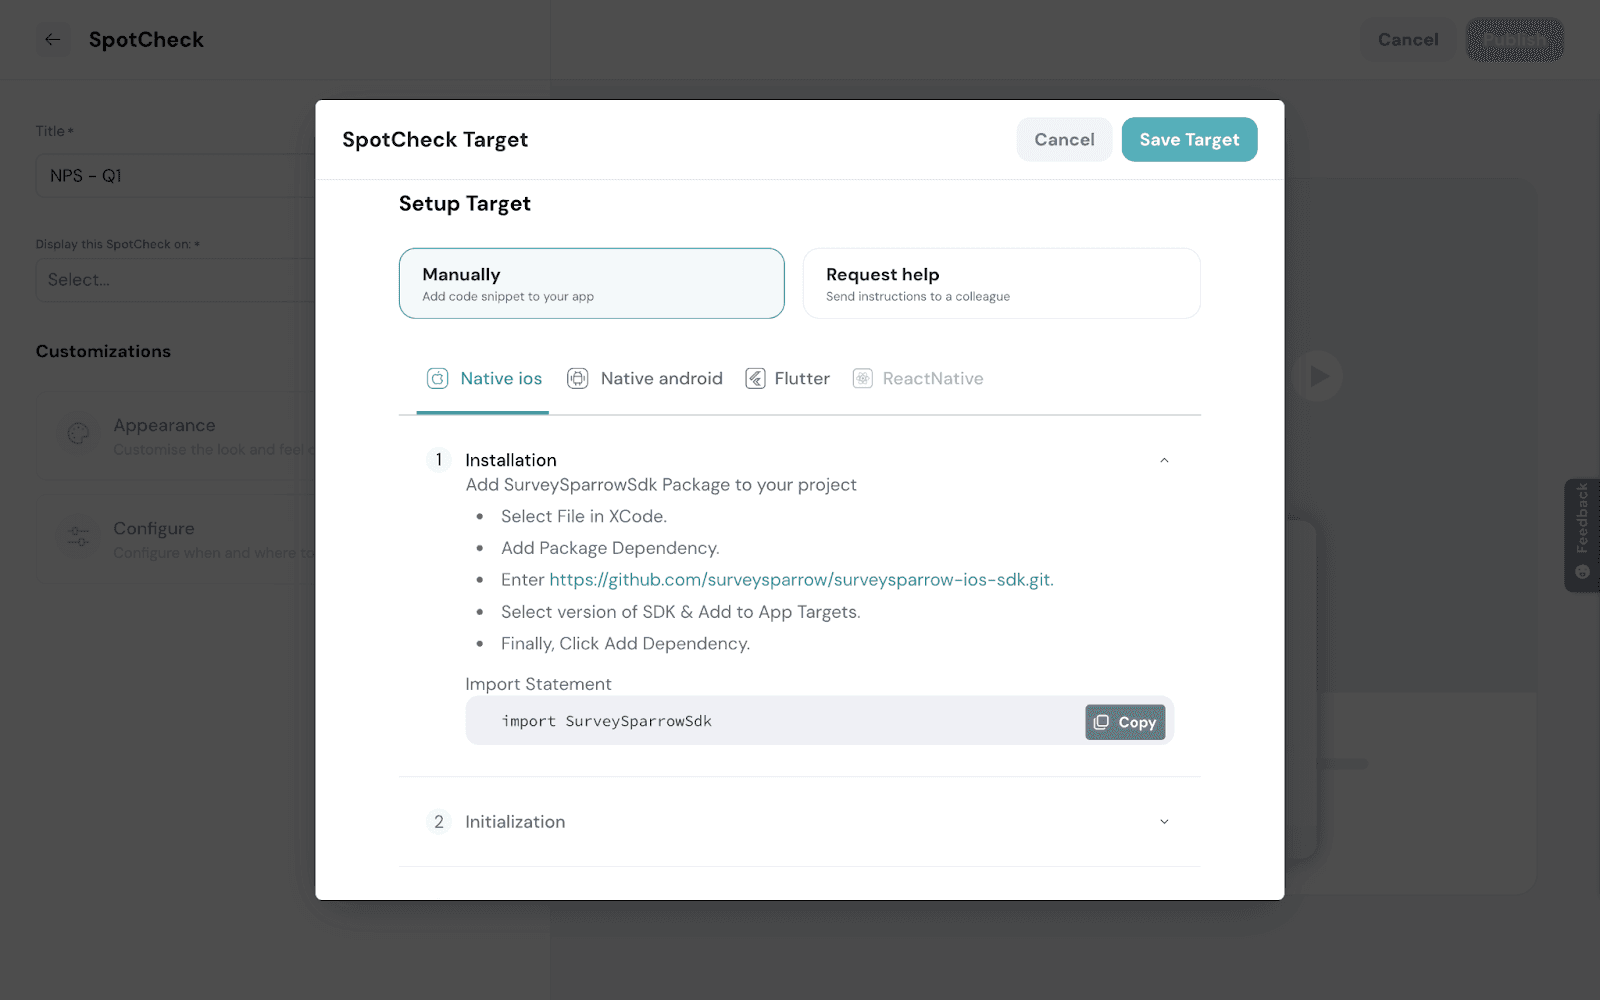
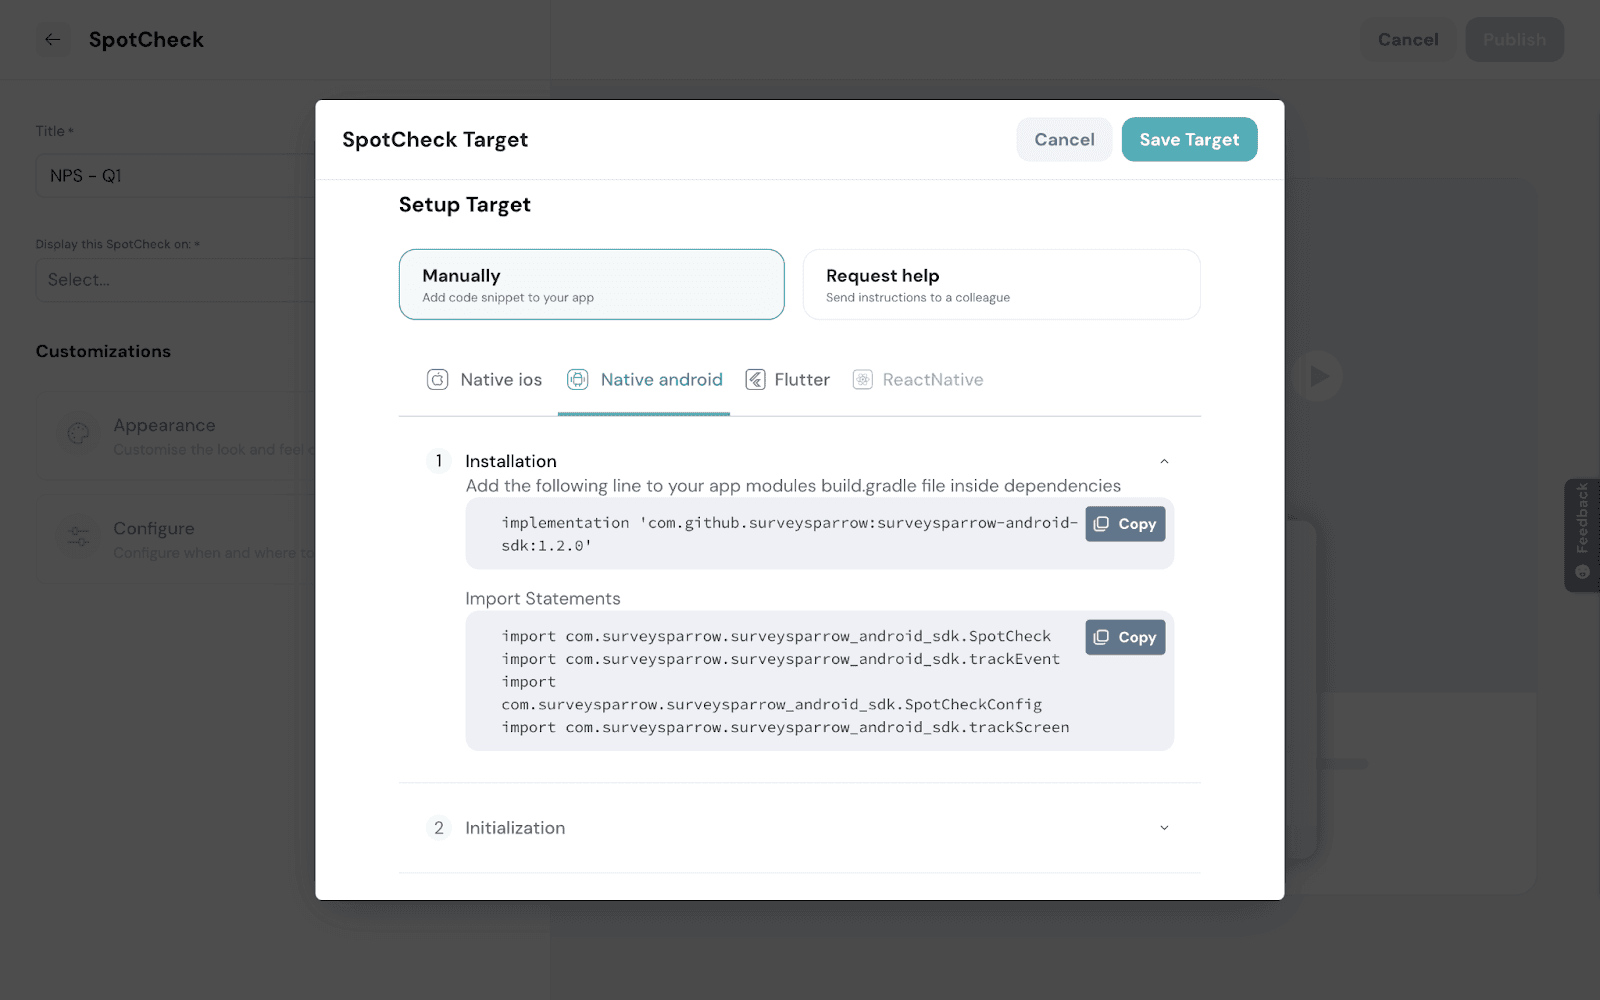
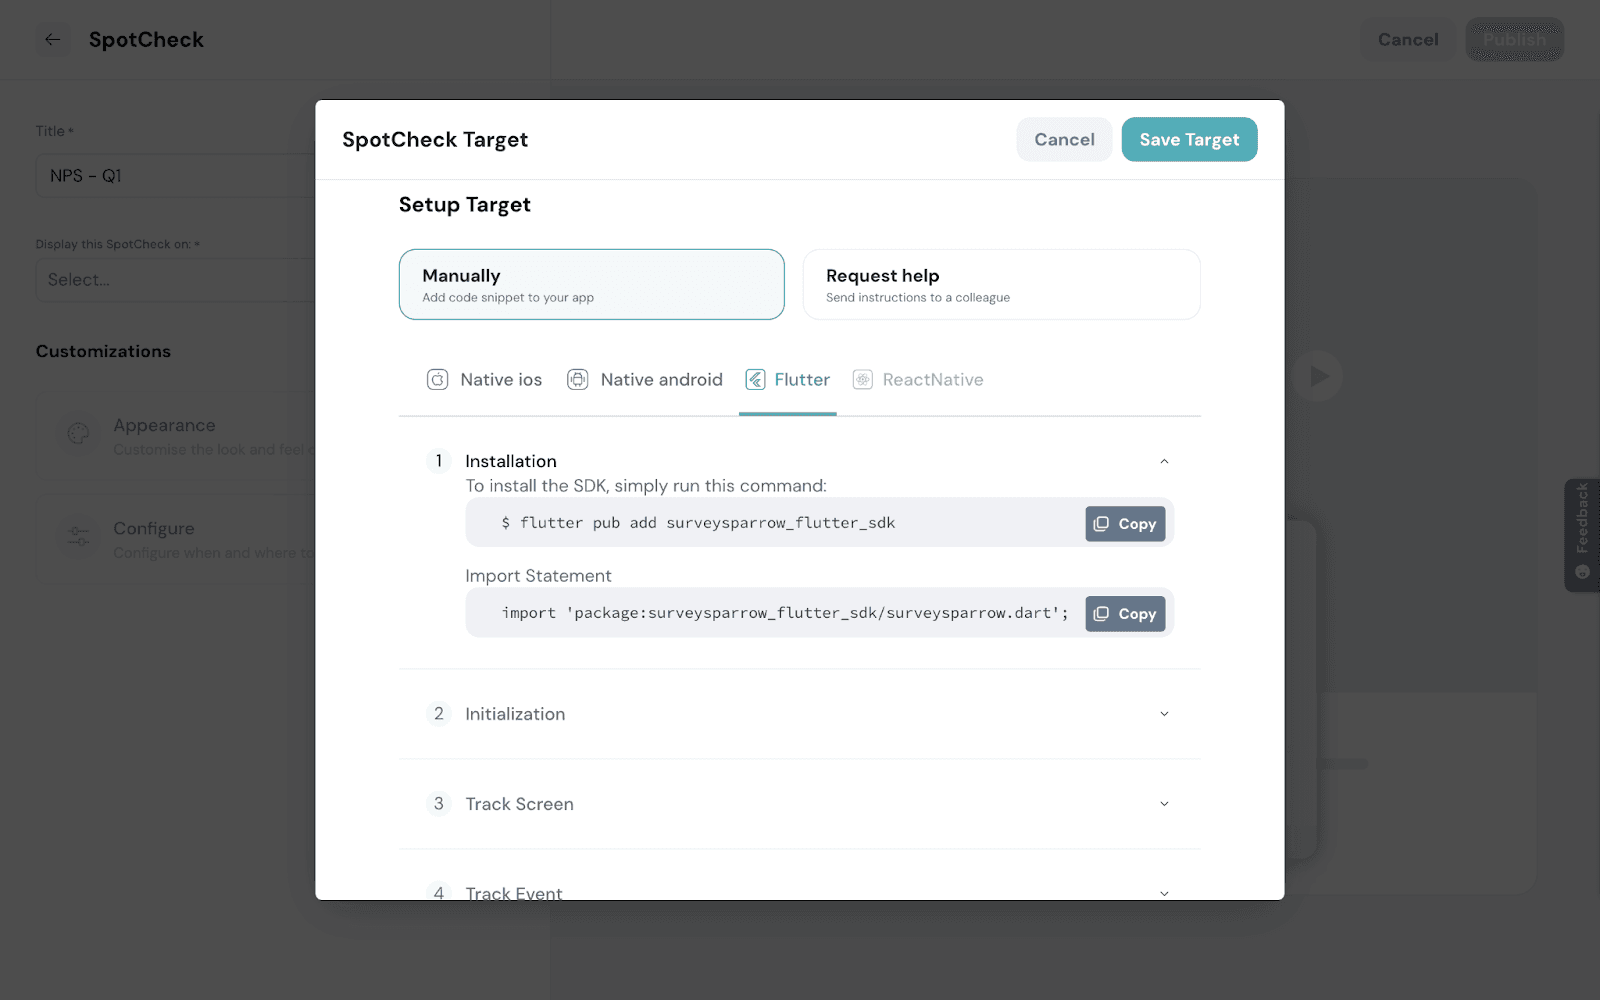
Note: Refer to the installation guide for more details.
5. You can choose to seek help from your dedicated team member to set up the Target. Click Request help.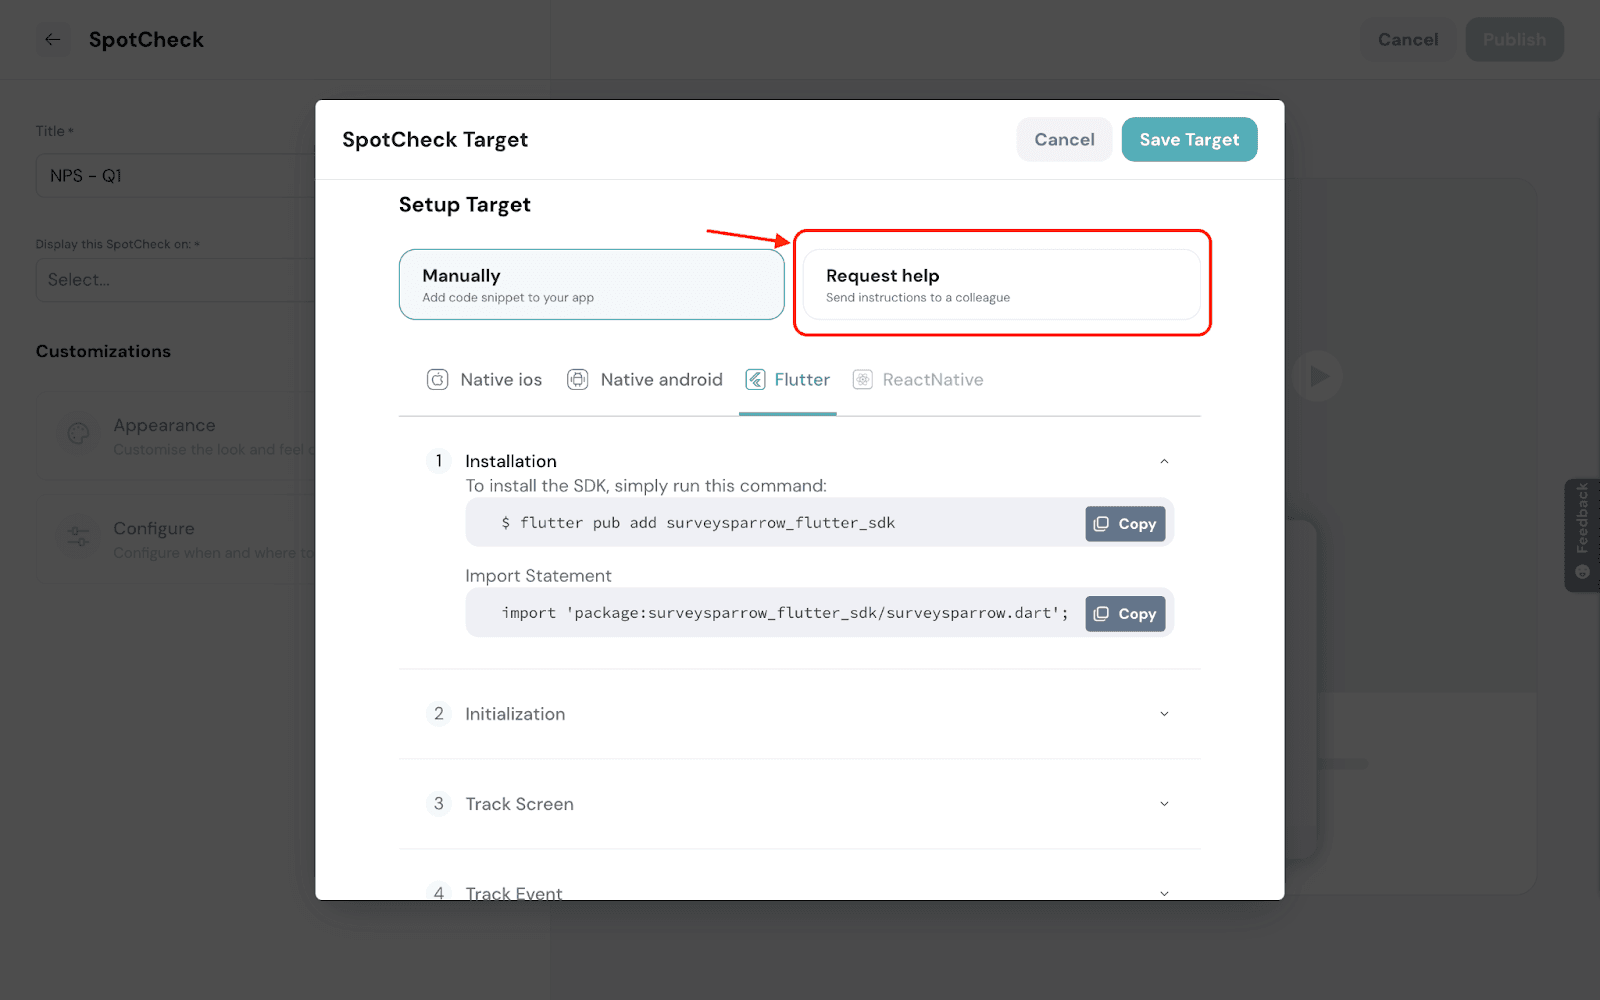
6. Enter the email address to send the help request.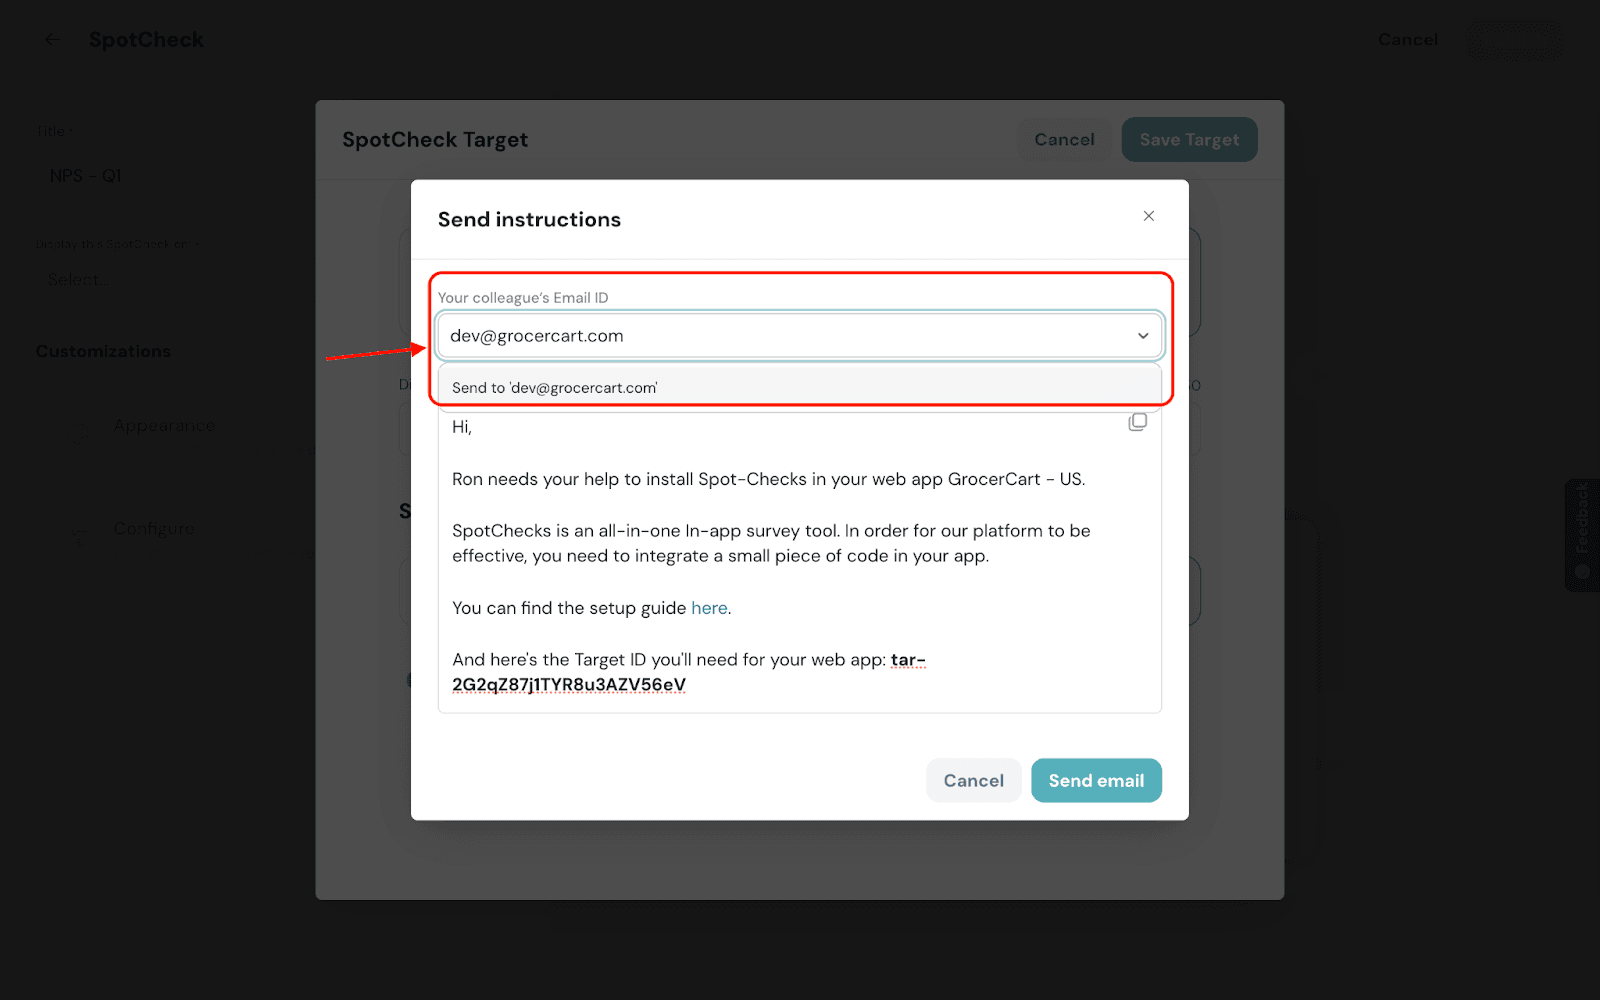
7. Click Send email.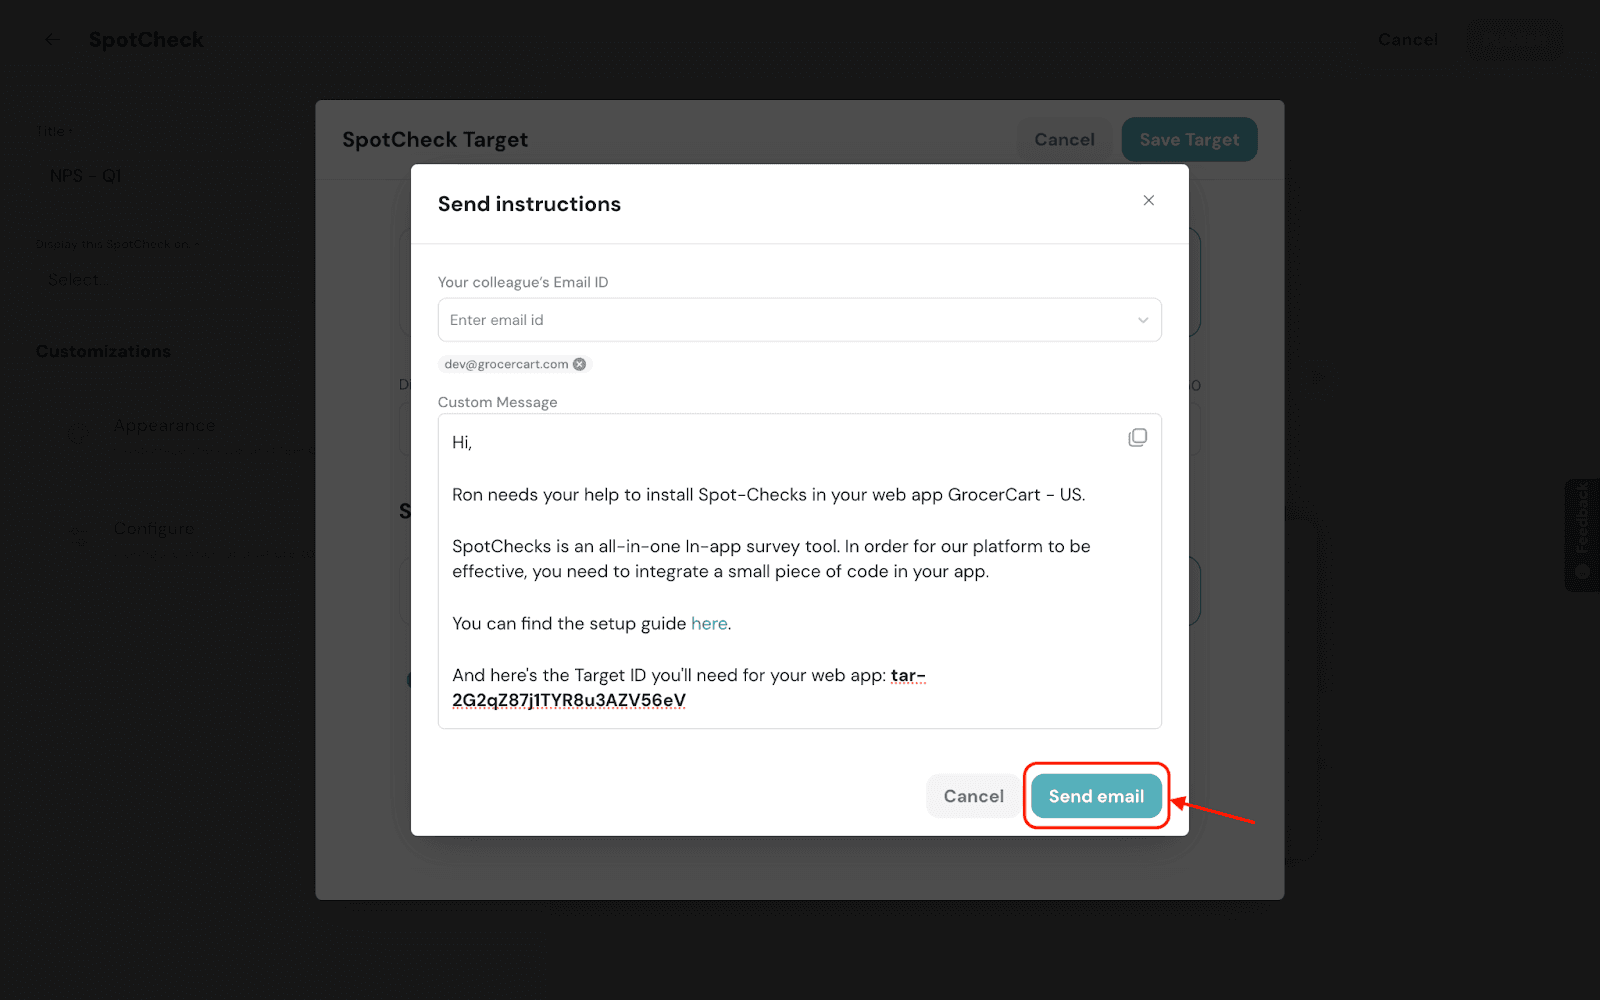
8. While you carry out code installation by referring to the developer document, click Save Target.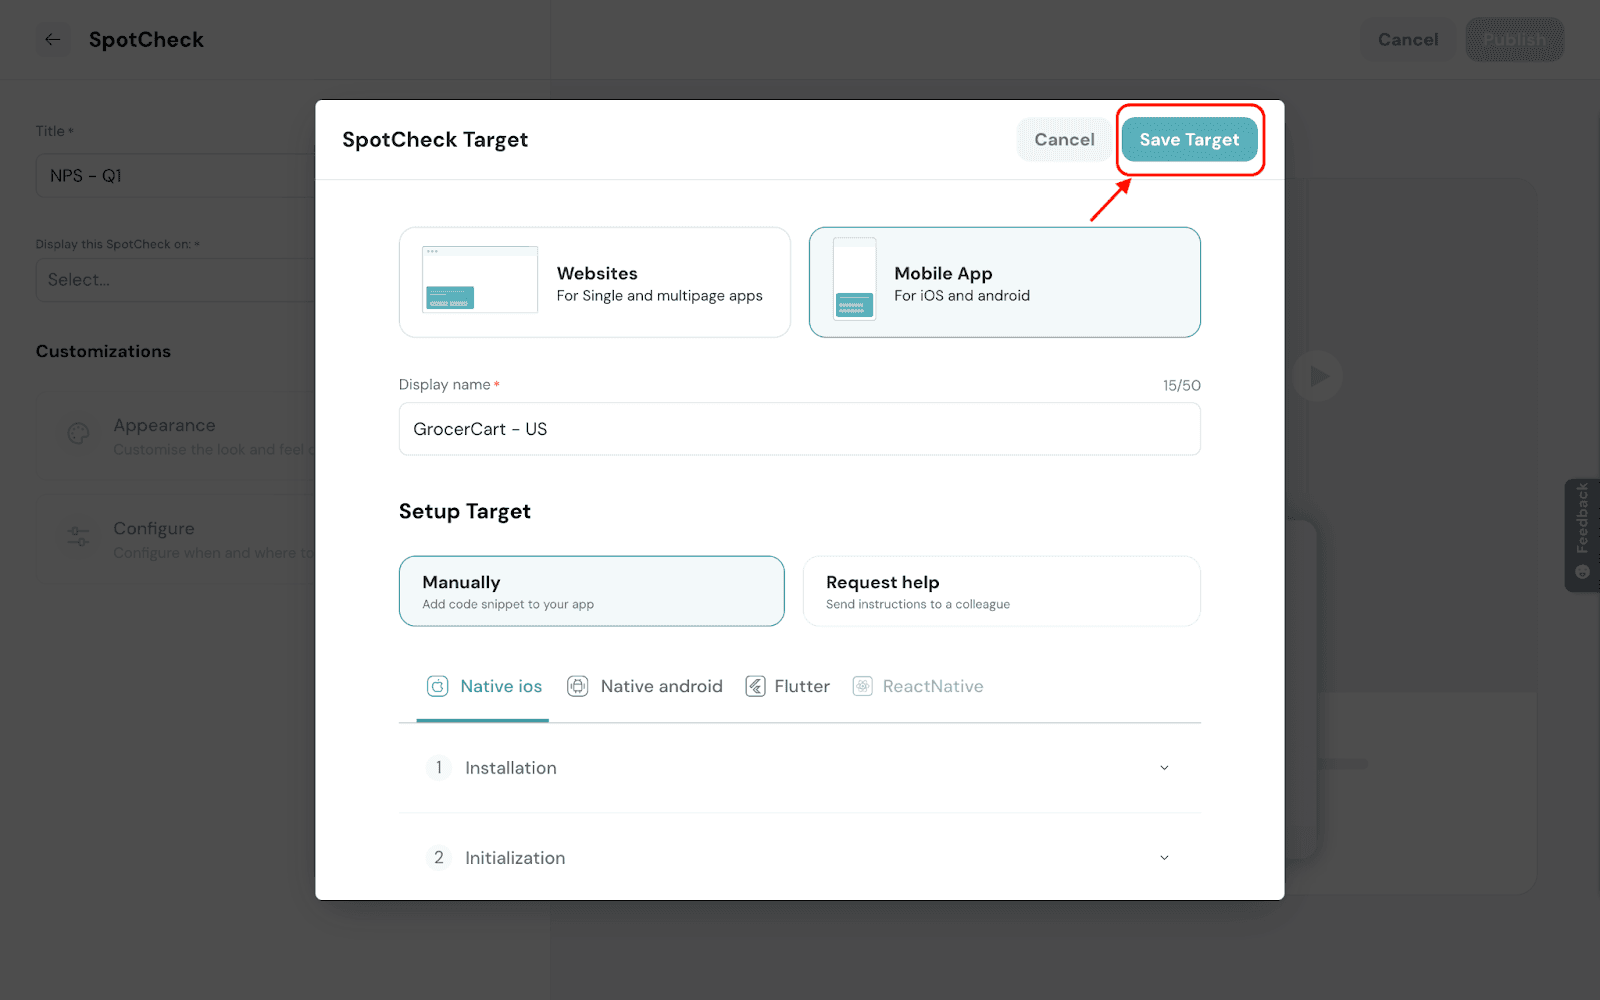
Note: Kindly refer to the installation guide for deploying SpotChecks in your mobile app.
1. Under Customizations, click Appearance.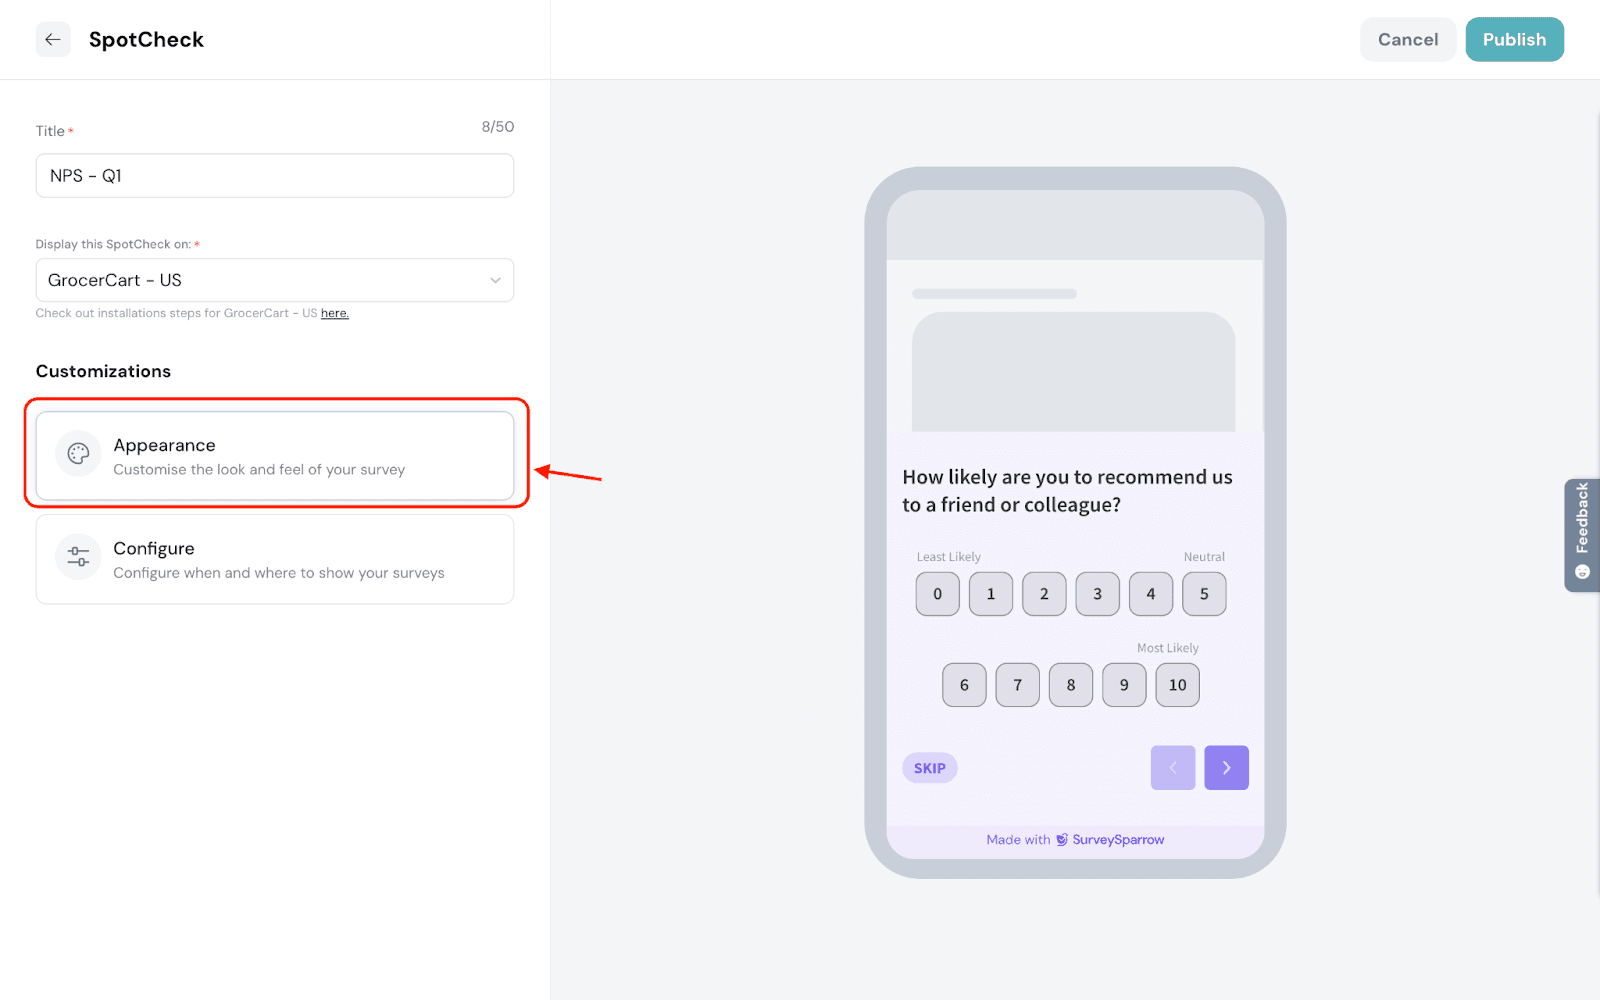
2. Choose the preferred type of appearance on your app screen.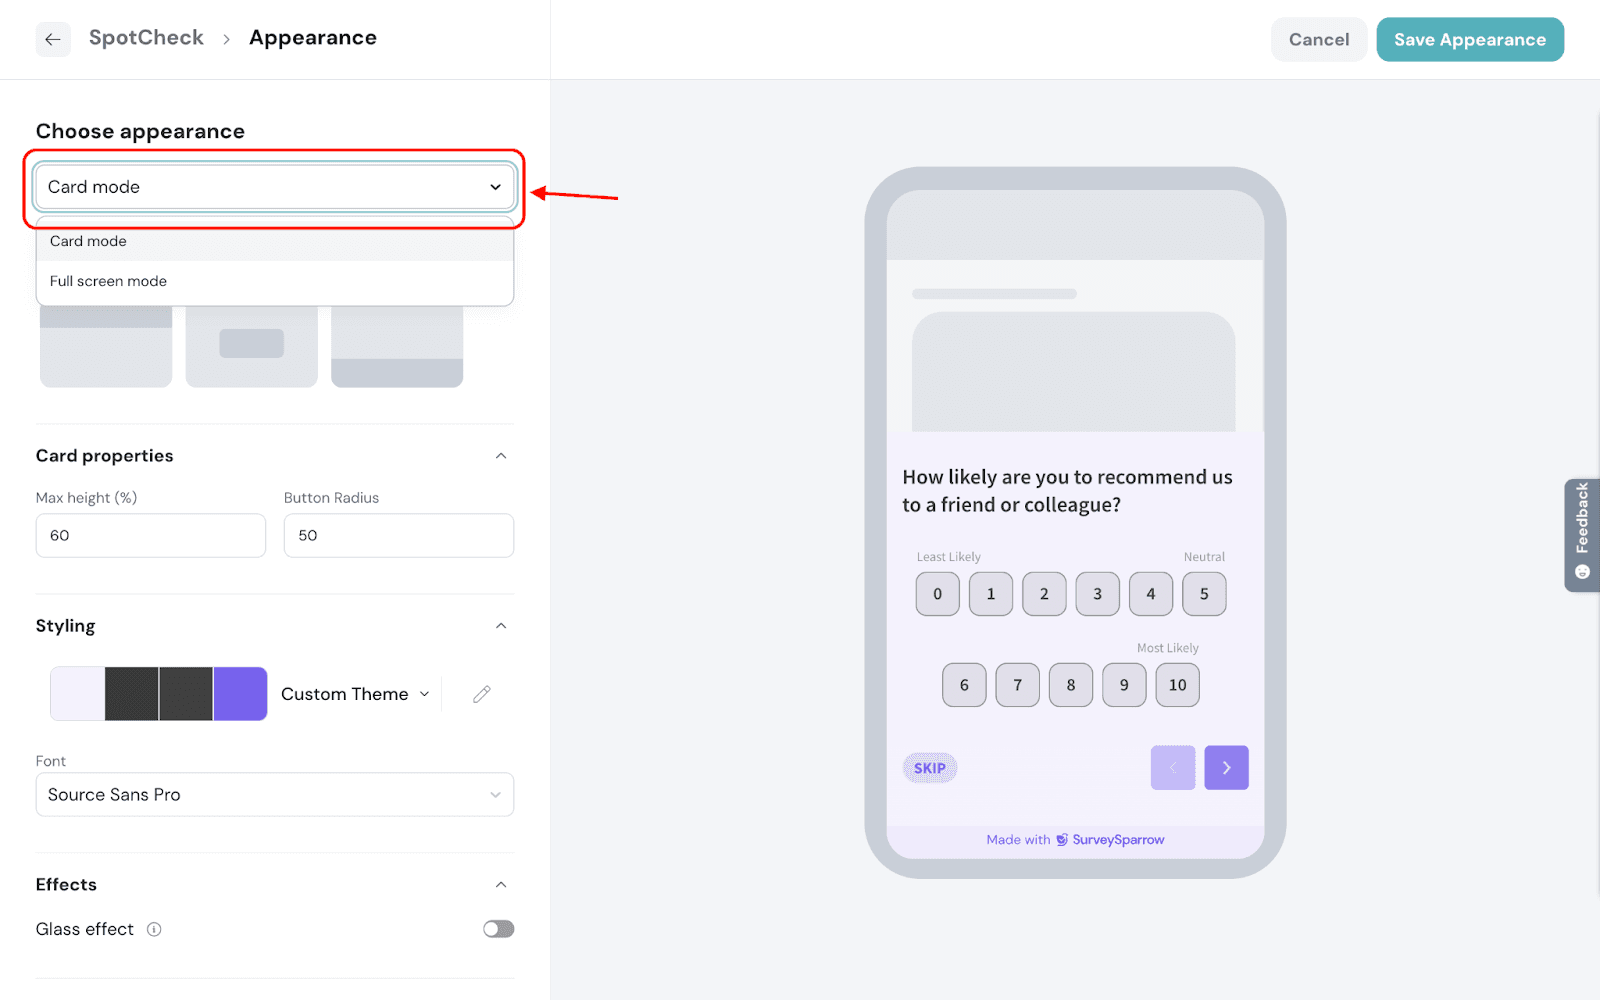
3. Customize the placement of your SpotCheck.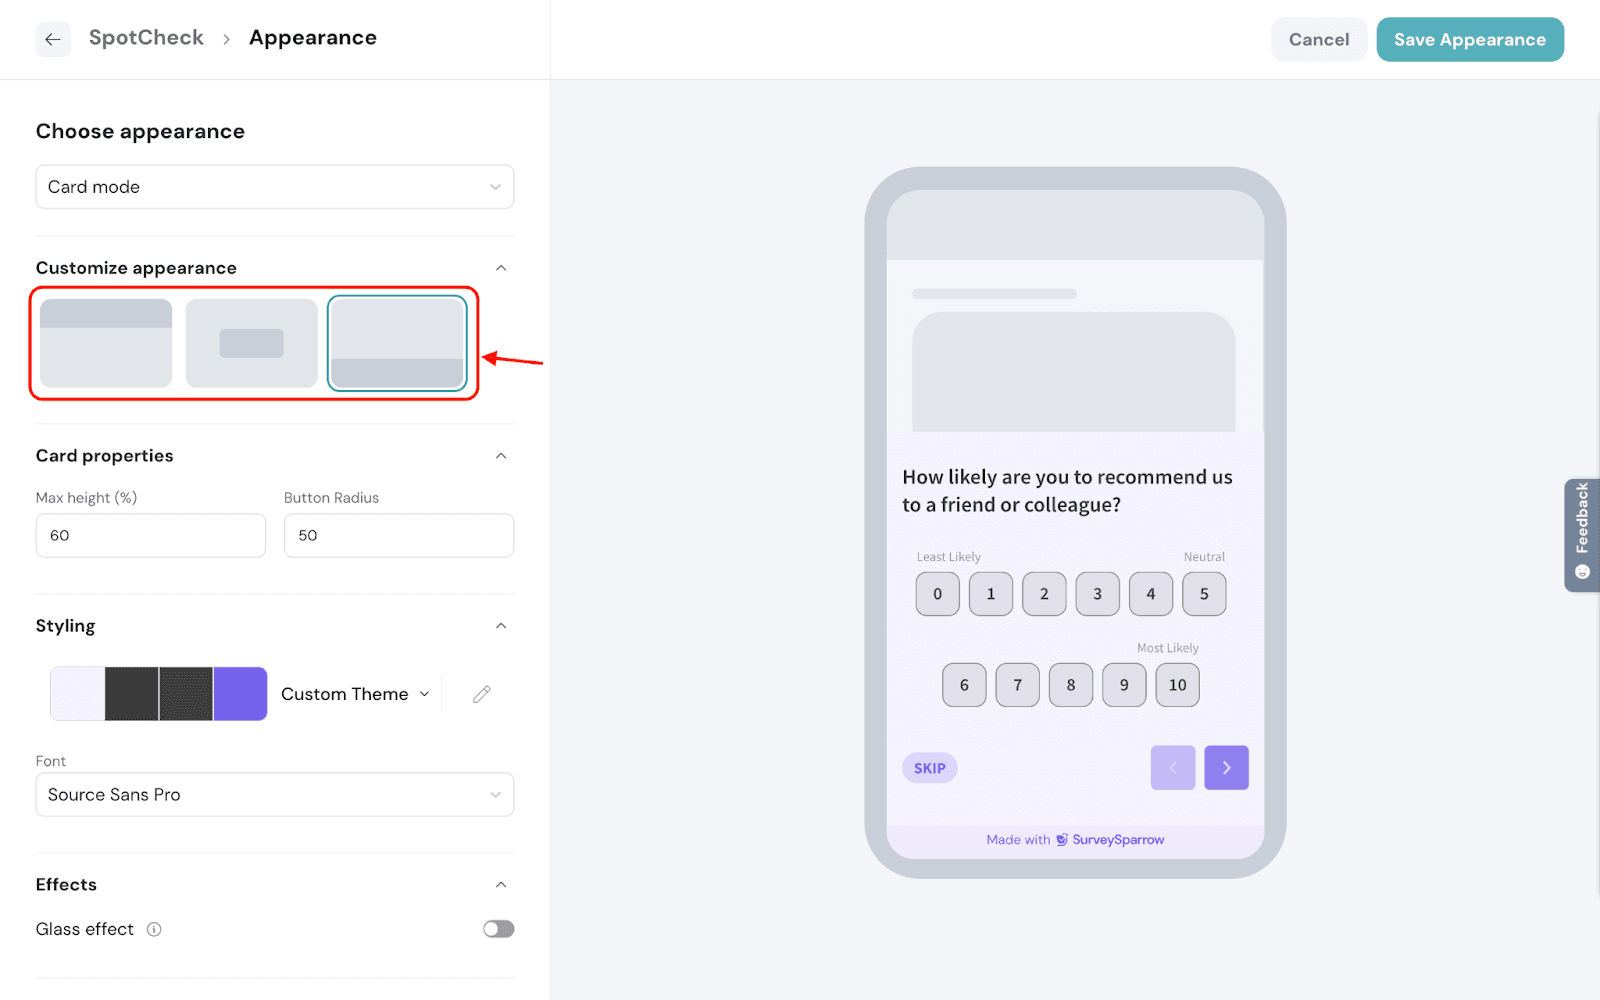
4. Customize the SpotCheck according to your brand guidelines.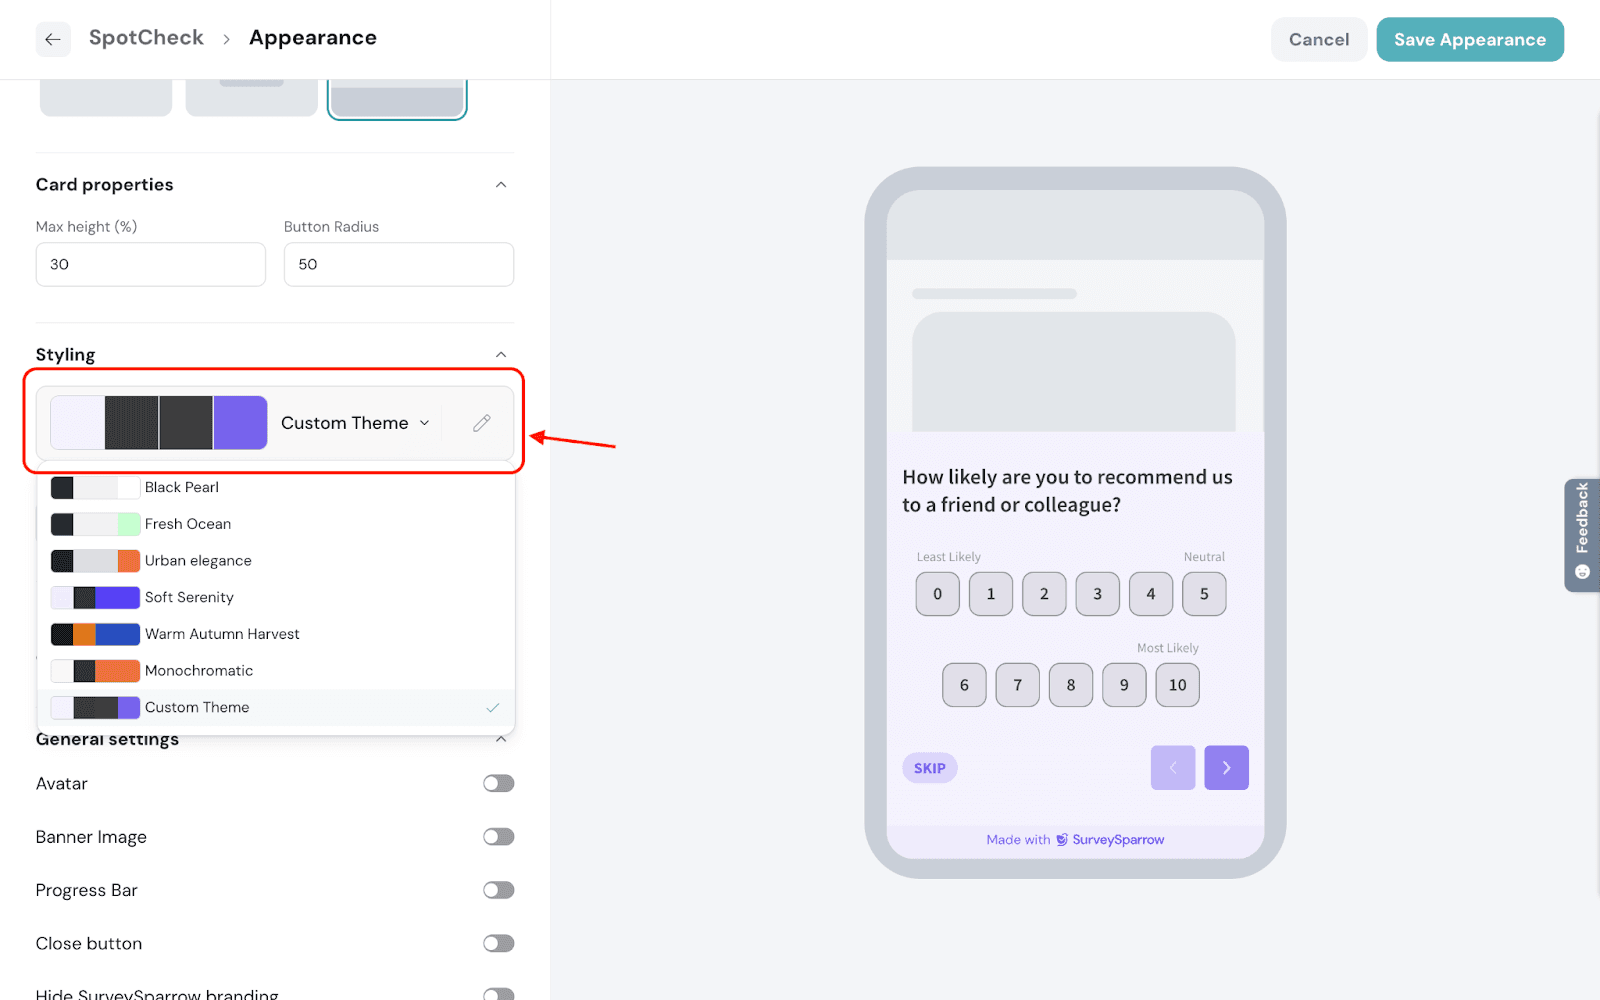
5. Choose to add effects to your SpotCheck.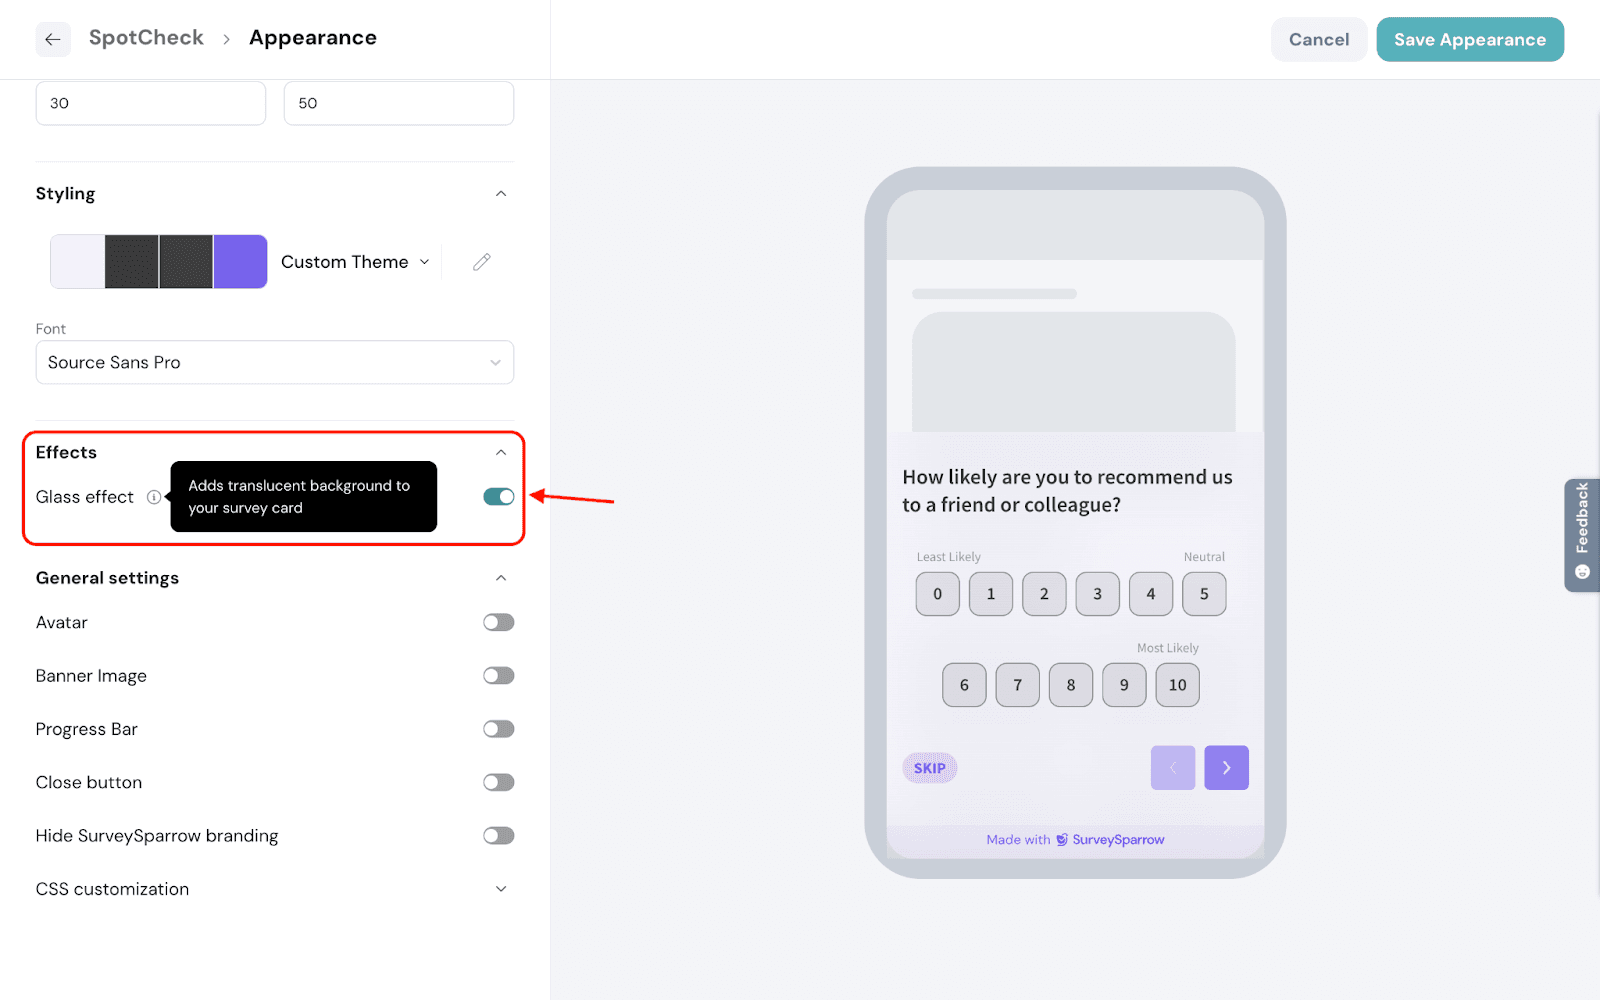
6. Choose to add CSS customizations to make the SpotCheck truly yours.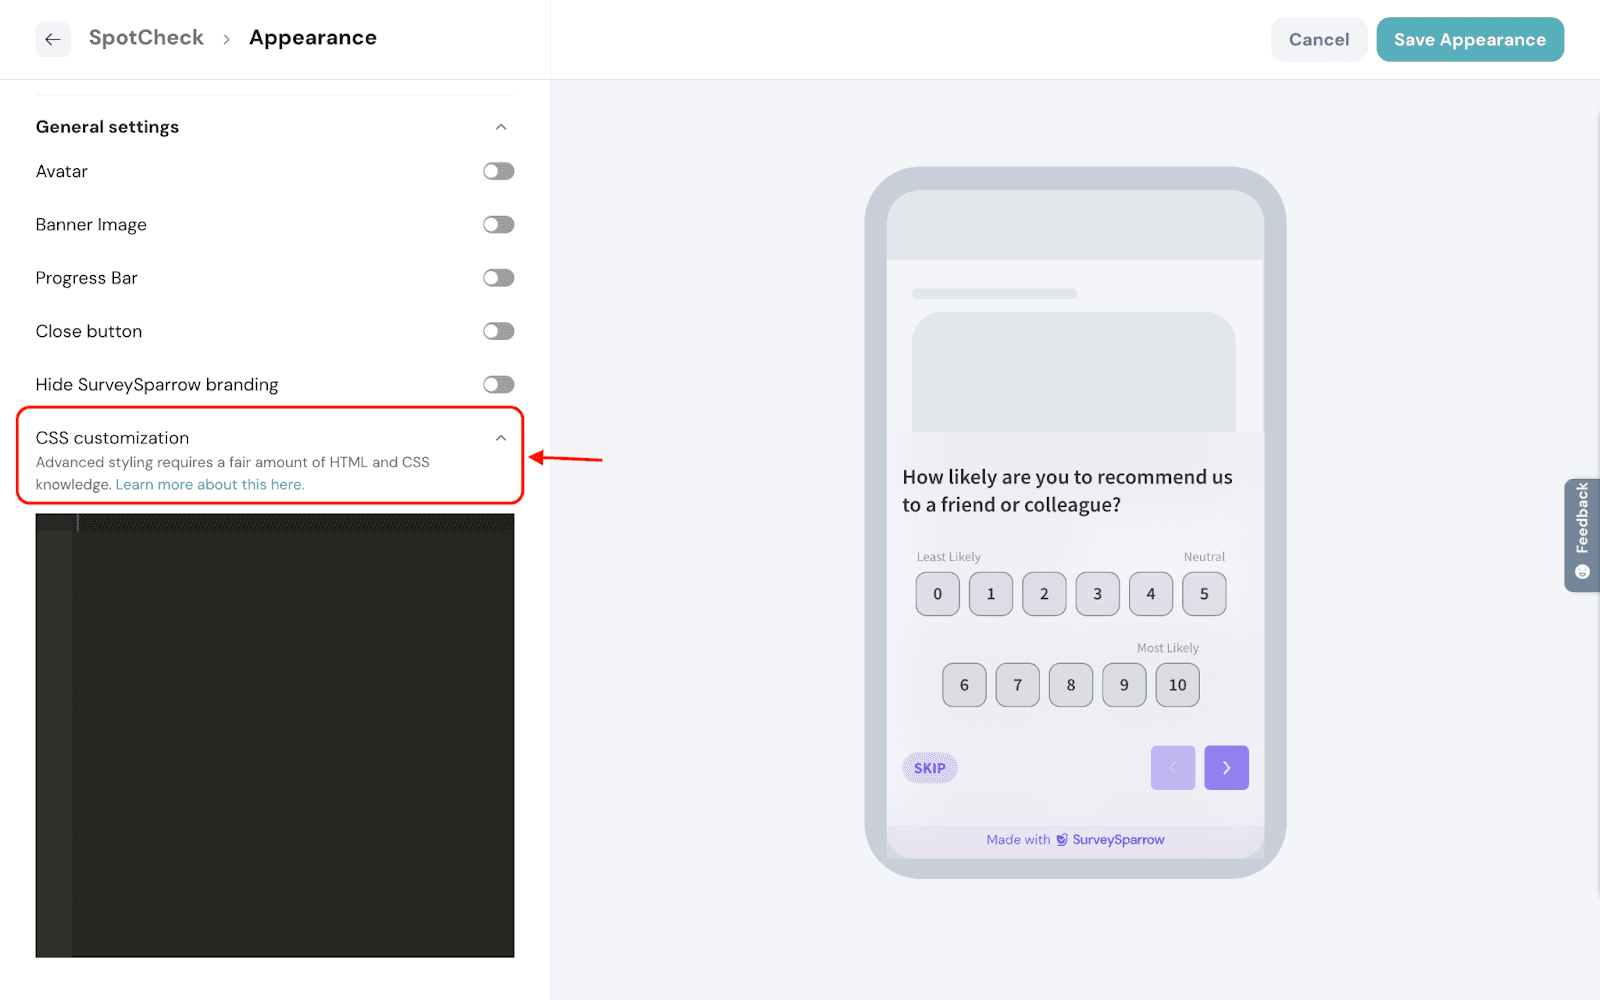
7. Once you complete adding the required design settings, click Save Appearance.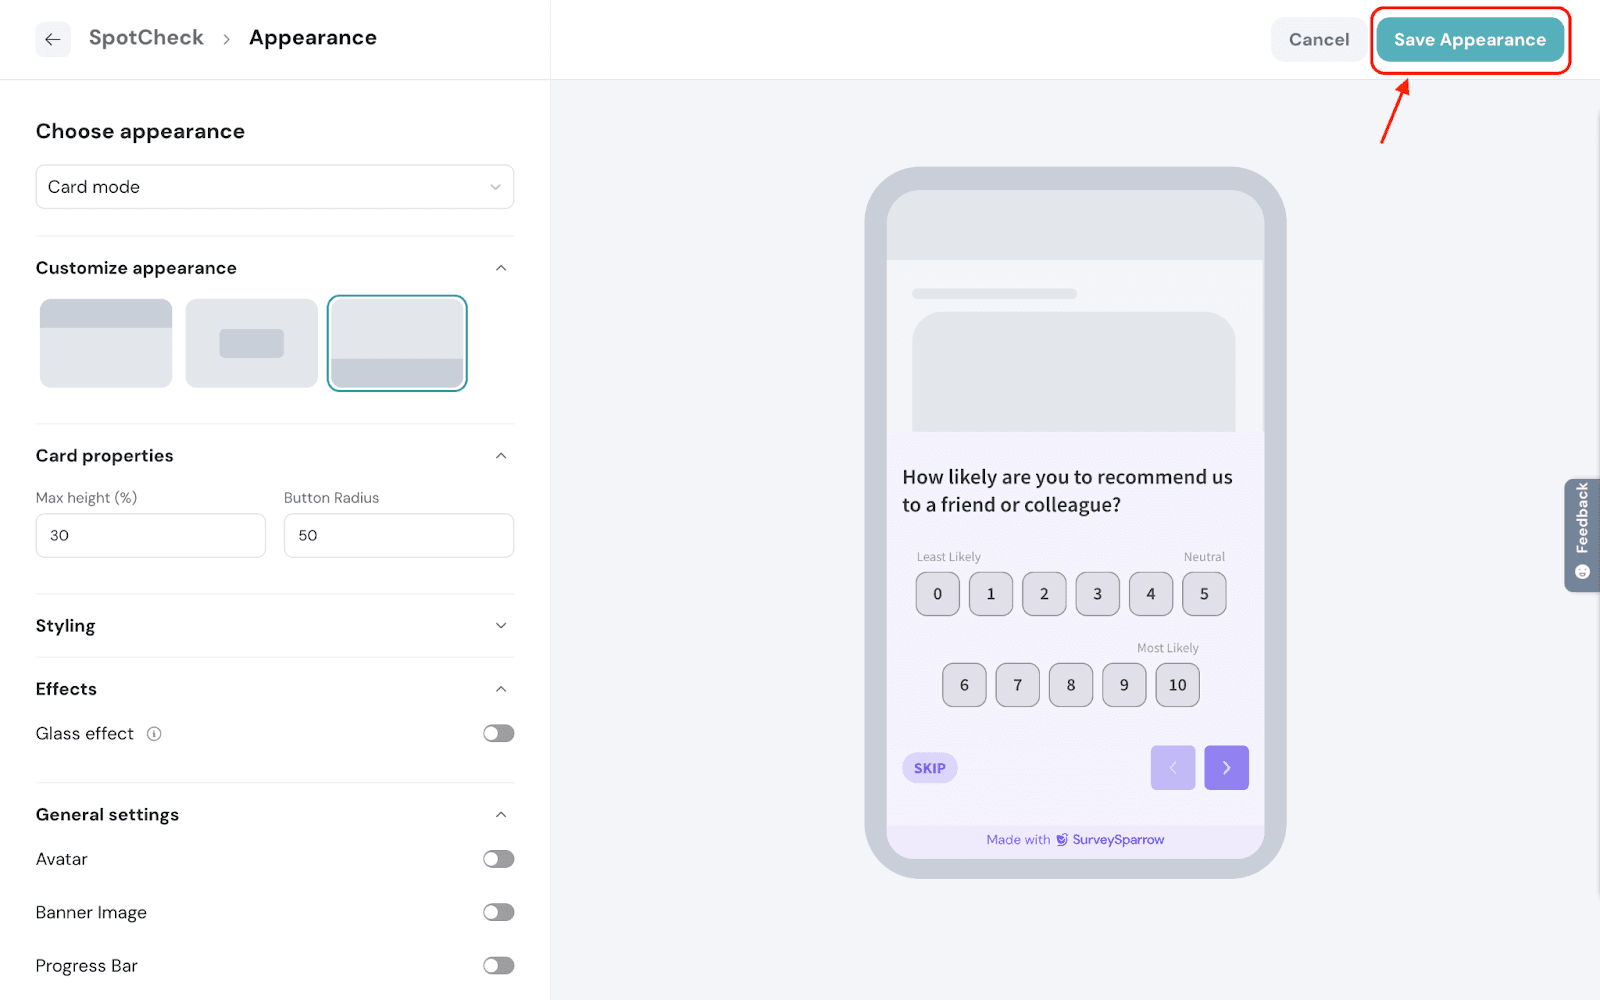
1. After designing your SpotCheck, click Configure.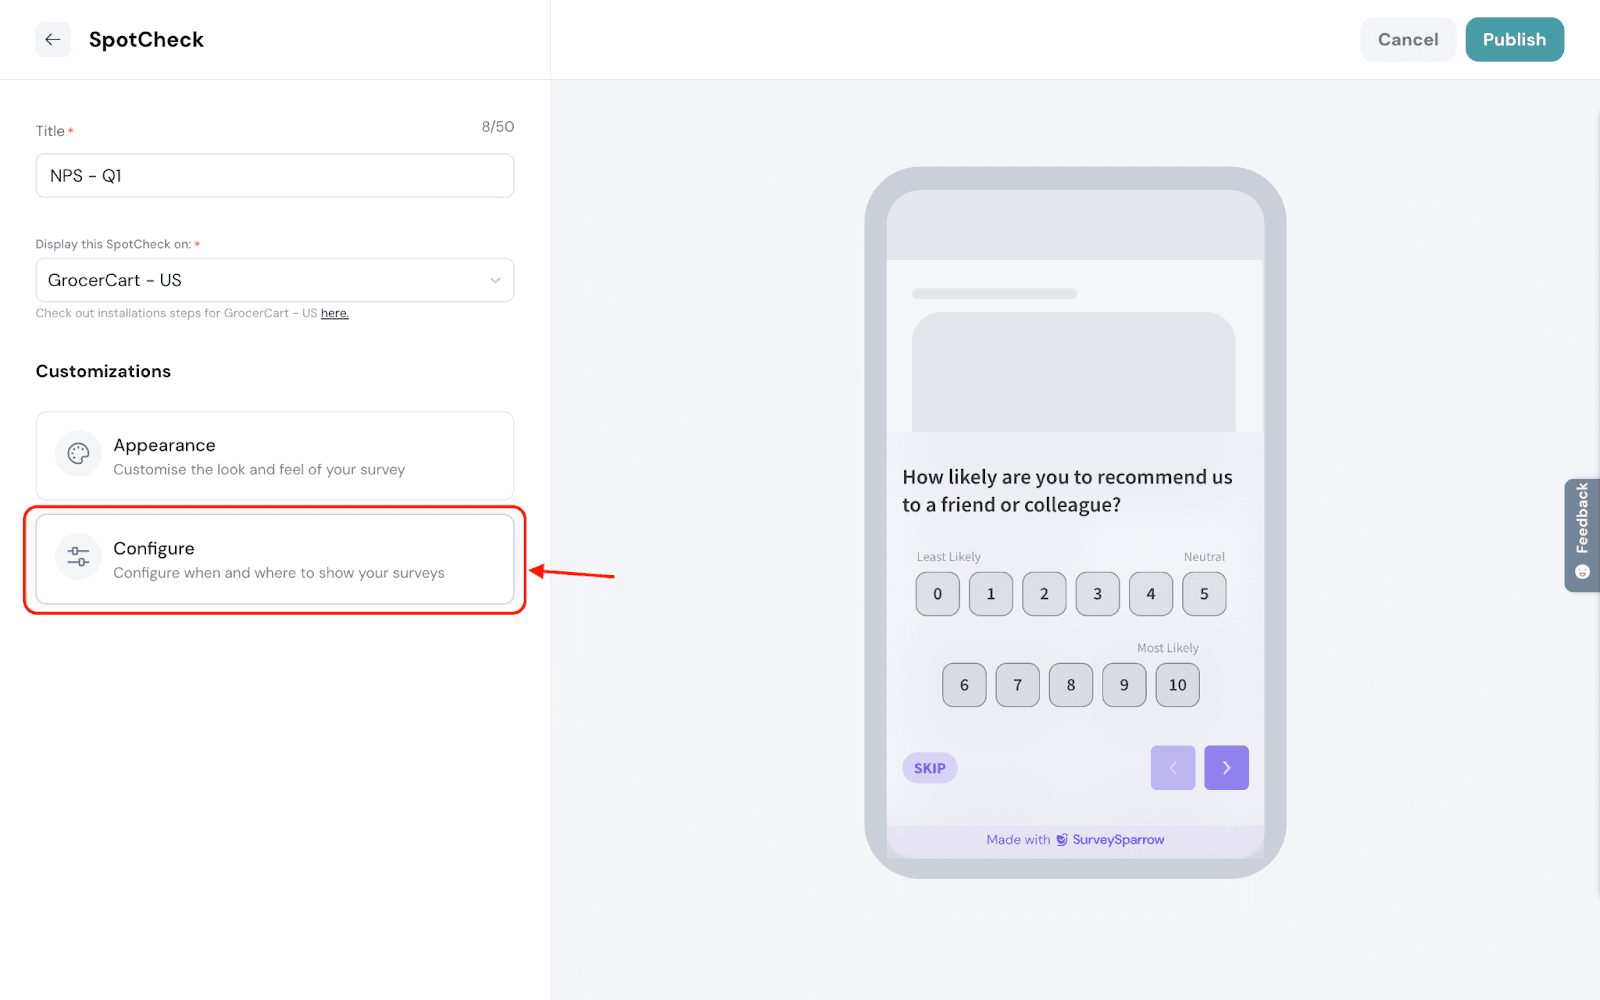
2. Click Spots to set the screens where you want to display the SpotCheck.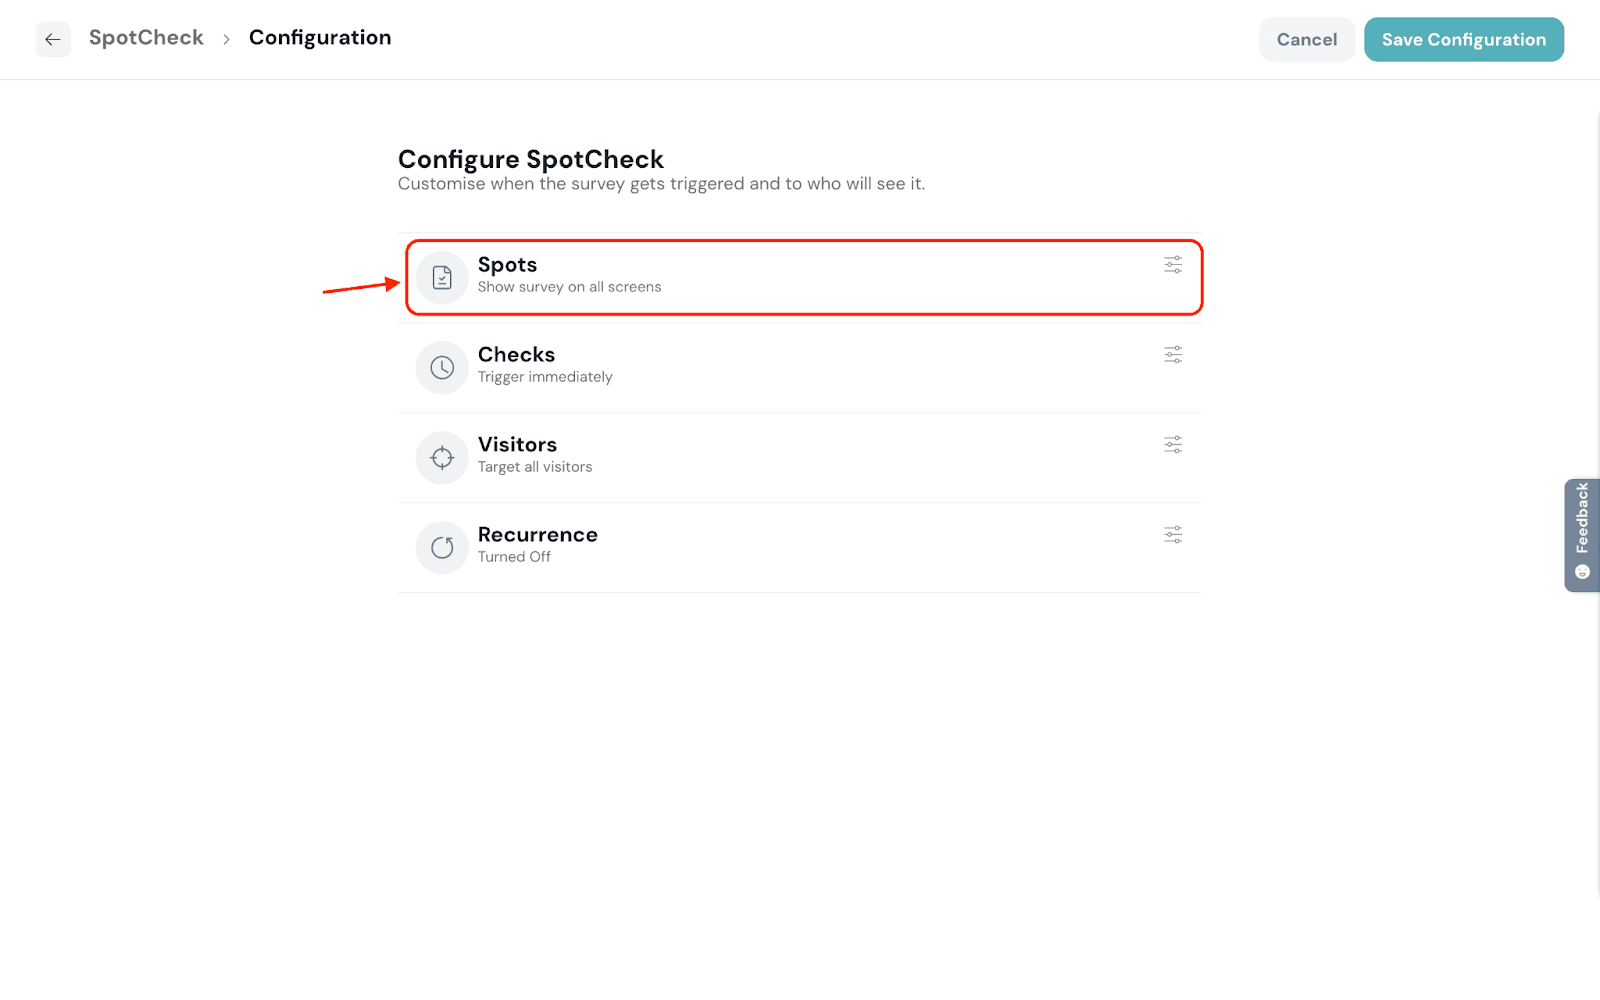
3. Choose if you’d like to present SpotChecks on all screens or specific screens of your mobile app.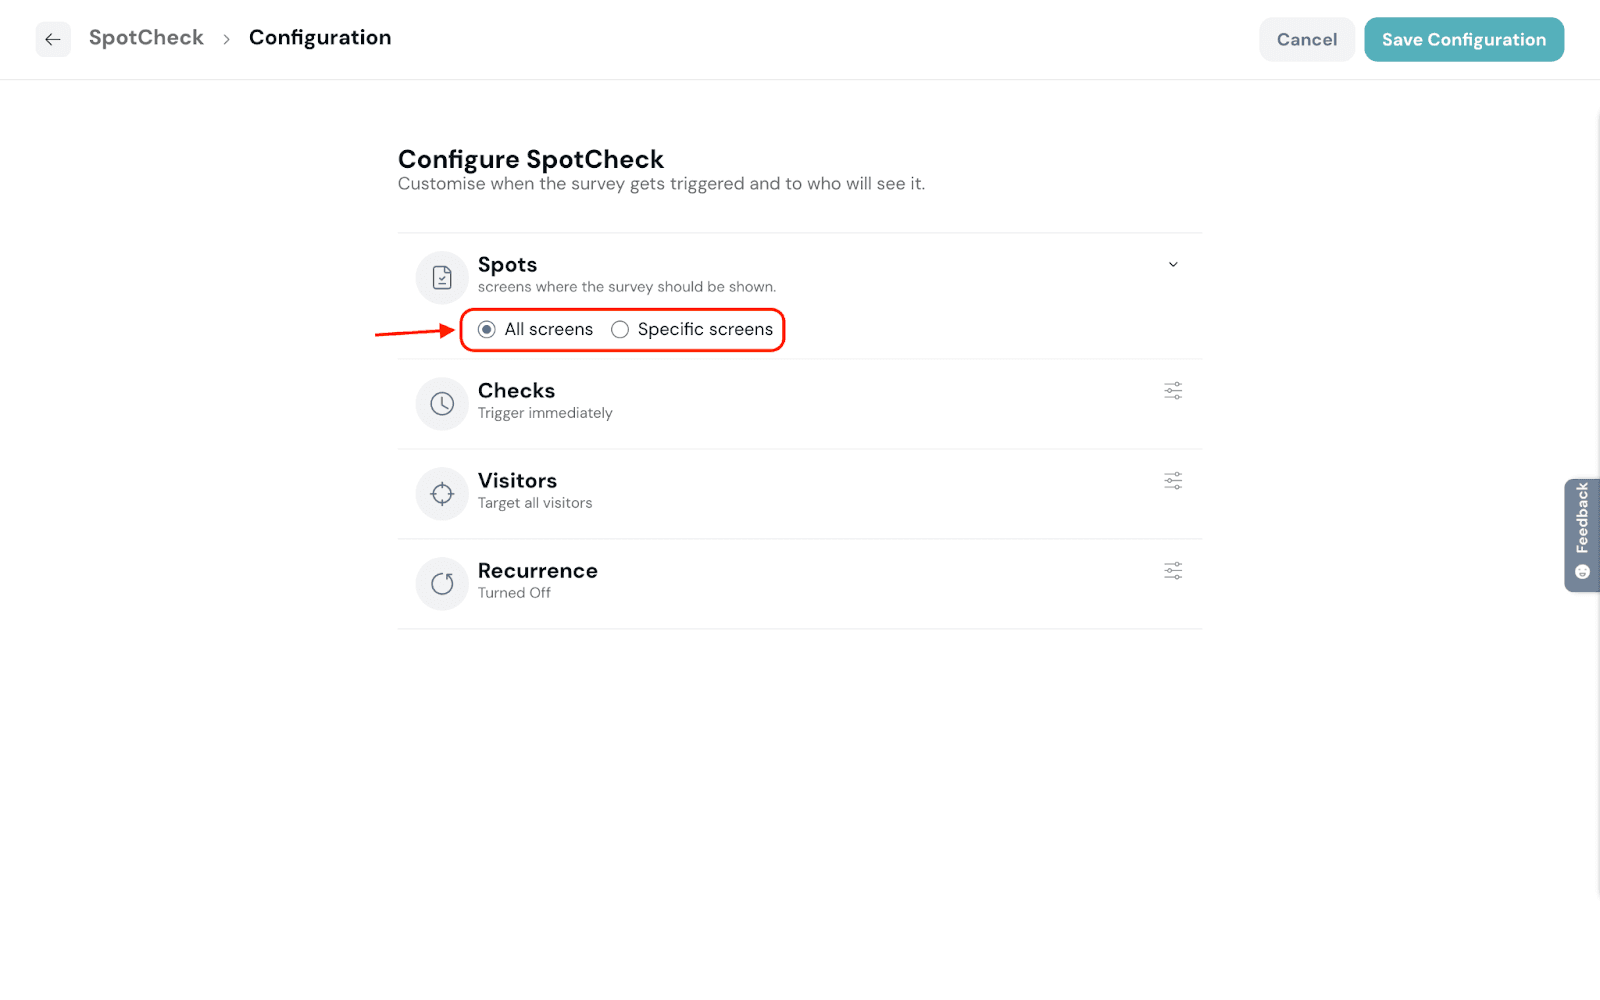
4. Choose to include or exclude SpotCheck on specific app screen(s) by adding them to the respective fields.
Note: The screens that are tracked using the track screen function will appear here. Refer to the technical documentation to add the track screen snippet to your codebase.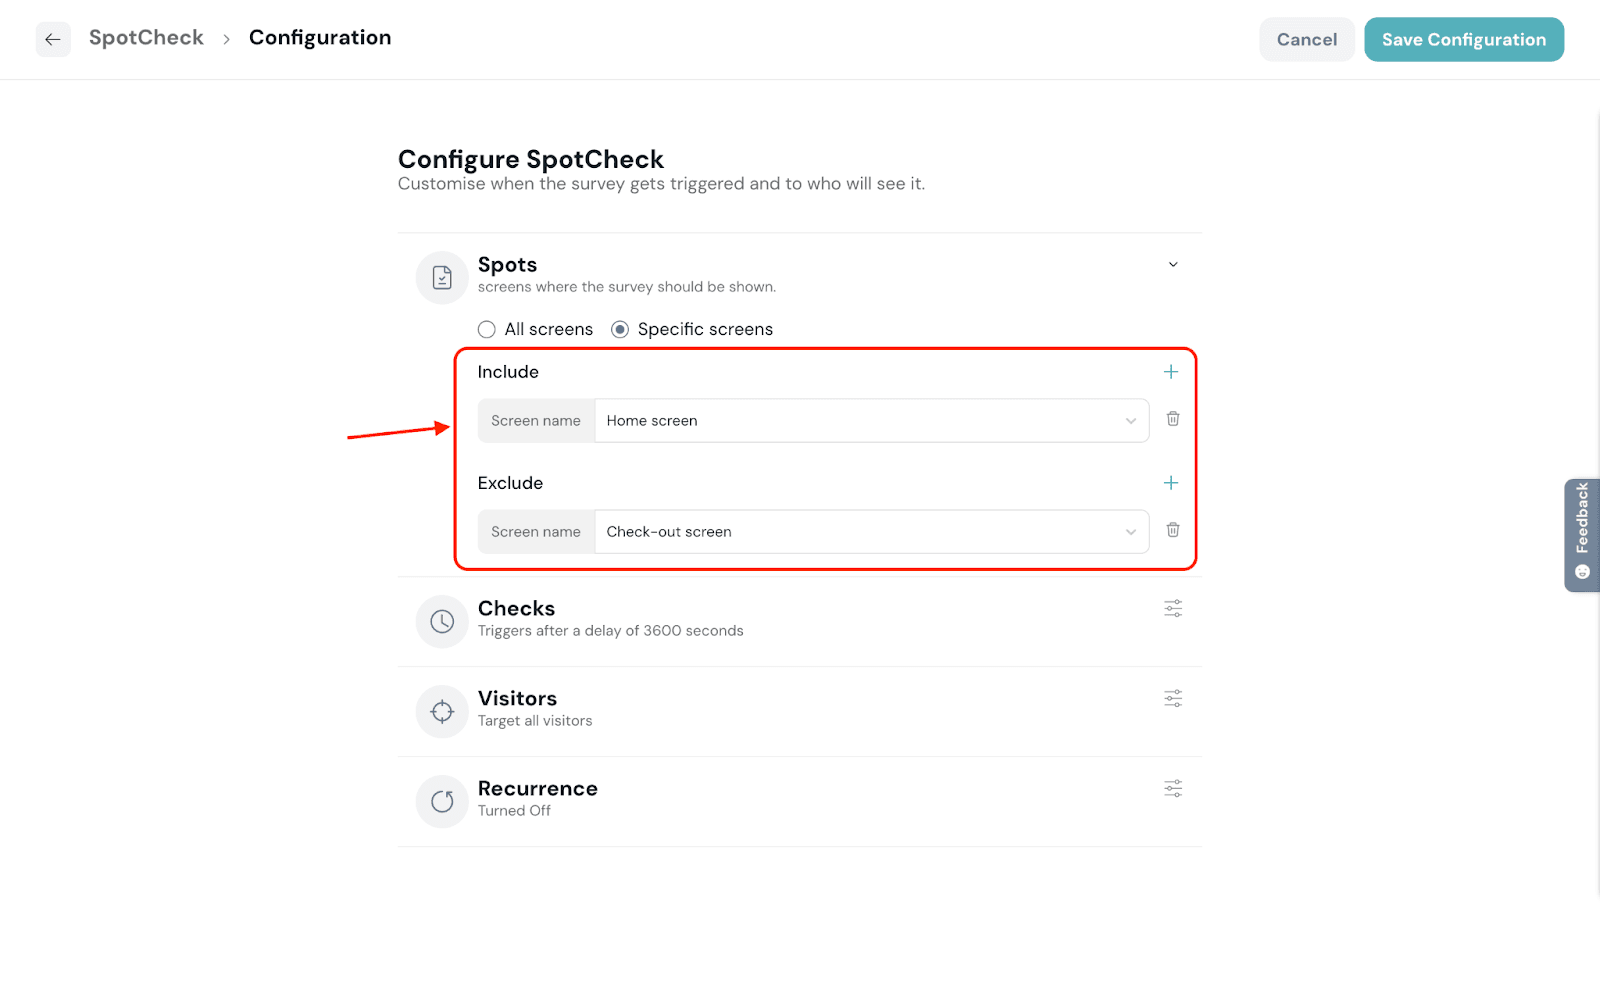
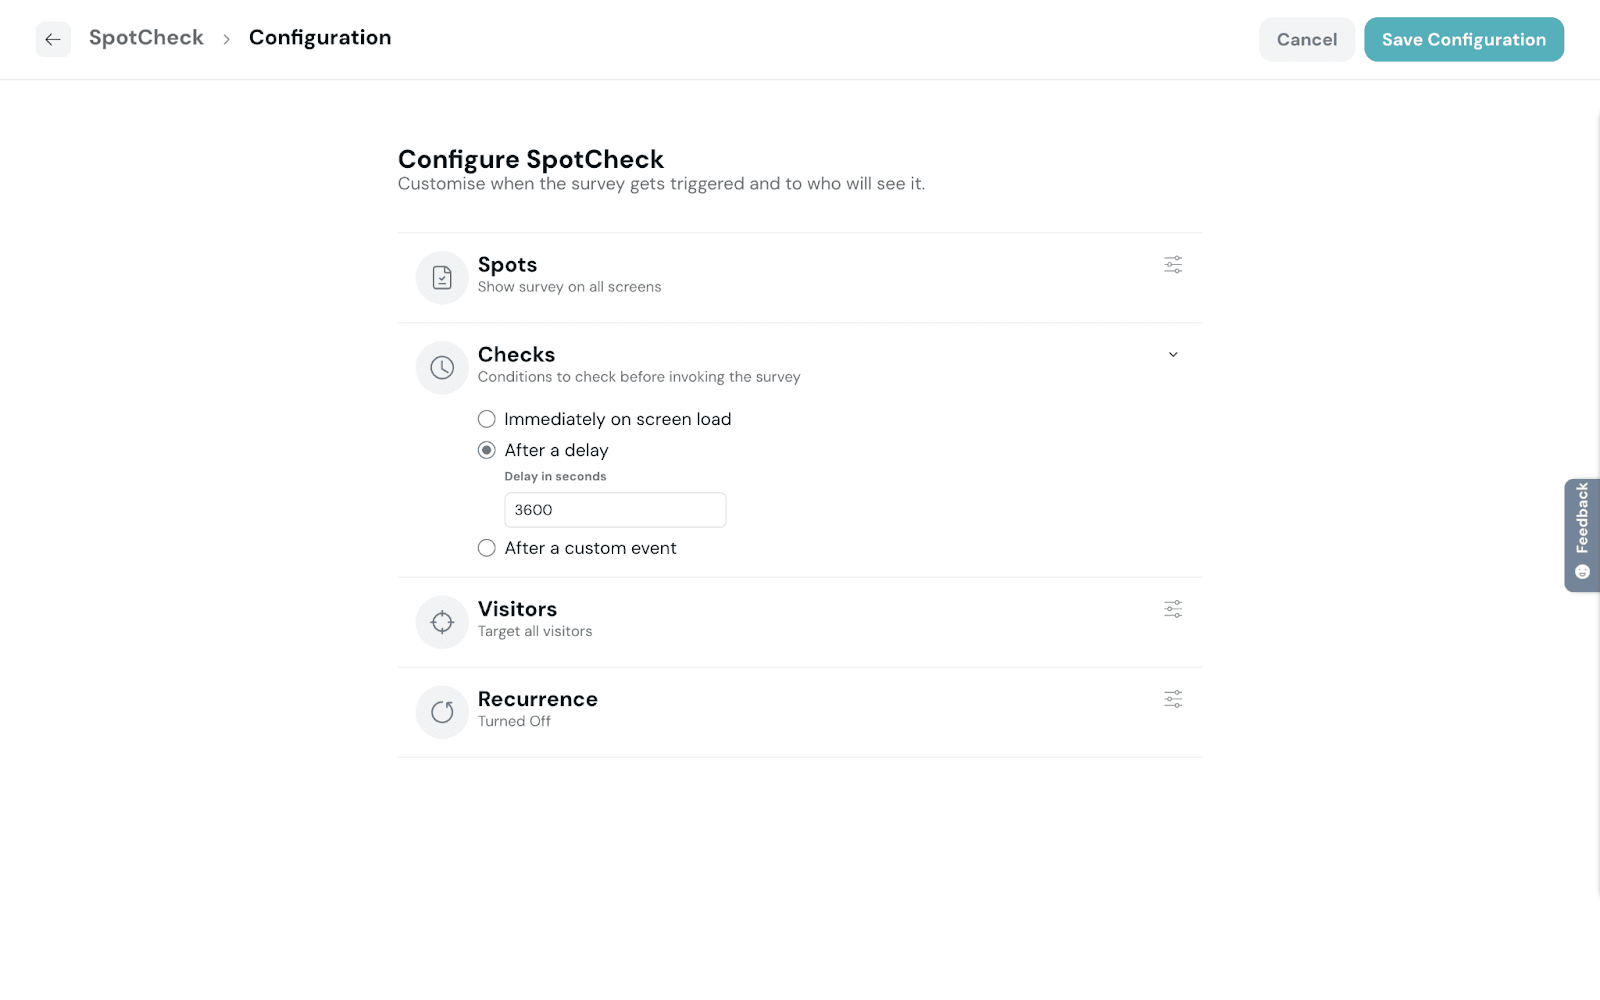
5. Click Checks to set up the trigger conditions for your SpotCheck.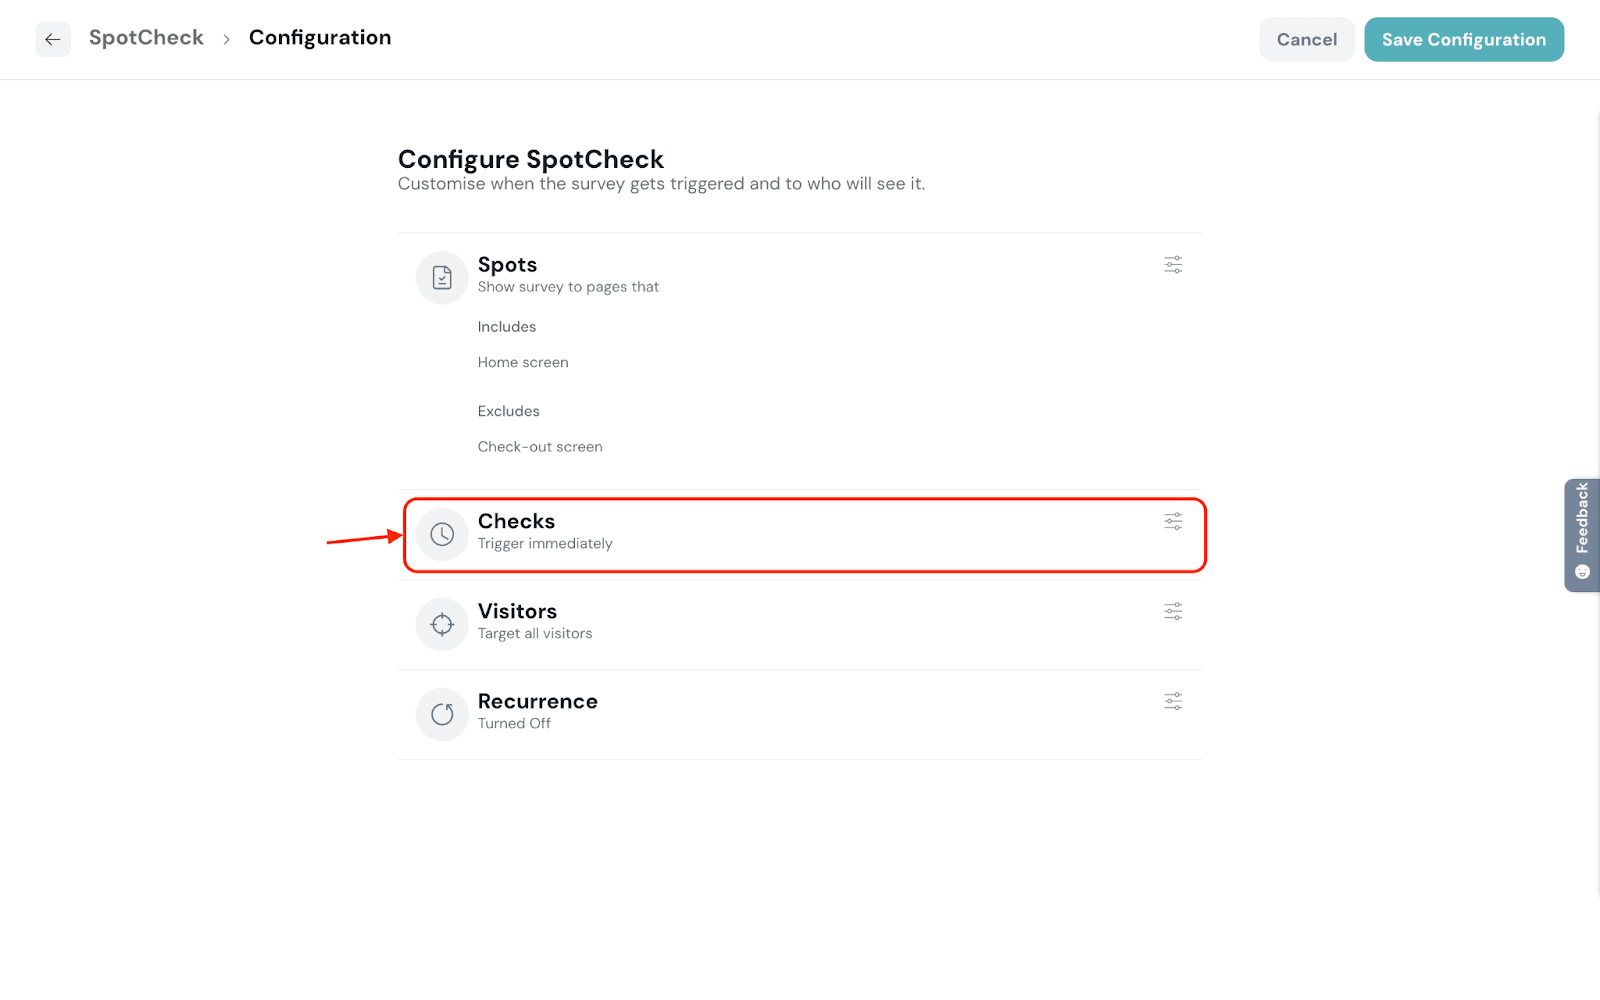
6. You can the trigger based on the following conditions:
7. Click Visitors to choose who should see the SpotChecks.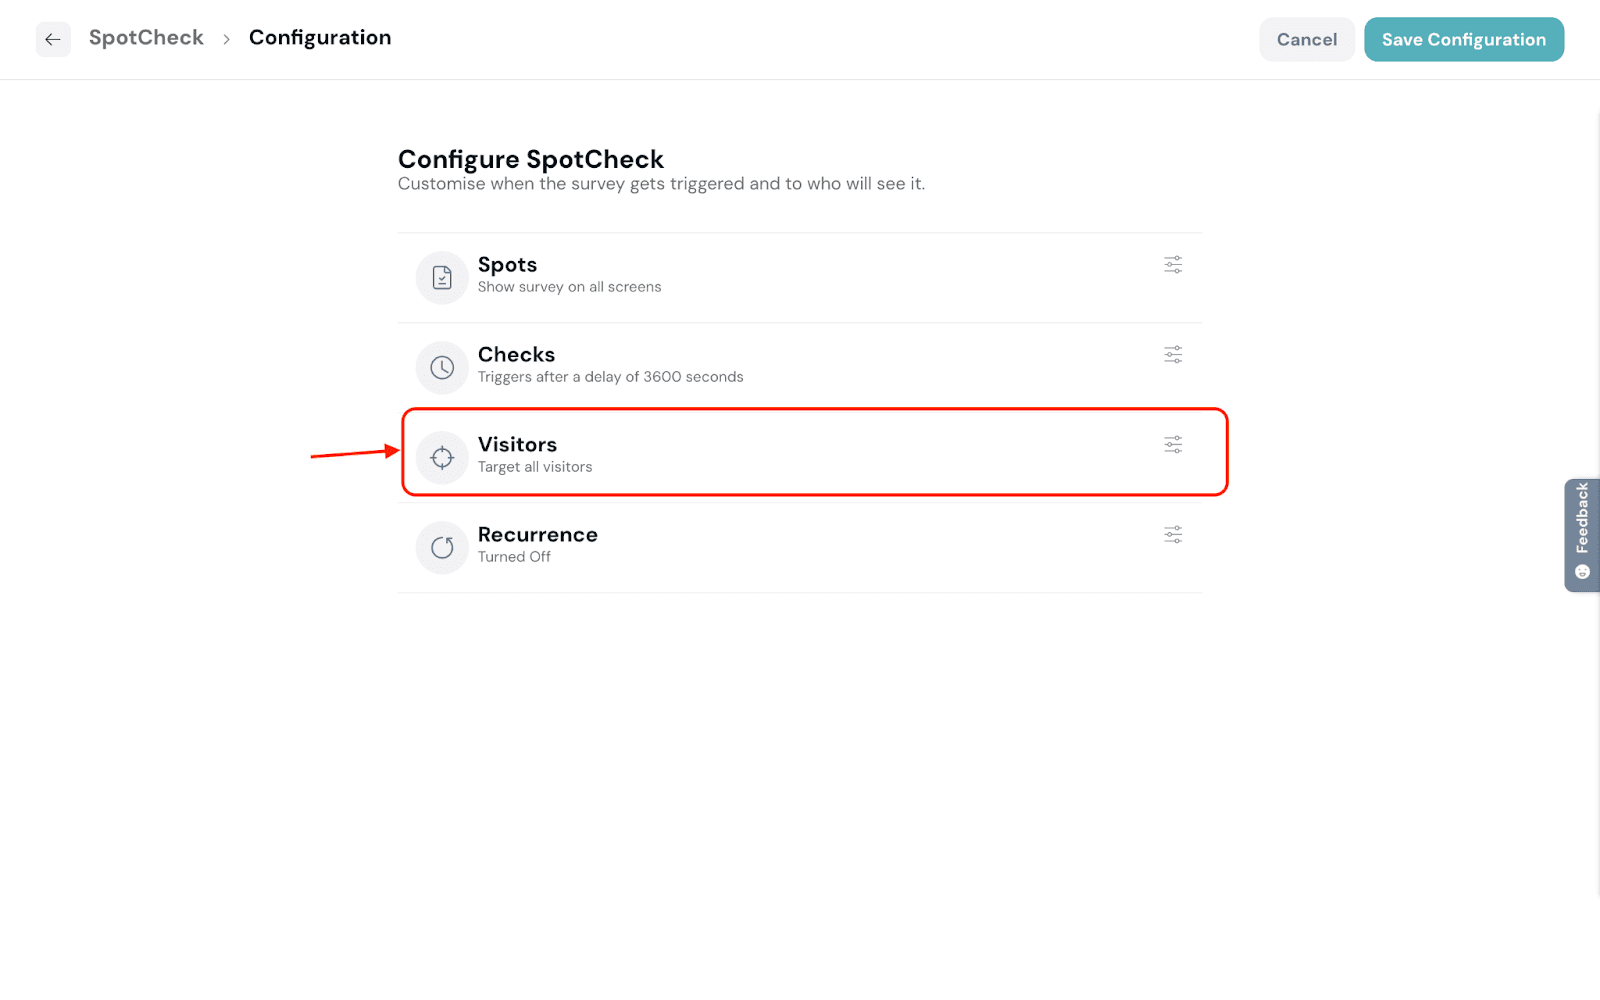
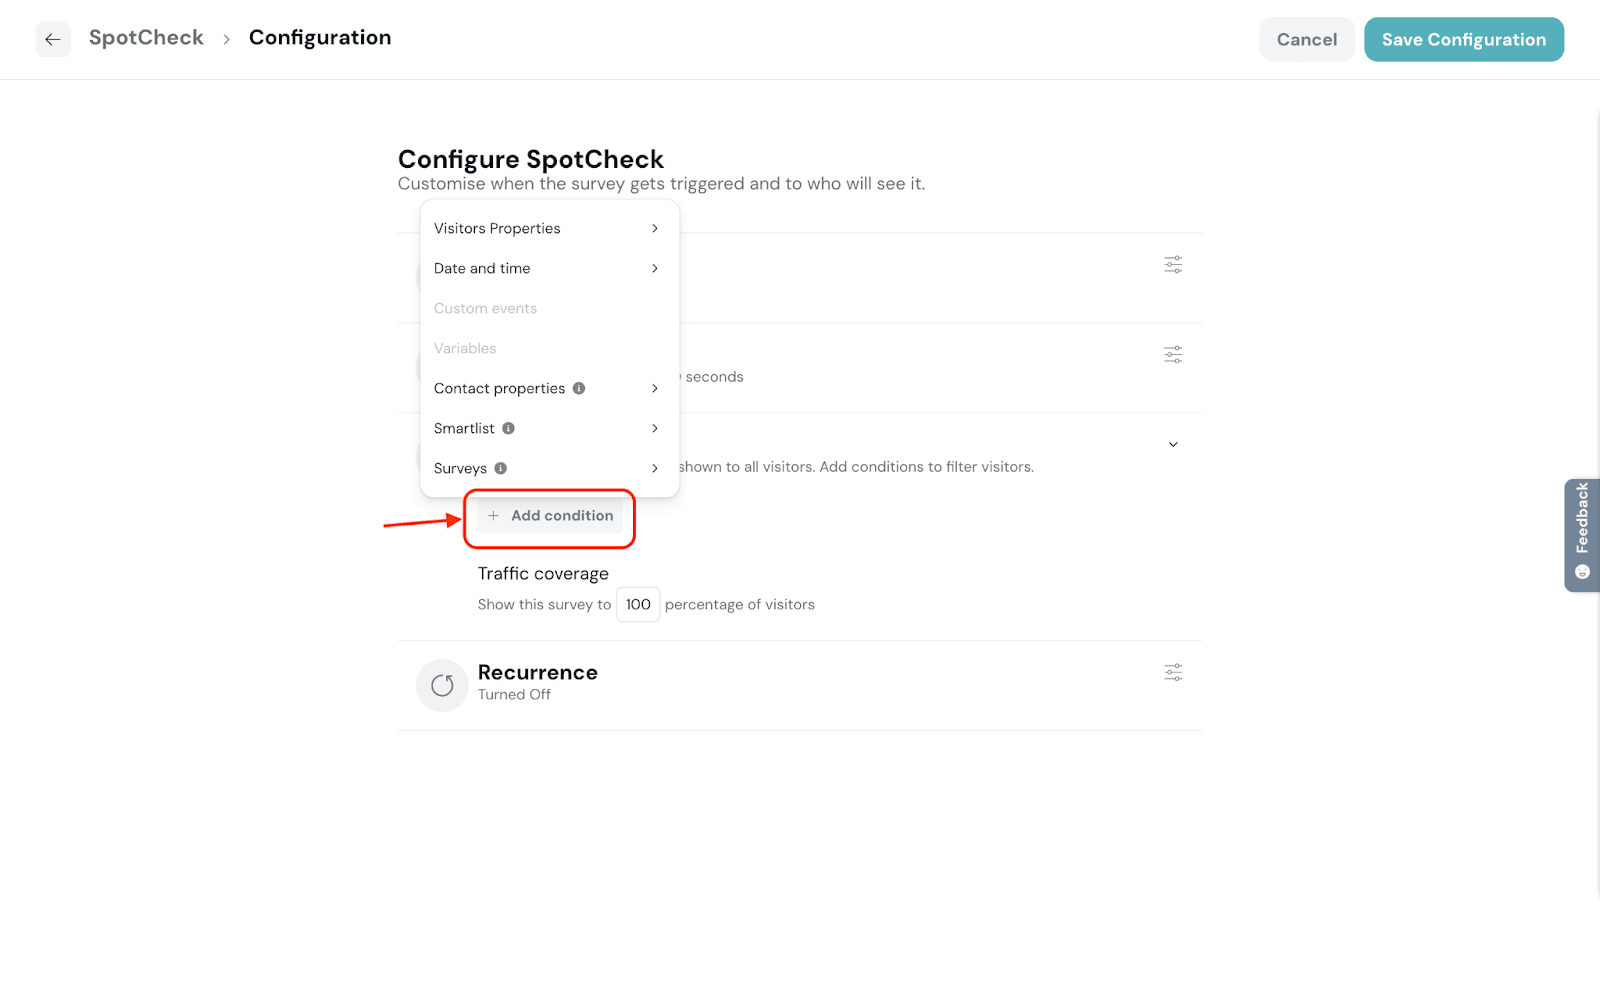
8. Click Add condition to set your target visitors. Choose from the available properties to set the conditions. Following are the supported properties and variables for the condition:
9. Set the percentage of visitors on an app screen to show the SpotCheck.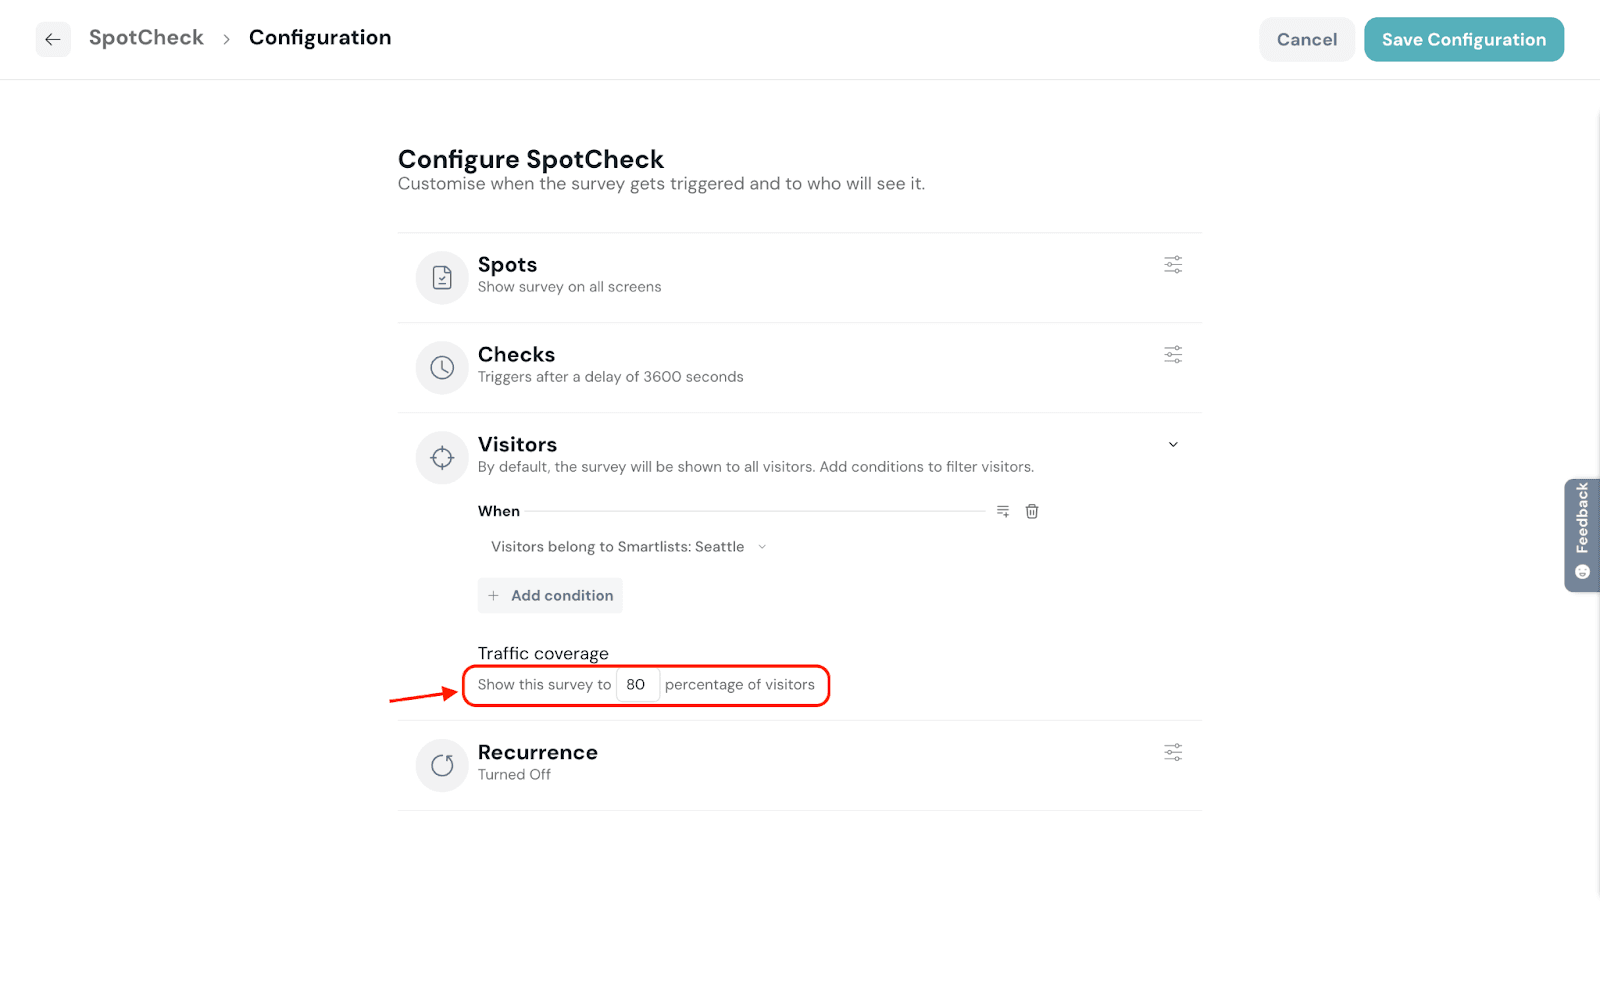
10. Click Recurrence to set the frequency of the SpotCheck.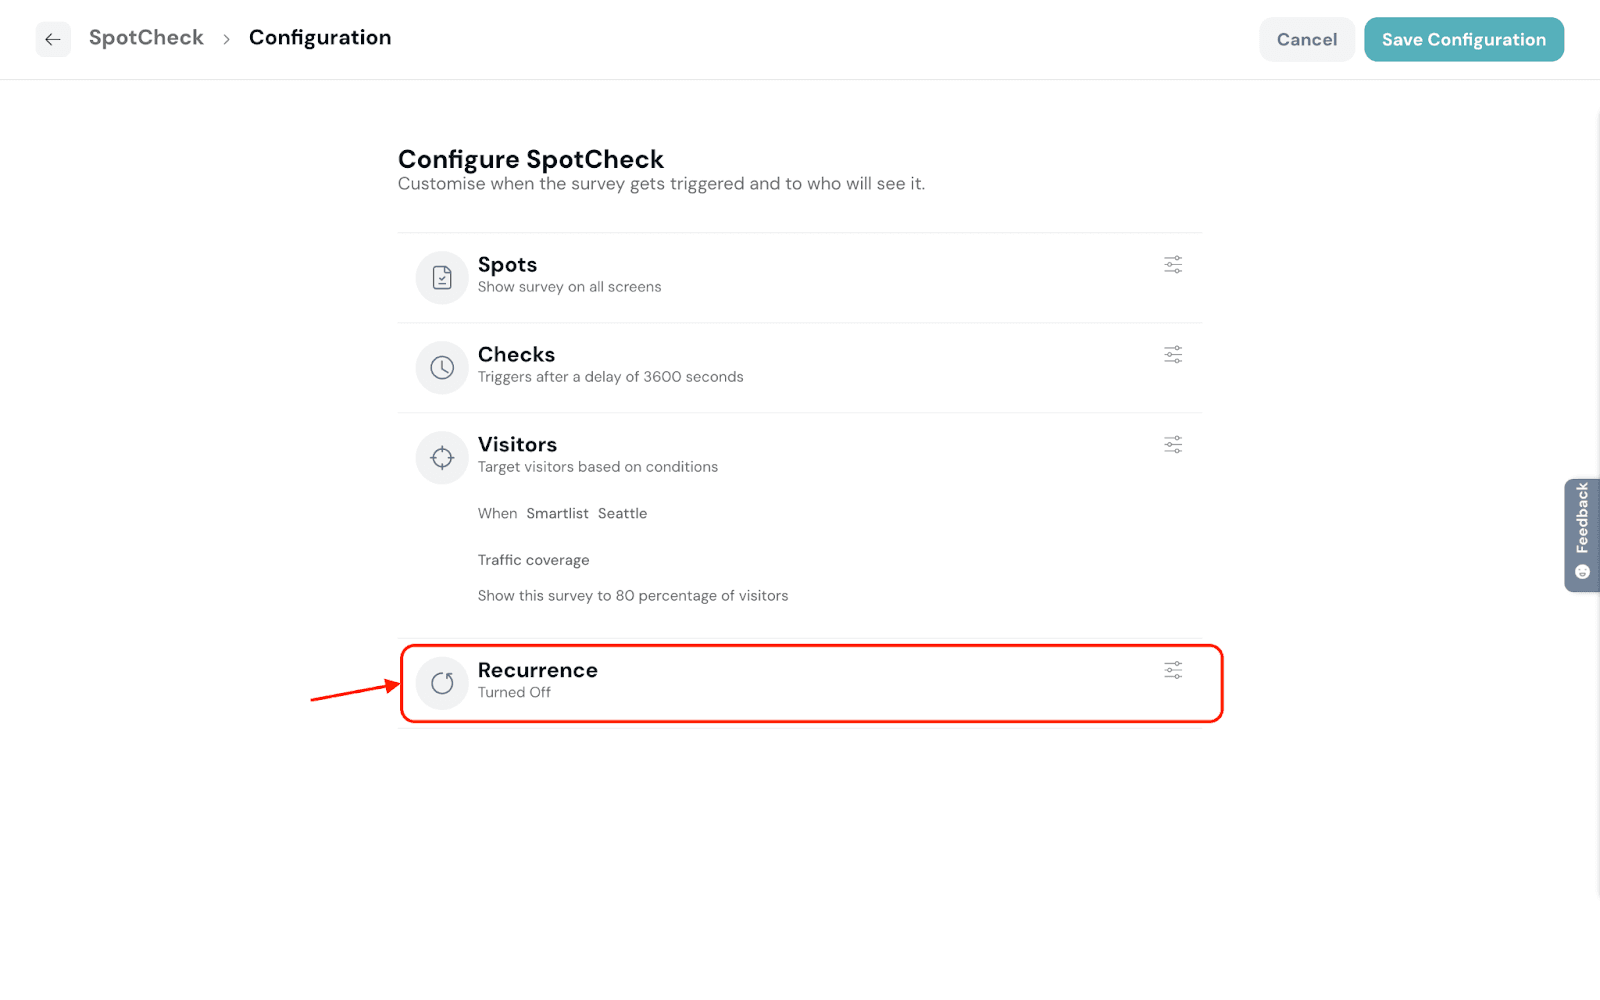
11. Once enabled, set the number of days for which the visitor will not be shown the SpotCheck after initial action.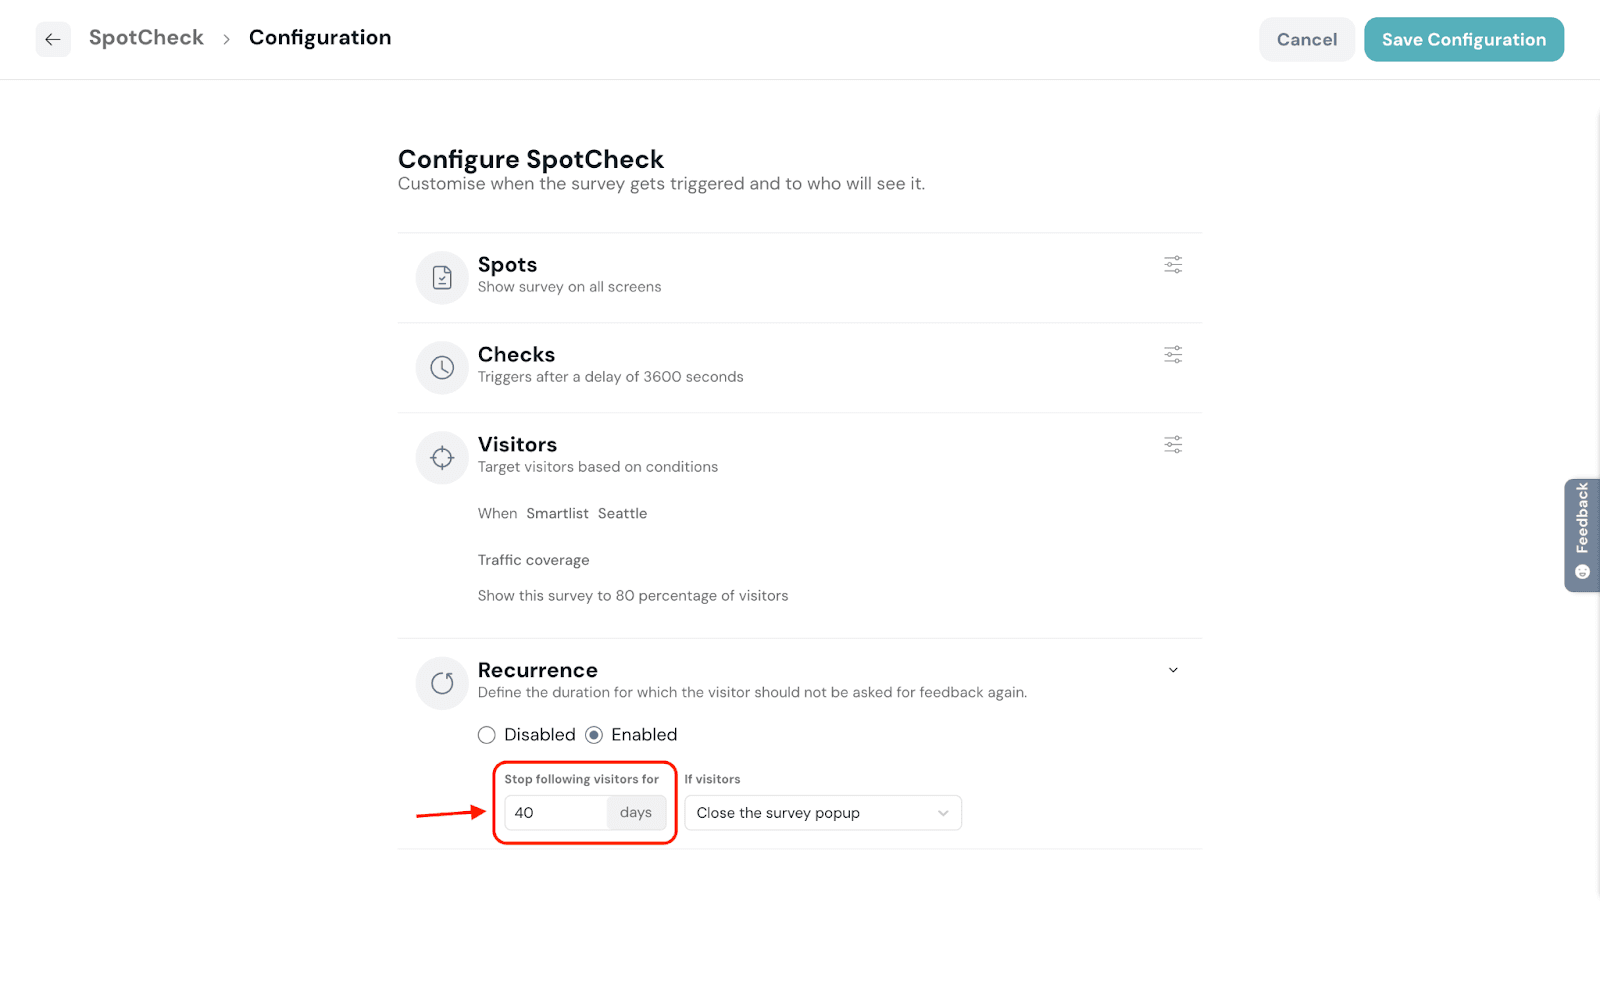
12. Select the action to be considered post which the SpotCheck recurrence cycle should get started.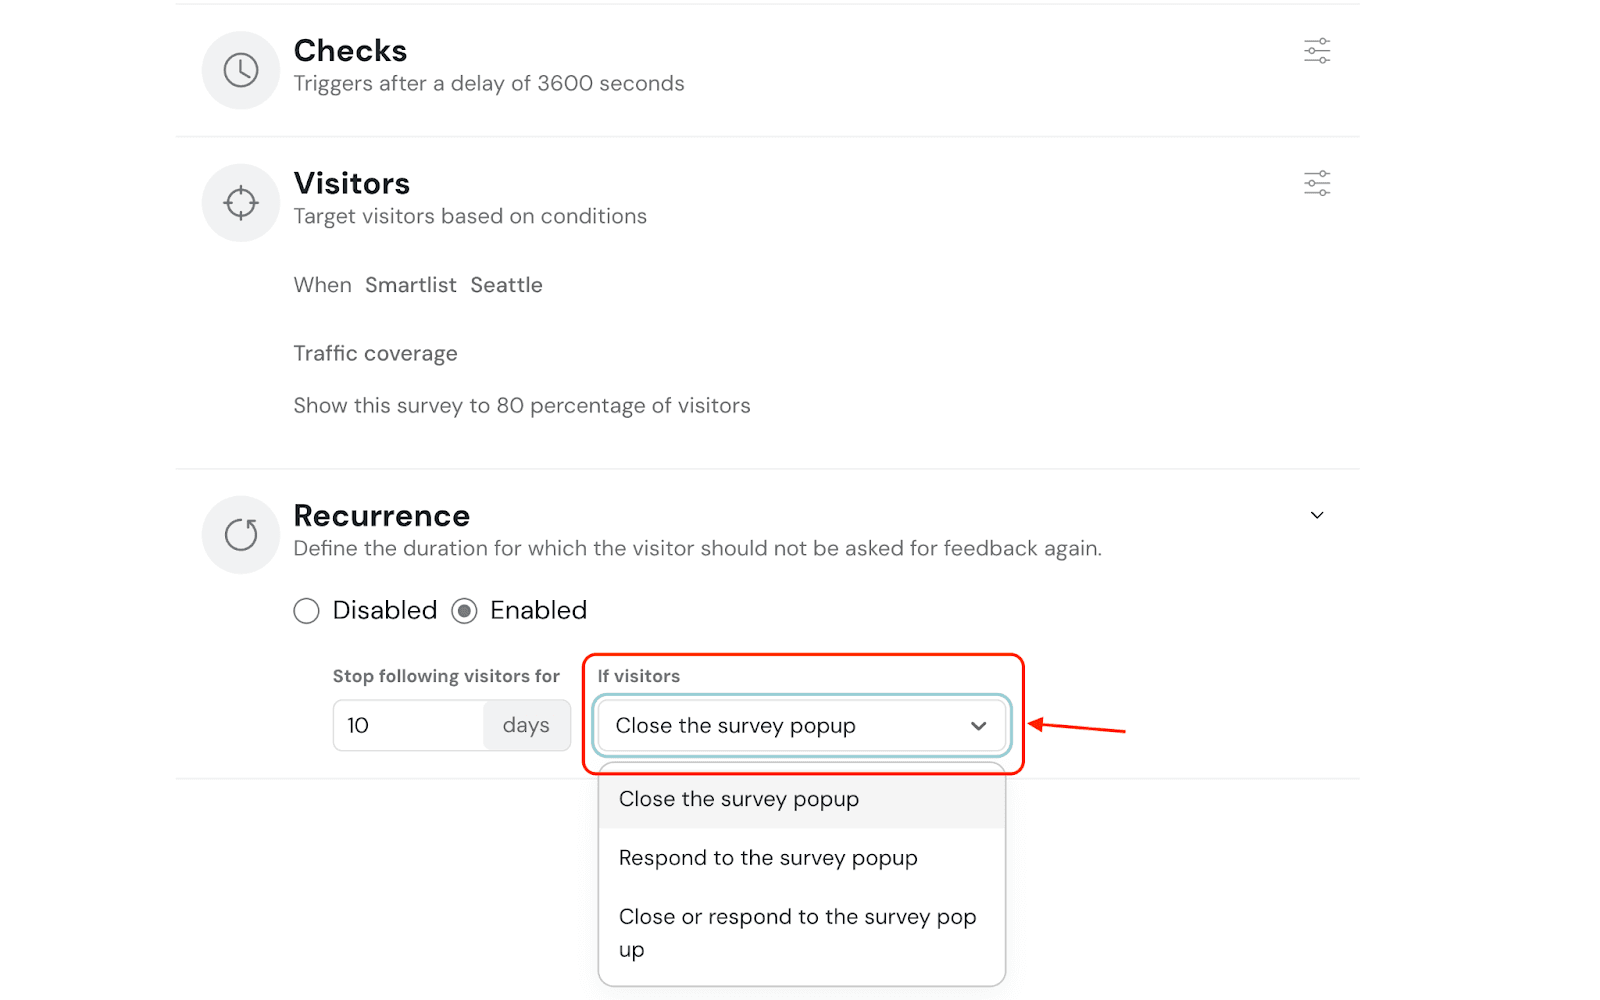
13. Once you complete setting the configurations, click Save Configuration.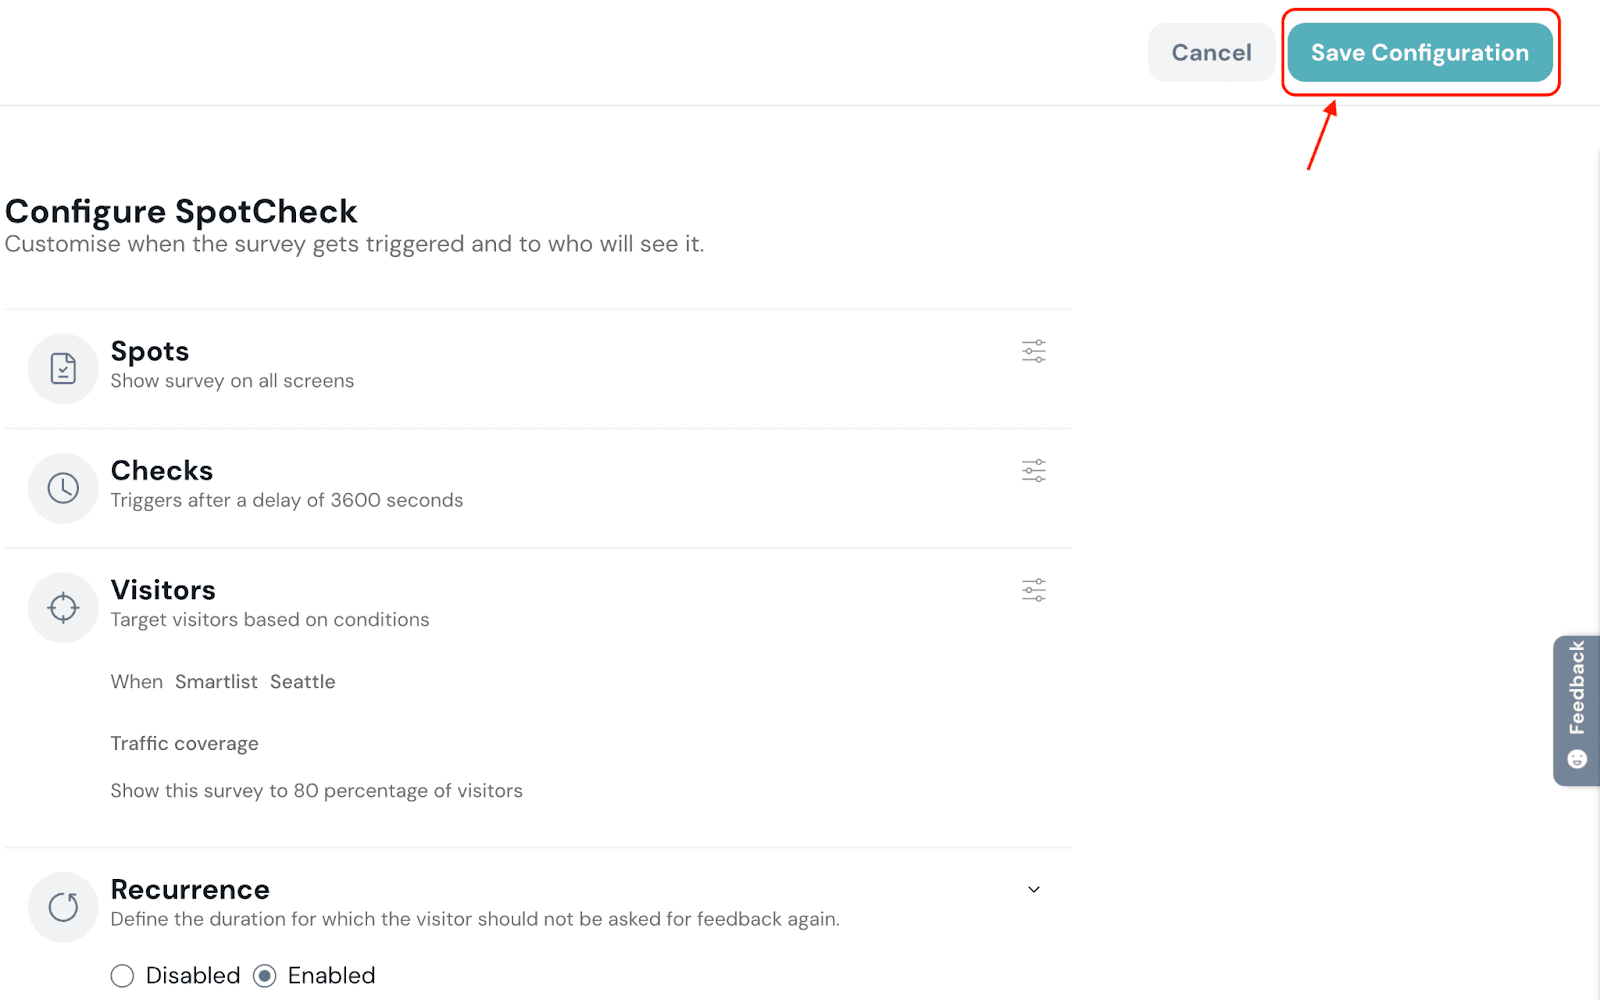
14. Click Publish to see the SpotCheck in action.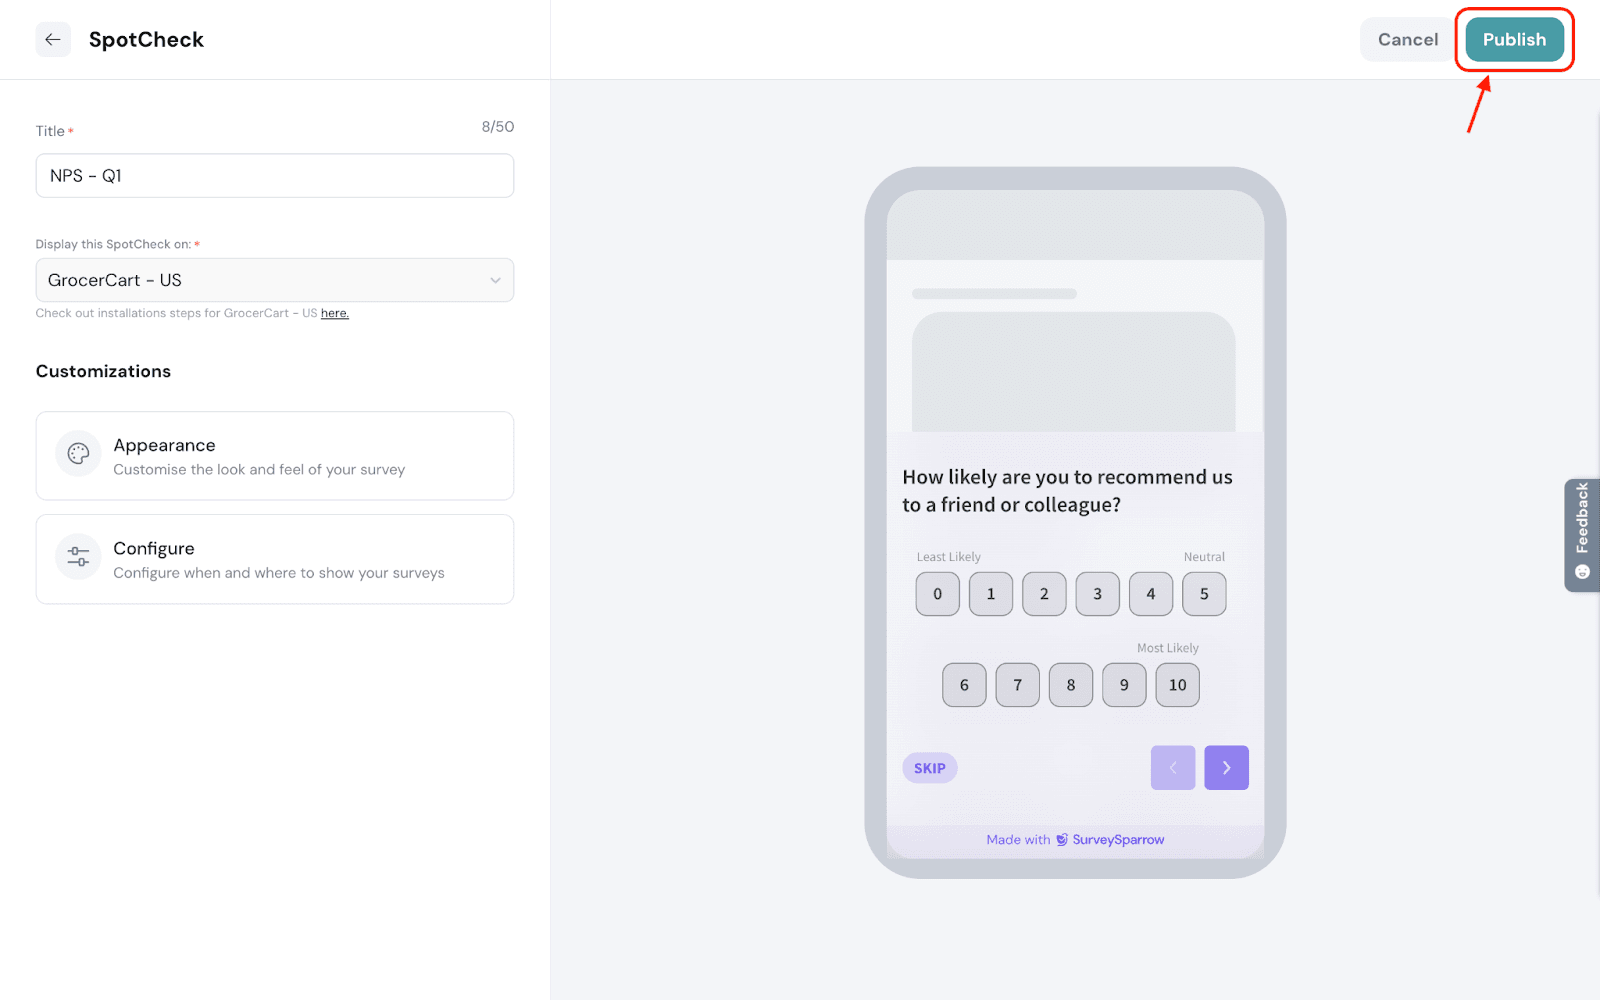
And that’s a wrap! Your SpotCheck is now primed to capture the data that will drive your business forward. The real magic? You install it once and run any number of SpotChecks on the go on your mobile app.
Feel free to reach out to our community if you have any questions.
Powered By SparrowDesk