Search
SpotChecks for websites are microsurveys providing businesses with a powerful tool to gather real-time customer feedback. The targeted questions at key moments in the user journey can capture valuable insights into customer satisfaction, preferences, and pain points.
This immediate feedback allows businesses to quickly identify and address issues, enhancing the overall customer experience. With the non-intrusive nature of microsurveys, it often leads to higher response rates compared to traditional, lengthy surveys.
This article includes the following:
Now let’s see how to configure SpotChecks for your website.
1. Navigate to the share section of your survey.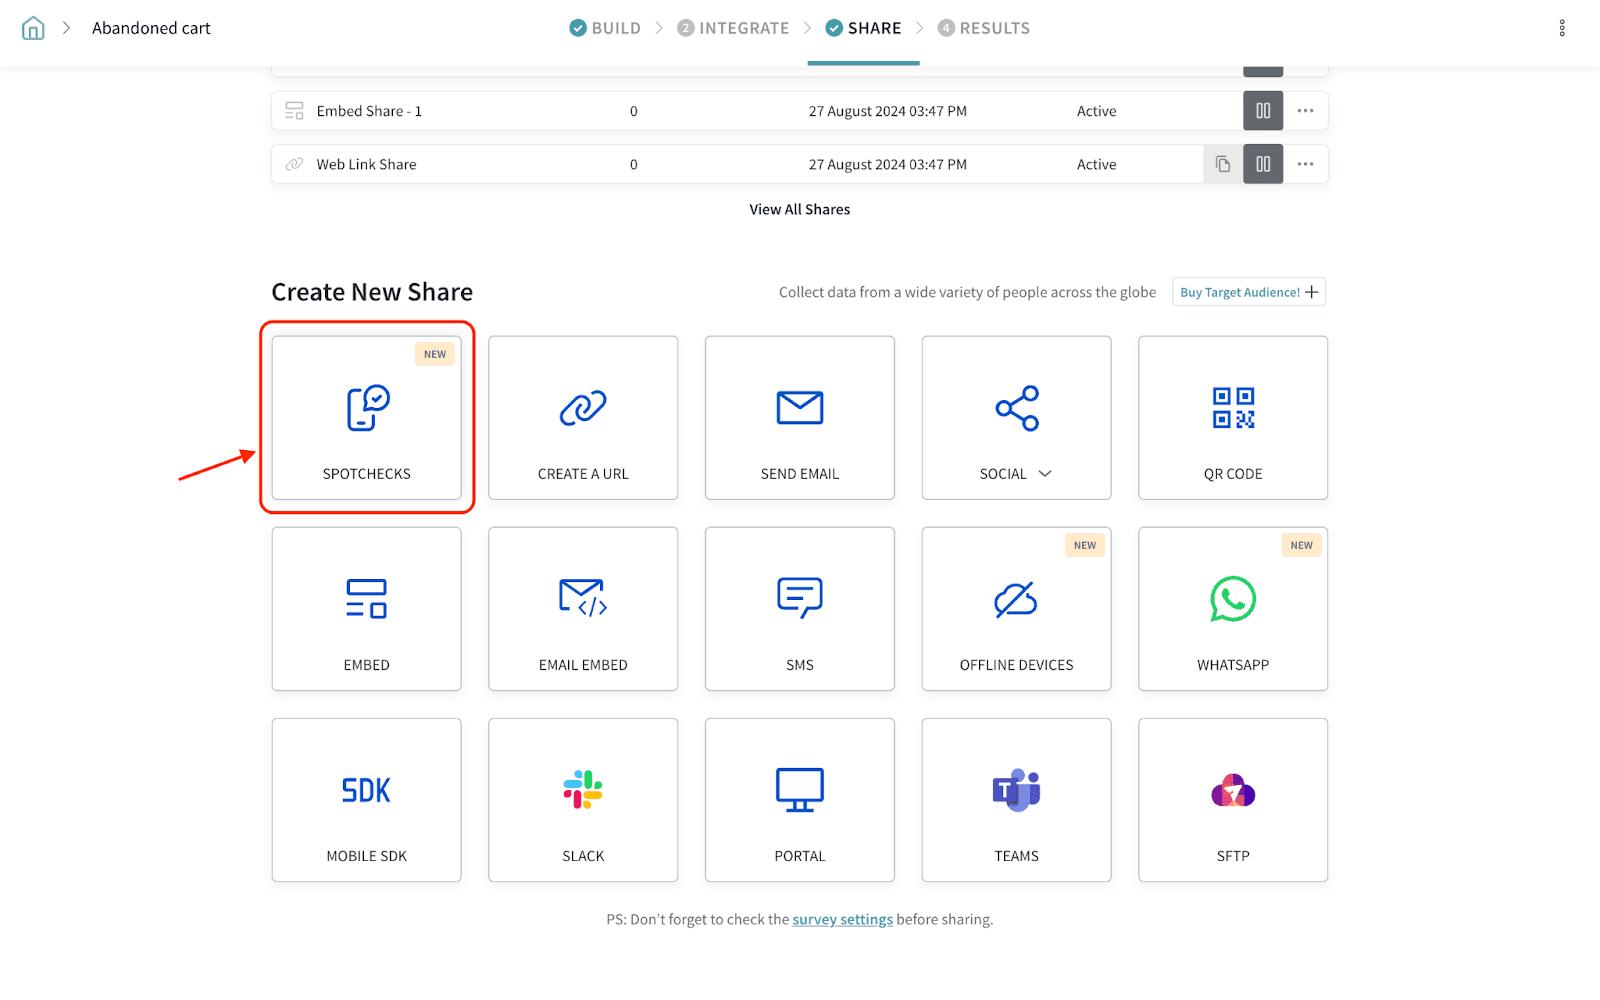
2. Provide a title for your SpotCheck.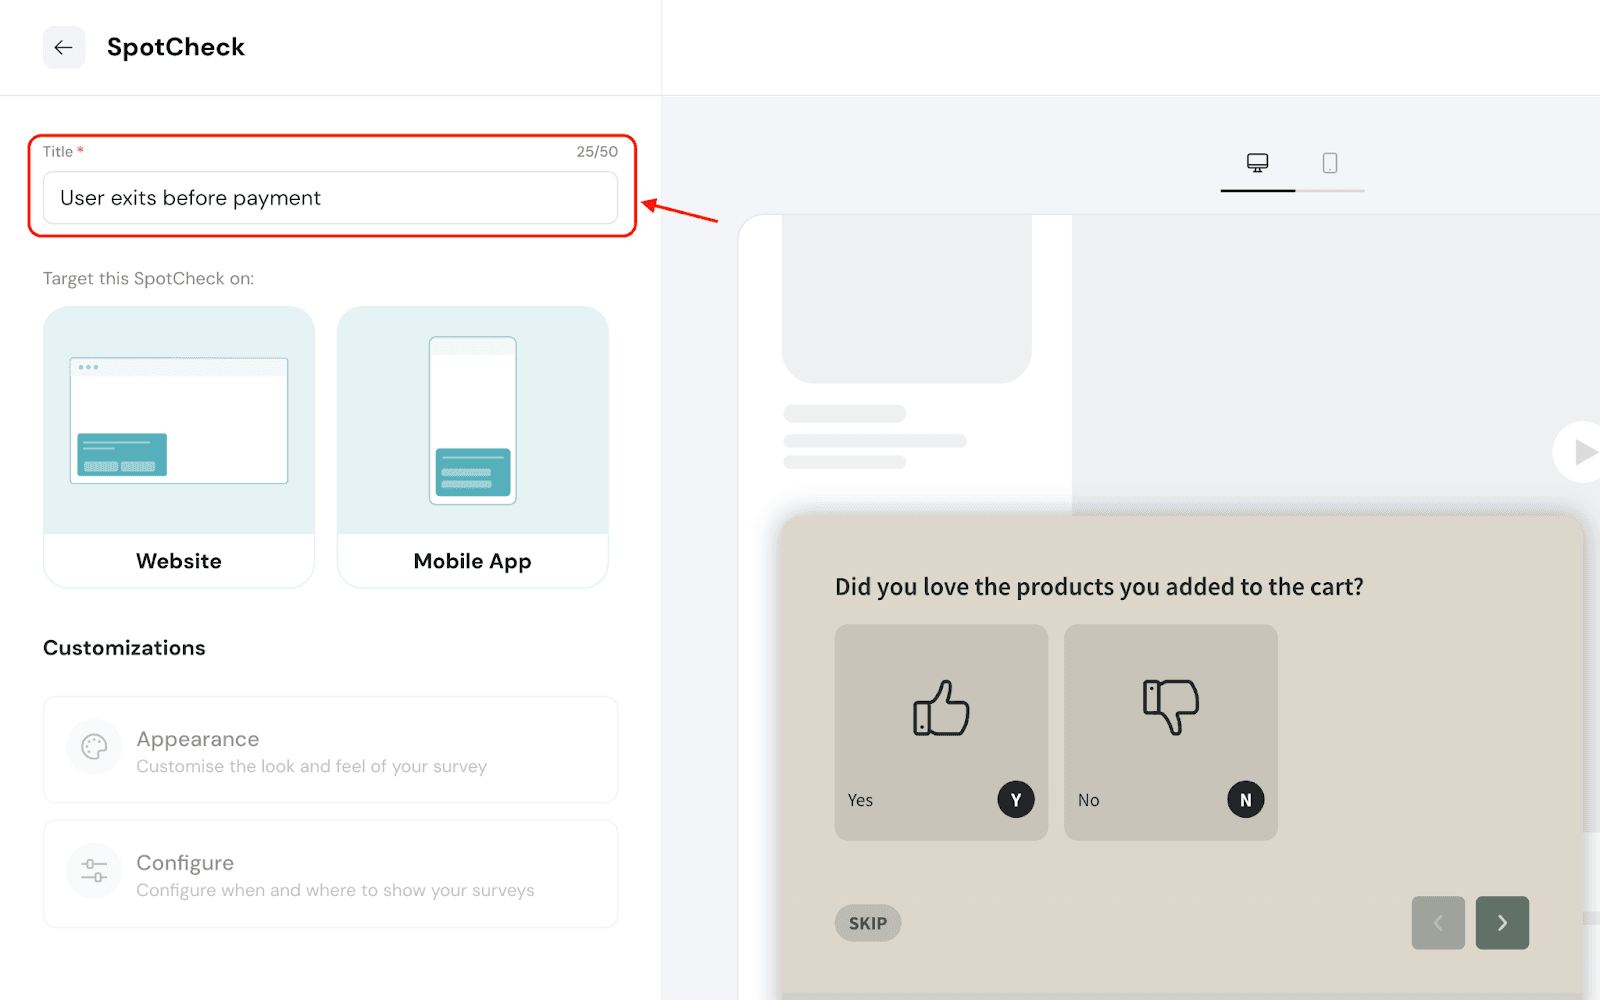
Target determines the place(s) where you’d like to run the microsurveys. In this case, the webpage(s) of a website is the target.
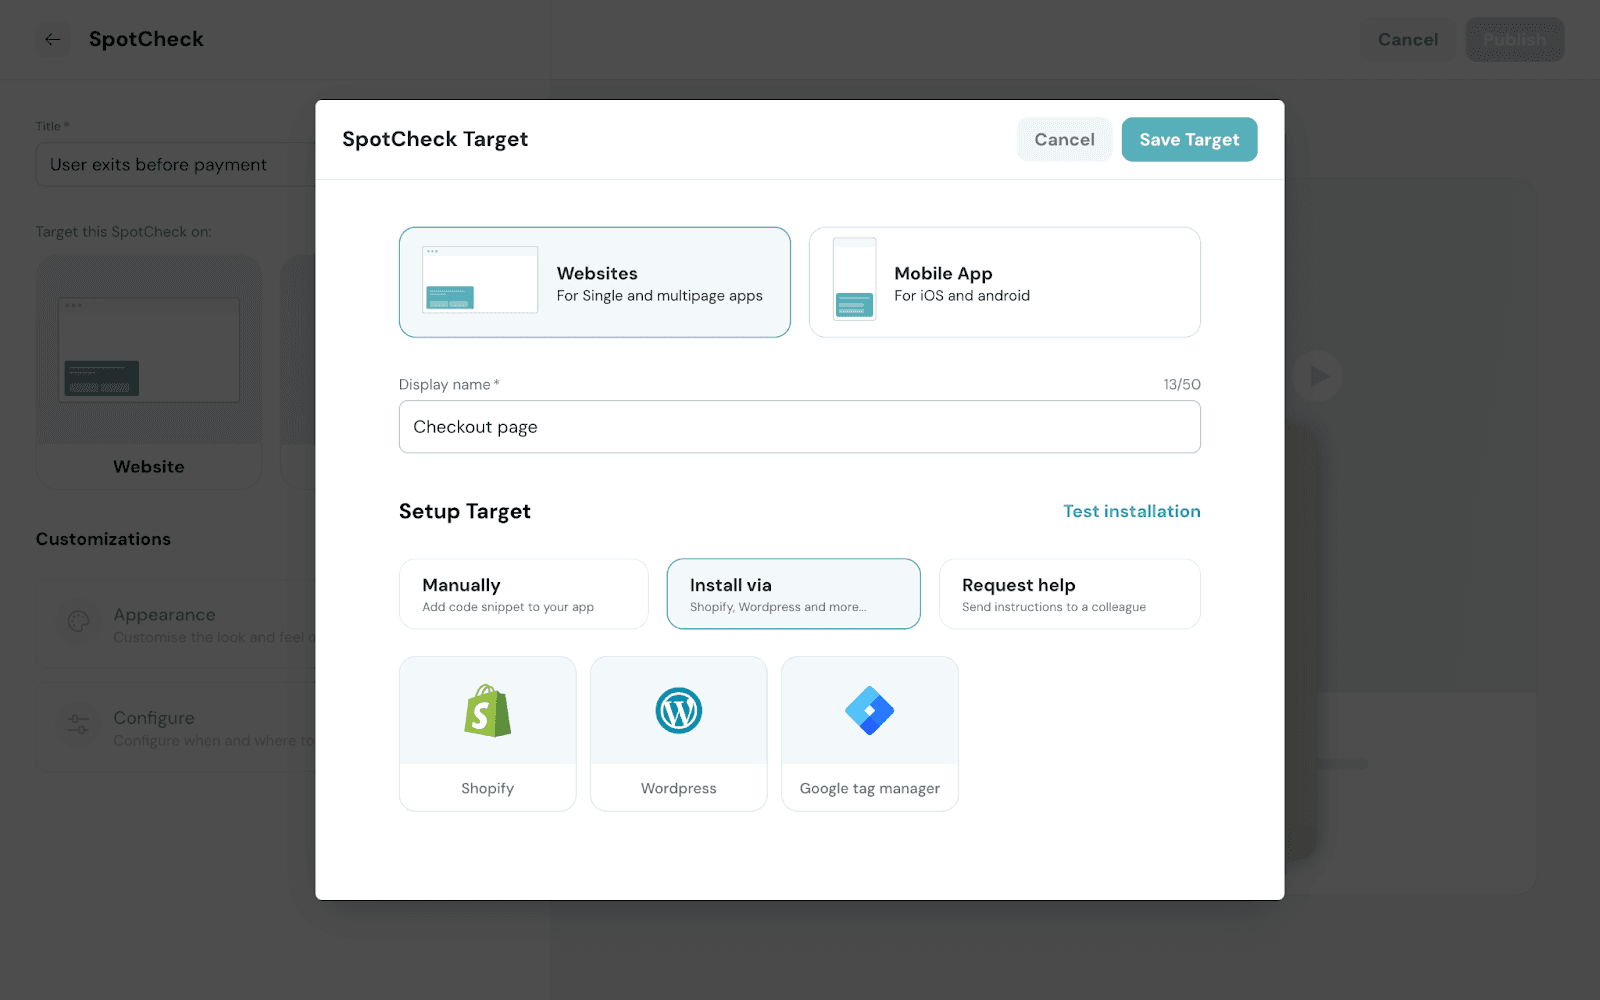
1. Select Website as your target.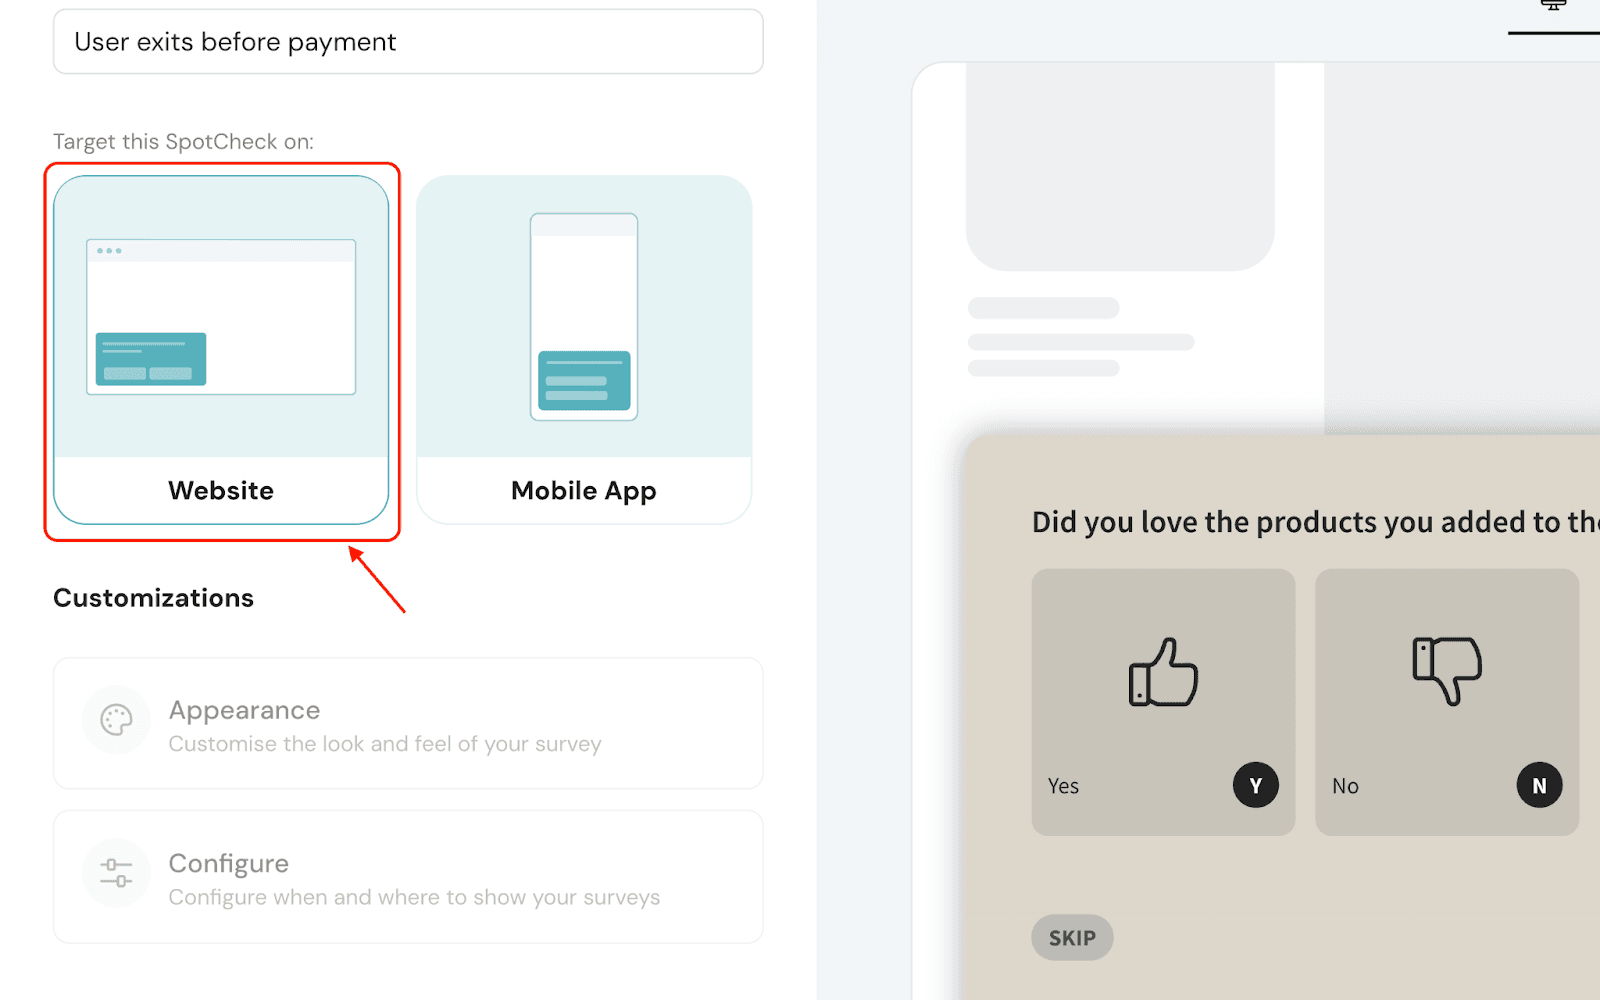
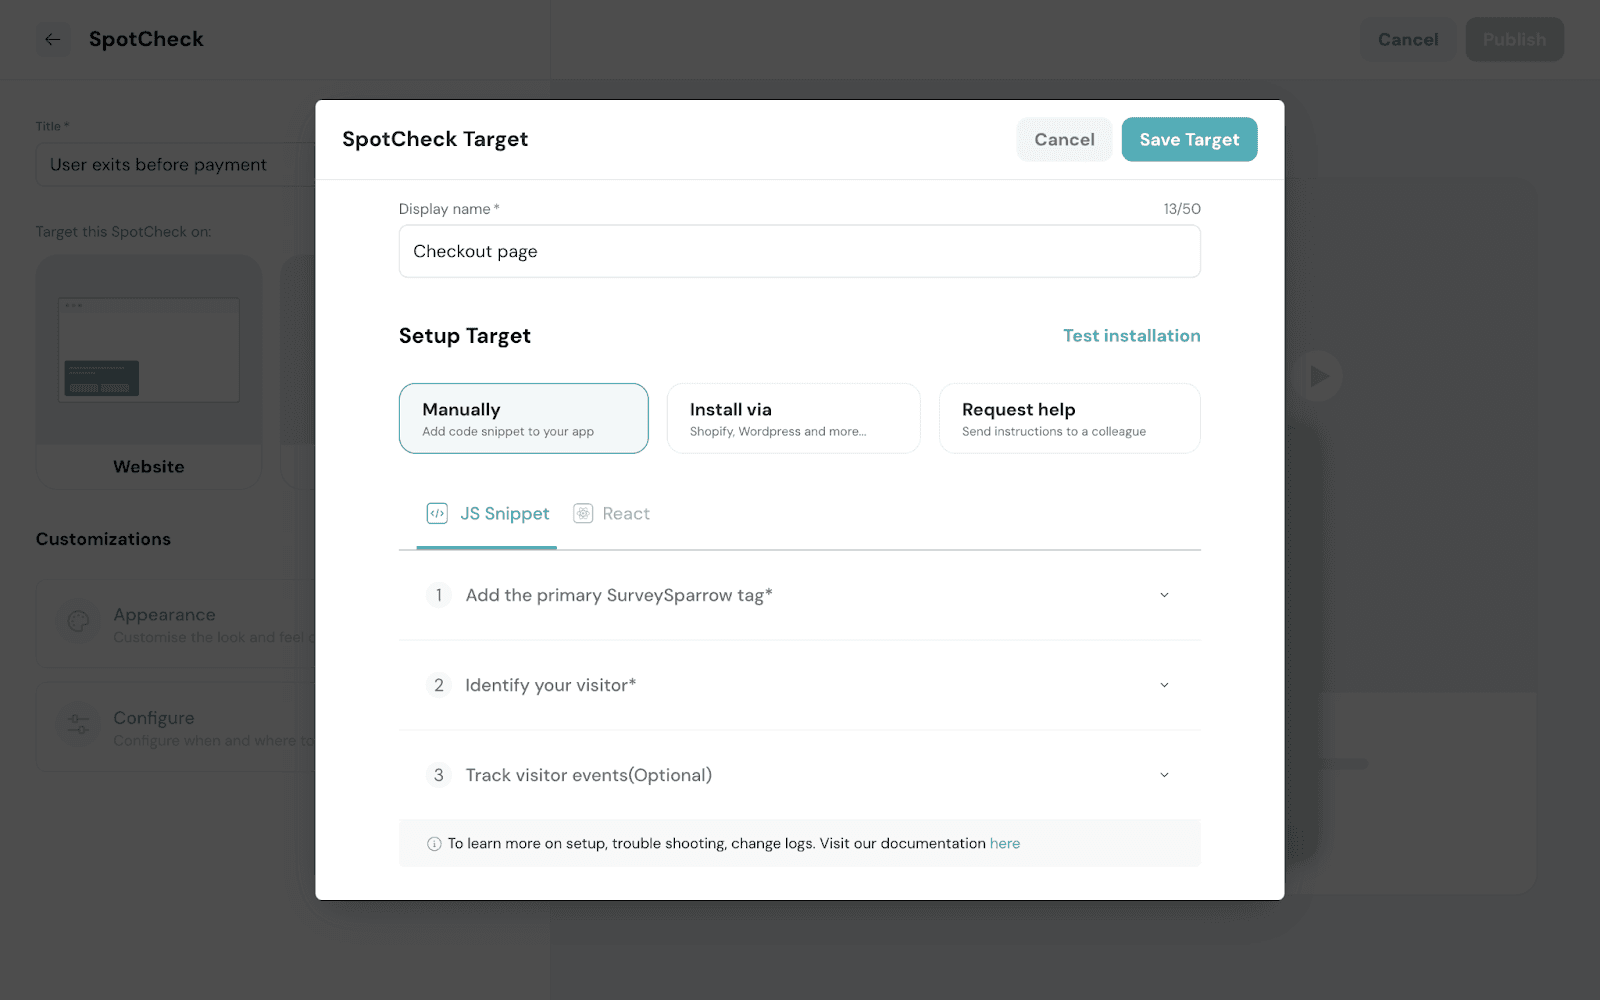
2. Enter the display name for the target.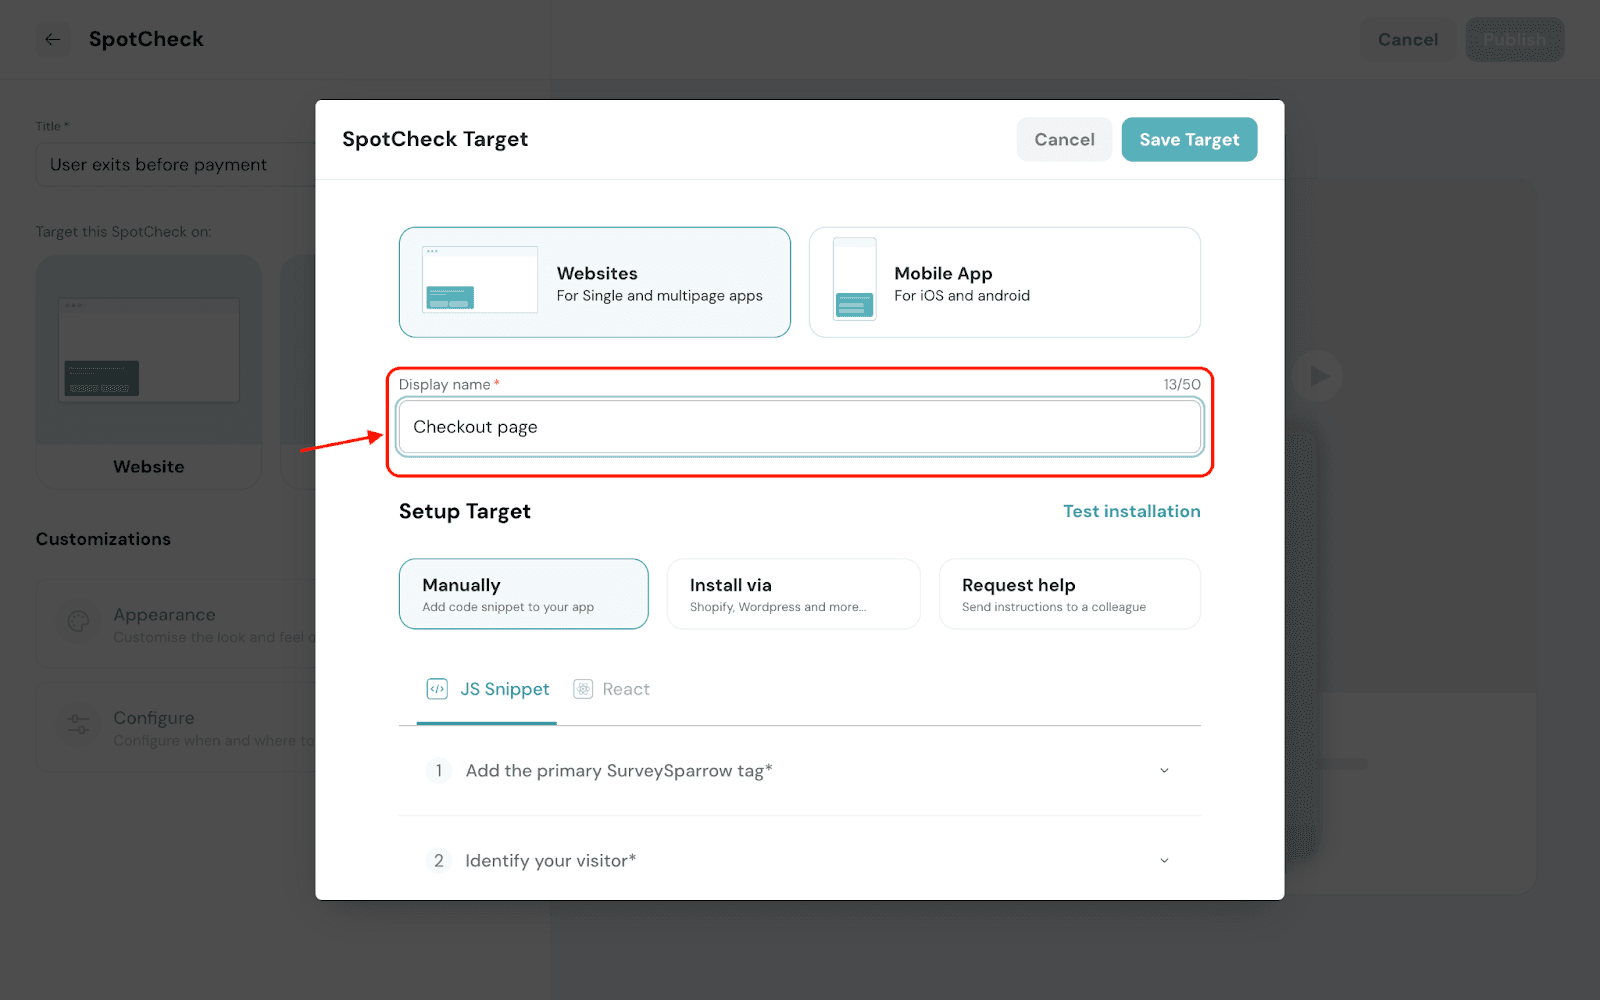
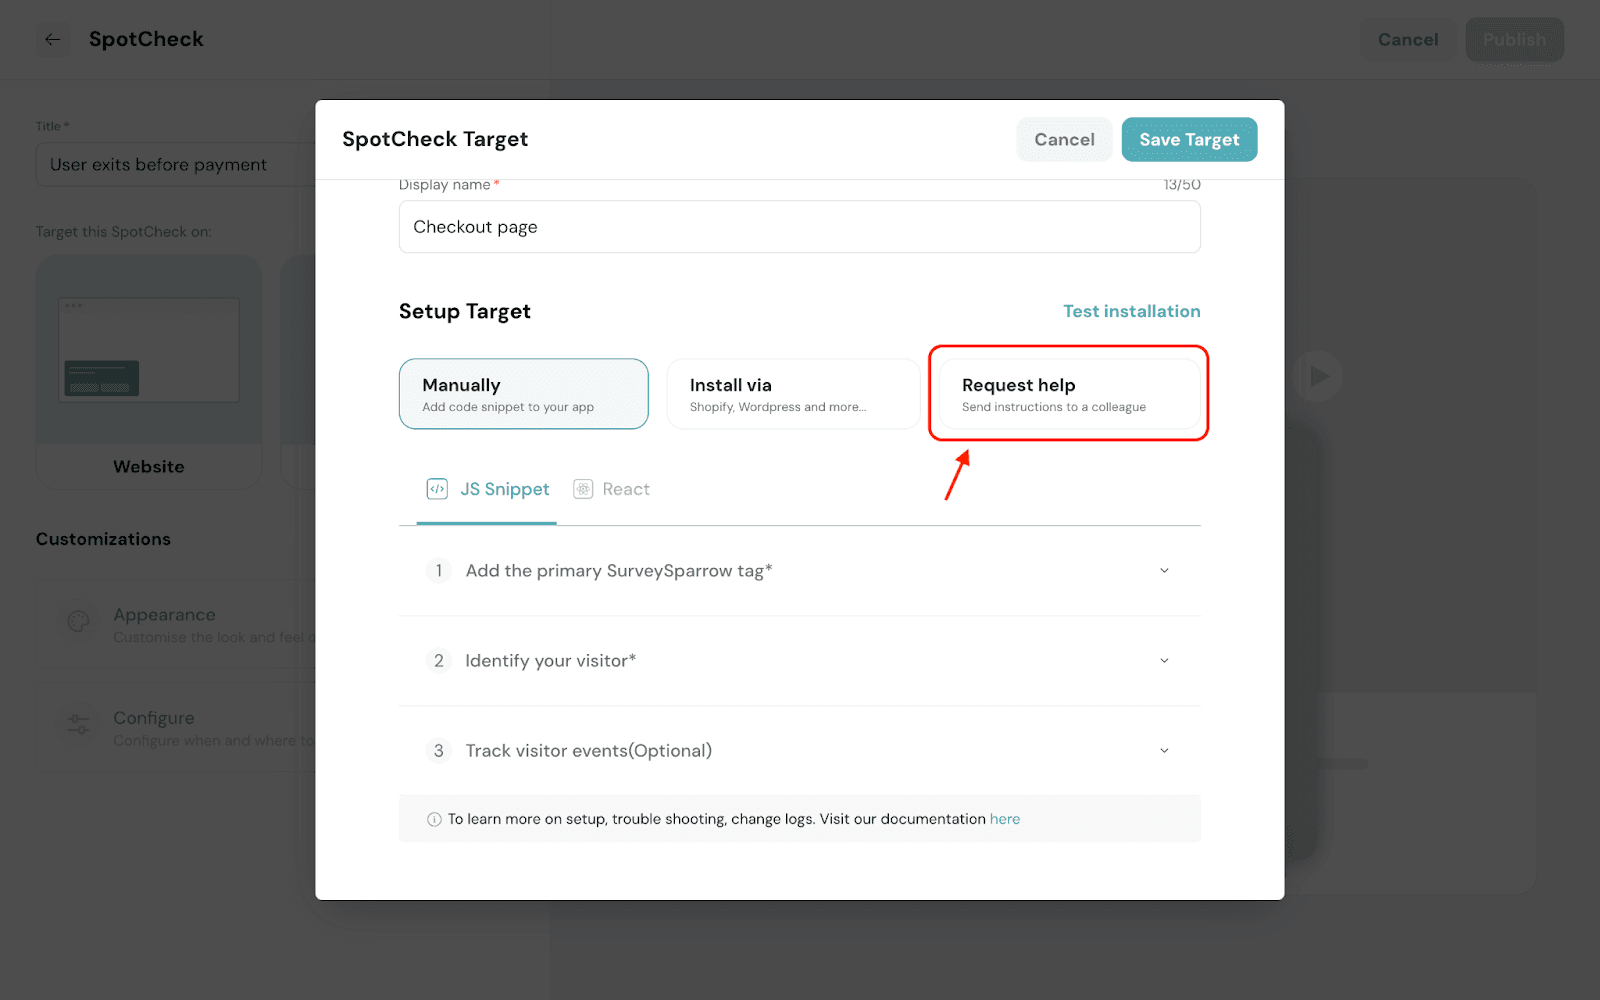
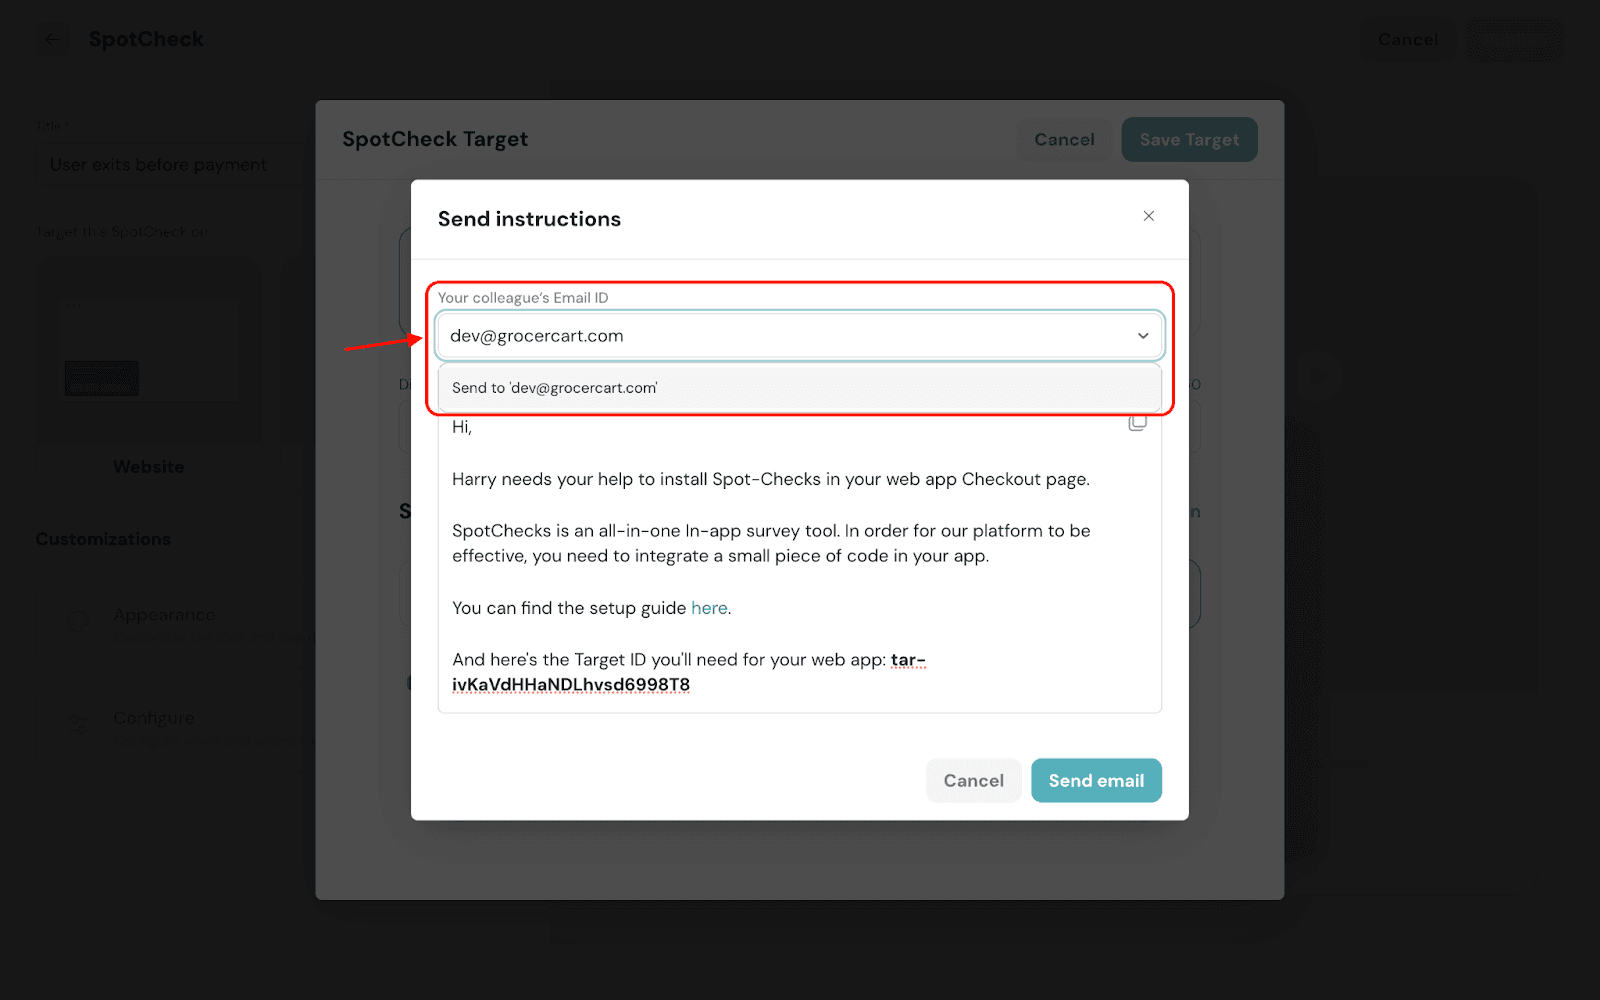
3. You can set the target in three ways:

4. Click Test installation to check the respective URLs.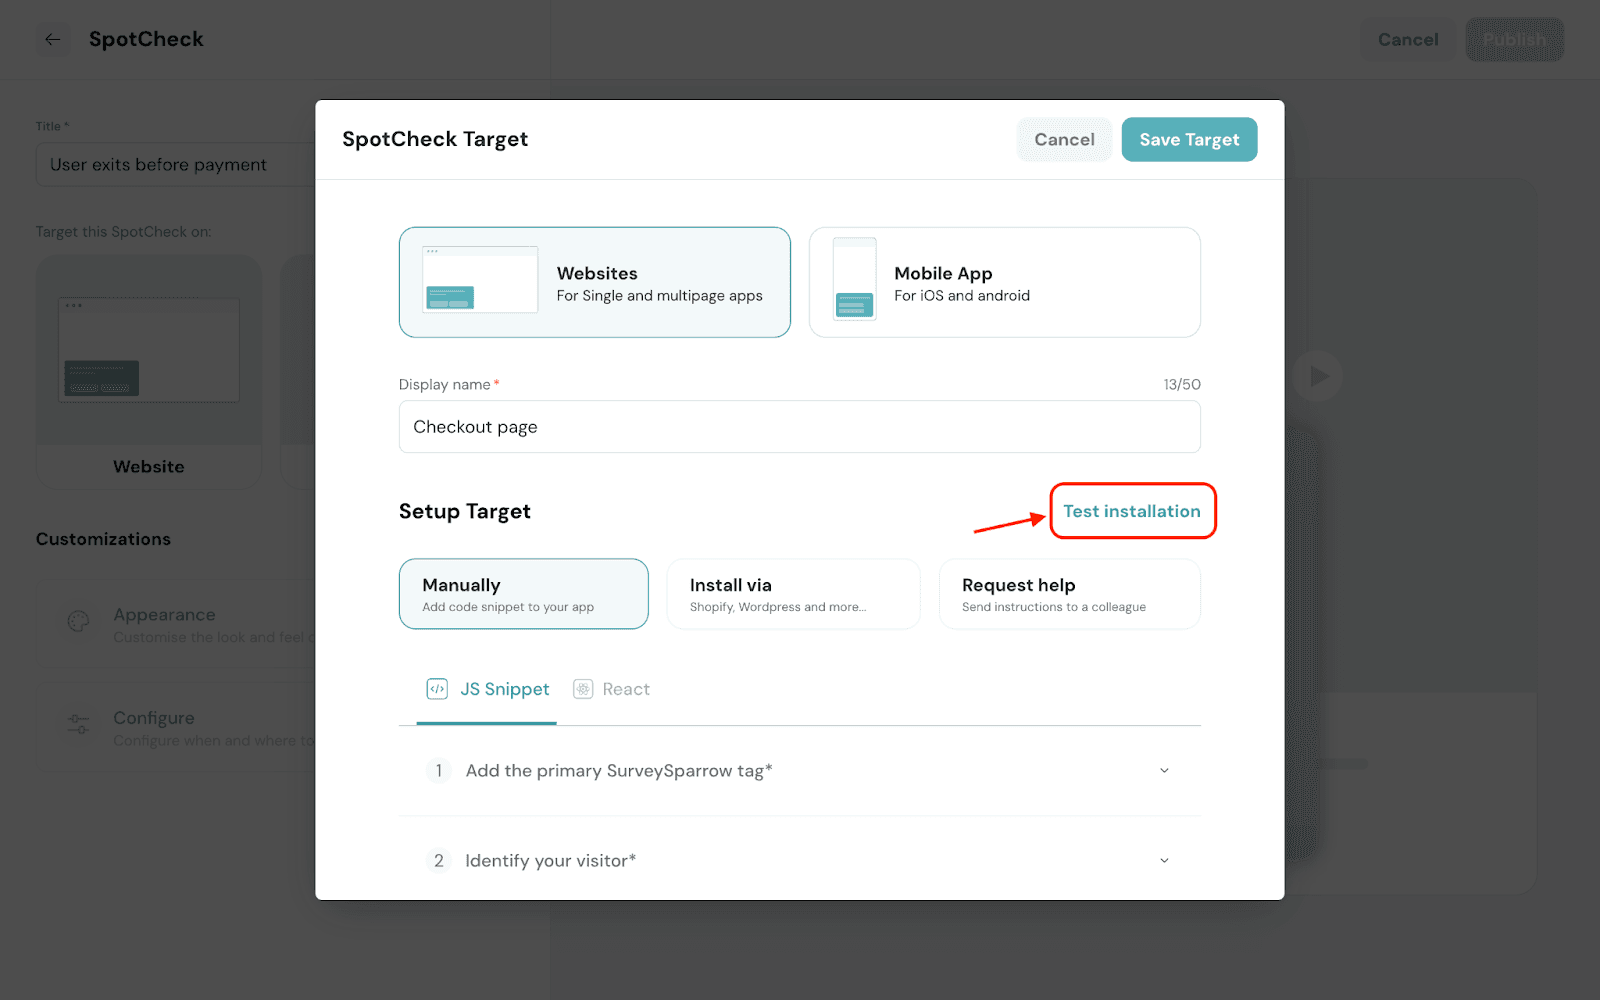
5. Enter the URL and click Verify.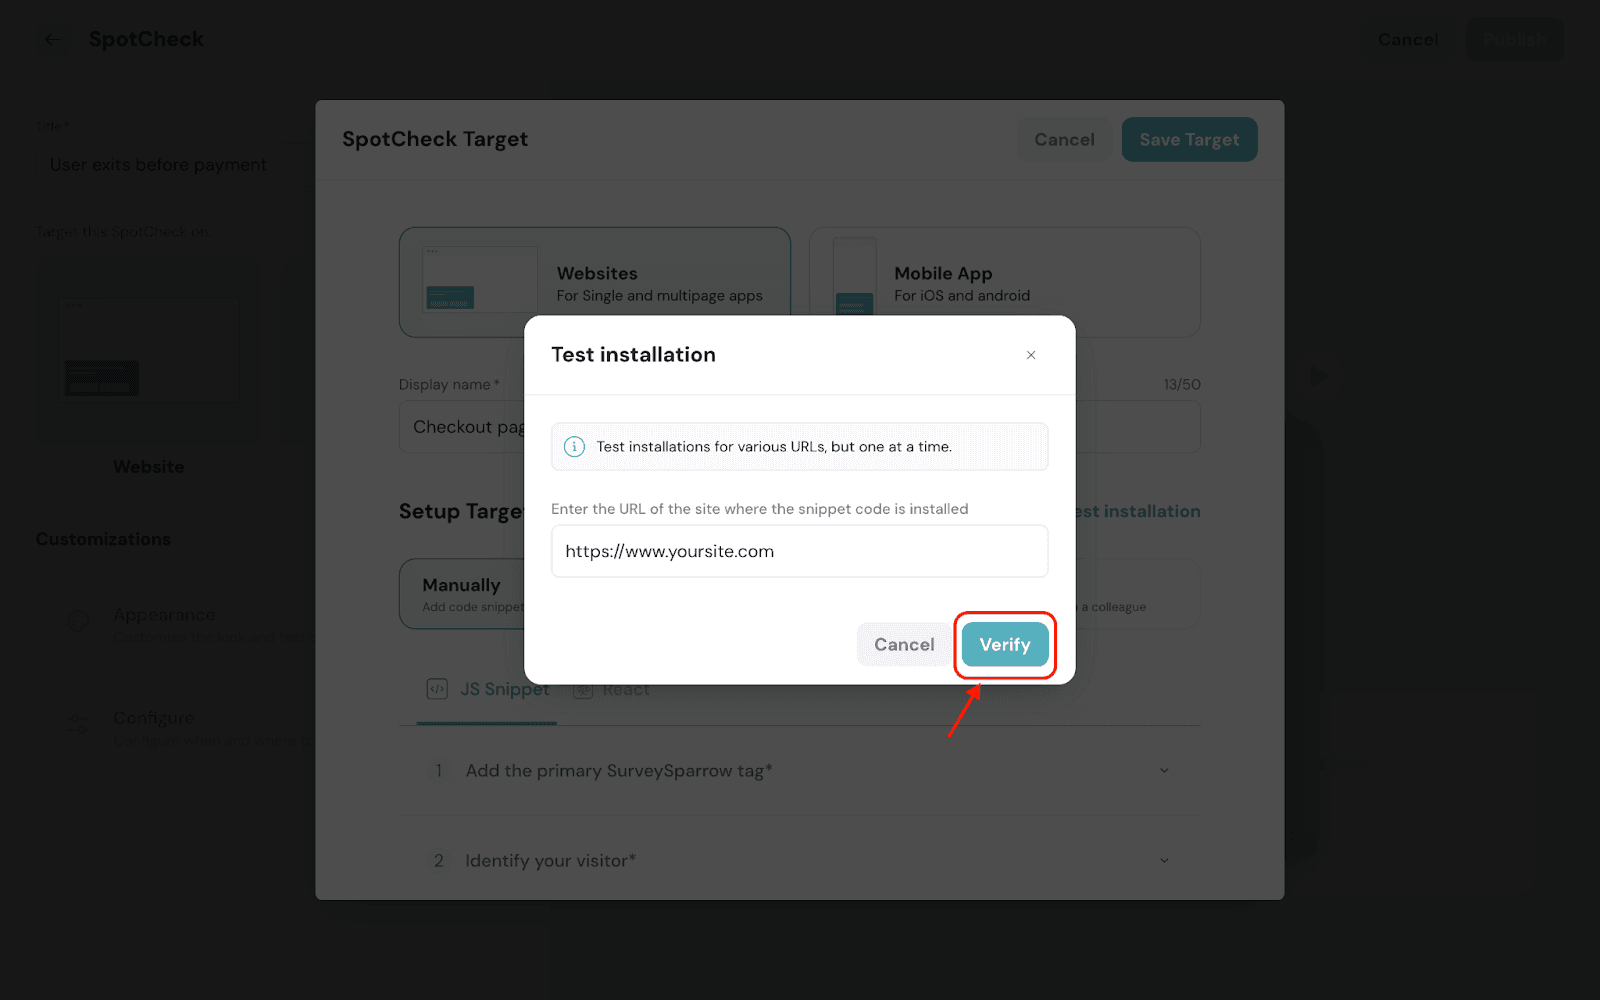
6. Once verified, click Save Target.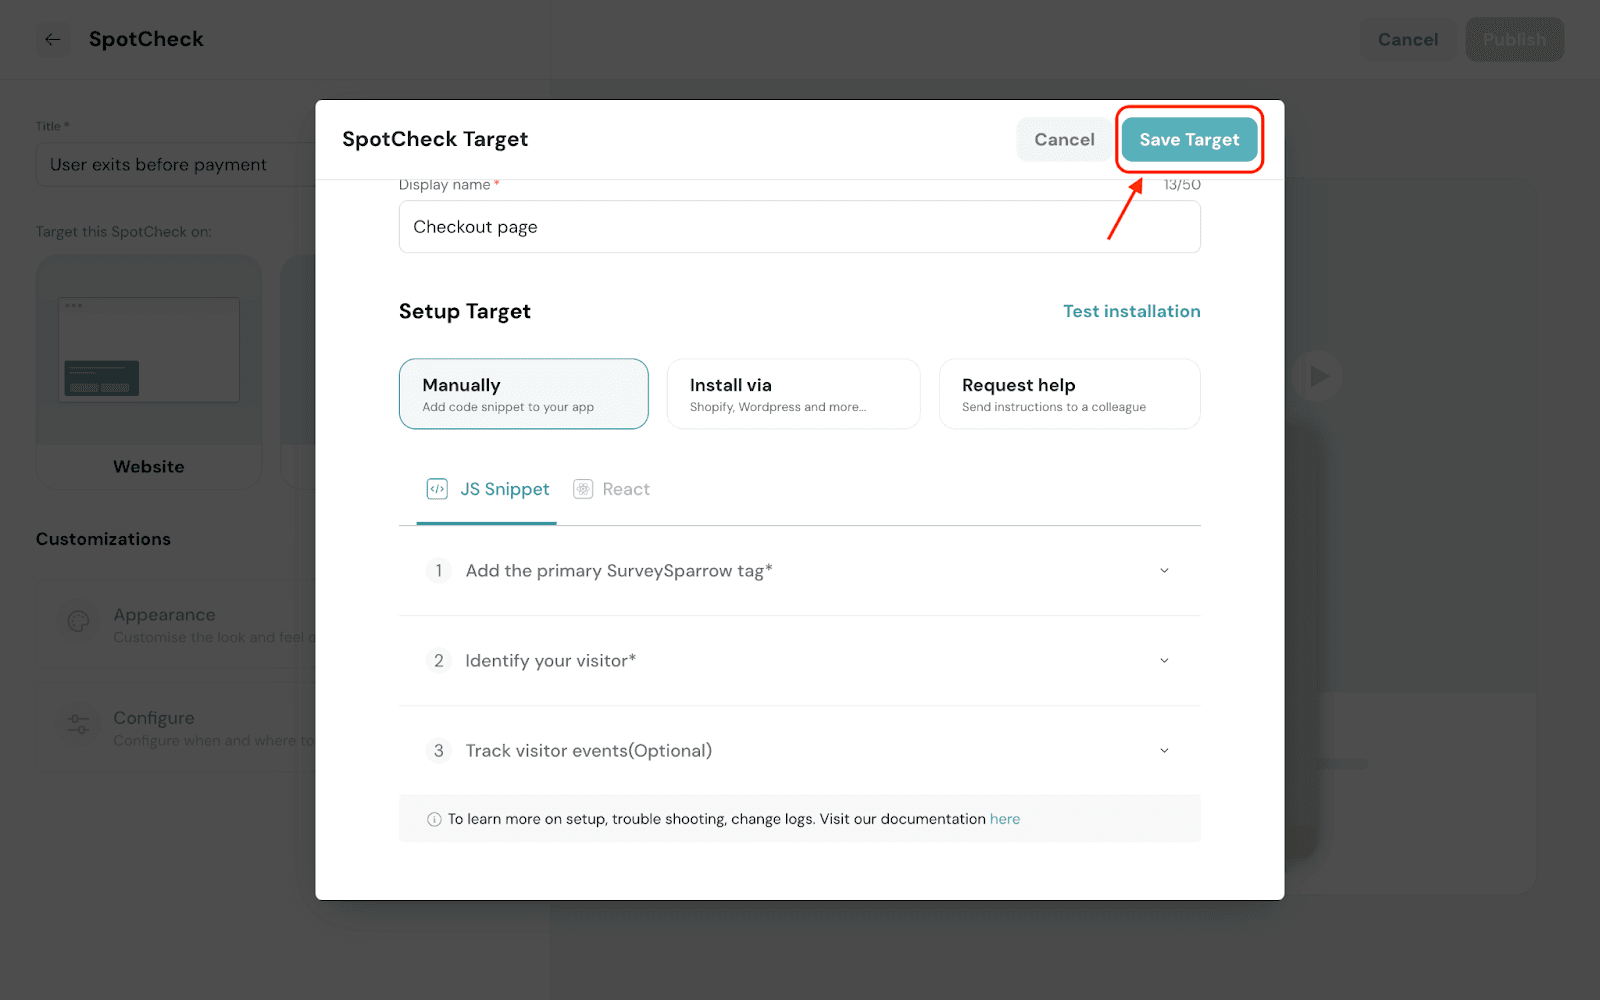
Note: Kindly refer to this document for deploying SpotChecks in your website.
1. Under Customizations, click Appearance.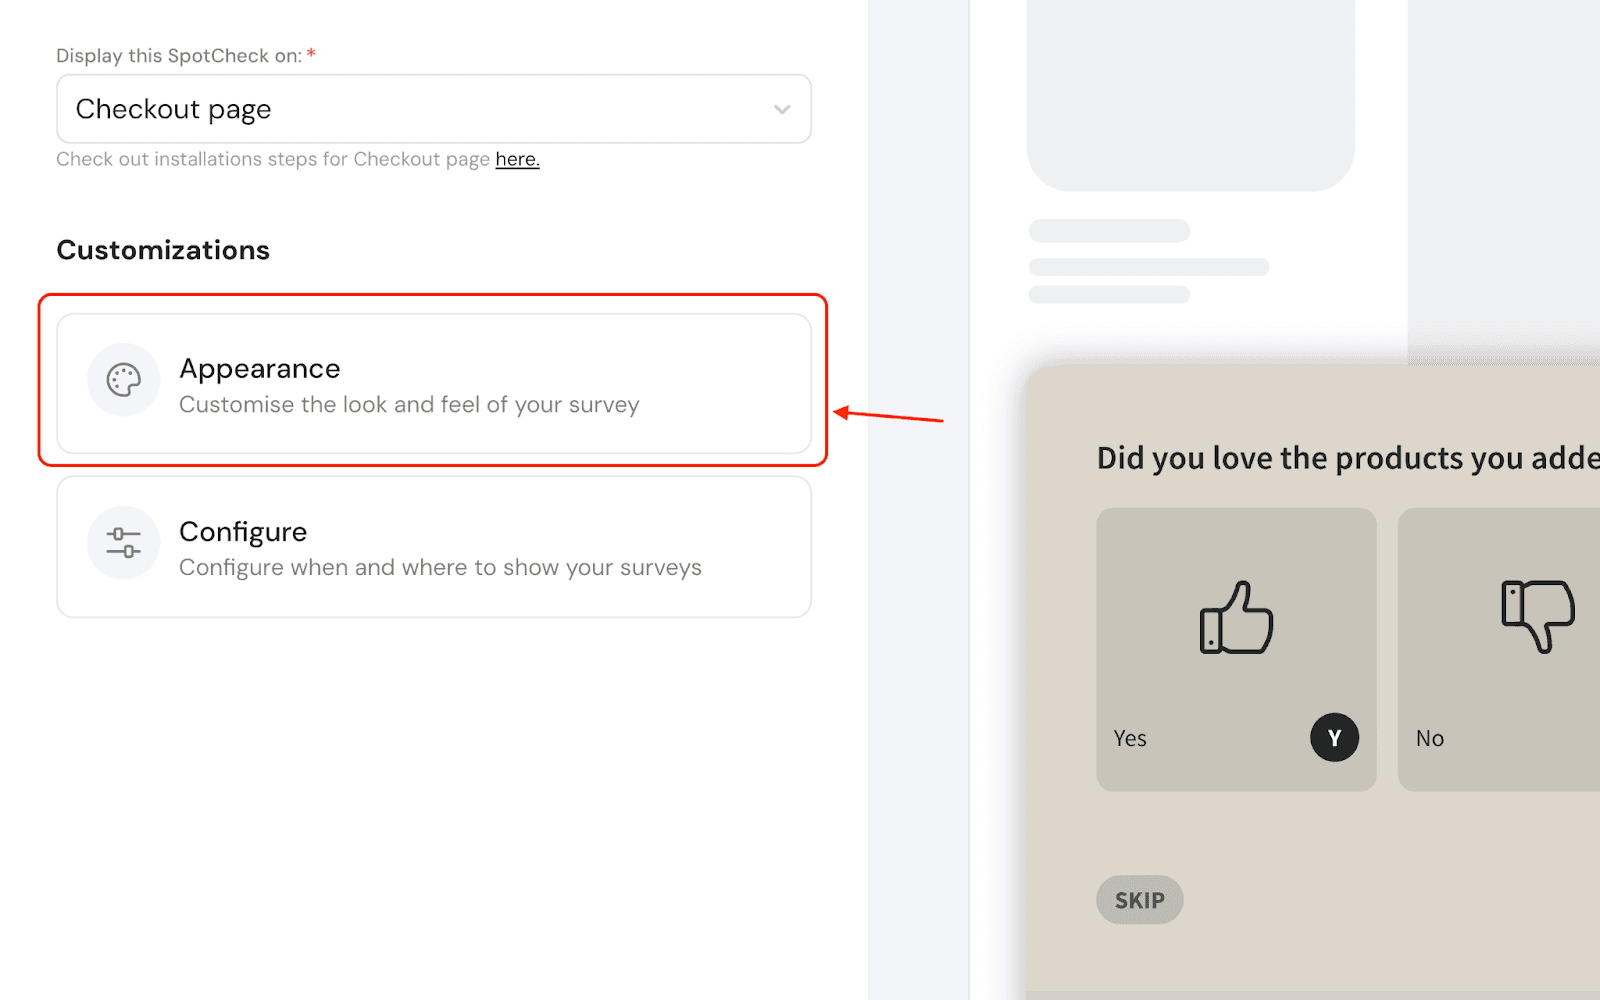
2. Choose a mode of appearance.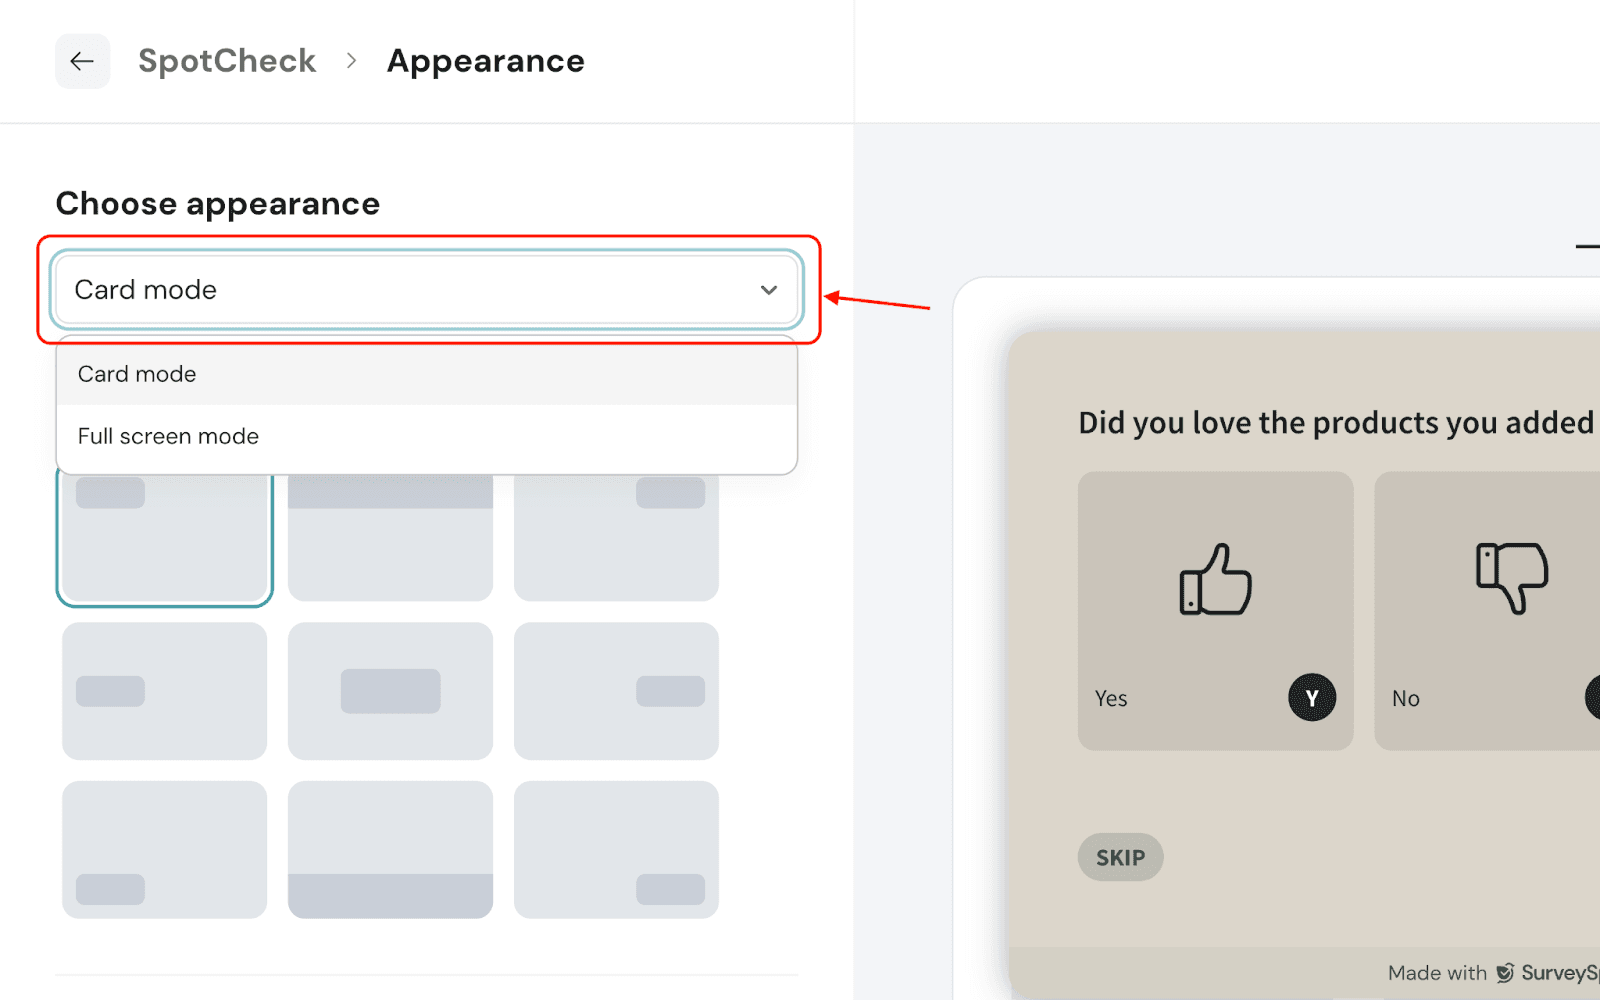
3. Customize the placement of your SpotCheck on the screen.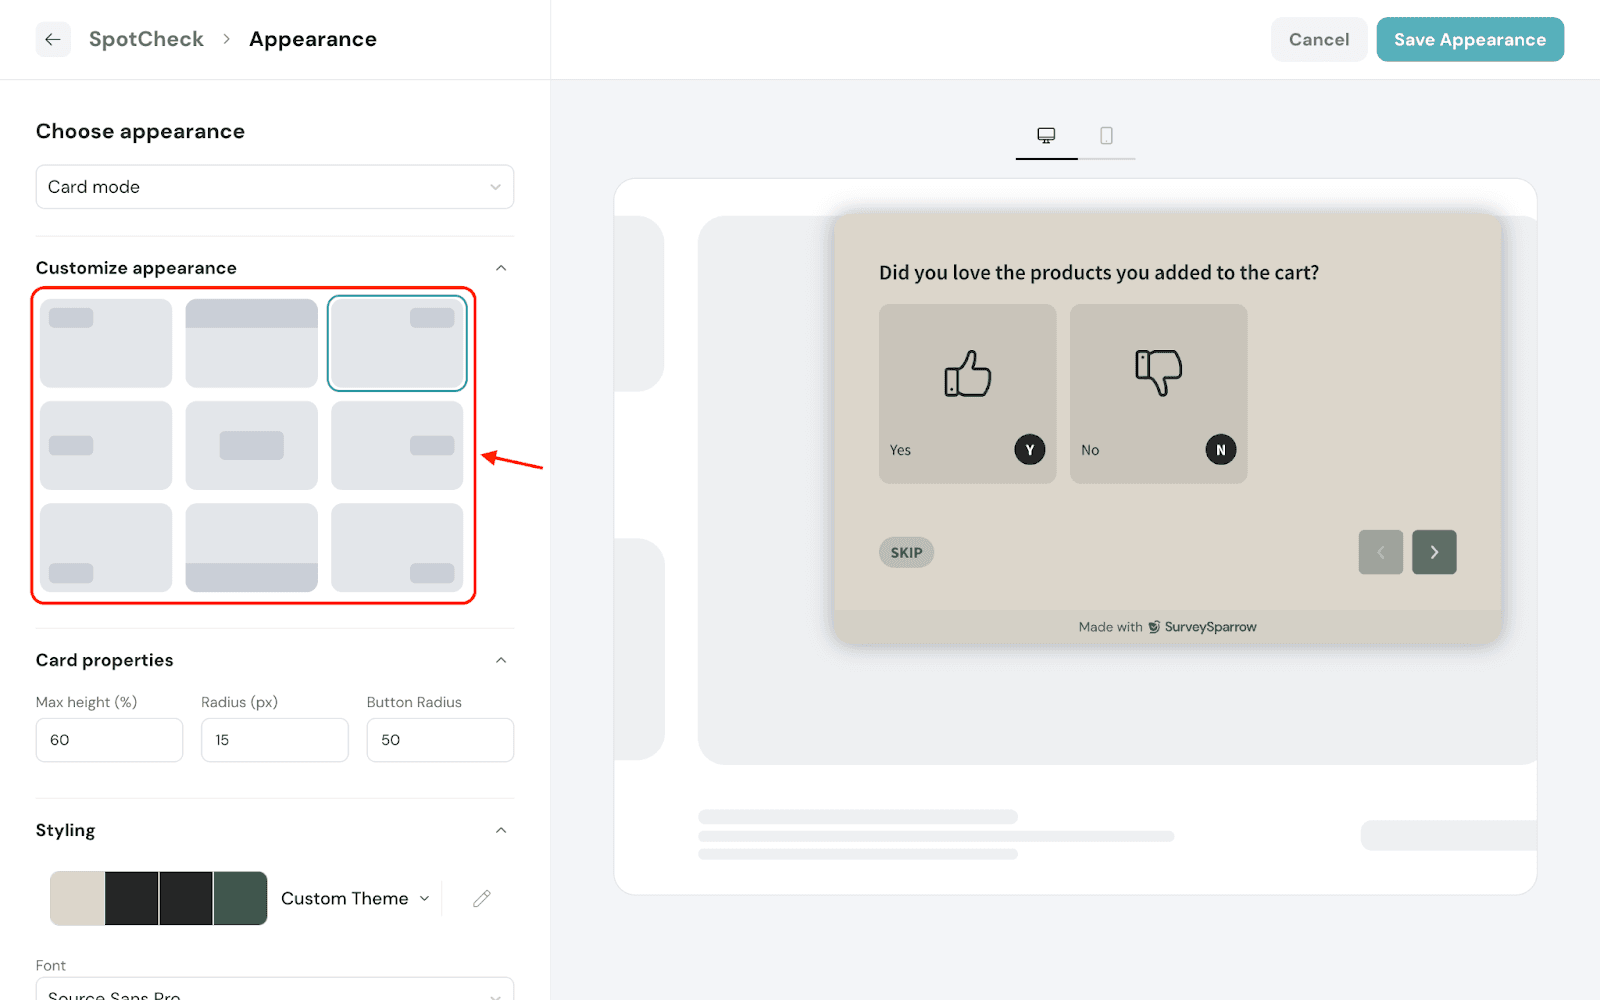
4. Style the SpotCheck to match your brand’s theme.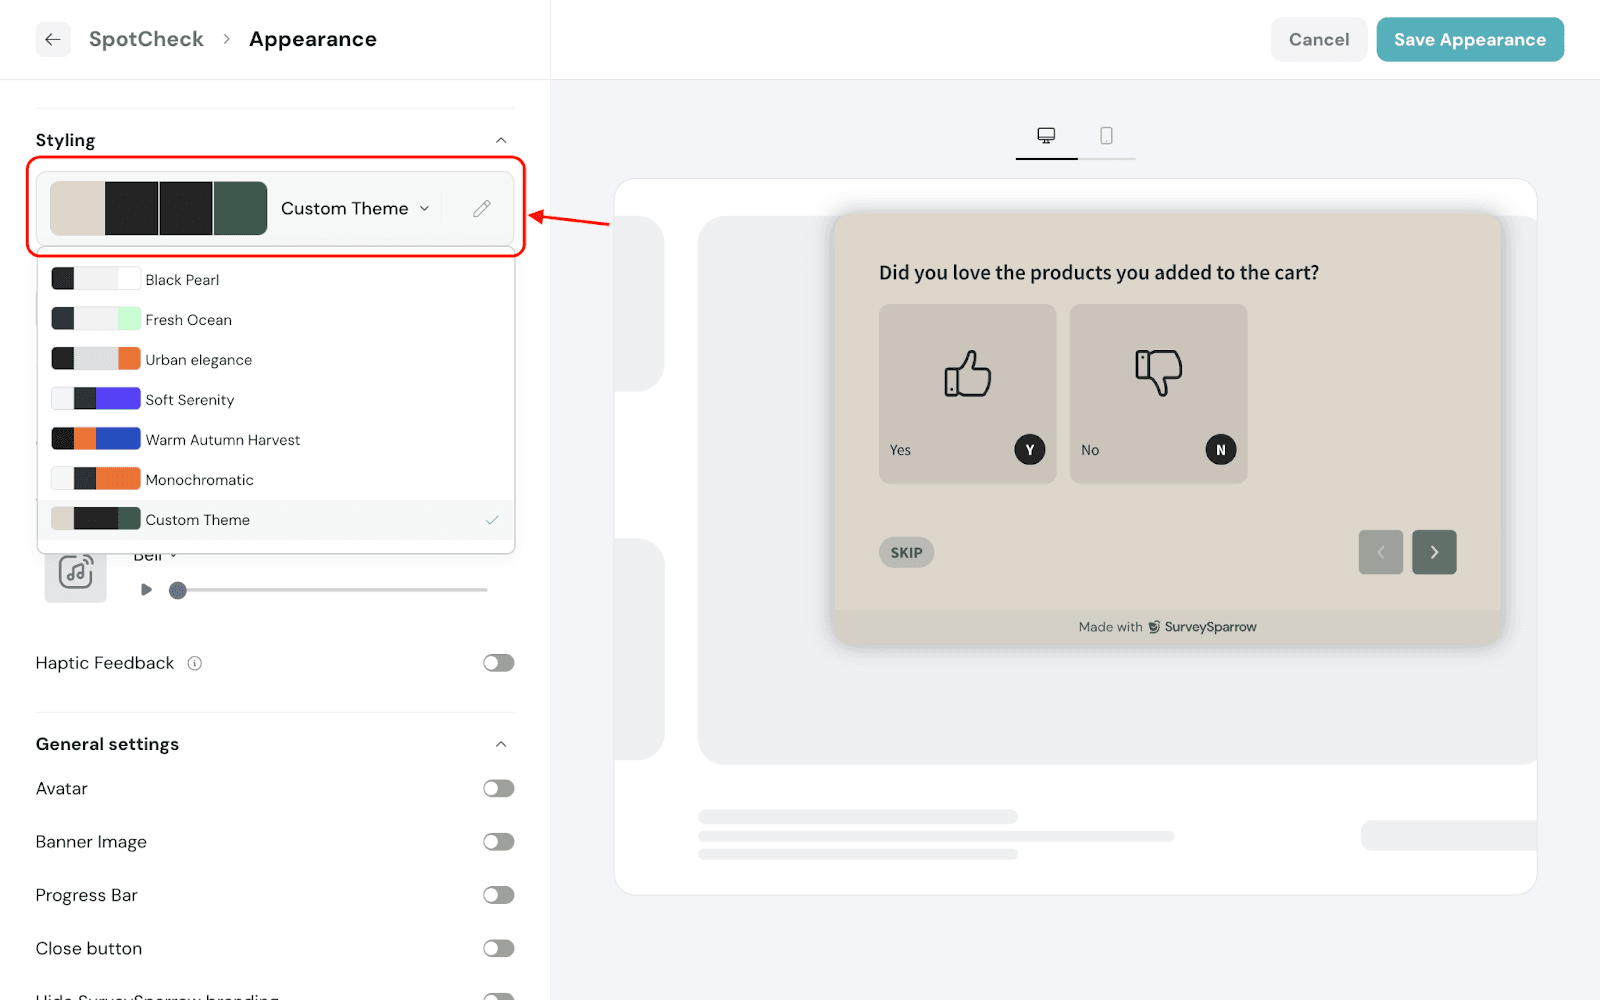
5. Choose to add different effects for your SpotCheck.
1. After customizing the SpotCheck, click Configure.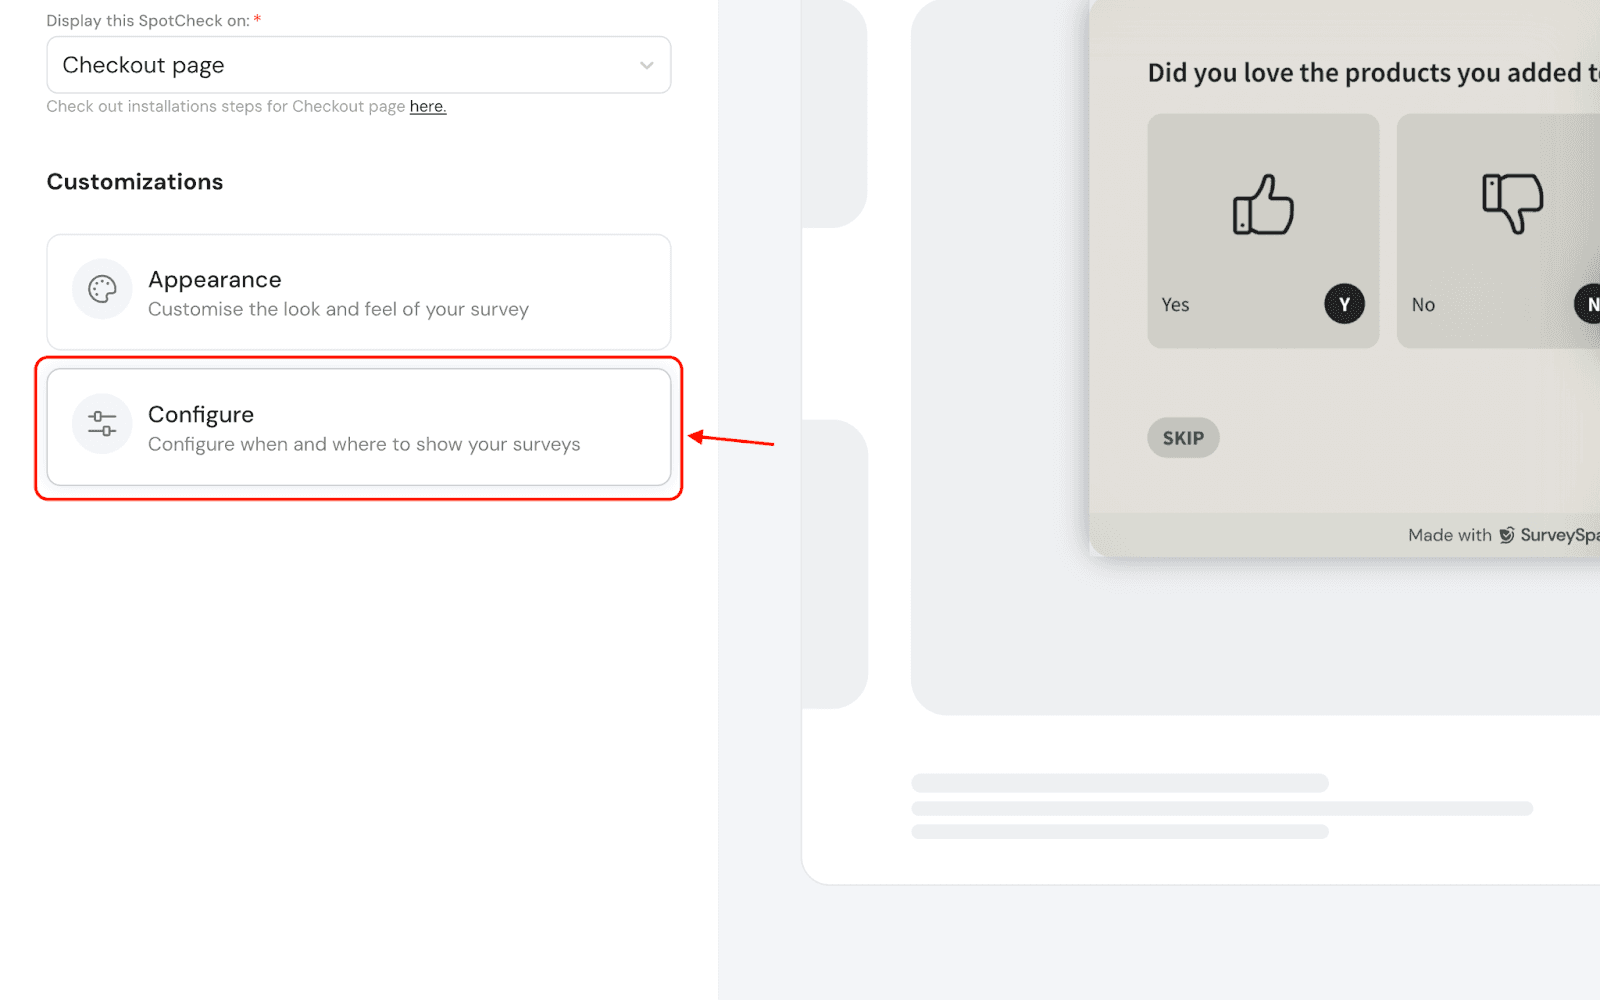
2. Click Spots to set where you want the SpotCheck to be triggered.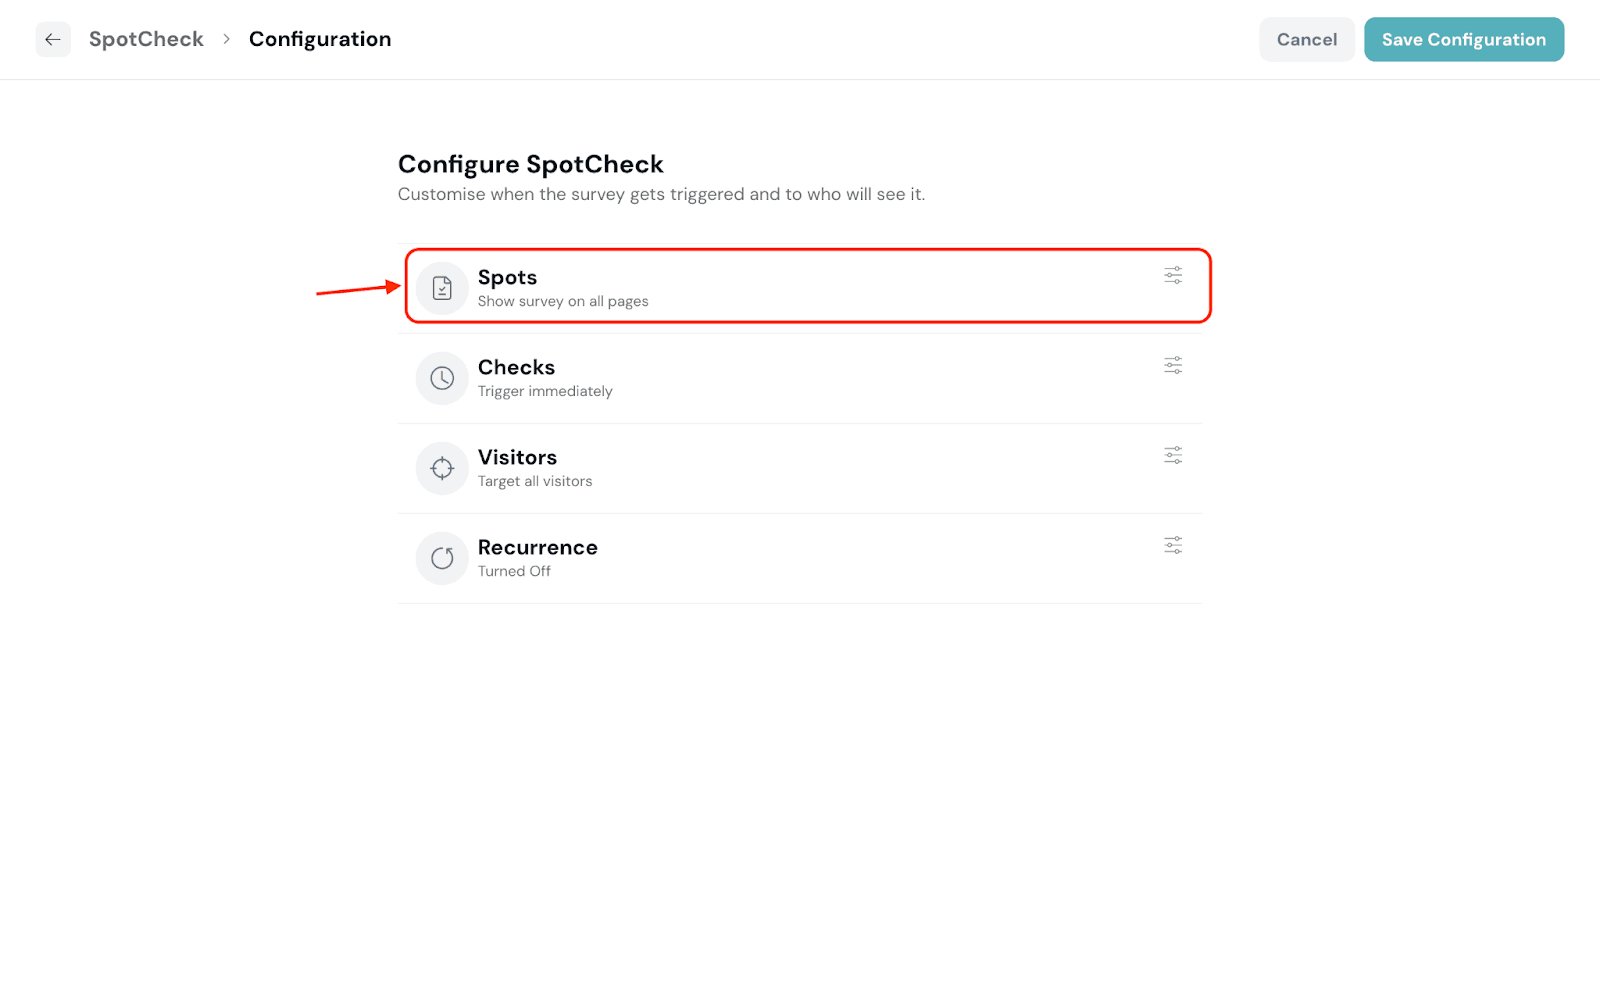
3. You can choose to have it on all pages or specific pages. For selective display of the SpotCheck, click Specific pages.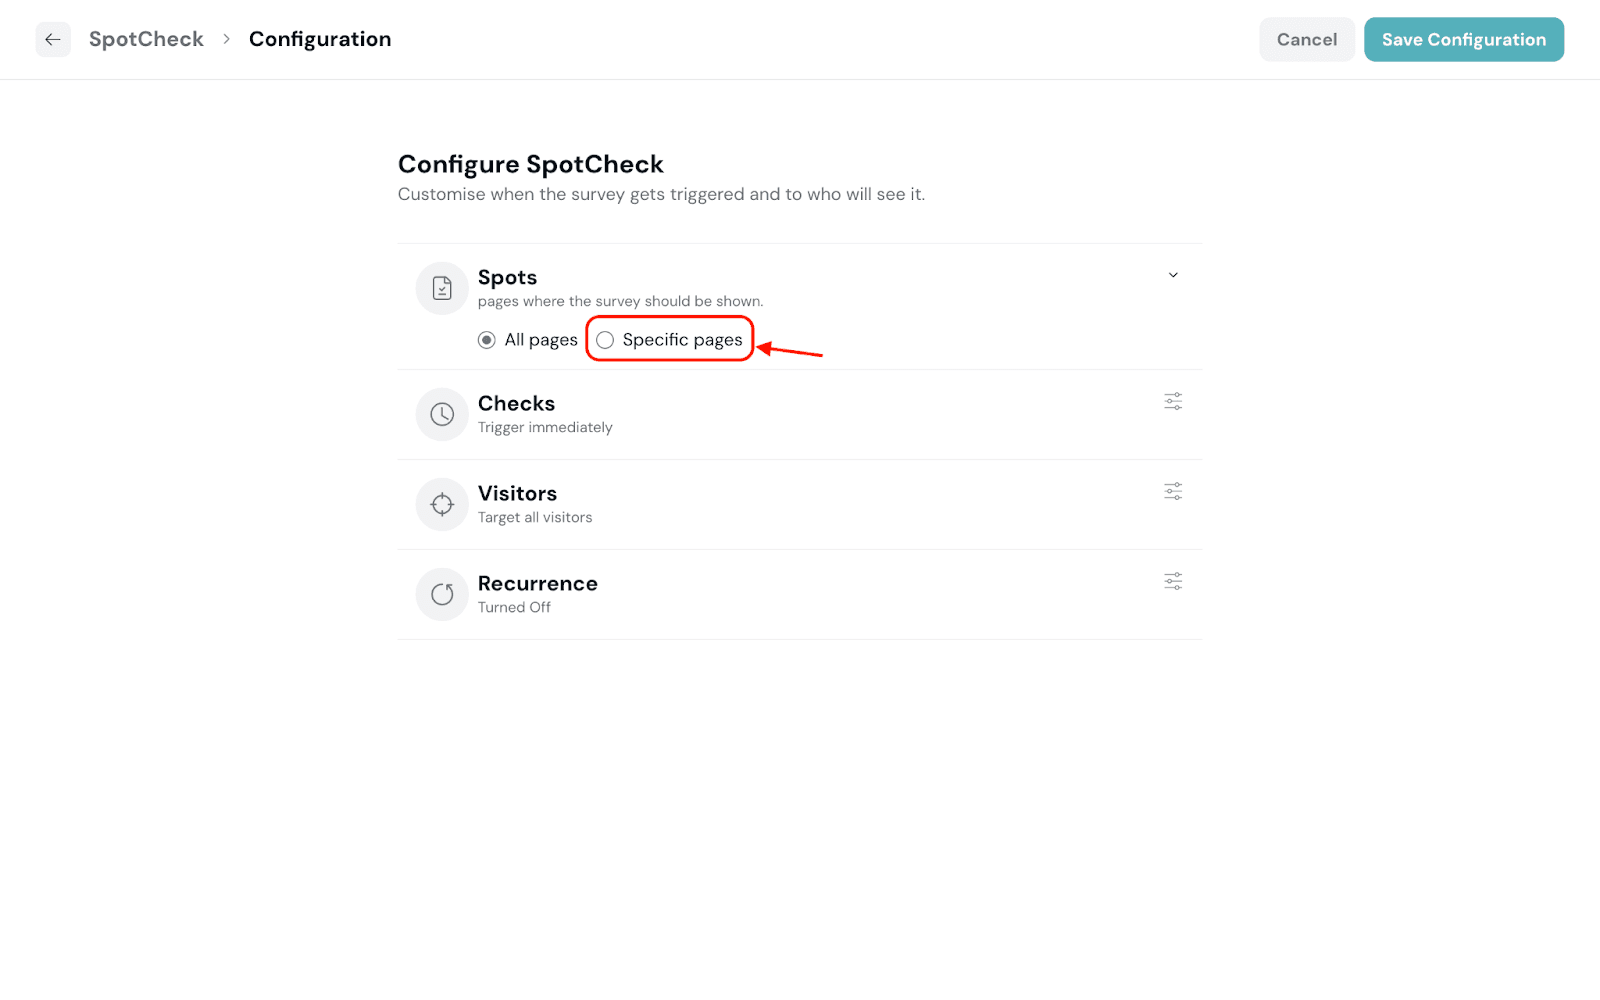
4. Click the respective buttons to include or exclude the pages to display the SpotCheck.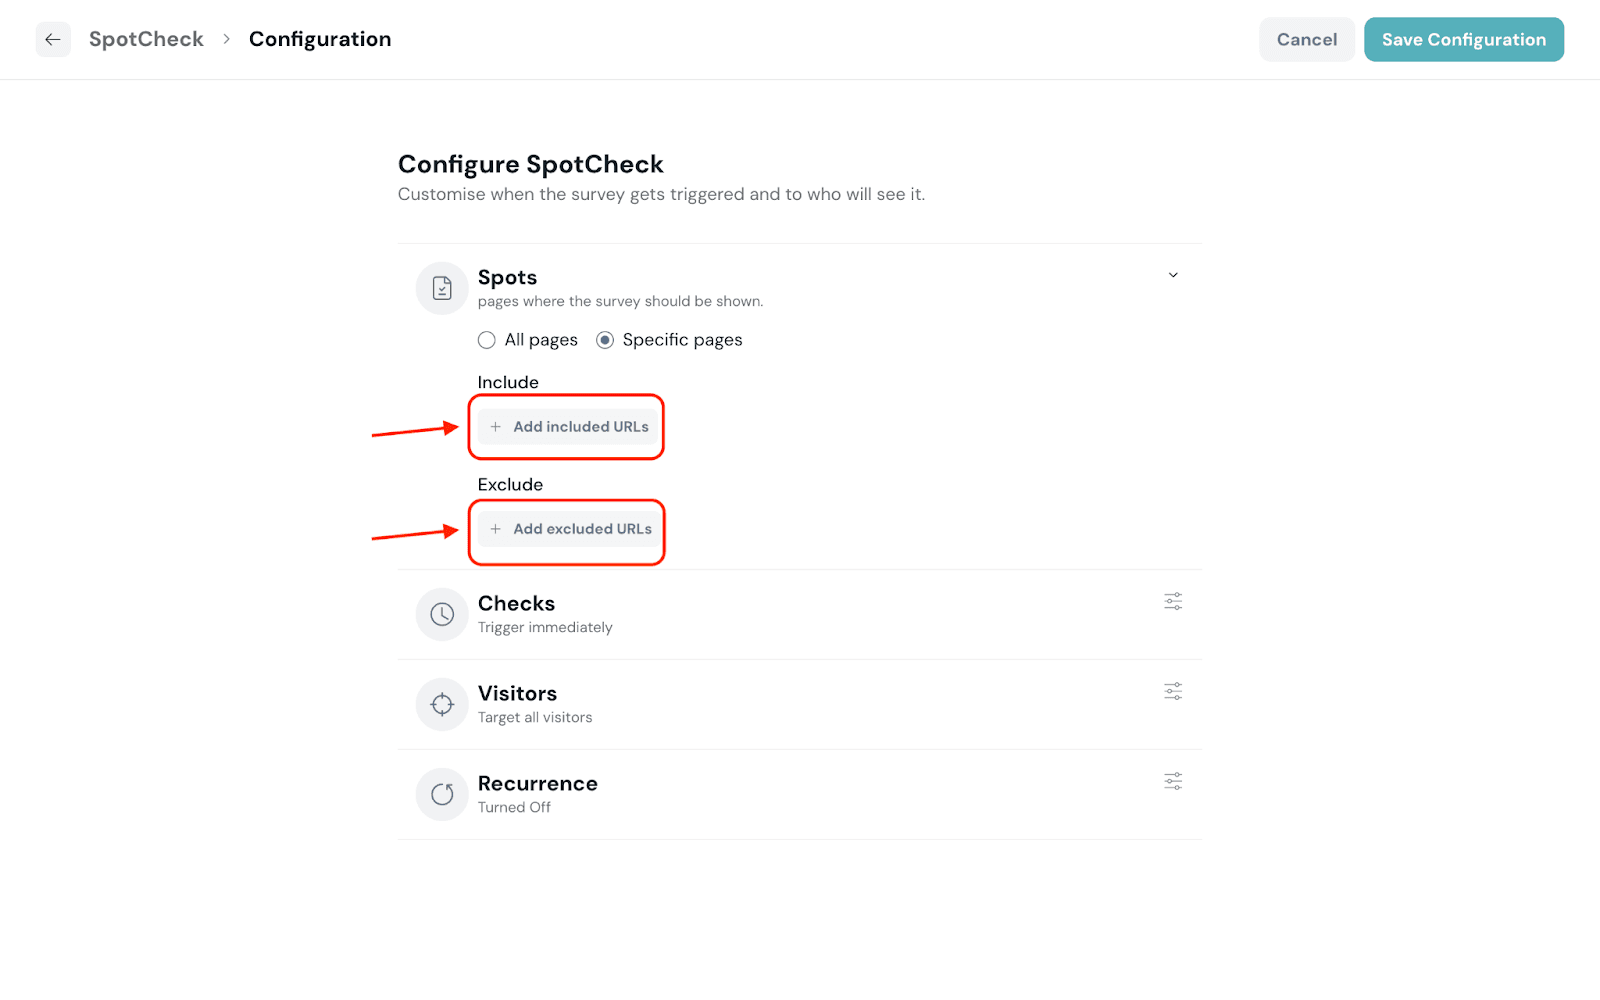
You can select for the following options:
Simple URL match: Display/Not display SpotCheck when the URL exactly matches a specific page
URL that contains: Display/Not display SpotCheck when the URL contains a specific value
URL does not contain: Display/Not display SpotCheck when the URL does not contain a specific value.
URL is not equal to: Display/Not display SpotCheck when the URL doesn’t match a specific page.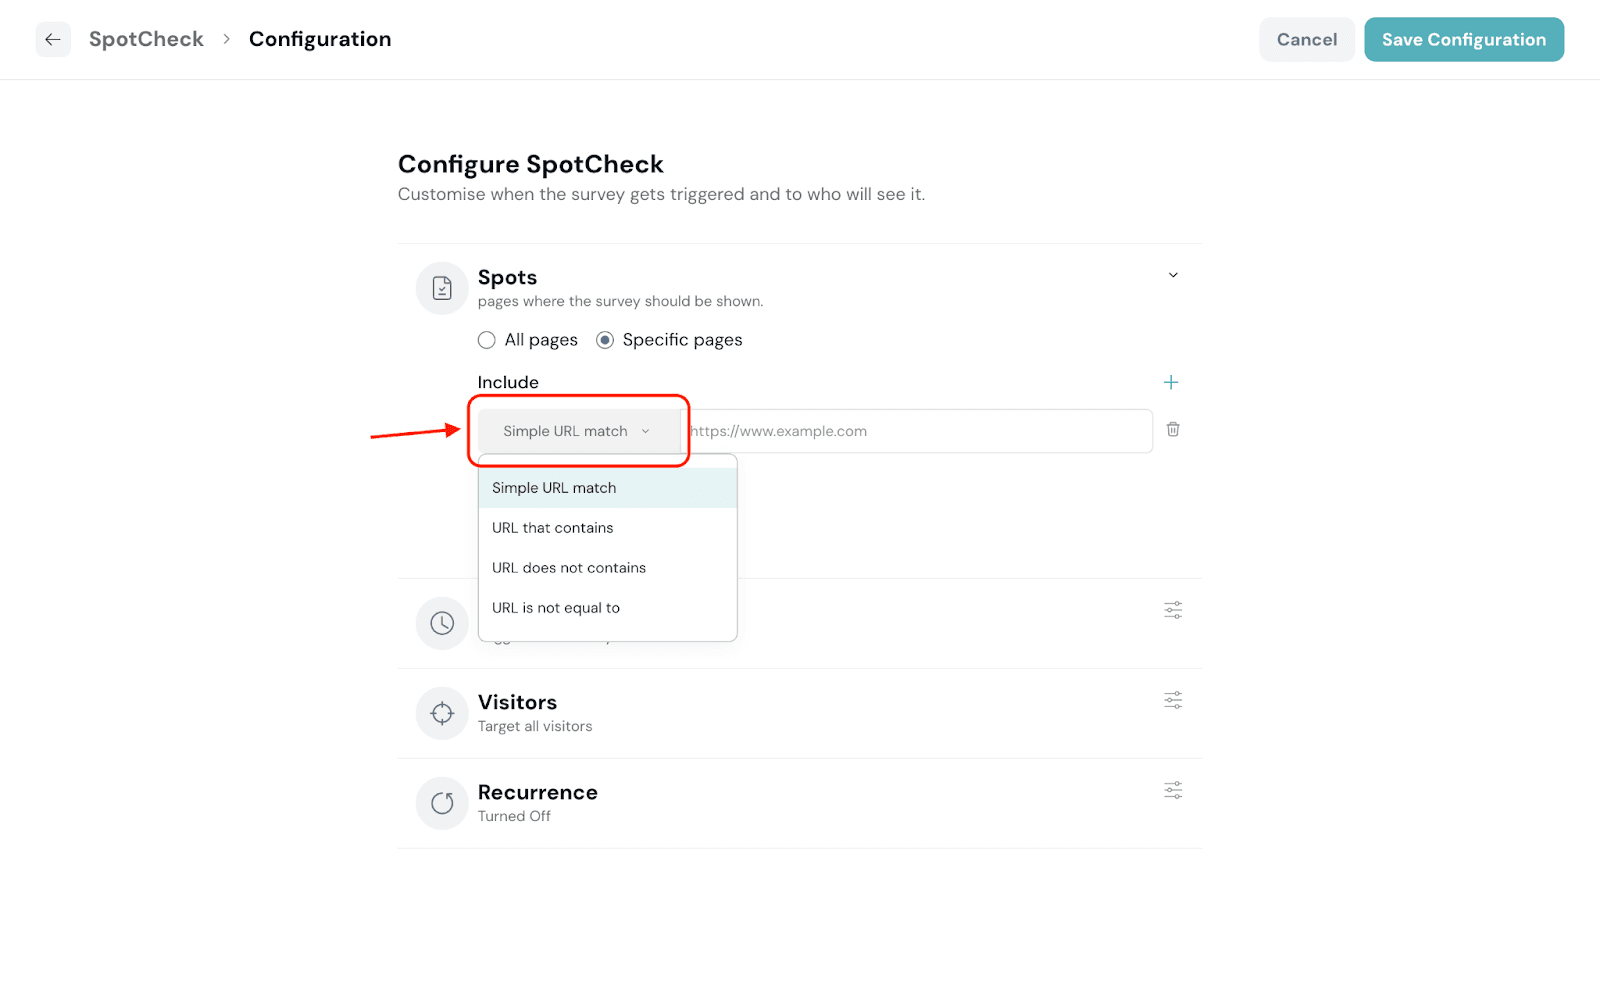
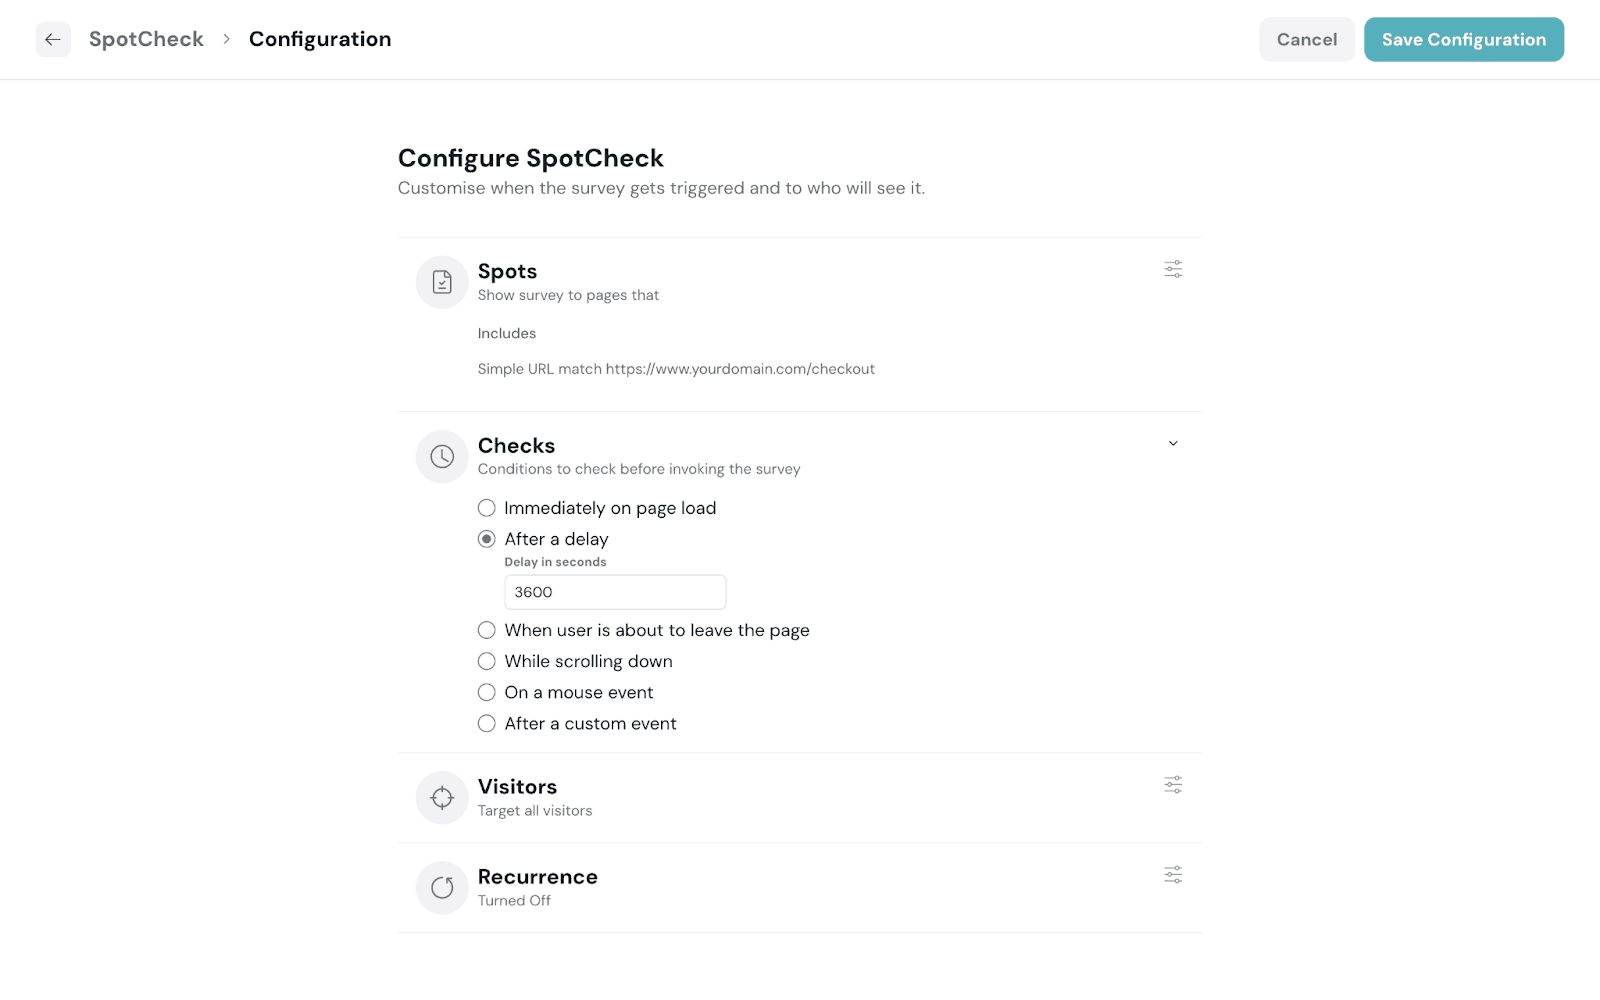
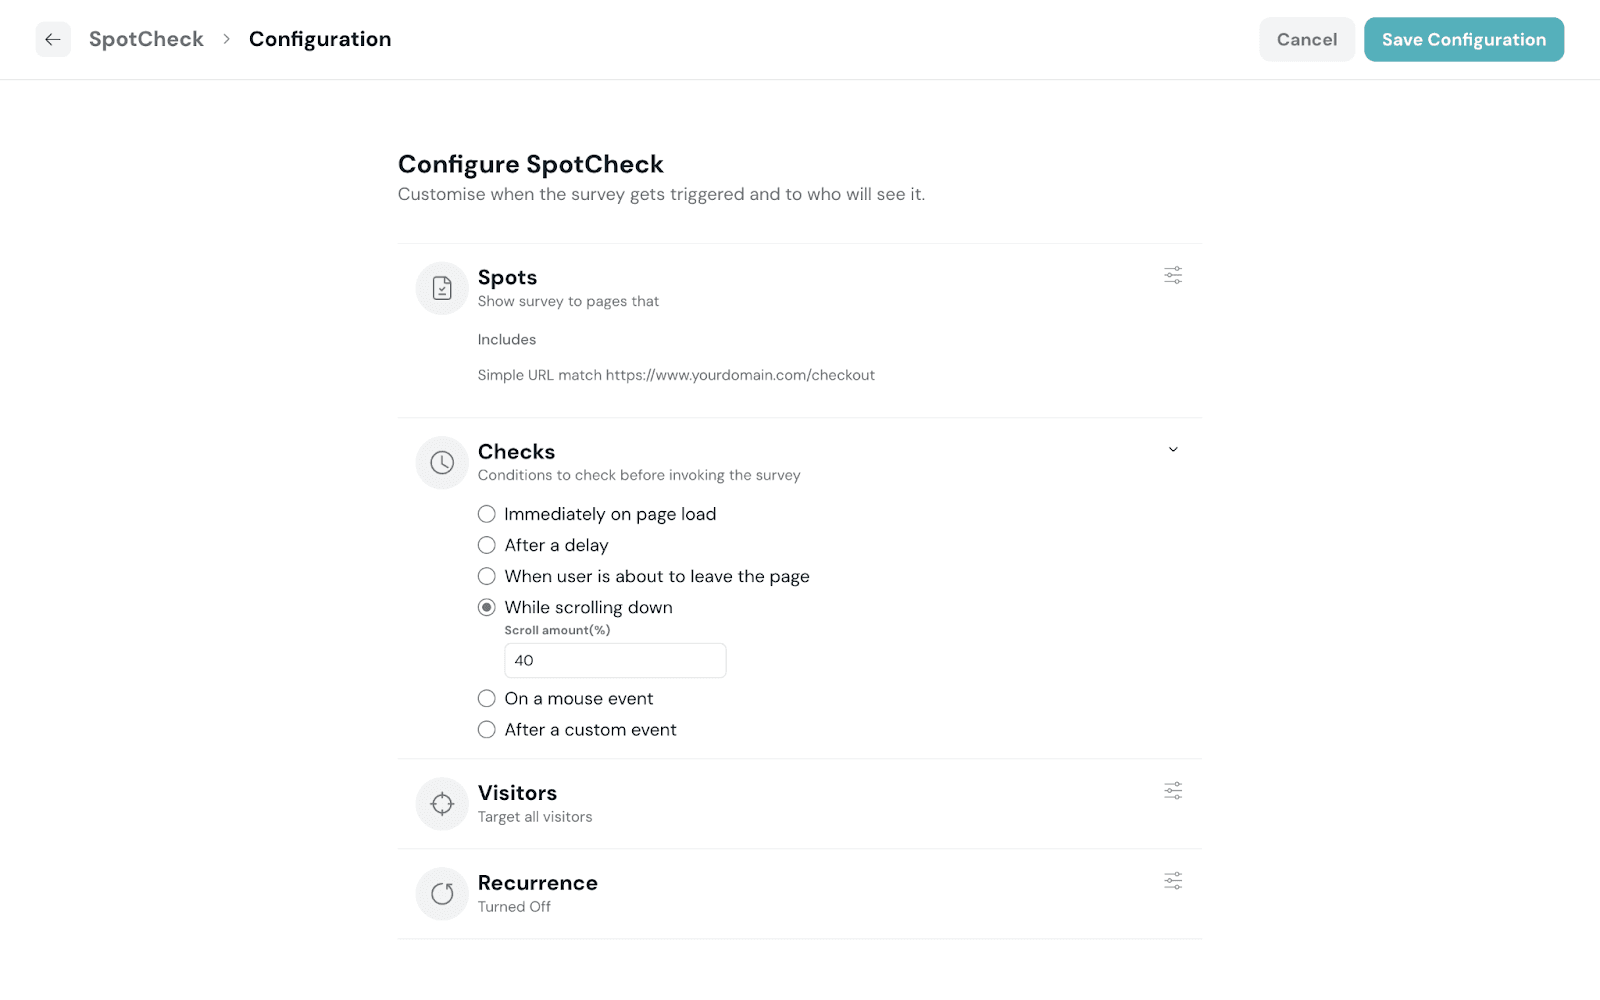
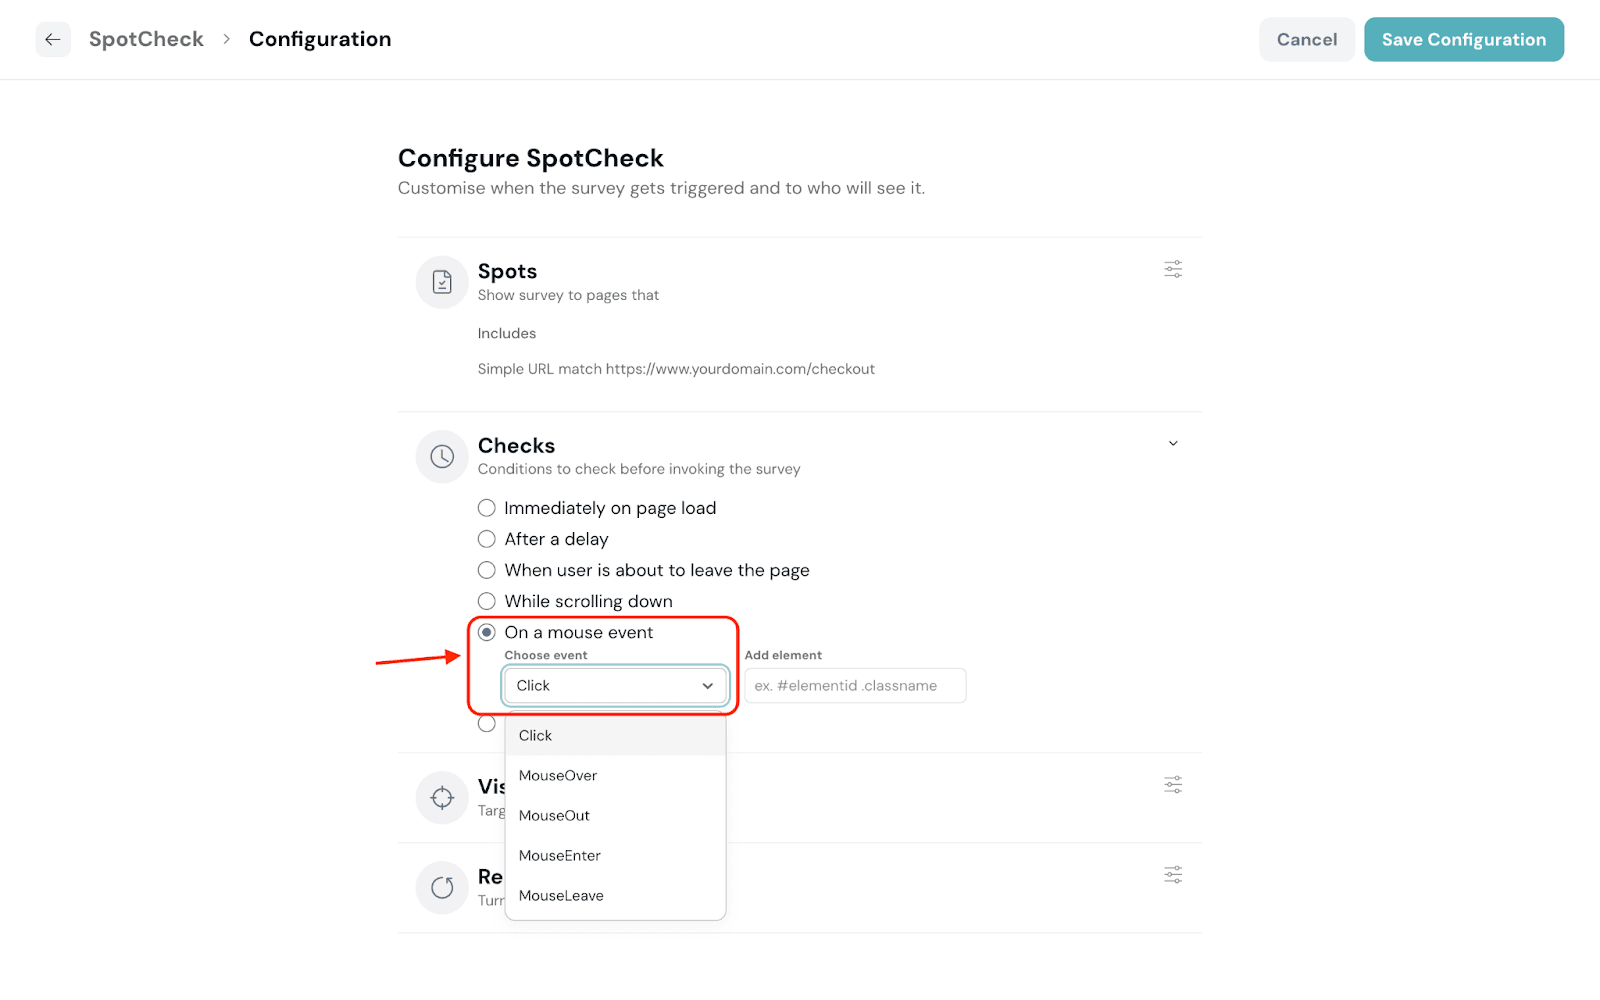
5. Click Checks to configure the trigger condition.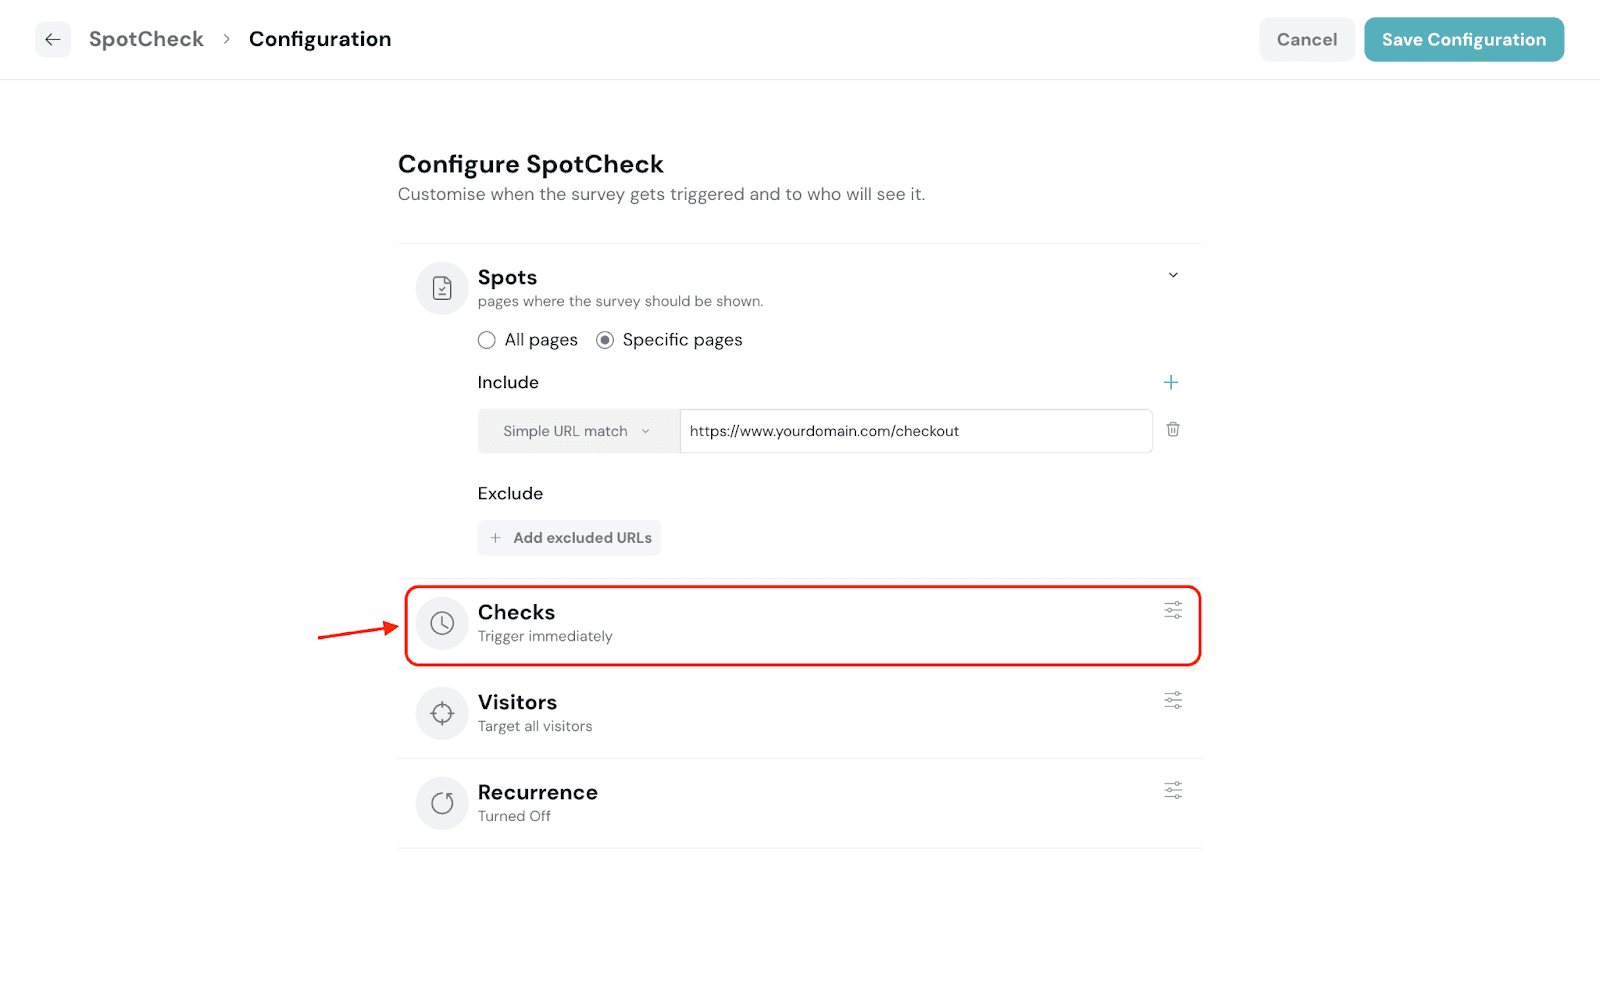
The following are the supported conditions to invoke the SpotCheck:
6. Click Visitors to configure the type of visitors you’d like to target.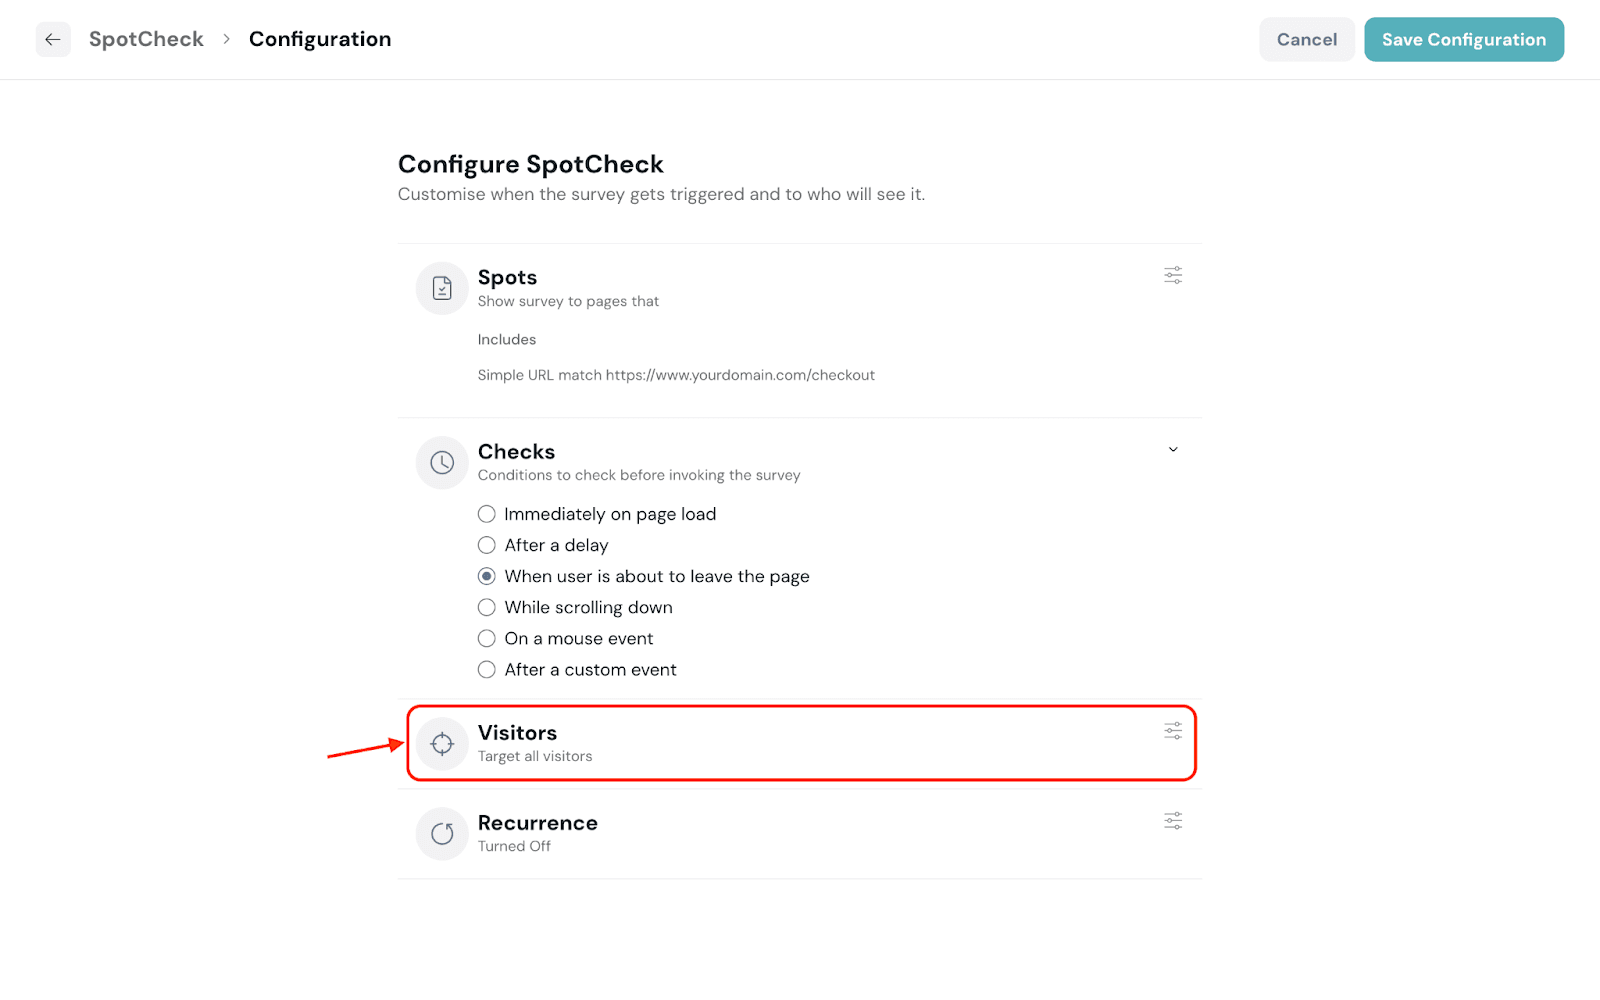
7. Click Add condition and choose from the available properties to target your visitors.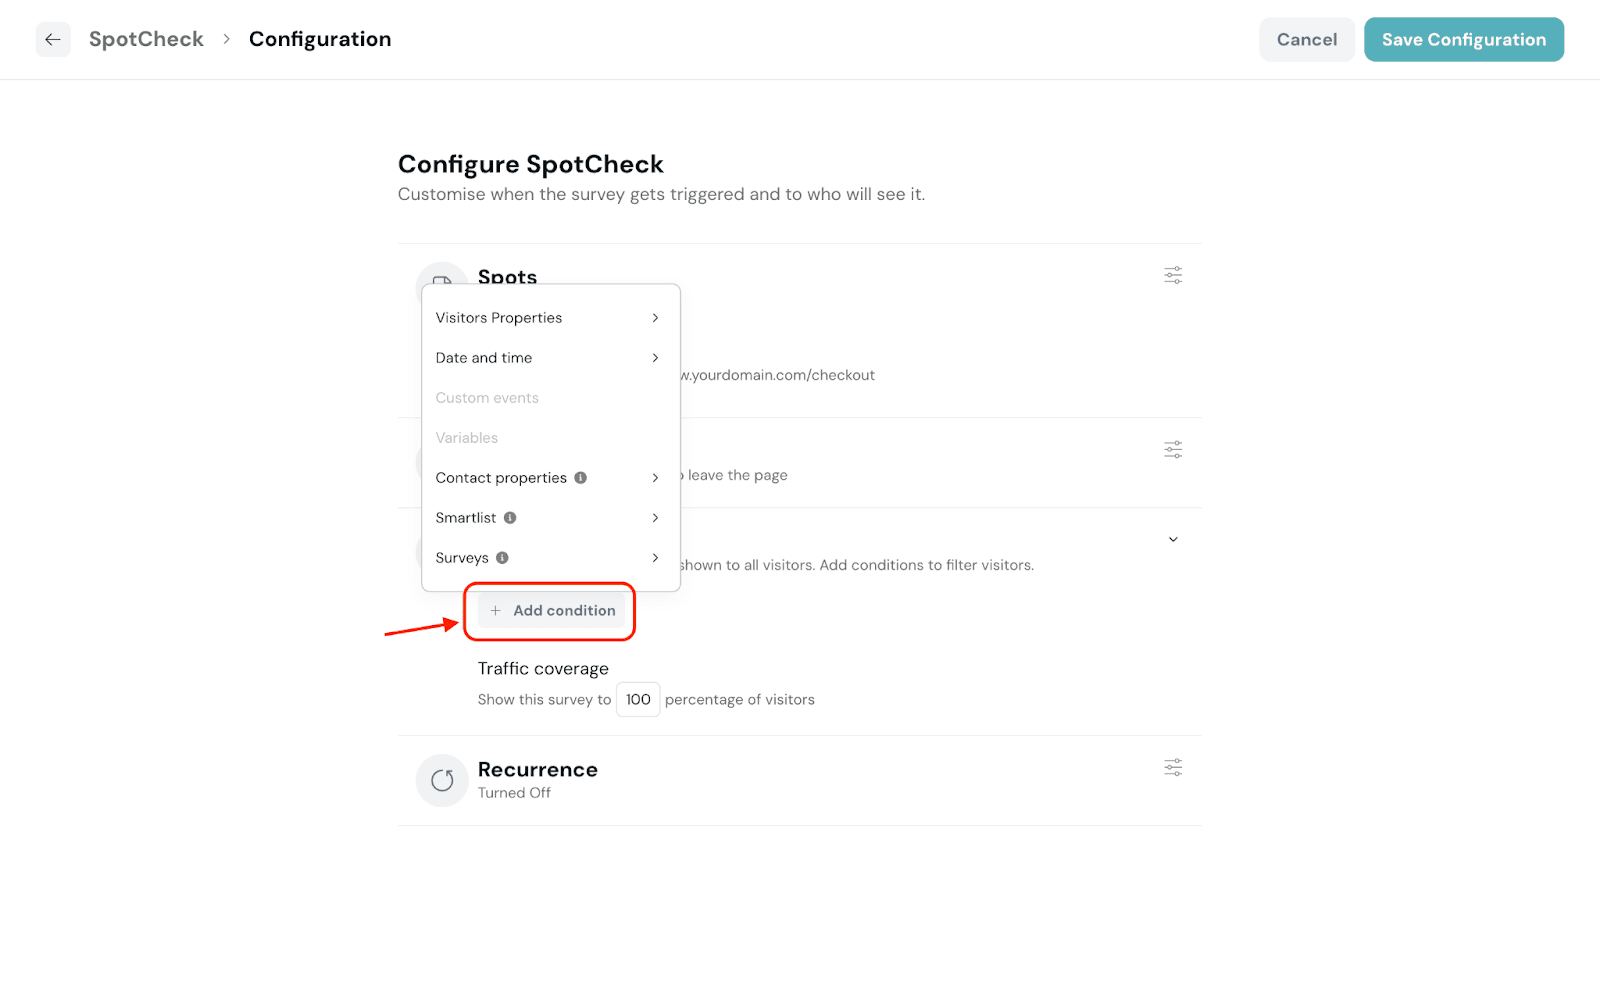
Following are the supported properties and variables to set the condition:
8. Enter the percentage of visitors from your webpage’s traffic to invoke the SpotCheck.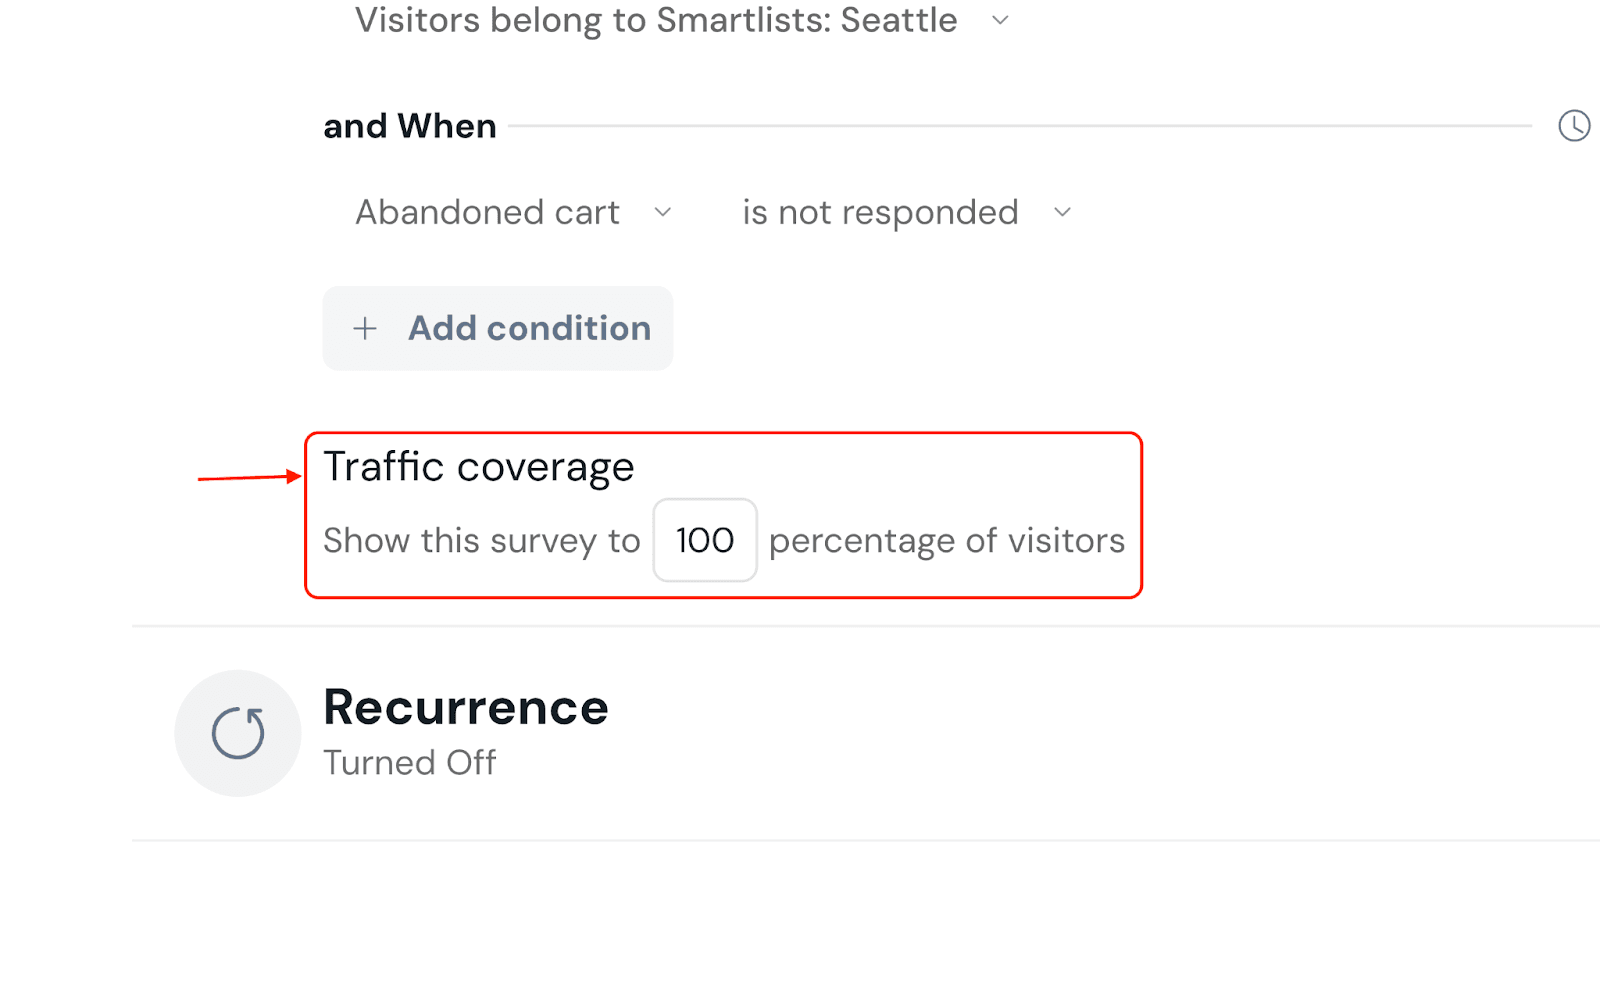
9. Click Recurrence.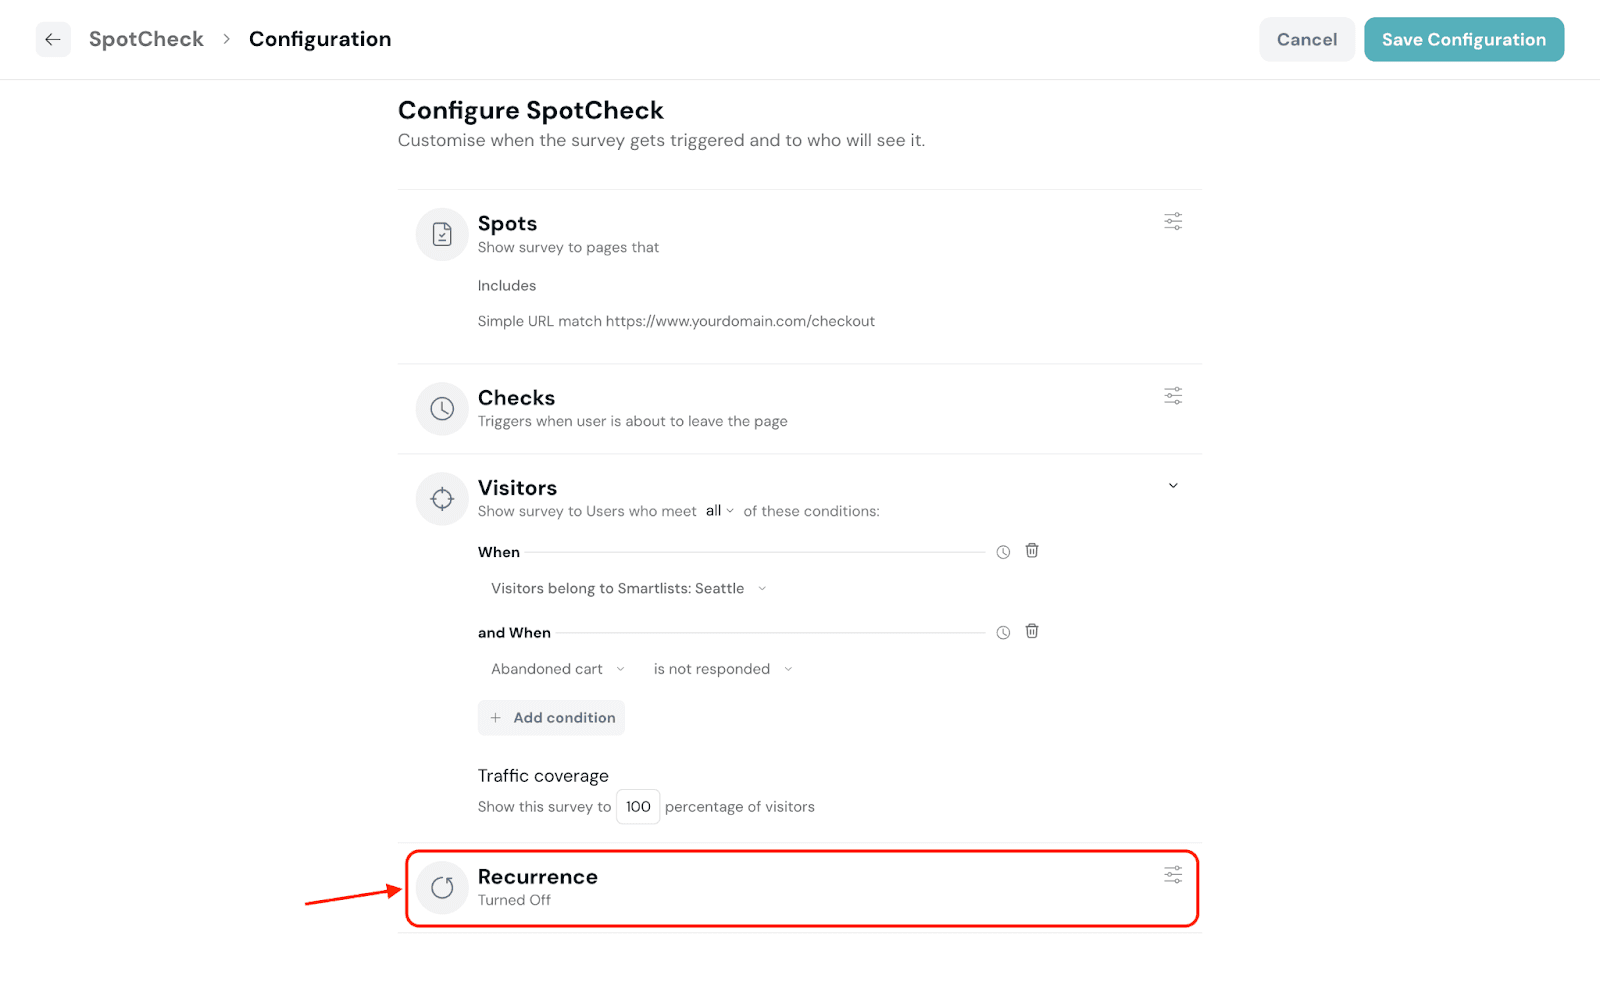
10. Choose to enable or disable the recurrence according to your requirements.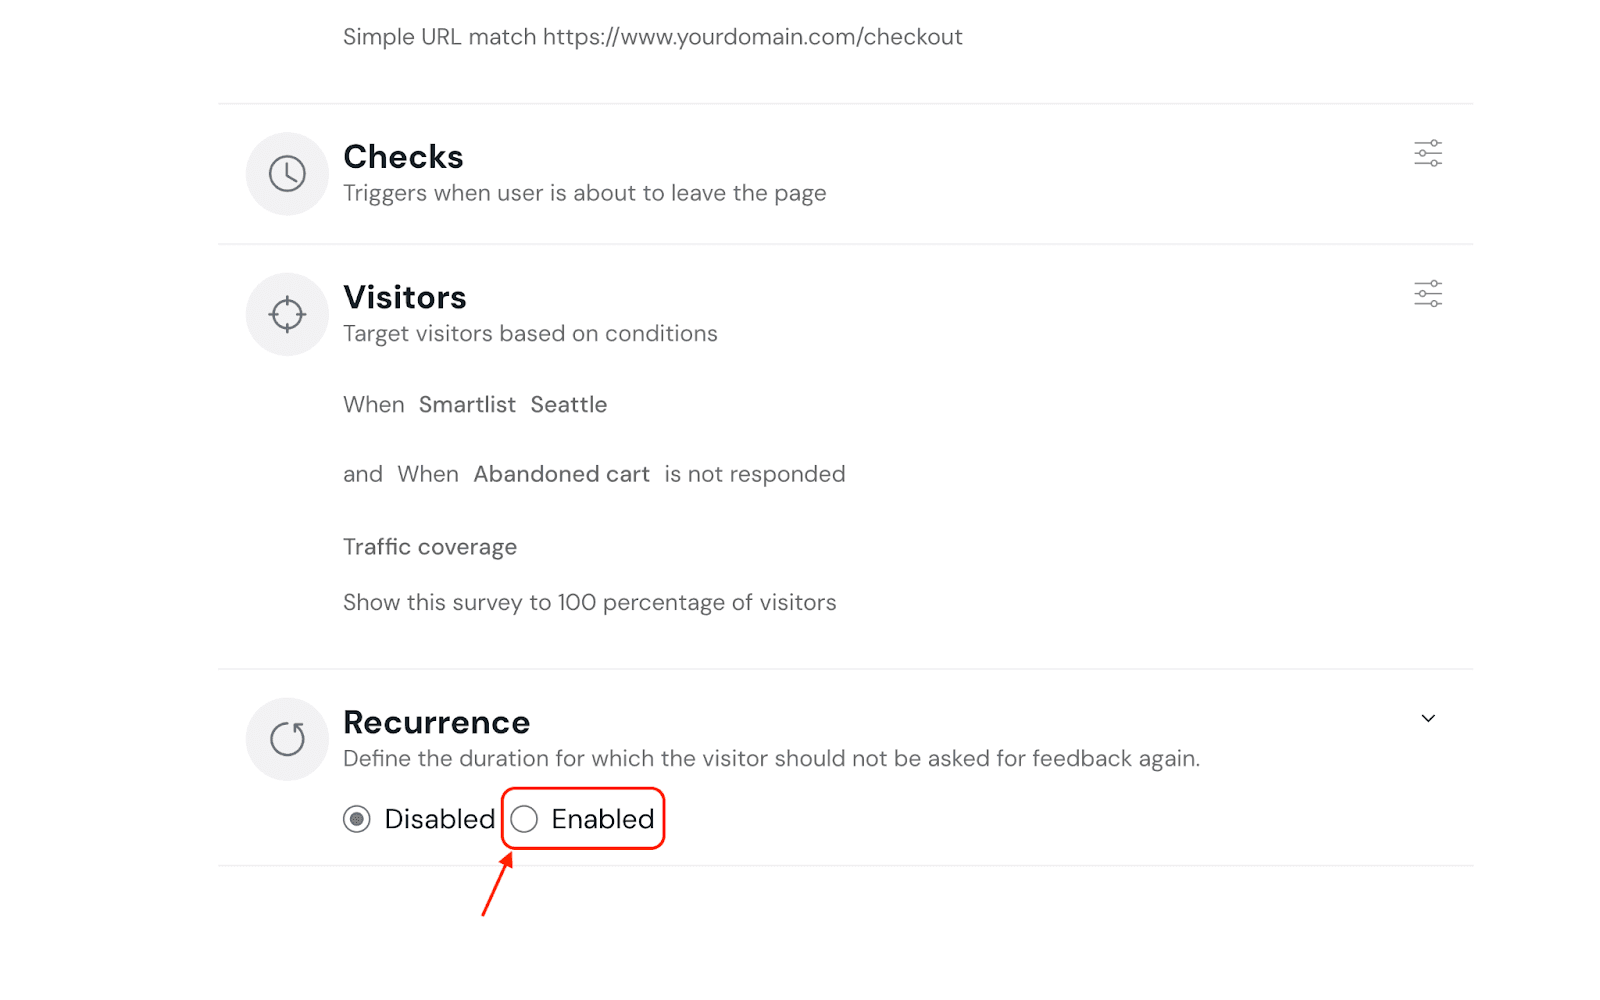
When recurrence is enabled, enter the number of days to hold back before showing it again for a visitor.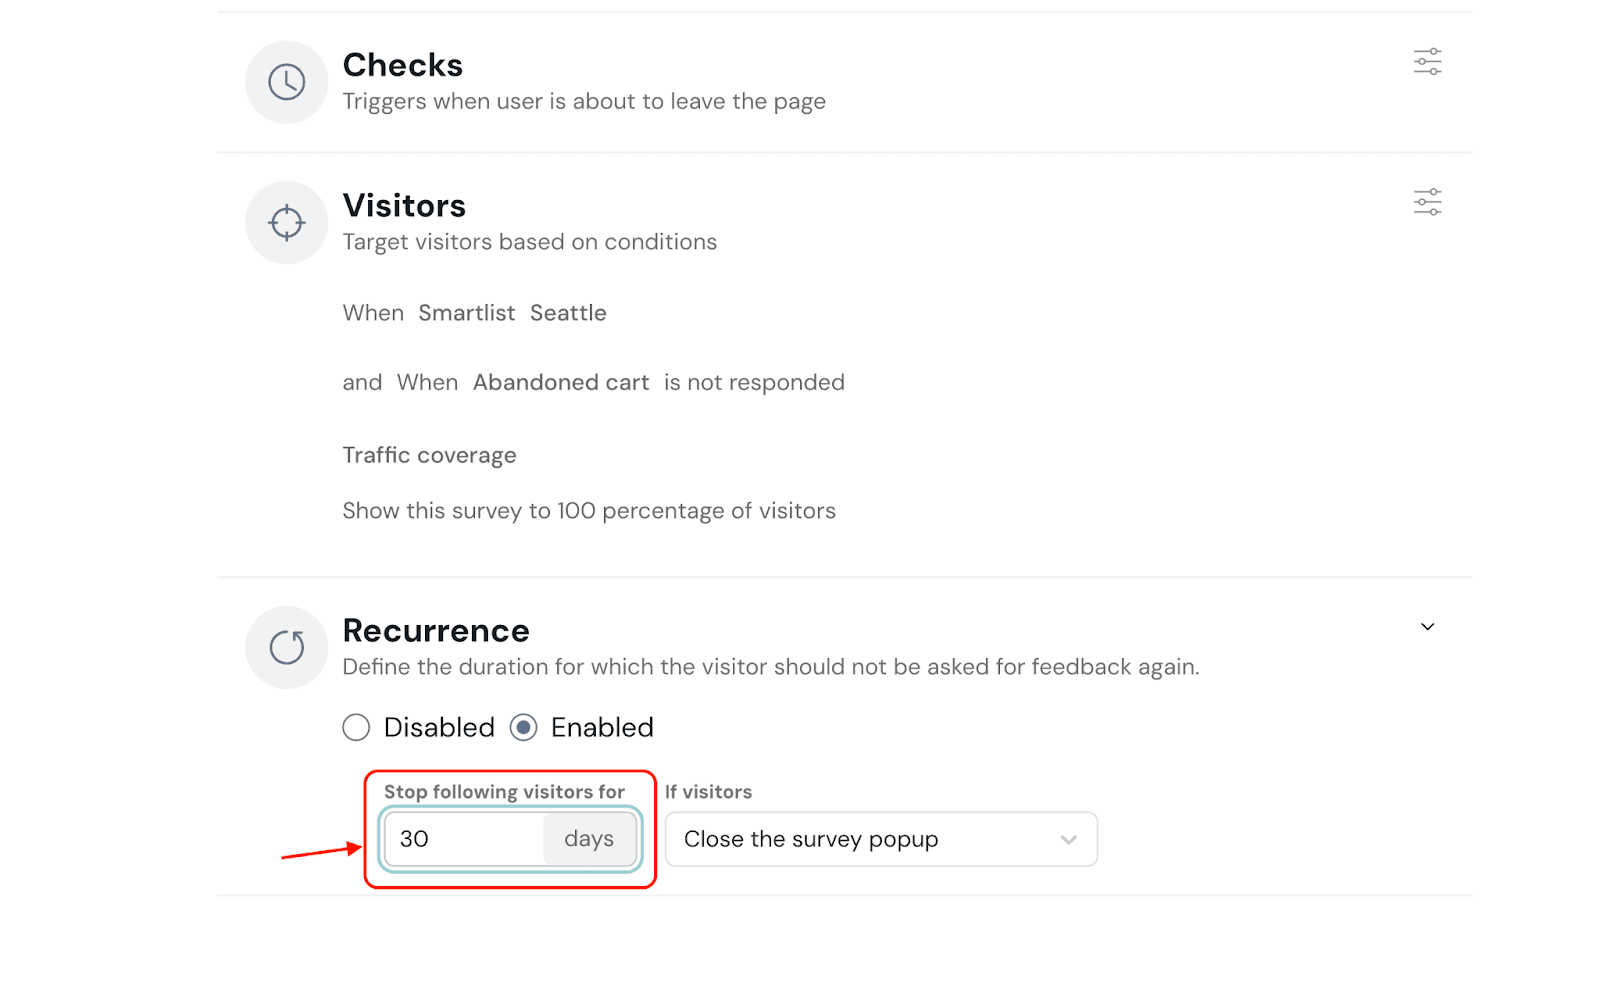
Additionally, you can select the recurrence based on the previous action of the visitor.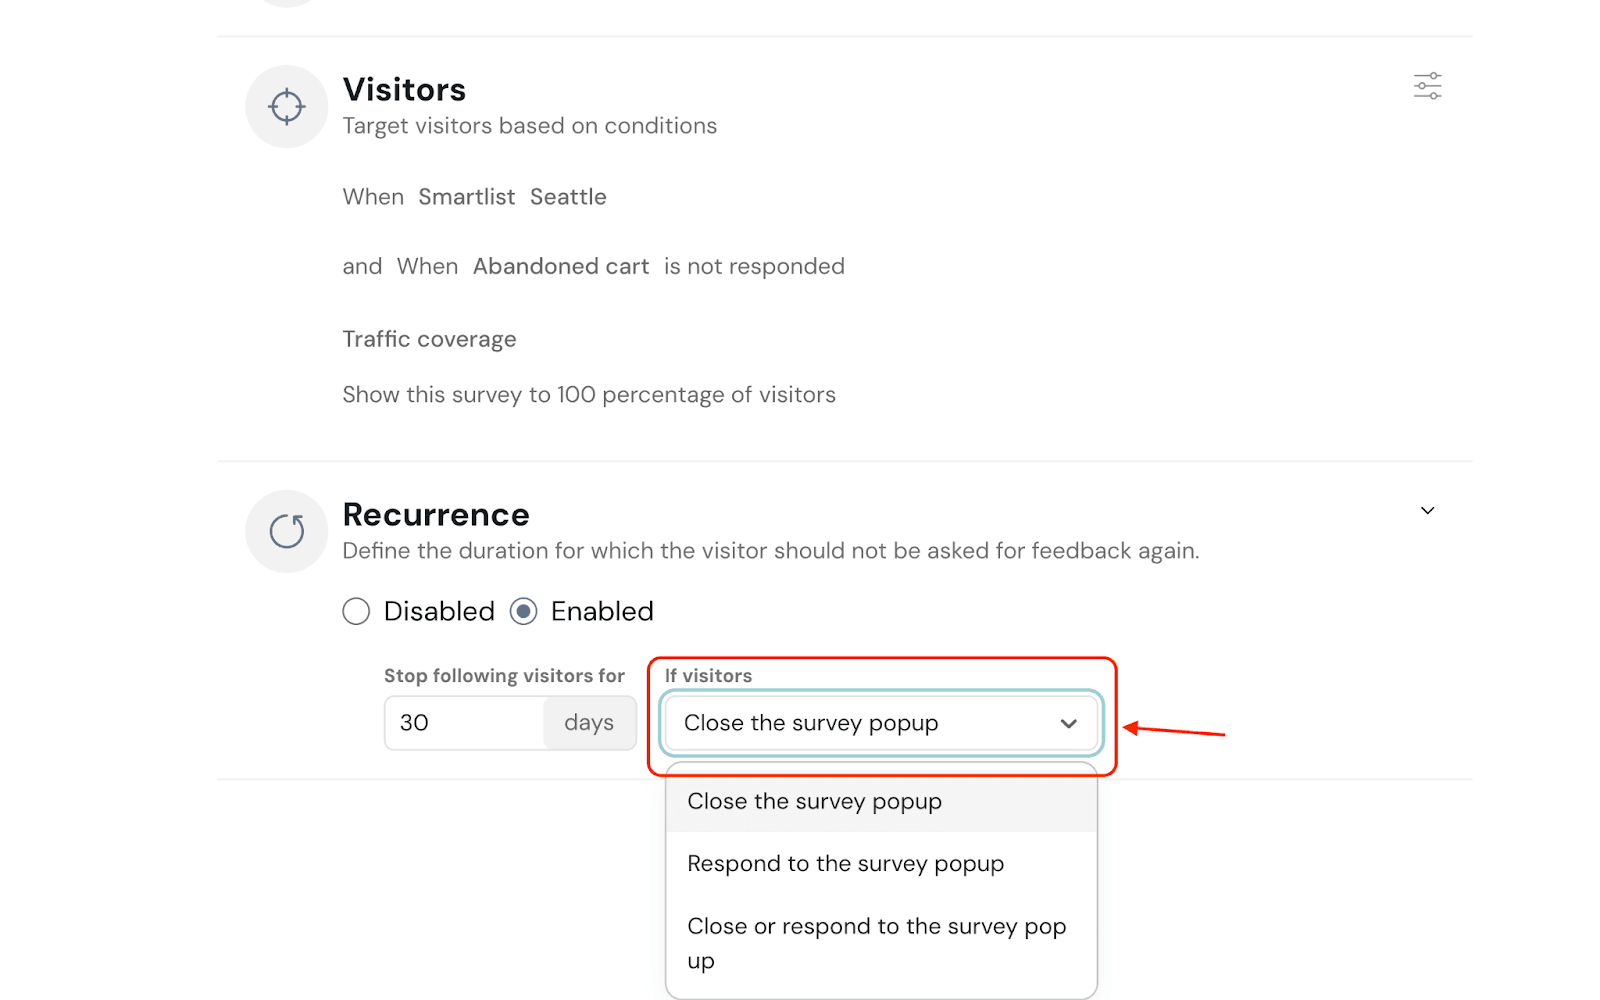
11. Click Save Configuration.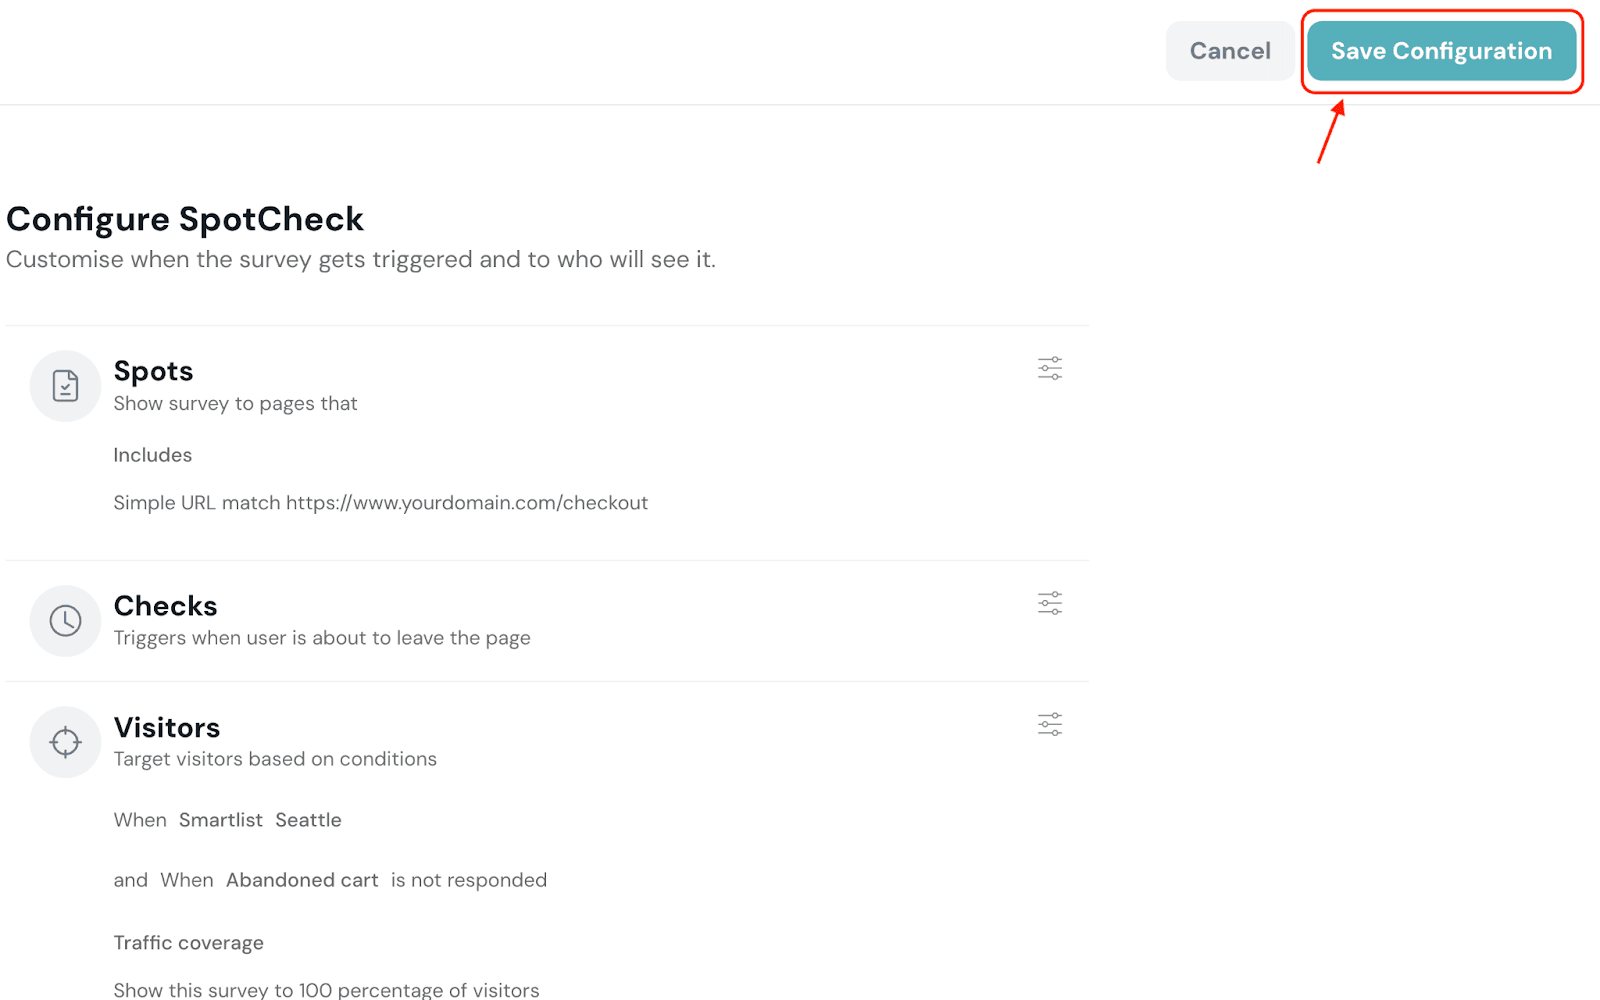
12. Click Publish.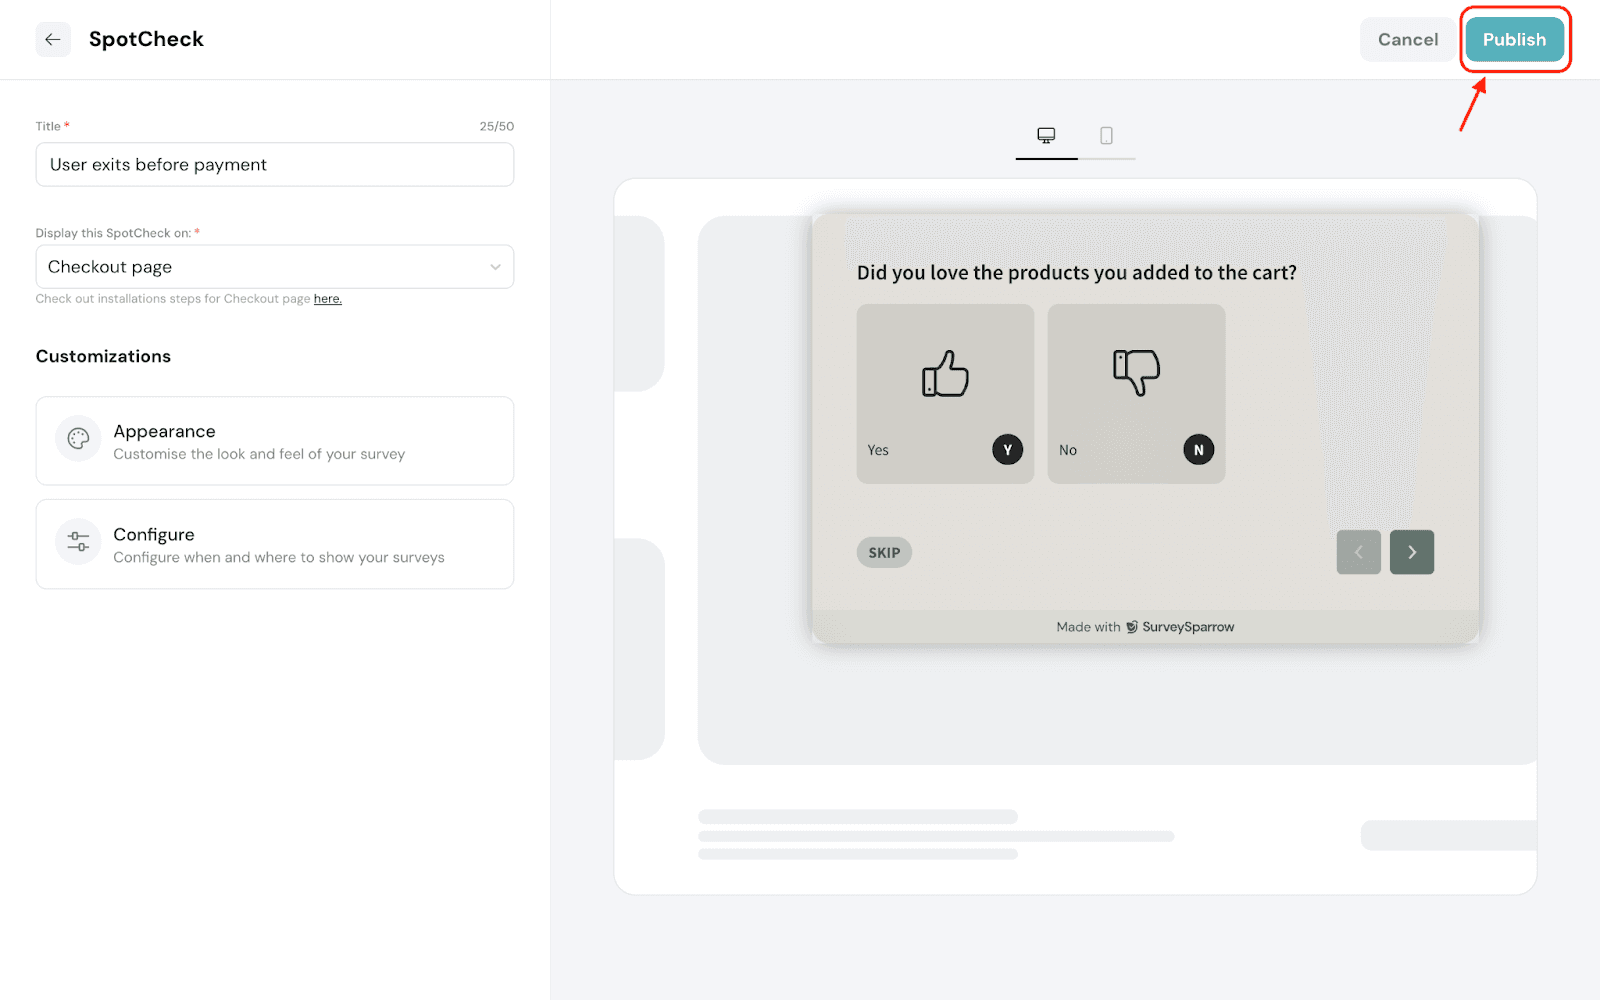
That’s it! Your SpotCheck is all set to capture vital information for your business growth.
The best part? It’s a one-time deployment which means after adding the code to your website, you can make any changes to the SpotChecks in SurveySparrow, and see it live in action without copy-pasting the code every time!
Feel free to reach out to our community if you have any questions.
Powered By SparrowDesk